
This guide walks you through how to install outdoor television for outdoor sports watching safely and effectively. From choosing the right TV to mounting and weatherproofing, you’ll learn everything needed to create the perfect outdoor viewing experience.
Key Takeaways
- Choose a true outdoor TV: Not all TVs are built for outdoor conditions. Look for models specifically designed for outdoor use with weatherproofing and UV protection.
- Pick the right location: Install your TV in a shaded, covered area to avoid direct sunlight and rain. Consider viewing angles and distance from seating.
- Use proper mounting hardware: Invest in a weather-resistant outdoor TV mount that can support your TV’s size and weight, and allows for tilt or swivel if needed.
- Protect all connections: Use weatherproof cable conduits, outdoor-rated extension cords, and surge protectors to keep electrical components safe from moisture.
- Ensure reliable power and signal: Run power and signal cables safely underground or through protective channels. Use signal boosters if needed for strong reception.
- Test before finalizing: Always test the TV, sound, and signal strength before securing everything in place.
- Maintain regularly: Clean the screen and check seals and cables periodically to extend the life of your outdoor setup.
How to Install Outdoor Television for Outdoor Sports Watching
Watching your favorite sports outdoors can transform a simple game night into an unforgettable experience. Whether it’s the Super Bowl, the World Cup, or a local high school championship, having an outdoor television lets you enjoy the action under the open sky with friends and family. But setting up an outdoor TV isn’t as simple as plugging in a regular indoor model. You need to consider weather, power, mounting, and signal strength.
In this comprehensive guide, you’ll learn how to install outdoor television for outdoor sports watching the right way. We’ll walk you through choosing the perfect TV, selecting the ideal location, mounting it securely, running cables safely, and maintaining your setup for long-term enjoyment. By the end, you’ll have a reliable, weather-resistant outdoor entertainment system ready for any game day.
Step 1: Choose the Right Outdoor Television
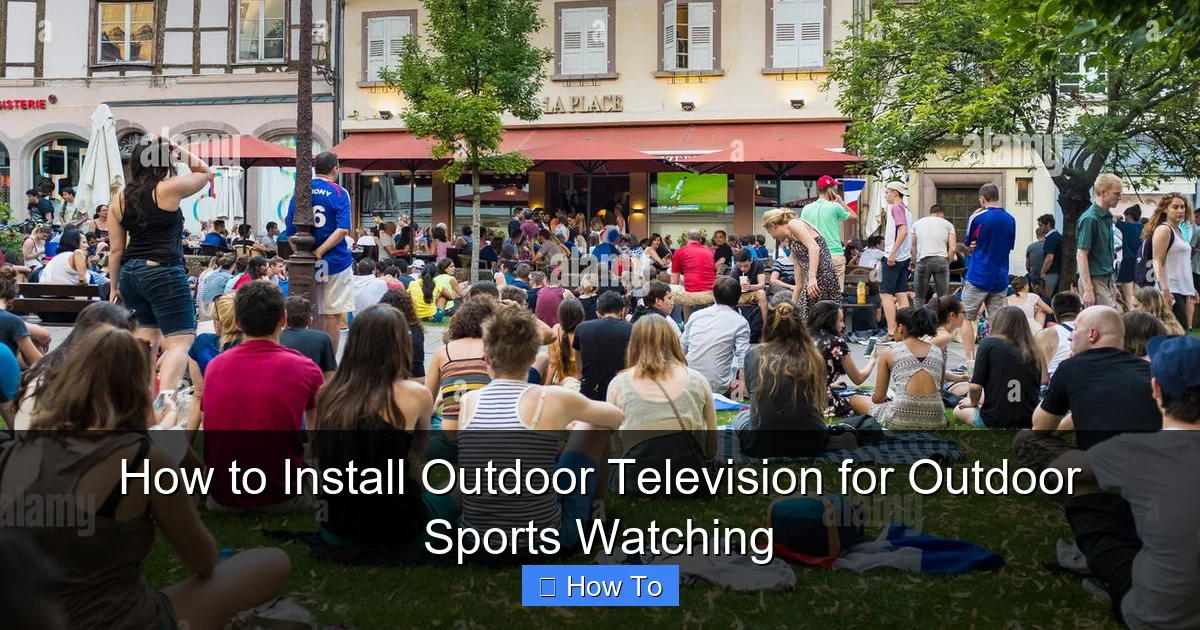
Visual guide about How to Install Outdoor Television for Outdoor Sports Watching
Image source: c8.alamy.com
Not all TVs are created equal—especially when it comes to outdoor use. Indoor TVs may look great in your living room, but they’re not built to handle temperature swings, humidity, rain, or UV exposure. That’s why your first step is selecting a television specifically designed for outdoor environments.
Look for True Outdoor TVs
True outdoor TVs are engineered to withstand the elements. These models come with sealed casings, corrosion-resistant materials, and special coatings to protect internal components. Brands like SunBriteTV, Samsung Terrace, and LG Outdoor are known for their durable outdoor models.
When shopping, check for these key features:
- Weatherproof rating: Look for an IP55 or higher rating, which means the TV is protected against dust and water jets.
- Temperature tolerance: Outdoor TVs should operate in temperatures ranging from -22°F to 122°F (-30°C to 50°C).
- Anti-glare screen: A high-brightness display (at least 700 nits) with anti-reflective coating helps visibility in daylight.
- UV protection: The screen and casing should resist yellowing or cracking from sun exposure.
Consider Size and Resolution
Choose a screen size based on your viewing distance. For most outdoor setups, a 55-inch to 75-inch TV works well. If you’re sitting 8–12 feet away, a 65-inch model offers an immersive experience without overwhelming the space.
For sports, high resolution matters. Go for at least 4K Ultra HD to enjoy crisp details during fast-paced action. Many outdoor TVs also support HDR (High Dynamic Range), which enhances contrast and color for a more vibrant picture.
Smart Features and Connectivity
Most modern outdoor TVs come with built-in smart platforms like Roku, Android TV, or webOS. This lets you stream games directly from apps like ESPN+, YouTube TV, or Hulu without needing an external device.
Make sure the TV has multiple HDMI ports, USB inputs, and Wi-Fi connectivity. If you plan to use a soundbar or external speakers, check for audio output options like optical or Bluetooth.
Step 2: Select the Perfect Location
Where you install your outdoor TV is just as important as the TV itself. The right spot ensures great viewing, protects your investment, and keeps everyone comfortable.
Choose a Covered, Shaded Area
Avoid placing your TV in direct sunlight or exposed to rain. Ideal locations include:
- Under a pergola or gazebo
- On a covered patio or screened porch
- Under an awning or roof overhang
If you don’t have a covered area, consider installing a retractable awning or shade sail to protect the TV during use.
Consider Viewing Angles and Distance
Position the TV at a height that allows comfortable viewing from your seating area. The center of the screen should be at or slightly below eye level when seated—typically 42 to 48 inches from the ground.
Use the 1.6x rule to determine optimal viewing distance: multiply the screen size (in inches) by 1.6. For a 65-inch TV, that’s about 104 inches, or 8.7 feet. This gives you a balanced field of view without straining your eyes.
Check for Obstructions
Make sure trees, walls, or furniture won’t block the signal from your antenna or streaming device. Also, avoid placing the TV near reflective surfaces like glass doors or light-colored walls, which can cause glare.
Step 3: Gather the Right Tools and Materials
Before you start installing, gather all the necessary tools and materials. Having everything ready will save time and prevent mid-project delays.
Essential Tools
- Drill with masonry and wood bits
- Level
- Tape measure
- Screwdrivers (Phillips and flathead)
- Stud finder
- Cable staples or clips
- Wire strippers
Materials You’ll Need
- Outdoor TV mount (fixed, tilt, or full-motion)
- Weatherproof extension cord (UL-listed for outdoor use)
- Surge protector with outdoor rating
- Weatherproof cable conduit or raceway
- Outdoor-rated HDMI and power cables
- Silicone sealant (for sealing holes)
- Optional: outdoor soundbar or speakers
Step 4: Install the TV Mount
A secure mount is critical for safety and performance. Never use an indoor mount outdoors—it won’t withstand weather or weight over time.
Choose the Right Mount Type
There are three main types of outdoor TV mounts:
- Fixed mounts: Hold the TV flat against the wall. Best for permanent setups with no need to adjust angle.
- Tilt mounts: Allow you to angle the TV up or down for better viewing. Great for high or low installations.
- Full-motion (articulating) mounts: Let you swivel and extend the TV. Ideal if you want to watch from multiple areas or fold the TV away when not in use.
For most outdoor sports setups, a tilt or full-motion mount offers the best flexibility.
Locate Studs or Use Masonry Anchors
Use a stud finder to locate wall studs if mounting on wood or drywall. For concrete, brick, or stucco walls, you’ll need masonry anchors or concrete screws.
Mark the mounting holes with a pencil, then drill pilot holes. Always double-check with a level to ensure the mount is straight.
Secure the Mount and Attach the TV
Bolt the mount to the wall using the appropriate hardware. Once secure, attach the mounting brackets to the back of your TV (most outdoor TVs have VESA-compatible patterns). Then, carefully lift the TV and hook it onto the wall plate.
Have a helper assist with lifting—TVs can be heavy and awkward to handle alone.
Step 5: Run Power and Signal Cables Safely
Exposed cables are not only unsightly—they’re a safety hazard and can be damaged by weather or pests. Proper cable management is essential.
Use Weatherproof Conduits
Run power and HDMI cables through a weatherproof conduit or raceway. These protective channels shield wires from rain, UV rays, and physical damage.
If running cables along the wall, use outdoor-rated cable clips to secure them. For a cleaner look, consider routing cables inside the wall (if permitted by local codes) or burying them underground in a PVC pipe.
Connect to a GFCI Outlet
Always plug your outdoor TV into a Ground Fault Circuit Interrupter (GFCI) outlet. These outlets detect electrical faults and shut off power to prevent shocks—especially important in wet environments.
If you don’t have a GFCI outlet nearby, hire a licensed electrician to install one. Never use indoor outlets for outdoor equipment.
Use a Surge Protector
Power surges from lightning or grid fluctuations can damage your TV. Plug all components into a high-quality outdoor surge protector with at least 2000 joules of protection.
Test Signal Strength
If using an antenna for live sports, test signal strength before finalizing the setup. Use a signal meter or the TV’s built-in signal strength indicator. If reception is weak, consider installing an outdoor antenna on the roof or using a signal booster.
For streaming, ensure your Wi-Fi signal reaches the outdoor area. If not, use a Wi-Fi extender or mesh network to boost coverage.
Step 6: Set Up Audio for the Ultimate Experience
While outdoor TVs have built-in speakers, they’re often not powerful enough for large gatherings or noisy environments. Adding external audio enhances the game-day atmosphere.
Use Outdoor Speakers or a Soundbar
Mount weatherproof outdoor speakers on nearby walls or under eaves. Look for models with an IPX5 rating or higher. Pair them with a Bluetooth receiver or connect via audio cable.
Alternatively, use an outdoor soundbar designed for TVs. These are compact, easy to install, and deliver rich, clear sound.
Sync Audio with Video
Some wireless audio systems may have a slight delay. Use the TV’s audio sync settings to align sound with the video. Test during a live game to ensure everything is in sync.
Step 7: Test Everything Before Finalizing
Before calling the installation complete, run a full test to ensure everything works properly.
Check Picture and Sound Quality
Turn on the TV and play a live sports stream or recorded game. Adjust brightness, contrast, and volume for optimal outdoor viewing.
Test All Inputs and Apps
Plug in a streaming device, game console, or antenna. Make sure all HDMI ports work and apps load quickly.
Verify Weather Resistance
After a rain or high-humidity day, inspect the TV, mount, and cables for any signs of moisture or damage. Re-seal any gaps with silicone if needed.
Troubleshooting Common Issues
Even with careful planning, problems can arise. Here’s how to fix the most common issues.
TV Won’t Turn On
- Check the power outlet with another device.
- Ensure the surge protector is switched on.
- Verify the remote has working batteries.
Poor Picture Quality
- Adjust brightness and contrast settings for daylight viewing.
- Clean the screen with a microfiber cloth.
- Check for loose HDMI connections.
Weak Wi-Fi Signal
- Move the router closer or use a Wi-Fi extender.
- Switch to a less congested Wi-Fi channel.
- Use an Ethernet cable if possible (run through conduit).
Audio Out of Sync
- Use the TV’s audio delay settings.
- Reduce Bluetooth interference by moving devices closer.
Moisture Inside the TV
- Power off immediately and let it dry completely.
- Check seals and gaskets for damage.
- Contact the manufacturer if under warranty.
Maintaining Your Outdoor TV
To keep your outdoor TV in top condition, regular maintenance is key.
Clean the Screen Monthly
Use a soft, dry microfiber cloth to wipe the screen. For smudges, lightly dampen the cloth with water—never spray liquid directly on the TV.
Inspect Seals and Cables
Every few months, check the weather seals around the TV and cable entries. Replace any cracked or worn seals. Look for frayed cables and replace them promptly.
Cover During Off-Season
If you live in an area with harsh winters, consider using a weatherproof TV cover when the TV isn’t in use. This adds an extra layer of protection.
Update Software Regularly
Keep your TV’s firmware and apps updated to ensure security and performance. Most smart TVs update automatically, but it’s good to check manually once in a while.
Conclusion
Installing an outdoor television for outdoor sports watching is a rewarding project that brings the excitement of the game right into your backyard. By choosing a true outdoor TV, selecting the right location, using proper mounting and weatherproofing techniques, and maintaining your setup, you can enjoy years of reliable performance.
Remember, safety and durability come first. Don’t cut corners on weatherproofing or electrical safety. With the right preparation and attention to detail, your outdoor TV will become the centerpiece of countless game nights, barbecues, and family gatherings.
So grab your tools, pick a sunny weekend, and get ready to watch the big game under the stars. Your perfect outdoor sports setup is just a few steps away.

