
Installing an outdoor television for a large patio transforms your outdoor space into a year-round entertainment hub. This guide walks you through selecting the right TV, choosing a secure mount, running cables safely, and weatherproofing everything for long-lasting performance.
Key Takeaways
- Choose an outdoor-rated TV: Standard indoor TVs aren’t built to handle temperature swings, humidity, or direct sunlight—opt for a model specifically designed for outdoor use.
- Pick the right mounting location: Ensure the screen is visible from all seating areas and protected from rain, snow, and harsh sun exposure.
- Use weatherproof enclosures and cables: Even with an outdoor TV, extra protection like sealed conduit and waterproof connectors adds durability.
- Plan your cable route carefully: Run power and HDMI cables through walls or underground conduit to avoid tripping hazards and water damage.
- Test everything before finalizing: Power on the TV, check signal strength, and verify remote control range after installation.
- Consider professional help for complex setups: If you’re unsure about electrical work or structural mounting, hire a certified installer.
- Maintain your setup seasonally: Clean the screen, inspect seals, and check connections before heavy use in spring and summer.
How to Install Outdoor Television for Large Patio
Imagine hosting summer barbecues, watching the big game under the stars, or enjoying a movie night with friends—all from the comfort of your spacious patio. An outdoor television makes this dream a reality. But unlike setting up a TV indoors, installing one outside requires careful planning, the right equipment, and attention to weather-related challenges.
Whether you have a covered pergola, an open-air deck, or a fully enclosed outdoor living room, this comprehensive guide will walk you through every step of installing an outdoor television for a large patio. You’ll learn how to choose the best TV, select a secure mounting solution, run cables safely, protect against the elements, and enjoy crystal-clear viewing all year long.
By the end of this guide, you’ll have a professional-grade outdoor entertainment system that’s safe, durable, and perfectly suited to your space.
Step 1: Assess Your Patio Layout and Viewing Needs
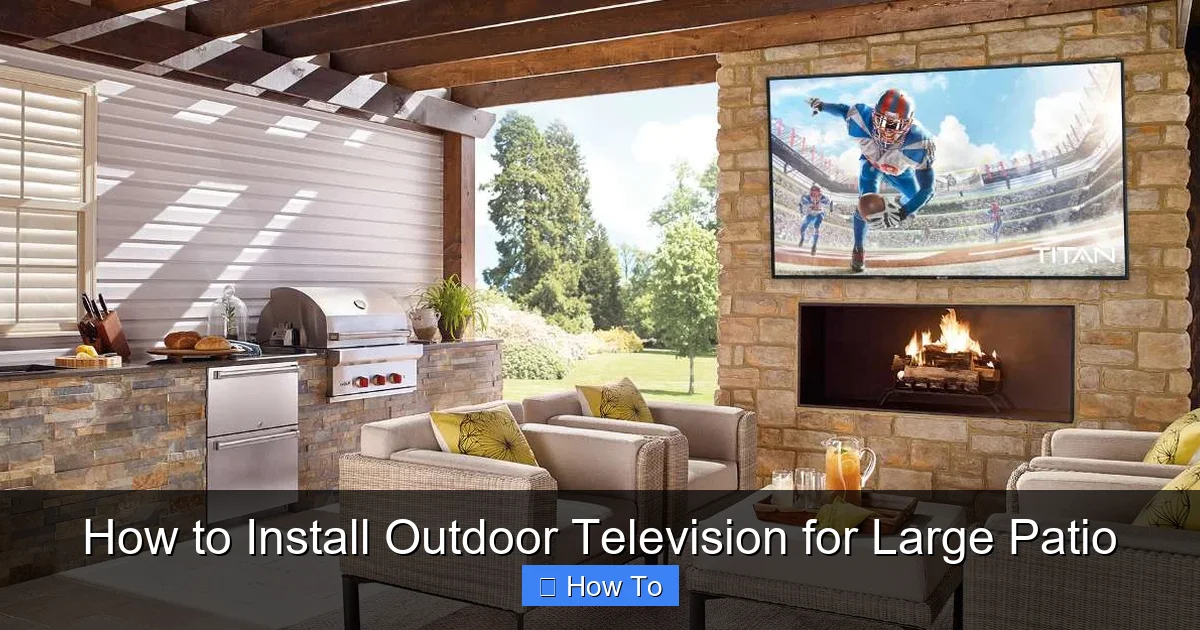
Visual guide about How to Install Outdoor Television for Large Patio
Image source: cdn.shopify.com
Before buying anything, take time to evaluate your patio setup. A large patio often means multiple seating zones—sofas, dining tables, lounge chairs—and varying sightlines. Your goal is to position the TV so everyone can see it comfortably without straining their necks or squinting.
Determine Optimal Viewing Distance and Height
A common rule of thumb: the ideal viewing distance is about 1.5 to 2.5 times the diagonal screen size. For example, a 65-inch TV should be viewed from 8 to 14 feet away. On a large patio, you might have viewers as far as 20 feet away—so consider a larger screen (75 inches or more) for better visibility.
Mounting height is equally important. The center of the screen should be at or slightly below eye level when seated. For most people, that’s around 42 to 48 inches from the ground. If your patio has high ceilings or elevated seating, adjust accordingly.
Identify Sun and Weather Exposure
Direct sunlight can cause glare and overheating, while rain, snow, and humidity can damage electronics. Note which parts of your patio receive morning vs. afternoon sun, and whether they’re covered by roofs, awnings, or pergolas.
If your patio is fully exposed, you’ll need extra protection—like a weatherproof enclosure or a TV with built-in sun shielding. Covered areas offer more flexibility but still require moisture-resistant components.
Map Out Power and Signal Sources
Check where your nearest outdoor electrical outlet is located. If there isn’t one within 10–15 feet of your desired TV location, you may need to hire an electrician to install a GFCI-protected outlet. Similarly, identify where your cable box, streaming device, or antenna will sit—and how you’ll connect them to the TV.
Pro tip: Use a laser measure or tape to sketch a simple floor plan. Mark seating areas, power sources, and potential mounting spots. This helps visualize cable runs and avoids last-minute surprises.
Step 2: Choose the Right Outdoor Television
Not all TVs are created equal—especially when it comes to outdoor use. Indoor TVs lack the durability, brightness, and climate resistance needed for patios.
Outdoor vs. Indoor TVs: What’s the Difference?
Outdoor TVs are engineered to withstand temperature extremes (from -30°F to 120°F), resist moisture, and deliver high brightness (typically 700+ nits) to combat glare. They also feature anti-reflective coatings, sealed ventilation, and rust-proof materials.
Indoor TVs, even when placed under cover, can overheat, fog up, or suffer circuit damage from humidity. Don’t risk it—invest in a purpose-built outdoor model.
Types of Outdoor TVs
There are three main categories:
– **All-Weather Outdoor TVs**: Fully sealed, ready to mount directly outside. Brands like SunBriteTV, Samsung Terrace, and Seura offer excellent options. These are ideal for uncovered patios.
– **Partial-Cover Outdoor TVs**: Designed for covered areas like screened porches or pergolas with roof protection. They handle light moisture but aren’t fully waterproof.
– **Indoor TVs in Weatherproof Enclosures**: A budget-friendly alternative. You buy a standard TV and place it inside a sealed outdoor cabinet (e.g., from Peerless or VIVO). This works well if you already own a compatible TV.
For a large patio with mixed coverage, an all-weather TV is usually the safest bet.
Screen Size and Resolution Recommendations
On a spacious patio, bigger is better. Aim for at least 65 inches, but 75 or 85 inches delivers a truly immersive experience. Choose 4K UHD resolution for sharp, detailed images—even from a distance.
Also consider smart features: built-in Wi-Fi, voice control, and app support (like Netflix, YouTube, or Apple TV) let you stream content without extra devices.
Step 3: Select a Secure Mounting Solution
A sturdy mount is critical—not just for picture quality, but for safety. Wind, vibrations, and accidental bumps can loosen poorly installed mounts.
Types of Outdoor TV Mounts
– **Fixed Wall Mounts**: Simple and affordable. Keeps the TV flush against the wall. Best for permanent, straight-on viewing.
– **Tilting Mounts**: Allow slight upward or downward adjustment to reduce glare or improve viewing angle.
– **Full-Motion (Articulating) Mounts**: Extend, swivel, and tilt the TV. Great for large patios with multiple seating zones—you can angle the screen toward different areas.
For large patios, a full-motion mount offers the most flexibility. Just ensure it’s rated for outdoor use and can support your TV’s weight.
Check Wall Structure and Weight Capacity
Most outdoor mounts require attachment to solid wood studs, concrete, or masonry. Avoid drywall alone—it won’t hold the weight long-term.
Use a stud finder to locate studs in wooden walls. For brick or concrete, use masonry anchors or sleeve anchors. Always follow the mount manufacturer’s weight and bolt specifications.
Pro tip: If your patio wall is thin or made of lightweight material (like vinyl siding), consider reinforcing it with a backing plate or mounting to a freestanding post.
Consider Ceiling or Post Mounts
If wall mounting isn’t feasible, ceiling mounts (for covered patios with beams) or freestanding pole mounts offer alternatives. These are especially useful for open decks or areas with limited wall space.
Ensure the post is anchored securely into concrete or a heavy base to prevent tipping.
Step 4: Plan and Run Cables Safely
Exposed wires are a tripping hazard and vulnerable to weather damage. Proper cable management keeps your setup clean and safe.
Use Outdoor-Rated Cables
Standard indoor HDMI and power cords aren’t built for moisture or UV exposure. Use cables labeled “outdoor,” “direct burial,” or “weather-resistant.” Look for features like:
– UV-resistant jackets
– Waterproof connectors
– Shielded wiring to prevent interference
For long runs (over 25 feet), consider fiber optic HDMI cables—they maintain signal quality without degradation.
Route Cables Through Walls or Conduit
The cleanest method is running cables inside walls. Drill a small hole from the indoor side, feed the cables through, and seal the opening with silicone caulk to prevent water intrusion.
If in-wall routing isn’t possible, use surface-mounted conduit. PVC or metal raceways protect cables and give a professional look. Paint them to match your wall color for a seamless appearance.
For ground-level runs (e.g., from a nearby outlet to the TV), bury cables in flexible conduit at least 6 inches deep. Use warning tape above the conduit to alert future diggers.
Install a Weatherproof Junction Box
If you need to splice or connect cables outdoors, use a NEMA-rated junction box. Seal all entry points with waterproof grommets and silicone. Never leave connections exposed.
Power Considerations
Outdoor TVs typically draw 100–300 watts. Ensure your circuit can handle the load, especially if you’re also powering speakers, lights, or a soundbar.
Use a surge protector designed for outdoor use. Power surges from lightning or grid fluctuations can fry electronics—even with a weatherproof TV.
Step 5: Install the TV and Mount
Now it’s time to put everything together. Take your time—rushing can lead to mistakes or unsafe installations.
Mount the Bracket First
Attach the wall plate of the mount to the wall using a level to ensure it’s straight. Drill pilot holes, insert anchors if needed, and tighten bolts securely. Double-check that the mount is level and can support the TV’s weight.
Attach the TV to the Mount
Most outdoor TVs come with VESA mounting patterns (e.g., 200×200, 400×400). Match these to your mount’s arms. Use the provided screws and a torque wrench (if available) to avoid over-tightening.
Have a helper hold the TV while you secure it to the mount. Outdoor TVs are heavy—don’t try to do this alone.
Connect Cables Before Finalizing
Plug in power, HDMI, and any other cables (like Ethernet or audio). Route them through the mount’s cable management system to keep them tidy and protected.
Test the TV immediately. Turn it on, check the picture, and verify that all inputs work. Adjust the tilt or swivel if needed.
Secure and Seal All Connections
Once everything works, use zip ties or cable clips to bundle wires. Apply silicone sealant around wall penetrations and cable entry points to block moisture.
If using an outdoor enclosure, ensure the door seals tightly and vents (if any) are filtered to prevent dust and water ingress.
Step 6: Add Audio and Streaming Devices
Great picture needs great sound. While some outdoor TVs have decent built-in speakers, they often lack depth and volume for large spaces.
Wireless Outdoor Speakers
Bluetooth or Wi-Fi speakers (like Sonos Move or Bose SoundLink) offer easy setup and rich audio. Place them on side tables or mount them to walls or posts.
For a more permanent solution, install wired outdoor speakers. Run speaker wire through conduit and connect to an outdoor-rated amplifier.
Streaming Devices and Antennas
Even smart TVs benefit from dedicated streaming sticks (like Roku Ultra or Amazon Fire Stick 4K). They offer faster performance and more app options.
If you prefer live TV, install an outdoor HD antenna on a nearby roof or pole. Use a signal amplifier if your patio is far from broadcast towers.
Hide Equipment Neatly
Use a weatherproof media cabinet or mount a small shelf near the TV to house your cable box, streaming device, or router. Keep it ventilated and accessible for updates.
Troubleshooting Common Issues
Even with careful planning, problems can arise. Here’s how to fix the most common ones.
TV Won’t Turn On
Check the power source first. Is the outlet working? Test it with another device. If using an extension cord, ensure it’s outdoor-rated and fully plugged in.
If the TV has a remote, replace the batteries. Some outdoor TVs also have physical power buttons—press them to rule out remote issues.
Poor Picture Quality or Signal Loss
Weak HDMI signals often result from long cable runs or low-quality cables. Swap in a higher-grade HDMI cable or use an HDMI extender.
For antenna or streaming issues, check your internet speed. Outdoor Wi-Fi can be spotty—consider a mesh network or outdoor access point.
Overheating or Fogging
If the TV feels hot or the screen fogs up, it may be overheating. Ensure vents aren’t blocked and the TV isn’t in direct sun. All-weather TVs have internal fans—listen for unusual noises.
Fogging inside the screen indicates a seal failure. Contact the manufacturer—this usually voids the warranty if it’s an indoor TV in an enclosure.
Mount Feels Loose or Wobbles
Tighten all bolts and check wall anchors. If the wall is soft or crumbling, reinforce it or relocate the mount.
For windy areas, consider adding a stabilizing brace or choosing a lower-profile fixed mount.
Maintenance Tips for Long-Term Performance
Your outdoor TV isn’t “set it and forget it.” Regular upkeep ensures it lasts for years.
Clean the Screen Monthly
Use a microfiber cloth and a mild cleaner (like diluted isopropyl alcohol). Avoid ammonia-based products—they can damage anti-reflective coatings.
Inspect Seals and Cables Seasonally
Before spring and summer, check for cracks in seals, frayed cables, or loose connections. Reapply silicone if needed.
Cover During Extreme Weather
While outdoor TVs are built to handle rain and snow, prolonged exposure to hurricanes, hail, or salt air (near oceans) can cause wear. Use a fitted outdoor TV cover during storms or off-seasons.
Update Software Regularly
Check for firmware updates through the TV’s settings menu. Updates often improve performance, fix bugs, and enhance security.
Conclusion
Installing an outdoor television for a large patio is a rewarding project that elevates your outdoor living experience. By choosing the right TV, mounting it securely, running cables safely, and protecting against the elements, you create a durable, high-performance entertainment system.
Remember: safety and preparation are key. Don’t cut corners on weatherproofing or electrical work. When in doubt, consult a professional.
With your new outdoor TV, you’ll enjoy movie nights, sports events, and casual viewing under the open sky—rain or shine. Your patio isn’t just a space anymore. It’s your personal outdoor theater.

