
Transform your deck into the ultimate outdoor sports viewing zone by installing a weatherproof TV. This guide walks you through selecting the right TV, choosing a secure mount, running cables safely, and optimizing your setup for sunny or rainy game days—so you never miss a touchdown, home run, or buzzer-beater.
Key Takeaways
- Choose an outdoor-rated TV: Standard indoor TVs aren’t built for sun, rain, or temperature swings—invest in a weatherproof model designed for decks and patios.
- Use a sturdy, weather-resistant mount: A full-motion or tilt mount gives you flexibility, but it must be rated for outdoor use and capable of supporting your TV’s weight.
- Plan your cable routing carefully: Use waterproof conduit or in-wall solutions to protect HDMI, power, and antenna cables from moisture and UV damage.
- Position for optimal viewing and glare control: Angle the TV to avoid direct sunlight and ensure comfortable sightlines from seating areas.
- Secure power with GFCI outlets: Outdoor electrical work requires ground-fault circuit interrupter protection to prevent shocks and meet safety codes.
- Add smart accessories: Wireless speakers, streaming devices, and voice remotes enhance the experience without cluttering your deck.
- Test before game day: Run a full system check—picture, sound, signal strength—to avoid last-minute surprises.
How to Install Deck TV for Outdoor Sports Watching
Imagine this: it’s game day. The sun is shining, the grill is fired up, and your friends are gathered around your deck—cheering, laughing, and watching the big match on a crystal-clear outdoor TV. No more squinting at a tablet or crowding around a laptop. With a properly installed deck TV, you’ve turned your backyard into a premium sports-watching destination.
But setting up an outdoor TV isn’t as simple as dragging your living room set outside. Decks face harsh conditions—direct sunlight, rain, humidity, and temperature extremes—that can ruin standard electronics in no time. That’s why a successful installation requires careful planning, the right gear, and smart techniques to protect your investment.
In this guide, you’ll learn exactly how to install a deck TV for outdoor sports watching. We’ll cover everything from choosing the perfect weatherproof TV and mounting it securely, to running cables safely and optimizing your setup for the best possible viewing experience. Whether you’re a DIY enthusiast or working with a contractor, these steps will help you create a durable, high-performance outdoor entertainment system that lasts for seasons of tailgates, playoffs, and championship games.
Let’s get started.
Step 1: Choose the Right Outdoor TV
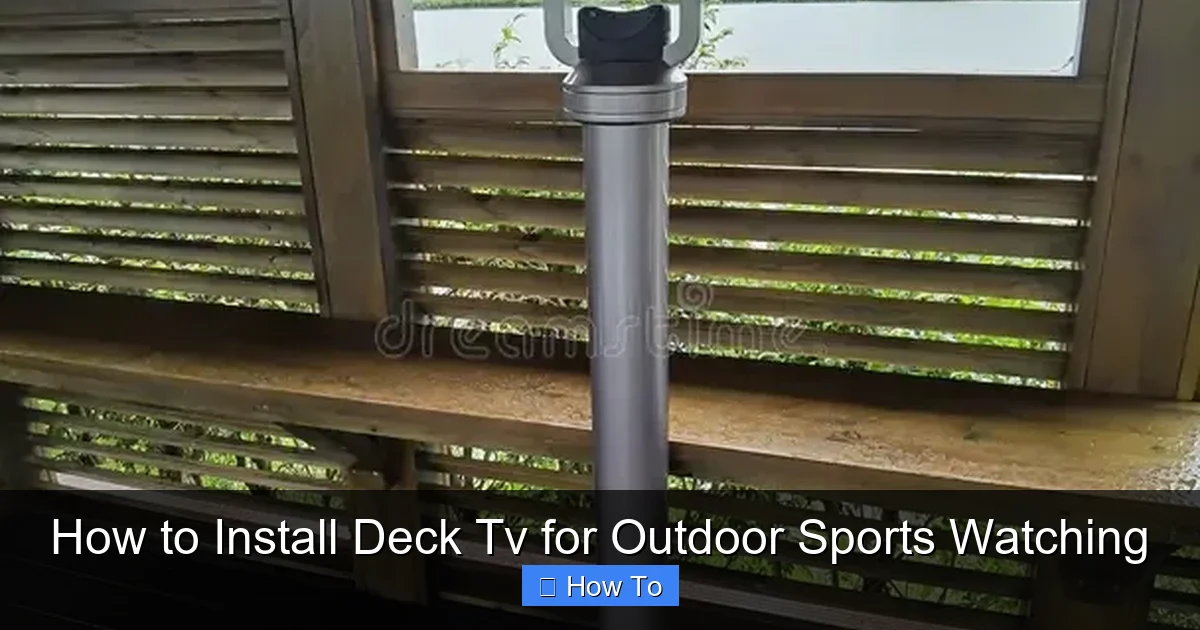
Visual guide about How to Install Deck Tv for Outdoor Sports Watching
Image source: thumbs.dreamstime.com
The foundation of any great outdoor TV setup is the TV itself. Not all TVs are created equal—especially when it comes to outdoor use. Indoor TVs may look great in your living room, but they’re not built to handle the elements. Sunlight can wash out the screen, humidity can damage internal components, and temperature swings can cause condensation or overheating.
That’s why your first step is selecting a TV specifically designed for outdoor use.
Look for Outdoor-Rated Models
Outdoor TVs are engineered with weatherproofing in mind. They feature sealed casings, corrosion-resistant materials, and enhanced cooling systems to handle heat buildup from direct sunlight. Brands like SunBriteTV, Samsung Terrace, and LG Outdoor are leaders in this space.
When shopping, look for terms like “all-weather,” “weatherproof,” or “outdoor-rated.” These TVs are tested to withstand rain, snow, dust, and extreme temperatures—typically ranging from -30°F to 120°F.
Consider Screen Brightness and Anti-Glare Technology
One of the biggest challenges with outdoor TVs is glare. Sunlight reflecting off the screen can make it nearly impossible to see the game. That’s why outdoor TVs come with high-brightness displays—often 2 to 3 times brighter than indoor models—and anti-reflective coatings.
Look for a TV with at least 700 nits of brightness (measured in candelas per square meter). Some premium models go up to 2,500 nits, which is ideal for bright, sunny decks.
Also, check for features like:
– Anti-glare screen coating
– Automatic brightness adjustment (based on ambient light)
– Wide viewing angles (so everyone gets a good view)
Choose the Right Size and Resolution
Size matters—but so does placement. A 55-inch TV might be perfect for a medium-sized deck, but if your seating is too close or too far, the experience suffers.
As a rule of thumb:
– For viewing distances of 6–8 feet: 50–55 inches
– For 8–10 feet: 60–65 inches
– For 10+ feet: 70+ inches
Resolution is also key. Go for at least 4K Ultra HD for sharp, detailed images—especially important when watching fast-paced sports like football or soccer.
Smart Features and Connectivity
Most outdoor TVs come with built-in smart platforms (like Roku, Android TV, or webOS), so you can stream games directly from apps like ESPN+, YouTube TV, or Hulu + Live TV. Make sure your model supports Wi-Fi and has enough HDMI ports for cable boxes, gaming consoles, or streaming sticks.
Pro tip: If your deck has limited Wi-Fi coverage, consider installing a weatherproof Wi-Fi extender or mesh node nearby to ensure strong, stable internet.
Step 2: Select and Install a Weatherproof TV Mount
Once you’ve got the right TV, it’s time to mount it. But don’t grab any old wall mount from the garage—outdoor mounts need to be tougher.
Choose an Outdoor-Rated Mount
Standard indoor mounts aren’t built for moisture, rust, or wind. You need a mount specifically designed for outdoor use. Look for:
– Powder-coated steel or aluminum (resists rust)
– Weatherproof seals and gaskets
– VESA compatibility (matches your TV’s mounting pattern)
– Weight capacity that exceeds your TV’s weight by at least 25%
Full-motion mounts (which allow you to tilt, swivel, and extend the TV) are great for decks because they let you adjust the angle based on sun position or seating layout. But they must be rated for outdoor use—don’t assume indoor mounts will work.
Find the Perfect Mounting Location
Where you mount the TV affects everything—viewing comfort, glare, and safety.
Avoid areas that get direct sunlight for long periods, especially in the afternoon. If possible, mount the TV under a covered area like a pergola, awning, or roof overhang. This not only reduces glare but also protects the TV and mount from rain.
Make sure the mounting surface is sturdy—ideally a solid wall or reinforced beam. Avoid thin siding or hollow structures that can’t support the weight.
Use a stud finder to locate wall studs or deck support beams. If you’re mounting on a post or column, ensure it’s securely anchored and can handle the load.
Install the Mount Securely
Follow the manufacturer’s instructions carefully. Here’s a general process:
1. Mark the mounting holes using a level to ensure the mount is straight.
2. Drill pilot holes into the wall or beam.
3. Use stainless steel lag bolts or concrete anchors (depending on the surface) to secure the mount.
4. Tighten all bolts with a torque wrench to avoid over-tightening and damaging the mount.
Safety tip: If you’re unsure about structural integrity or electrical wiring behind the wall, consult a professional contractor.
Attach the TV to the Mount
Most outdoor mounts use a hook-and-lock system. Have a helper assist you—TVs can be heavy and awkward to handle alone.
Lift the TV carefully, align it with the mount, and secure it according to the instructions. Double-check that all locking mechanisms are engaged.
Once mounted, test the movement (if it’s a full-motion mount) to ensure smooth operation and that the TV doesn’t wobble.
Step 3: Run and Protect Your Cables
Cables are the lifeline of your outdoor TV—but they’re also vulnerable to weather, pests, and wear. Proper cable management is essential for both performance and safety.
Plan Your Cable Route
Before drilling any holes, map out where your cables will run. You’ll typically need:
– Power cable (from TV to outlet)
– HDMI cables (from source devices like cable box or streaming stick)
– Antenna or coaxial cable (for over-the-air broadcasts)
– Ethernet cable (optional, for wired internet)
Keep cables as short as possible to reduce signal loss and clutter. Avoid running them across walkways or areas where they can be tripped over.
Use Waterproof Conduit or In-Wall Solutions
Never leave cables exposed. Rain, snow, and UV rays can degrade insulation and cause shorts.
The best options:
– **PVC conduit:** Bury or attach it along the deck frame. Use outdoor-rated, UV-resistant PVC pipe.
– **In-wall routing:** If your deck has a wall or soffit, run cables inside the structure for a clean, protected look.
– **Cable raceways:** Surface-mounted channels that hide and protect wires. Choose ones with weatherproof covers.
All entry points (where cables pass through walls or decks) should be sealed with silicone caulk or rubber grommets to prevent water intrusion.
Protect Power Connections
Outdoor electrical work must meet safety codes. Use a Ground Fault Circuit Interrupter (GFCI) outlet—this shuts off power instantly if it detects a fault, preventing shocks.
If you don’t already have a GFCI outlet near your deck, hire a licensed electrician to install one. Never use extension cords as a permanent solution—they’re not rated for outdoor use and can overheat.
For added protection, use a weatherproof outlet cover that closes over the plugs when not in use.
Label and Organize Cables
Use zip ties or Velcro straps to bundle cables neatly. Label each one (e.g., “HDMI 1 – Cable Box”) so you can easily identify them later.
Store source devices (like a streaming box or game console) in a weatherproof enclosure or indoor cabinet connected via long HDMI cables. This keeps electronics safe and reduces clutter on the deck.
Step 4: Optimize Viewing Angle and Reduce Glare
Even the best TV won’t help if you can’t see the screen. Glare and poor angles can ruin the experience—especially during day games.
Adjust the TV Angle
Use your mount’s tilt and swivel features to angle the screen away from direct sunlight. A slight downward tilt often helps reduce reflections from the ground or water.
If your deck faces west, afternoon sun can be brutal. Consider mounting the TV under an awning or using outdoor curtains to create shade.
Use Anti-Glare Accessories
Some outdoor TVs come with built-in glare reduction, but you can enhance it with:
– **Outdoor TV covers:** These snap on when not in use and often include anti-reflective coatings.
– **Sunshades or visors:** Attachments that extend above the screen to block overhead light.
– **Outdoor curtains or shades:** Install retractable shades on nearby walls or pergolas to control light.
Position Seating for Comfort
Arrange your deck furniture so everyone has a clear, unobstructed view. Avoid placing seats directly in front of windows or reflective surfaces.
Use a viewing angle calculator (available online) to determine the best seating distance based on your TV size.
Step 5: Connect and Configure Your System
Now that everything is mounted and wired, it’s time to power up and fine-tune.
Connect Your Devices
Plug in your cable box, streaming device, or antenna. Use high-quality HDMI cables rated for outdoor use (look for “outdoor” or “burial-rated” labels).
If using a streaming device, connect it to Wi-Fi or run an Ethernet cable for a more reliable connection.
Calibrate Picture and Sound
Outdoor lighting affects color and contrast. Use the TV’s picture settings to adjust:
– Brightness and contrast (boost for daylight)
– Color temperature (cooler for sunny days)
– Motion smoothing (reduce for sports to avoid blur)
For sound, consider adding weatherproof outdoor speakers or a soundbar. Built-in TV speakers often sound thin outdoors. Wireless Bluetooth speakers are convenient but may lag during live games—wired options offer better sync.
Test Signal Strength
If using an antenna, scan for channels and check signal quality. Reposition the antenna if needed for stronger reception.
For streaming, run a speed test to ensure your internet can handle 4K video (at least 25 Mbps recommended).
Troubleshooting Common Issues
Even with careful planning, problems can arise. Here’s how to fix the most common ones:
TV Won’t Turn On
– Check the GFCI outlet—press the “reset” button.
– Ensure all power connections are secure.
– Test the outlet with another device.
Poor Picture Quality or Glare
– Adjust the TV angle or add a sunshade.
– Clean the screen with a microfiber cloth.
– Increase brightness in the picture settings.
Weak Wi-Fi Signal
– Move your router closer or install a weatherproof extender.
– Use a wired Ethernet connection if possible.
Cables Get Wet or Damaged
– Inspect conduit seals and re-caulk if needed.
– Replace any frayed or cracked cables immediately.
Mount Feels Loose
– Tighten all bolts and check for wall damage.
– If the wall is compromised, reinforce it or relocate the mount.
Conclusion
Installing a deck TV for outdoor sports watching is a rewarding project that transforms your backyard into a game-day headquarters. By choosing a weatherproof TV, mounting it securely, protecting your cables, and optimizing for glare and sound, you create a setup that’s built to last—through summer heatwaves, spring showers, and every overtime thriller.
Remember, safety and durability come first. Don’t cut corners on outdoor-rated gear or electrical work. When in doubt, consult a professional.
With your new outdoor TV ready to go, you’re all set to host unforgettable watch parties. So fire up the grill, invite the crew, and enjoy the game—rain or shine.

