
Installing a deck TV for your pergola lets you enjoy movies, sports, and music outdoors in comfort. This guide walks you through choosing the right TV, mounting it securely, running cables safely, and protecting it from weather—so you can create the ultimate outdoor entertainment space.
Key Takeaways
- Choose an outdoor-rated TV: Standard indoor TVs aren’t built for weather exposure. Look for models labeled as “outdoor,” “weatherproof,” or “all-season” to ensure durability against rain, humidity, and temperature changes.
- Use a proper outdoor TV mount: Standard mounts may rust or fail outdoors. Invest in a rust-resistant, adjustable mount designed for outdoor use to support your TV securely on pergola beams or posts.
- Plan your cable routing early: Run power and signal cables through conduit or along protected paths to prevent tripping hazards and protect wires from moisture and UV damage.
- Ensure proper ventilation and shading: Even outdoor TVs can overheat. Install the TV in a shaded area and avoid enclosed spaces to allow airflow and extend the TV’s lifespan.
- Secure all connections and use surge protection: Outdoor electronics are vulnerable to power surges. Use weatherproof outlets, GFCI protection, and surge protectors to safeguard your setup.
- Test everything before finalizing: Power on the TV, check picture and sound quality, and verify remote control range before securing all components permanently.
- Maintain your outdoor TV regularly: Clean the screen and housing monthly, inspect seals and mounts, and cover the TV during harsh weather or off-seasons.
Introduction: Bring Entertainment Outdoors with a Deck TV for Your Pergola
Imagine relaxing under your pergola on a warm summer evening, watching the big game or your favorite movie on a crisp, clear screen—no need to go inside. That’s the magic of installing a deck TV for your pergola. Whether you’re hosting a backyard barbecue, enjoying a quiet night under the stars, or creating a cozy outdoor living room, an outdoor TV transforms your space into a true entertainment hub.
But installing a TV outdoors isn’t as simple as mounting one on an indoor wall. You’re dealing with weather, power, cable management, and structural support—all while ensuring safety and longevity. That’s why this guide exists. We’ll walk you through every step, from choosing the right TV to securing it safely and protecting it from the elements.
By the end of this guide, you’ll know exactly how to install a deck TV for your pergola, including what tools you need, how to route cables, and how to keep your setup running smoothly for years. Whether you’re a DIY enthusiast or hiring a pro, these tips will help you get it right the first time.
Step 1: Choose the Right Outdoor TV
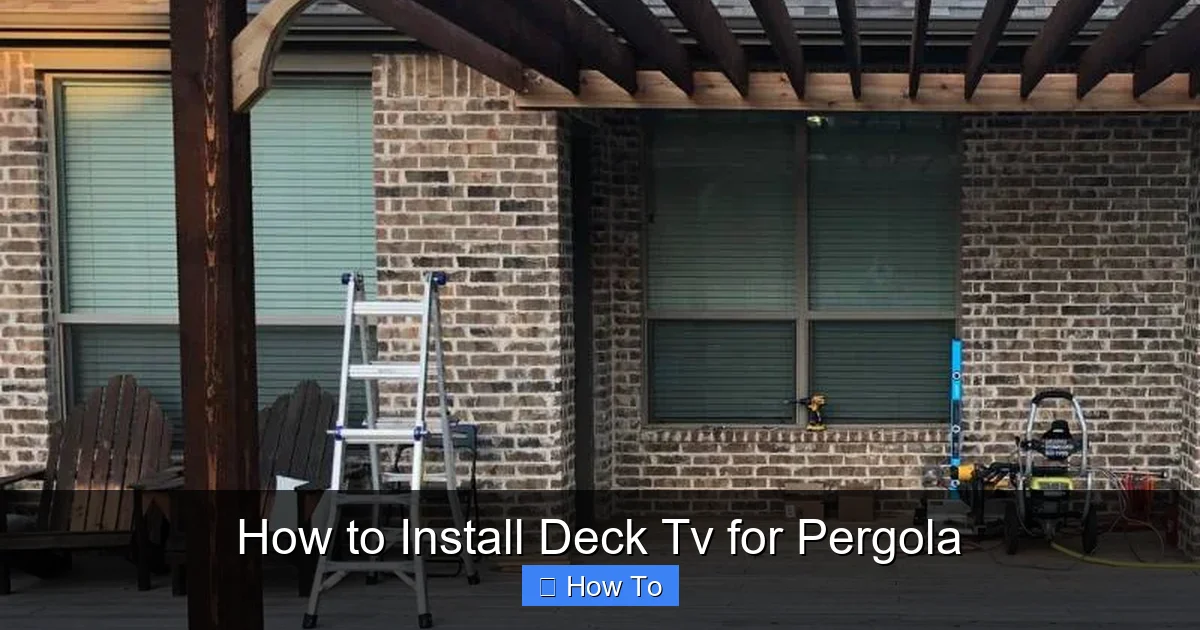
Visual guide about How to Install Deck Tv for Pergola
Image source: pergoladepot.com
Not all TVs are created equal—especially when it comes to outdoor use. A standard indoor TV might work for a covered patio, but for a pergola that’s exposed to sun, rain, or humidity, you need something built for the elements.
Look for Outdoor-Rated Models
Start by searching for TVs specifically labeled as “outdoor,” “weatherproof,” or “all-season.” These models are designed to handle temperature swings, moisture, and dust. Brands like SunBrite, Samsung Terrace, and LG Outdoor offer high-quality options with enhanced durability.
Outdoor TVs typically feature:
– Sealed enclosures to prevent water ingress
– Anti-glare screens for better visibility in sunlight
– Wide operating temperature ranges (often from -22°F to 122°F)
– UV-resistant casings to prevent fading and cracking
Consider Screen Size and Viewing Distance
Your pergola’s size and seating layout will determine the ideal screen size. A general rule: for every 1.5 feet of viewing distance, use 1 inch of screen size. So, if your seating is 10 feet away, a 70-inch TV is a great fit.
But don’t go too big—oversized screens can be hard to see clearly from close range and may overwhelm the space. Also, consider the TV’s brightness (measured in nits). Outdoor TVs should have at least 700 nits; some go up to 2,500 nits for direct sunlight.
Decide Between Full Sun, Partial Shade, or Full Shade Models
Outdoor TVs are often categorized by their ideal environment:
– Full Shade: Best for covered pergolas with no direct sunlight. These are the most affordable outdoor options.
– Partial Shade: Ideal for pergolas with some sun exposure. They offer better brightness and anti-glare features.
– Full Sun: Built for direct sunlight, these are the most expensive but deliver the best picture in bright conditions.
Most pergolas fall into the “partial shade” category, so a partial shade model is usually the best balance of performance and cost.
Check Connectivity and Smart Features
Make sure your TV has the ports you need—HDMI, USB, Ethernet, and audio outputs. If you plan to stream content, choose a smart TV with Wi-Fi and apps like Netflix, YouTube, or Apple TV.
Also, consider whether you want built-in speakers or plan to use external outdoor speakers. Many outdoor TVs have decent built-in audio, but for a richer experience, pairing with weatherproof speakers is recommended.
Step 2: Select the Right Mounting Hardware
Once you’ve picked your TV, it’s time to choose a mount. This is critical—your TV’s safety and performance depend on a sturdy, weather-resistant mounting system.
Choose an Outdoor TV Mount
Standard indoor mounts aren’t designed for outdoor conditions. They can rust, warp, or fail under wind and moisture. Instead, use a mount specifically rated for outdoor use.
Look for these features:
– Powder-coated or galvanized steel construction
– Rust-resistant hardware (stainless steel bolts and screws)
– Tilt and swivel options for optimal viewing angles
– Compatibility with your TV’s VESA pattern (the screw hole layout on the back)
Popular outdoor mount brands include Sanus, Peerless, and Vogel’s. Many offer full-motion mounts that let you adjust the TV’s angle—perfect for pergolas where seating may be on multiple sides.
Determine the Mounting Location
Your pergola’s structure will dictate where you can mount the TV. Most pergolas have vertical posts or horizontal beams. Here’s how to decide:
– Vertical Posts: Strongest option. Use lag bolts to secure the mount directly to a post. Make sure the post is sturdy and anchored properly.
– Horizontal Beams: Can work, but only if the beam is thick and well-supported. Avoid mounting on decorative or thin beams.
– Ceiling Mounts: If your pergola has a solid roof, you can suspend the TV from above. This keeps it out of the way and offers a clean look.
Avoid mounting on lattice, thin wood, or unsupported areas. The TV and mount can weigh 50–100 pounds, so structural integrity is key.
Check for Clearance and Viewing Angle
Mount the TV at a comfortable height—typically eye level when seated, around 42–54 inches from the ground. Also, ensure there’s enough space behind the TV for ventilation and cable access.
If your pergola has a slanted roof or overhang, angle the mount slightly downward to improve viewing and reduce glare.
Step 3: Plan Your Power and Cable Setup
Running power and cables outdoors requires careful planning to ensure safety and reliability.
Use a Dedicated Outdoor Circuit
Your TV, sound system, and any streaming devices will need power. It’s best to run a dedicated 15-amp circuit from your home’s electrical panel to the pergola. This prevents overloading existing circuits and ensures consistent power.
Install a GFCI Outlet
Outdoor outlets must be GFCI (Ground Fault Circuit Interrupter) protected to prevent electrical shock. Install a weatherproof GFCI outlet in a protected location—under the pergola roof or inside a sealed junction box.
Use an in-use cover (also called a “bubble cover”) to protect the outlet when plugs are inserted. This keeps rain and debris out.
Run Cables Through Conduit
Exposed cables are a tripping hazard and can degrade in sunlight and moisture. Run all power and signal cables (HDMI, Ethernet, etc.) through UV-resistant PVC or metal conduit.
Route the conduit along the pergola beams or under the deck, securing it with clips or straps. Avoid sharp bends that could damage cables.
For HDMI and Ethernet, use outdoor-rated cables with weatherproof connectors. These are thicker and more durable than indoor versions.
Use a Surge Protector
Outdoor electronics are vulnerable to power surges from lightning or grid fluctuations. Plug all devices into a high-quality outdoor surge protector with at least 2,000 joules of protection.
Consider a whole-house surge protector for added safety, especially if you live in a storm-prone area.
Step 4: Install the TV Mount
Now it’s time to mount the hardware. Take your time—this step affects everything that follows.
Mark and Drill Pilot Holes
Hold the mount bracket against the pergola post or beam where you want to install it. Use a level to ensure it’s straight, then mark the screw hole locations with a pencil.
Drill pilot holes slightly smaller than your lag bolts. This prevents the wood from splitting and makes insertion easier.
Secure the Mount with Lag Bolts
Use stainless steel lag bolts (at least 3/8-inch diameter) to attach the mount. Tighten them with a wrench or impact driver, but don’t over-tighten—this can strip the wood.
If mounting to a beam, use longer bolts that penetrate deep into the structure. For extra strength, consider using a backing plate on the opposite side of the beam.
Attach the Mounting Arms to the TV
Most mounts come with arms that attach to the back of the TV using the VESA screw pattern. Follow the manufacturer’s instructions to secure them tightly.
Use a torque screwdriver if available to avoid over-tightening and damaging the TV’s casing.
Hang the TV on the Mount
With a helper, carefully lift the TV and hook it onto the wall plate. Double-check that it’s secure and level. Test the tilt and swivel functions to ensure smooth movement.
Step 5: Connect and Test Your System
Before finalizing everything, test your setup to make sure it works.
Connect Power and Cables
Plug the TV into the GFCI outlet via the surge protector. Connect HDMI cables to your streaming device, cable box, or gaming console. If using Ethernet, plug in the outdoor-rated cable.
Power On and Check Picture Quality
Turn on the TV and verify the picture is clear and bright. Adjust the picture settings for outdoor viewing—increase brightness and contrast if needed.
Test the remote control from various seating positions to ensure full range.
Test Audio and Streaming
Play a video with sound to check audio quality. If using external speakers, test the connection and volume.
Open a streaming app and play content to confirm Wi-Fi or Ethernet connectivity.
Make Final Adjustments
Tilt or swivel the TV for the best viewing angle. Secure any loose cables with zip ties or cable clips.
Step 6: Protect Your TV from the Elements
Even with an outdoor-rated TV, extra protection helps it last longer.
Install a TV Cover or Enclosure
When not in use, cover the TV with a weatherproof cover. Some outdoor TVs come with built-in covers, or you can buy aftermarket options.
For added protection, consider a weatherproof TV enclosure. These sealed boxes allow you to use an indoor TV outdoors by shielding it from rain and dust.
Provide Shade and Ventilation
Avoid placing the TV in direct sunlight for long periods. Use pergola shade sails, retractable awnings, or outdoor curtains to reduce glare and heat.
Ensure the TV has space around it for airflow. Don’t mount it inside a sealed cabinet unless it’s specifically designed for outdoor use.
Perform Regular Maintenance
Clean the screen monthly with a microfiber cloth and mild cleaner. Inspect the mount, cables, and seals for signs of wear or corrosion.
During winter or extended periods of non-use, consider removing the TV and storing it indoors.
Troubleshooting Common Issues
Even with careful planning, problems can arise. Here’s how to fix the most common ones.
TV Won’t Turn On
Check the power outlet with another device. If it works, test the surge protector and cables. Ensure the TV’s power button isn’t stuck.
Poor Picture Quality in Sunlight
Increase brightness and contrast in the TV settings. If glare is severe, reposition the TV or add a shade.
Remote Control Not Working
Replace the batteries. Ensure there’s no obstruction between the remote and TV. Some outdoor TVs come with RF remotes that work through obstacles.
Cables Getting Wet or Damaged
Inspect conduit seals and replace any cracked covers. Use silicone sealant around entry points to prevent water ingress.
Mount Feels Loose
Tighten all bolts and check for wood rot or structural weakness. Reinforce with additional support if needed.
Conclusion: Enjoy Your Outdoor Entertainment Space
Installing a deck TV for your pergola is a rewarding project that enhances your outdoor lifestyle. With the right TV, mount, and setup, you can enjoy crystal-clear entertainment under the open sky—rain or shine.
Remember: safety and durability come first. Choose outdoor-rated equipment, protect your cables, and maintain your system regularly. Whether you’re watching the sunset with a movie or hosting a game night, your pergola TV will be the centerpiece of countless memorable moments.
Take your time, follow the steps, and don’t hesitate to consult a professional electrician or installer if you’re unsure about any part of the process. Your outdoor oasis awaits.

