
Hiding cables for a poolside TV on a large patio doesn’t have to be complicated. This guide walks you through practical, weather-resistant methods to conceal wires safely while maintaining a clean, professional look.
Key Takeaways
- Plan your cable route first: Map out the shortest, safest path from your TV to power and other devices to minimize exposure and tripping hazards.
- Use weatherproof cable management products: Choose outdoor-rated raceways, conduits, and clips designed to withstand sun, rain, and humidity.
- Bury cables underground when possible: For long runs across large patios, consider shallow trenching with PVC conduit for permanent, hidden protection.
- Secure cables along structural edges: Run wires along walls, railings, or under decking using adhesive clips or zip ties to keep them out of sight.
- Label and organize all connections: Use color-coded labels and cable sleeves to make future maintenance or upgrades easier.
- Prioritize safety and code compliance: Always follow local electrical codes and use GFCI outlets near water sources to prevent shocks.
- Test everything before finalizing: Ensure your TV, sound system, and streaming devices work properly after installation to avoid rework.
How to Hide Cables Poolside TV for Large Patio
Setting up a poolside TV on a large patio is a fantastic way to enjoy movies, sports, or music while lounging by the water. But nothing ruins the vibe faster than a tangled mess of cables snaking across your beautiful outdoor space. Exposed wires not only look messy—they’re also a tripping hazard and can get damaged by weather, pool chemicals, or foot traffic.
The good news? Hiding cables for your poolside TV is totally doable, even on a large patio. With the right tools, planning, and a little elbow grease, you can create a clean, safe, and stylish entertainment zone that blends seamlessly into your outdoor oasis. In this guide, we’ll walk you through step-by-step methods to conceal your TV cables, whether you’re mounting your screen on a wall, placing it on a stand, or integrating it into a full outdoor media system.
You’ll learn how to route cables safely, choose weatherproof materials, and use smart concealment techniques that work for expansive patios. We’ll also cover safety tips, common mistakes to avoid, and how to future-proof your setup for upgrades. By the end, your poolside TV will look sleek, professional, and completely wire-free—without compromising performance or safety.
Step 1: Plan Your Cable Route
Before you touch a single cable, take time to plan your setup. A well-thought-out route saves time, reduces clutter, and prevents costly mistakes. Start by identifying where your TV will go and where your power source, streaming device (like a Roku or Apple TV), sound system, and any other components will be located.
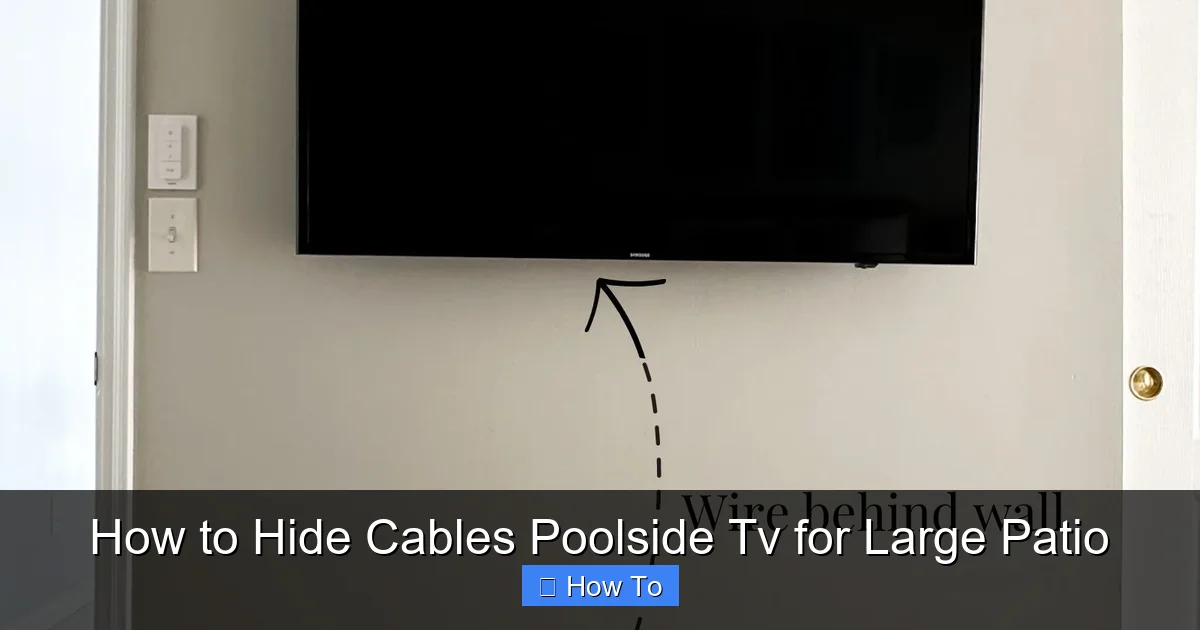
Visual guide about How to Hide Cables Poolside Tv for Large Patio
Image source: homebyalley.com
Map Out the Shortest Path
Measure the distance between your TV and each device. The shorter the cable run, the less material you’ll need and the fewer opportunities there are for damage. Avoid running cables across open walkways or high-traffic areas. Instead, aim to route them along walls, under furniture, or beneath decking.
Consider Obstacles and Hazards
Look for potential obstacles like garden beds, pool edges, or patio furniture. Also, note any areas exposed to direct sunlight, standing water, or chemical splashes from the pool. These factors will influence the type of cable protection you’ll need.
Check Local Building Codes
Some areas require permits for outdoor electrical work, especially near water. Always use GFCI (Ground Fault Circuit Interrupter) outlets within 6 feet of the pool, as mandated by the National Electrical Code. If you’re unsure, consult a licensed electrician.
Sketch a Simple Diagram
Draw a rough sketch of your patio layout. Mark the TV location, power source, and all cable paths. This visual guide will help you stay organized during installation and make it easier to explain your plan if you hire a professional.
Step 2: Choose the Right Weatherproof Cable Management Tools
Standard indoor cable organizers won’t cut it outdoors. Sun, rain, humidity, and temperature swings can degrade plastic and adhesive over time. You need products specifically designed for outdoor use.
Outdoor Cable Raceways
Cable raceways are plastic or metal channels that snap over wires to hide and protect them. Look for UV-resistant, waterproof raceways with a flat profile that blends into walls or trim. Brands like D-Line and Legrand offer stylish options that come in white, black, or paintable finishes.
PVC Conduit for Underground Runs
For long cable runs across your patio, PVC conduit is a durable, weatherproof solution. It’s ideal for burying cables under gravel, mulch, or shallow trenches. Use Schedule 40 PVC for above-ground protection and Schedule 80 for underground use. Always use conduit bodies at turns to make pulling wires easier.
Adhesive and Screw-On Cable Clips
Use outdoor-rated adhesive clips for smooth surfaces like tile or painted walls. For rough or uneven surfaces, opt for screw-on clips with rubber grommets to prevent chafing. Avoid cheap plastic clips—they crack in the sun.
Cable Sleeves and Loom
Flexible cable sleeves bundle multiple wires together and protect them from abrasion. Choose expandable braided sleeves made from PET (polyethylene terephthalate) for durability. They’re great for running behind furniture or along railings.
Waterproof Junction Boxes
If you need to splice wires or connect multiple devices, use a waterproof junction box with silicone gaskets. Mount it in a shaded, dry area away from direct water exposure.
Step 3: Mount Your TV and Prepare the Area
With your plan in place and tools ready, it’s time to install your TV. Proper mounting ensures stability and makes cable routing easier.
Choose the Right Mount
For poolside use, select a full-motion or tilt mount made from rust-resistant materials like powder-coated steel or aluminum. Ensure it’s rated for outdoor use and can support your TV’s weight and size.
Install the Mount Securely
Use a stud finder to locate wall studs or anchor into concrete with masonry screws. If mounting on a freestanding post or pillar, use heavy-duty lag bolts. Never mount a TV on drywall alone—outdoor vibrations and wind can loosen it over time.
Pre-Drill Cable Access Holes
Before attaching the TV, drill a small hole (about 1 inch) behind the mount for cables to pass through. Use a grommet to protect the wires from sharp edges. If your TV is on a stand, plan to route cables down the back legs or through a hollow base.
Clean and Dry the Surface
Wipe down the mounting area with a damp cloth and let it dry completely. This ensures adhesives and clips bond properly and prevents mold or corrosion.
Step 4: Run and Conceal the Cables
Now comes the fun part—hiding those cables! The method you choose depends on your patio layout, but here are the most effective techniques.
Route Cables Along Walls and Trim
Use adhesive cable clips or raceways to run wires vertically down the wall and horizontally along baseboards or crown molding. Paint the raceway to match your wall color for a nearly invisible finish. For stucco or brick, use screw-on clips with wall anchors.
Go Under the Deck or Patio Surface
If your patio has a raised deck or loose pavers, lift a few boards or stones to create a hidden channel. Run cables through PVC conduit and resecure the surface. This method works best for permanent setups.
Bury Cables in Shallow Trenches
For large patios with grass, gravel, or mulch, dig a shallow trench (6–8 inches deep) from your TV to the power source. Lay Schedule 80 PVC conduit in the trench, pull the cables through, and cover with soil or decorative stones. Add a warning tape 6 inches above the conduit to alert future diggers.
Use Furniture and Landscaping as Cover
Route cables behind outdoor sofas, planters, or hedges. Use zip ties to secure wires to the underside of furniture legs. Just make sure the cables aren’t pinched or exposed to moisture.
Install a Cable Drop from the Ceiling
If you have a pergola, gazebo, or covered patio, run cables down from the ceiling using a weatherproof conduit or decorative chain. This keeps wires off the ground and out of sight.
Step 5: Secure and Protect the Connections
Even the best cable route won’t last if connections are loose or exposed. Take extra care to protect junctions and power sources.
Use Weatherproof Outlets and Covers
Install an outdoor-rated GFCI outlet within reach of your TV. Use a flip-up or bubble cover to shield it from rain. If your outlet is far away, use an outdoor extension cord rated for wet locations—never use indoor cords outside.
Seal Cable Entry Points
Apply silicone sealant around holes where cables enter walls, conduit, or junction boxes. This prevents water, insects, and rodents from getting in.
Bundle and Label Cables
Group related cables (power, HDMI, audio) with Velcro straps or cable sleeves. Label each end with waterproof tags or colored tape. This makes troubleshooting and upgrades much easier.
Test All Connections
Before finalizing everything, plug in your TV and test the picture, sound, and streaming functions. Check for loose connections, signal loss, or interference. Fix any issues now to avoid digging up cables later.
Step 6: Maintain and Upgrade Your Setup
Your poolside TV setup should last for years with proper care. Regular maintenance keeps it looking great and functioning safely.
Inspect Cables Seasonally
Every few months, check for frayed wires, loose clips, or signs of water damage. Replace any damaged components immediately.
Clean Around the TV and Cables
Wipe down the TV screen and cable covers with a damp cloth. Avoid spraying water directly on electronics. Use a soft brush to remove dirt from conduit and raceways.
Plan for Future Upgrades
Leave extra slack in your cables and consider installing additional conduit for future devices like speakers, cameras, or smart lights. This saves time and money down the road.
Troubleshooting Common Issues
Even with careful planning, problems can arise. Here’s how to fix the most common cable issues.
Cables Keep Coming Loose
If clips or adhesives fail, the surface may be dirty, wet, or uneven. Clean the area with rubbing alcohol, let it dry, and reapply. For high-vibration areas, use screw-on clips instead of adhesive.
Signal Loss or Interference
Long HDMI runs can weaken the signal. Use an HDMI extender or fiber optic HDMI cable for distances over 25 feet. Keep power cables separate from audio/video wires to reduce interference.
Water in the Conduit
If you find moisture inside buried conduit, it may not be sloped correctly. Ensure a slight downward slope toward the outlet and use waterproof conduit fittings. Add a drain hole at the lowest point if needed.
TV Won’t Turn On
Check the GFCI outlet—it may have tripped due to moisture. Press the reset button. If it trips again, there’s likely a ground fault. Call an electrician.
Final Thoughts
Hiding cables for your poolside TV on a large patio is a smart investment in safety, style, and functionality. With the right planning, tools, and techniques, you can create a clean, professional-looking entertainment space that enhances your outdoor lifestyle. Whether you’re using raceways, conduit, or clever landscaping tricks, the key is to protect your wires from the elements and keep them out of sight.
Remember: always prioritize safety, follow local codes, and test your setup thoroughly. A little effort now pays off with years of hassle-free enjoyment. So grab your tools, follow this guide, and get ready to kick back by the pool with your favorite show—no cables in sight.

