
Hiding cables for a deck TV on your balcony or patio doesn’t have to be complicated. With the right tools and techniques, you can create a clean, safe, and weather-resistant setup that protects your electronics and enhances your outdoor living space.
Key Takeaways
- Plan your cable route first: Map out the shortest, safest path from your TV to power and other devices before drilling or installing anything.
- Use weatherproof cable management products: Choose outdoor-rated raceways, conduits, and clips designed to withstand sun, rain, and temperature changes.
- Secure cables along railings or walls: Attach cables neatly using UV-resistant zip ties, adhesive clips, or flexible raceways that blend with your deck’s color.
- Protect connections with outdoor enclosures: Use waterproof junction boxes or surge protectors to keep plugs and adapters safe from moisture.
- Test everything before finalizing: Power on your TV and devices to ensure signal and power are stable after installation.
- Maintain accessibility for future repairs: Avoid permanently sealing cables; leave room to unplug or replace components easily.
- Prioritize safety and local codes: Ensure your setup meets electrical safety standards and doesn’t create tripping hazards.
How to Hide Cables for Deck TV on Balcony or Patio
If you’ve mounted a TV on your balcony or patio, you’ve probably already enjoyed movie nights under the stars or catching the big game while grilling. But let’s be honest—those dangling power cords, HDMI cables, and audio wires can quickly turn your peaceful outdoor oasis into a tangled mess. Not only do exposed cables look messy, but they also pose safety risks and can get damaged by weather, pests, or foot traffic.
The good news? Hiding cables for your deck TV is easier than you think—and totally doable with a few smart tools and techniques. Whether you’re working with a small balcony or a spacious patio, this step-by-step guide will show you how to organize, conceal, and protect your cables so your outdoor entertainment setup looks sleek, stays safe, and lasts for years.
In this guide, you’ll learn:
– How to plan your cable route for maximum efficiency and minimal visibility
– The best weatherproof cable management products for outdoor use
– Step-by-step methods to hide cables along railings, walls, or under decking
– Tips for protecting power connections and signal integrity
– How to maintain your setup for long-term durability
Let’s get started!
Step 1: Assess Your Setup and Plan the Cable Route
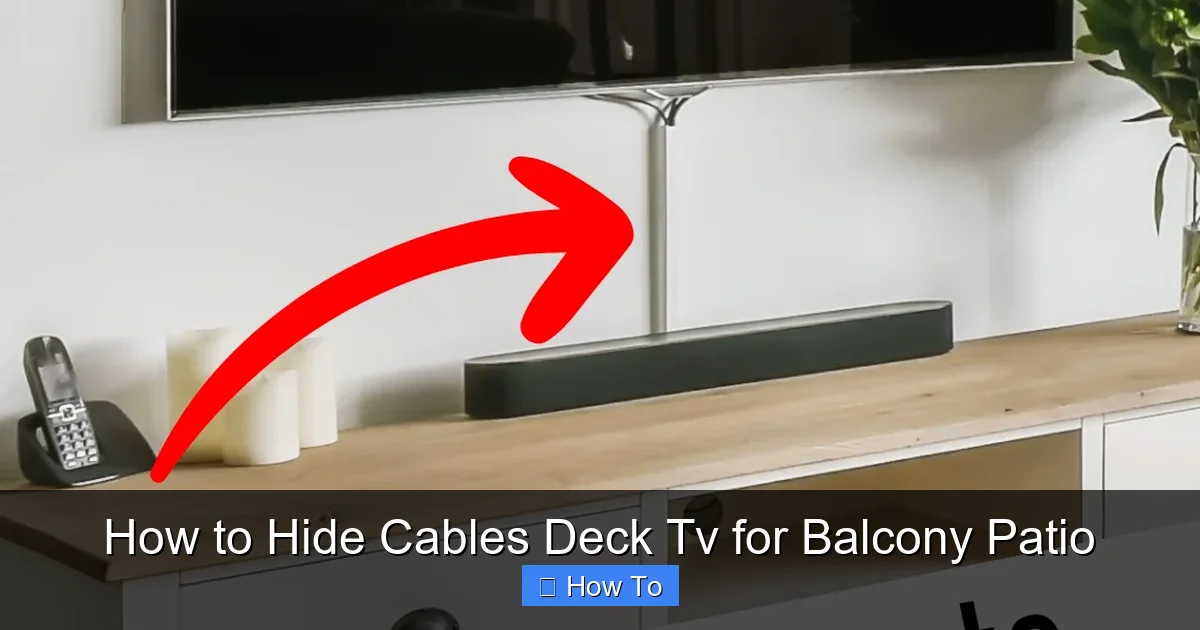
Visual guide about How to Hide Cables Deck Tv for Balcony Patio
Image source: i.pinimg.com
Before you buy a single clip or drill a hole, take a few minutes to evaluate your space. A little planning now saves time, money, and frustration later.
Identify All Connected Devices
Make a list of everything that needs to be powered or connected to your TV. Common items include:
– Streaming devices (Roku, Apple TV, Fire Stick)
– Soundbars or outdoor speakers
– Gaming consoles
– Cable boxes or satellite receivers
– Power strips or surge protectors
Each of these devices will need at least one cable (power, HDMI, optical, etc.), so count them all. This helps you estimate how much cable management you’ll need.
Determine the Power Source Location
Find the nearest outdoor electrical outlet. If you don’t have one, you may need to consult an electrician to install a GFCI (Ground Fault Circuit Interrupter) outlet—this is essential for safety in damp environments like patios and balconies.
Pro Tip: Never use indoor extension cords outside. They’re not rated for moisture or UV exposure and can become brittle or dangerous over time.
Map the Shortest, Safest Path
Trace the route from your TV to the power source and any other devices. Look for:
– Existing gaps in railings or walls
– Areas behind furniture or planters
– Spaces under deck boards (if accessible)
– Along the edge of the balcony or patio
Avoid crossing high-traffic areas where people walk. If cables must cross a walkway, consider using a cable ramp or covering them with a flat, adhesive raceway.
Measure Cable Lengths
Use a tape measure to determine how long each cable needs to be. Add a few extra inches for flexibility—this helps prevent tension on connectors. If your current cables are too short, replace them with outdoor-rated extensions.
Step 2: Choose the Right Weatherproof Cable Management Products
Not all cable organizers are created equal—especially when it comes to outdoor use. Sun, rain, wind, and temperature swings can degrade cheap plastic or adhesive products quickly. Invest in high-quality, weather-resistant solutions designed for exterior environments.
Outdoor Cable Raceways
These are plastic or metal channels that snap or screw into place along walls, railings, or under decks. They hide multiple cables in a clean, streamlined housing.
Best for: Running cables vertically or horizontally along flat surfaces.
Look for:
– UV-resistant materials (like PVC or aluminum)
– Waterproof seals or gaskets
– Paintable finishes to match your deck or wall color
– Easy-open lids for future access
Popular brands include Legrand, D-Line, and Wiremold. Many come with adhesive backing or mounting screws.
Flexible Conduit or Split Loom Tubing
This is a flexible, corrugated plastic tube that wraps around bundles of cables. It’s great for protecting wires from abrasion and moisture.
Best for: Running cables through tight spaces, under railings, or around corners.
Tip: Use zip ties to secure the conduit every 12–18 inches to prevent sagging.
Outdoor Cable Clips and Adhesive Mounts
These small clips hold individual cables in place. Choose ones with strong outdoor adhesive (like 3M VHB tape) or screw-mounted options for extra security.
Best for: Securing loose cables along railings, posts, or under tables.
Avoid cheap plastic clips—they crack in the sun. Opt for nylon or metal versions instead.
Weatherproof Junction Boxes
If you’re connecting multiple devices or using a power strip, a waterproof enclosure is a must. These boxes protect plugs, adapters, and surge protectors from rain and dust.
Look for:
– IP65 or higher rating (dust-tight and protected against water jets)
– Clear lid to see indicator lights
– Built-in cable glands or grommets for neat entry points
Mount the box under a table, behind a planter, or on a wall near the power source.
GFCI Outlets and Outdoor Surge Protectors
Safety first! Use a GFCI outlet to prevent electrical shock in wet conditions. Pair it with an outdoor-rated surge protector to guard your electronics from power surges.
Never daisy-chain power strips. This can overload the circuit and create a fire hazard.
Step 3: Install Cable Raceways or Conduit
Now it’s time to put your plan into action. Follow these steps to neatly route and hide your cables.
Clean and Prepare the Surface
Wipe down the area where you’ll install raceways or clips with rubbing alcohol or a mild cleaner. Remove dust, grease, or moisture so adhesives stick properly.
Mark the Installation Path
Use painter’s tape or a pencil to mark where the raceway or conduit will go. This helps you align it straight and avoid mistakes.
Cut the Raceways to Size (If Needed)
Most raceways can be cut with a hacksaw or utility knife. Measure twice, cut once! Use a file to smooth rough edges.
Attach the Raceways
– Adhesive-backed: Peel off the backing and press firmly along the marked path. Hold for 30 seconds to ensure a strong bond.
– Screw-mounted: Drill pilot holes first (especially on wood or concrete), then secure with stainless steel screws to prevent rust.
Pro Tip: For extra hold in windy areas, use both adhesive and screws.
Route the Cables
Open the raceway lid and lay in your cables. Group similar cables together (e.g., power separately from HDMI) to reduce interference. Avoid bending cables too tightly—this can damage internal wires.
Close the lid and snap or screw it shut.
Secure Loose Ends
Use cable clips or zip ties to anchor the start and end of the raceway. This prevents movement and keeps everything tidy.
Step 4: Hide Cables Along Railings or Under Decking
If your balcony has railings or your patio has open deck boards, you can use these features to your advantage.
Use Railing-Mounted Clips or Raceways
Many outdoor cable organizers are designed to clip onto balcony railings. These are great for running cables vertically from the TV down to the power source.
Example: The D-Line Outdoor Cable Cover clips onto round or square railings and hides up to 4 cables.
Run Cables Under the Deck (If Accessible)
If your deck has a crawl space or removable boards, you can route cables underneath. This keeps them completely out of sight.
Steps:
1. Remove a deck board near the TV and power source.
2. Feed the cables through using a fish tape or flexible rod.
3. Secure cables to joists with UV-resistant zip ties.
4. Replace the deck board.
Caution: Don’t drill into structural supports. Always check local building codes before modifying your deck.
Use Planters or Outdoor Furniture for Concealment
Place large planters, benches, or storage boxes near the cable route. They can hide raceways or junction boxes while adding style to your space.
Bonus: Use a decorative outdoor rug to cover any cables crossing the floor.
Step 5: Protect Power Connections and Devices
Even the best cable management won’t help if your connections get wet or overheat. Protect your gear with these smart strategies.
Use a Weatherproof Junction Box
Mount a waterproof box near the power source and plug all your devices into a surge protector inside it. Run cables through the built-in grommets for a clean look.
Tip: Label each cable with a tag or colored tape so you know what’s what during setup or troubleshooting.
Elevate the Junction Box
Don’t place the box directly on the ground. Mount it on a wall, post, or under a table to avoid puddles and debris.
Use Outdoor-Rated Extension Cords
If you need extra length, use a heavy-duty outdoor extension cord with a weather-resistant jacket. Look for “SJTW” or “SJTOW” ratings.
Never coil excess cable tightly. This can cause overheating. Instead, loosely loop it and secure with a Velcro strap.
Protect HDMI and Signal Cables
HDMI cables are sensitive to interference and moisture. Use shielded outdoor HDMI cables and avoid running them parallel to power cords. If they must cross, do so at a 90-degree angle to reduce interference.
Step 6: Test and Finalize the Setup
Before you call it a day, make sure everything works perfectly.
Power On and Check Connections
Turn on your TV and all connected devices. Verify that:
– The picture and sound are clear
– Streaming apps load without delay
– All remotes and controls function properly
Inspect for Loose Cables or Hazards
Walk around the area and look for:
– Cables that could trip someone
– Raceways that aren’t securely attached
– Signs of pinching or wear
Make Final Adjustments
Tighten any loose clips, re-route cables that are too tight, and add extra support where needed.
Document Your Setup
Take photos or make a simple diagram of your cable layout. This helps if you need to troubleshoot or move things later.
Troubleshooting Common Issues
Even with the best planning, problems can happen. Here’s how to fix the most common ones.
Cables Are Still Visible
Solution: Add more raceways or use paintable covers to blend with your deck color. Or, rearrange furniture to block the view.
Adhesive Clips Keep Falling Off
Solution: Switch to screw-mounted clips or use a stronger adhesive like epoxy or construction adhesive. Clean the surface thoroughly first.
Signal Loss or Interference
Solution: Check for damaged cables, loose connections, or power cords running too close to HDMI lines. Replace faulty cables and re-route if needed.
Water in the Junction Box
Solution: Ensure the box is properly sealed and elevated. Add silicone caulk around cable entry points if necessary.
Cables Get Tangled or Pulled
Solution: Use longer cables with slack, or add a cable management sleeve to keep bundles neat.
Maintenance Tips for Long-Term Success
Your outdoor cable setup will last longer with regular care.
Inspect Every Season
Check for:
– Cracked raceways or clips
– Frayed cables
– Loose connections
– Signs of pests (like chewed wires)
Clean Gently
Wipe down raceways and boxes with a damp cloth. Avoid harsh chemicals that can degrade plastic.
Trim Overgrown Plants
Vines and shrubs can snag cables or trap moisture. Keep vegetation trimmed back.
Replace Worn Components
If a clip breaks or a raceway yellows in the sun, replace it before it fails completely.
Conclusion
Hiding cables for your deck TV doesn’t have to be a headache. With a little planning and the right weatherproof tools, you can create a clean, safe, and stylish outdoor entertainment space that’s ready for year-round use.
Remember: The key is to prioritize safety, use outdoor-rated products, and keep your setup accessible for future maintenance. Whether you’re using raceways, conduit, or clever concealment with furniture, the result will be a balcony or patio that looks as good as it functions.
So grab your tools, map out your route, and say goodbye to cable clutter. Your perfect outdoor movie night is just a few clips away.

