
Installing a patio TV on your screened porch lets you enjoy outdoor entertainment in comfort. This guide walks you through choosing the right TV, mounting it safely, managing cables, and protecting it from the elements—so you can relax and watch your favorite shows under the stars.
Key Takeaways
- Choose an outdoor-rated or weather-resistant TV: Standard indoor TVs aren’t built for humidity, temperature swings, or dust—opt for a model designed for outdoor use.
- Use a proper outdoor TV mount: Look for mounts labeled “all-weather” or “outdoor-rated” with rust-proof hardware and secure locking features.
- Plan your cable management early: Run power, HDMI, and antenna cables through conduit or weatherproof raceways to prevent damage and tripping hazards.
- Ensure proper ventilation and airflow: Even outdoor TVs need breathing room—avoid enclosing them tightly in cabinets or behind glass without airflow.
- Protect against power surges: Use a weatherproof surge protector or connect to a GFCI outlet to safeguard your investment.
- Test everything before finalizing: Power up the TV, check signal strength, and verify remote functionality before sealing cables or closing access panels.
- Consider professional help if unsure: If wiring, structural mounting, or electrical work feels overwhelming, hire a licensed technician.
How to Install Patio TV for Screened Porch
Imagine sipping your morning coffee or hosting a backyard movie night while watching your favorite show—right from your screened porch. A patio TV turns your outdoor living space into a true entertainment zone. But installing one isn’t as simple as plopping an indoor TV on a stand and calling it a day. Screened porches offer partial protection from rain and bugs, but they’re still exposed to humidity, temperature changes, dust, and UV rays. That’s why proper installation is key to keeping your TV safe, functional, and looking great for years.
In this guide, we’ll walk you through every step of installing a patio TV on your screened porch—from choosing the right television and mount to running cables safely and protecting your setup from the elements. Whether you’re a DIY enthusiast or just want to understand what’s involved before calling a pro, you’ll finish this guide ready to enjoy outdoor viewing with confidence.
Step 1: Choose the Right TV for Your Screened Porch
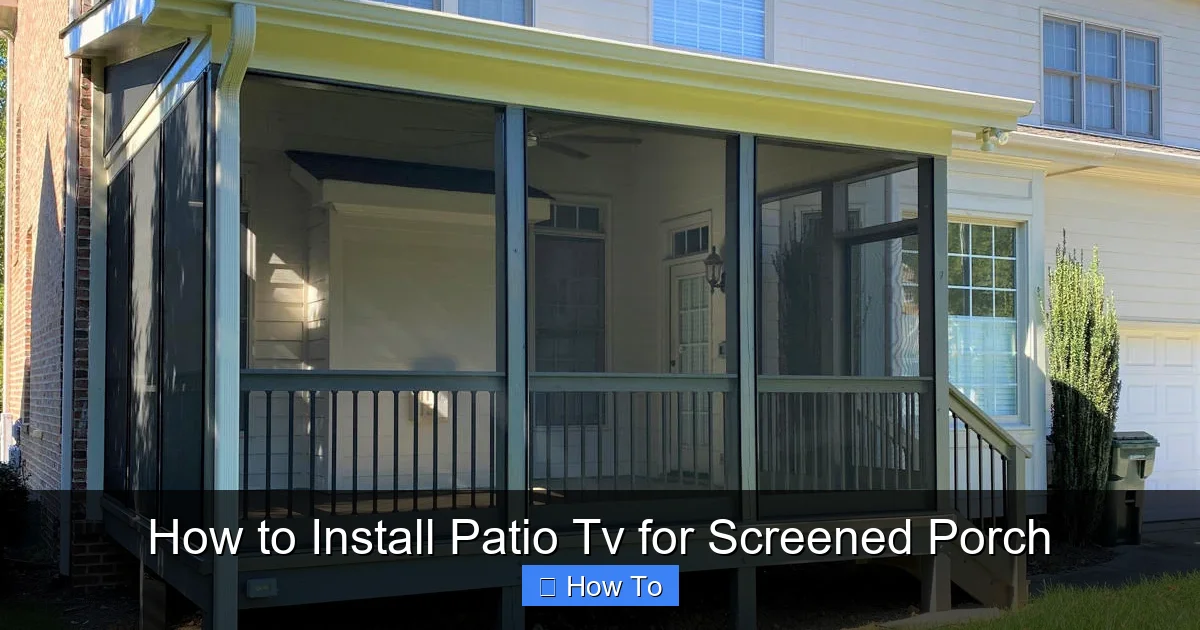
Visual guide about How to Install Patio Tv for Screened Porch
Image source: archadeck.com
Not all TVs are created equal—especially when it comes to outdoor use. While your screened porch offers more shelter than an open deck, it’s still considered a semi-outdoor environment. That means your TV needs to handle moisture, temperature fluctuations, and indirect sunlight.
Outdoor-Rated vs. Indoor TVs
Indoor TVs are designed for stable, climate-controlled environments. They lack protective coatings, sealed components, and ventilation systems needed for outdoor conditions. Using an indoor TV on a screened porch may void your warranty and drastically shorten its lifespan.
Instead, look for one of these options:
– **Outdoor-rated TVs**: Built specifically for outdoor use, these models feature weatherproof casings, anti-glare screens, and internal cooling/heating systems. Brands like SunBrite, Samsung Terrace, and LG Outdoor are popular choices.
– **Weather-resistant indoor TVs with outdoor enclosures**: If you already own a high-quality indoor TV, you can pair it with a weatherproof outdoor TV enclosure (like those from Peerless or Seura). These enclosures shield the TV from rain, dust, and extreme temps while allowing full functionality.
Pro Tip: Check the IP (Ingress Protection) rating. For screened porches, an IP55 or higher rating is ideal—it means protection against dust and low-pressure water jets.
Screen Size and Viewing Distance
Measure your seating area and determine the optimal screen size. A general rule: divide your viewing distance (in inches) by 1.5 to get the recommended screen diagonal. For example, if you’re sitting 8 feet (96 inches) away, a 65-inch TV (96 ÷ 1.5 ≈ 64) is perfect.
Also consider brightness. Outdoor TVs should have at least 700 nits of brightness—double that of typical indoor models—to combat glare from windows or ambient light.
Step 2: Select the Best Mounting Location
Where you mount your TV affects both viewing comfort and long-term durability.
Assess Structural Support
Most screened porches have walls made of wood, vinyl, or aluminum framing. You’ll need to anchor your mount securely into studs or solid backing—not just drywall or siding. Use a stud finder to locate studs, and avoid mounting over windows, doors, or areas prone to direct rain exposure.
Safety Note: If your porch has a vaulted ceiling or open rafters, consider ceiling mounting. Ensure the beam can support the TV’s weight (check manufacturer specs).
Optimize Viewing Angle
Mount the TV at eye level when seated—typically 42 to 48 inches from the floor to the center of the screen. Tilt mounts are helpful if your seating is slightly below the TV, but avoid extreme angles that strain the neck.
Avoid placing the TV directly opposite bright windows, which can cause glare. If unavoidable, choose a TV with an anti-reflective screen or install adjustable blinds.
Step 3: Choose and Install an Outdoor TV Mount
A sturdy, weatherproof mount is non-negotiable.
Types of Outdoor Mounts
– **Fixed mounts**: Hold the TV flat against the wall. Best for permanent setups with no need for adjustment.
– **Tilt mounts**: Allow slight downward tilting—great if the TV is mounted higher than eye level.
– **Full-motion (articulating) mounts**: Let you pull the TV away from the wall and swivel it. Ideal for flexible seating arrangements but require stronger anchoring.
Look for mounts labeled “outdoor-rated” or “all-weather.” They should include stainless steel or powder-coated hardware to resist rust.
Installation Steps
1. Turn off power to the area (if drilling near electrical outlets).
2. Hold the mount against the wall and use a level to ensure it’s straight.
3. Mark screw holes with a pencil.
4. Drill pilot holes into studs (use a drill bit slightly smaller than your lag screws).
5. Secure the mount with heavy-duty lag bolts (usually ¼” x 3” or larger).
6. Attach the mounting brackets to the TV using the provided screws.
7. Hang the TV on the mount and lock it in place (most outdoor mounts have safety locks).
Pro Tip: Use a helper to hold the TV during installation—TVs can be heavy and awkward to manage alone.
Step 4: Run and Protect Your Cables
Exposed cables are not only unsightly—they’re a tripping hazard and vulnerable to weather damage.
Plan Your Cable Route
Decide where your power source, streaming device (like a Roku or Apple TV), and antenna/cable input will be located. Ideally, keep all electronics in a dry, accessible spot—like a weatherproof media cabinet or indoor closet.
Run cables from the TV down the wall and into your chosen equipment location. Avoid sharp bends or pinching cables behind the mount.
Use Conduit or Cable Raceways
For a clean, protected setup:
– Use **flexible outdoor conduit** (like liquid-tight PVC) to encase power and HDMI cables.
– Secure conduit to the wall with outdoor-rated clips every 12–18 inches.
– Seal entry/exit points with silicone caulk to prevent moisture intrusion.
If running cables through walls, ensure you’re not drilling into electrical wires or plumbing. When in doubt, consult a professional.
Power Considerations
Plug your TV and accessories into a **GFCI (Ground Fault Circuit Interrupter) outlet**—these cut power instantly if they detect a fault, reducing shock risk outdoors. If your porch doesn’t have a GFCI outlet, hire an electrician to install one.
Always use a **weatherproof surge protector** rated for outdoor use. Indoor power strips can fail when exposed to humidity.
Step 5: Connect and Configure Your TV
Once mounted and powered, it’s time to set up your system.
Connect Your Devices
– Plug in your streaming stick, cable box, or gaming console.
– Connect via HDMI (use outdoor-rated HDMI cables if running long distances).
– For over-the-air channels, attach an outdoor antenna or use a digital indoor antenna placed near a window.
Test Signal and Sound
Turn on the TV and check picture quality. Adjust brightness and contrast settings for outdoor viewing. If using built-in speakers, test volume—outdoor acoustics can make sound seem quieter.
For better audio, consider weatherproof outdoor speakers or a soundbar designed for outdoor use.
Secure Remote Control Access
Most outdoor TVs come with IR (infrared) extenders or Bluetooth remotes that work through glass or screens. If your remote doesn’t reach, install an IR repeater system that relays signals from inside your home.
Step 6: Protect Your Investment
Even with a weather-resistant TV, extra precautions extend its life.
Use a TV Cover When Not in Use
A breathable, UV-resistant patio TV cover protects against dust, pollen, and bird droppings. Choose one with a soft interior lining to prevent scratches.
Schedule Regular Maintenance
Every few months:
– Wipe the screen with a microfiber cloth and mild cleaner (never ammonia-based products).
– Check mount bolts for tightness.
– Inspect cables and conduit for cracks or wear.
Monitor Weather Conditions
While screened porches offer protection, severe storms or freezing temperatures can still pose risks. If a hurricane or blizzard is forecast, consider covering the TV or unplugging it temporarily.
Troubleshooting Common Issues
TV Won’t Turn On
– Check the GFCI outlet—press the “Reset” button.
– Ensure all cables are securely connected.
– Test the power cord with another device.
Poor Picture Quality or No Signal
– Verify HDMI connections.
– Rescan for channels if using an antenna.
– Move the antenna closer to a window for better reception.
Remote Not Working
– Replace batteries.
– Ensure nothing is blocking the IR sensor.
– Pair Bluetooth remotes again if needed.
Condensation Inside the Screen
This is a red flag. Power off the TV immediately and let it dry in a warm, dry area. If it persists, the TV may not be truly outdoor-rated—contact the manufacturer.
Final Thoughts
Installing a patio TV on your screened porch is a rewarding upgrade that blends indoor comfort with outdoor living. By choosing the right TV, mounting it securely, managing cables professionally, and protecting it from the elements, you’ll create a space where family and friends can gather for game nights, movie marathons, or quiet evenings under the stars.
Remember: safety and preparation are key. Don’t rush the planning phase, and when in doubt, consult a professional. With the right setup, your patio TV will deliver years of enjoyment—rain or shine.

