
This guide walks you through how to install a patio TV for an outdoor kitchen, covering location planning, mounting, wiring, and weatherproofing. Whether you’re a DIY enthusiast or hiring a pro, you’ll get expert tips to enjoy entertainment under the stars.
Key Takeaways
- Choose a weatherproof outdoor TV: Standard indoor TVs aren’t built for sun, rain, or humidity—opt for models rated for outdoor use like SunBrite or Samsung Terrace.
- Plan your location carefully: Position the TV where it’s visible from seating areas, protected from direct sunlight and rain, and close to power and signal sources.
- Use proper mounting hardware: Invest in a full-motion or tilt outdoor TV mount that supports your TV’s size and weight and resists rust and corrosion.
- Run cables safely and securely: Use weatherproof conduit and cable covers to protect power, HDMI, and antenna lines from the elements.
- Ensure reliable power and signal: Hire an electrician for outdoor GFCI outlets and consider Wi-Fi extenders or wired connections for strong streaming.
- Test and maintain regularly: Check seals, connections, and screen clarity seasonally to keep your outdoor TV in top shape.
- Enhance with smart features: Add voice control, outdoor speakers, or a streaming device for a complete outdoor entertainment experience.
How to Install Patio TV for Outdoor Kitchen
Imagine sipping a cold drink, grilling your favorite meal, and catching the big game—all from the comfort of your outdoor kitchen. Adding a patio TV transforms your backyard into a full-fledged entertainment zone. But installing a TV outside isn’t as simple as mounting one indoors. You need to consider weather, power, signal strength, and safety.
In this complete guide, you’ll learn how to install a patio TV for an outdoor kitchen the right way. We’ll walk you through choosing the right TV, picking the perfect spot, mounting it securely, running cables safely, and setting up your audio and streaming systems. Whether you’re a weekend DIYer or planning to hire a professional, this guide will help you create a durable, high-quality outdoor viewing experience.
Let’s get started.
Step 1: Choose the Right Outdoor TV
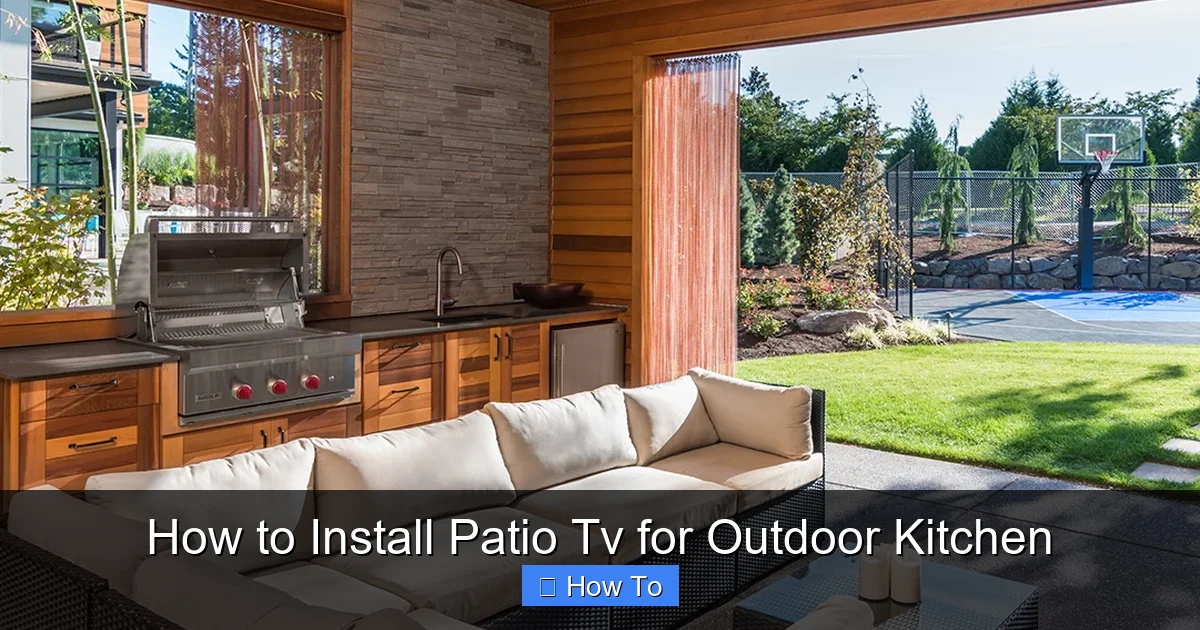
Visual guide about How to Install Patio Tv for Outdoor Kitchen
Image source: hightechlandscapes.com
Not all TVs are built for the great outdoors. Indoor models can overheat, suffer from glare, or get damaged by moisture. That’s why your first step is selecting a TV specifically designed for outdoor use.
Look for Weatherproof Ratings
Outdoor TVs come with IP (Ingress Protection) ratings that indicate their resistance to dust and water. For example, an IP55 rating means the TV can handle low-pressure water jets and dust—ideal for covered patios. If your outdoor kitchen is fully exposed, consider an IP65 or higher rating for better protection.
Popular brands like SunBriteTV, Samsung Terrace, and Seura offer models with built-in cooling and heating systems, anti-glare screens, and durable casings. These features help the TV perform well in temperatures ranging from -22°F to 122°F.
Consider Screen Size and Resolution
Choose a screen size that fits your space and viewing distance. For most outdoor kitchens, a 55-inch to 65-inch TV is ideal. If you’re sitting 8–10 feet away, a 55-inch 4K TV offers sharp, vibrant images without overwhelming the area.
4K resolution is recommended for outdoor use because it holds up better in bright conditions. Many outdoor TVs also come with high brightness levels (measured in nits)—look for at least 700 nits to combat sunlight glare.
Decide Between Partial and Full Outdoor Models
– Partial outdoor TVs: Best for covered patios with some protection from rain and direct sun. They’re more affordable but less durable.
– Full outdoor TVs: Built for all-weather conditions, including rain, snow, and extreme temperatures. Ideal for open-air kitchens.
If your outdoor kitchen has a roof or pergola, a partial outdoor TV may suffice. But for maximum longevity, go full outdoor.
Step 2: Plan the TV Location
Where you place your TV affects visibility, safety, and enjoyment. A poor location can lead to glare, awkward viewing angles, or even water damage.
Assess Your Outdoor Kitchen Layout
Walk around your space and identify the best viewing zones. Consider where people will sit—near the grill, at the bar, or on lounge chairs. The TV should be easily visible from these spots without requiring people to crane their necks.
Avoid placing the TV directly above the grill. Smoke, grease, and heat can damage the screen and internal components over time.
Protect from Sun and Rain
Even with a weatherproof TV, it’s smart to install it in a sheltered area. A covered patio, pergola with retractable canopy, or outdoor kitchen cabinet with a TV lift can provide extra protection.
If your TV will be exposed to direct sunlight, choose a model with a high-brightness screen and anti-reflective coating. For rain protection, ensure the TV is under an overhang or use a weatherproof cover when not in use.
Check for Obstructions
Make sure trees, walls, or furniture won’t block the view. Also, avoid placing the TV near reflective surfaces like glass tables or metal railings, which can cause glare.
Measure the Space
Use a tape measure to confirm the wall or mounting surface can support the TV and mount. Leave at least 6–12 inches of clearance on all sides for ventilation and cable access.
Step 3: Select the Right Mount
A sturdy, weather-resistant mount is essential for safety and performance. Don’t use an indoor mount—outdoor conditions demand specialized hardware.
Choose a Full-Motion or Tilt Mount
– Full-motion mounts: Allow you to swivel, tilt, and extend the TV. Great for adjusting the angle based on seating or sun position.
– Tilt mounts: Let you angle the screen up or down. Ideal if the TV is mounted high on a wall.
Both types are available in outdoor-rated versions. Look for mounts made from powder-coated aluminum or stainless steel to resist rust.
Check Weight and VESA Compatibility
Make sure the mount supports your TV’s weight and VESA pattern (the spacing of the screw holes on the back). Most outdoor mounts list compatible sizes—double-check before buying.
Consider a Ceiling or Post Mount
If wall mounting isn’t an option, consider a ceiling mount under a pergola or a freestanding post mount. These are especially useful for open patios or kitchens with limited wall space.
Step 4: Prepare for Installation
Before drilling any holes, gather your tools and plan the cable routing.
Gather Your Tools and Materials
You’ll need:
– Outdoor-rated TV and mount
– Drill and masonry bits (if mounting on brick or concrete)
– Level
– Tape measure
– Screwdrivers
– Weatherproof conduit or cable raceway
– Outdoor-rated extension cords or direct wiring
– GFCI outlet (if not already installed)
– Cable ties and clips
– Silicone sealant (for sealing holes)
Check Local Building Codes
Some areas require permits for outdoor electrical work. If you’re running new power lines or installing an outlet, consult your local building department. When in doubt, hire a licensed electrician.
Plan Cable Routes
Decide how you’ll run power, HDMI, and antenna cables. The goal is to keep them hidden, protected, and out of the way.
– Run cables through walls if possible.
– Use weatherproof conduit for exposed runs.
– Avoid sharp bends that can damage wires.
Step 5: Install the Mount
Now it’s time to secure the mount to the wall or structure.
Locate Studs or Use Anchors
Use a stud finder to locate wall studs. If mounting on wood, screw directly into the studs for maximum strength. For brick, concrete, or metal, use heavy-duty masonry anchors or toggle bolts.
Mark and Drill Holes
Hold the mount against the wall and use a level to ensure it’s straight. Mark the screw holes with a pencil. Drill pilot holes slightly smaller than the anchors to prevent cracking.
Secure the Mount
Insert anchors if needed, then screw the mount into place. Double-check that it’s level and tightly secured. Give it a gentle tug to test stability.
Seal the Holes
Apply a bead of outdoor silicone sealant around the screw holes to prevent water from seeping in. This small step can extend the life of your installation.
Step 6: Run Cables Safely
Protecting your cables is just as important as mounting the TV.
Use Weatherproof Conduit
For exposed cable runs, install a PVC or metal conduit from the TV to the power source and signal inputs. This shields wires from UV rays, rain, and pests.
Connect to a GFCI Outlet
Outdoor outlets must be GFCI (Ground Fault Circuit Interrupter) protected to prevent electrical shock. If your outdoor kitchen doesn’t have one, hire an electrician to install it.
Hide Cables in Walls or Raceways
If running cables through walls, use a fish tape to pull them through. For surface mounting, use a cable raceway that matches your wall color.
Label Your Cables
Use tape or labels to identify each cable (e.g., “HDMI 1,” “Power,” “Antenna”). This makes troubleshooting and future upgrades easier.
Step 7: Mount the TV
With the mount secure and cables in place, it’s time to attach the TV.
Attach Mounting Brackets to the TV
Most outdoor TVs come with VESA-compatible brackets. Screw them onto the back of the TV using the provided hardware. Make sure they’re tight and secure.
Lift and Hook the TV
With a helper, lift the TV and hook the brackets onto the wall mount. Listen for a click or feel for a secure fit. Double-check that the TV is level and doesn’t wobble.
Connect the Cables
Plug in the power cord, HDMI cables, and any other connections. Tuck excess cable behind the TV or into the conduit.
Secure Loose Cables
Use cable clips or ties to keep wires neat and prevent them from dangling or getting snagged.
Step 8: Set Up Power and Signal
Your TV needs reliable power and a strong signal to work properly.
Power Options
– Direct wiring: The safest and most permanent option. An electrician runs a dedicated line from your breaker panel to the outdoor outlet.
– Outdoor extension cord: Only use heavy-duty, outdoor-rated cords temporarily. Never run them under rugs or through doorways.
Signal Sources
– Wi-Fi: Most outdoor TVs support Wi-Fi, but signal strength can be weak. Use a Wi-Fi extender or mesh network to boost coverage.
– Ethernet: For the most reliable connection, run an outdoor-rated Ethernet cable from your router to the TV.
– Antenna: For live TV, install an outdoor antenna on the roof or near the TV. Use a signal amplifier if needed.
Streaming Devices
Even if your TV is smart, consider adding a streaming device like a Roku Ultra, Apple TV, or Amazon Fire Stick. These often have better apps and faster performance than built-in systems.
Mount the device behind the TV or in a nearby weatherproof enclosure.
Step 9: Test and Optimize
Before you kick back with a cold drink, test everything.
Power On and Check Picture
Turn on the TV and verify the picture is clear and bright. Adjust the picture settings for outdoor viewing—increase brightness and contrast if needed.
Test Audio
If using built-in speakers, check the volume. For better sound, connect outdoor speakers or a soundbar. Place speakers near seating areas for even coverage.
Check Signal Strength
Open a streaming app or live TV channel. If buffering occurs, boost your Wi-Fi or switch to Ethernet.
Adjust the Angle
Use the mount’s tilt or swivel feature to minimize glare and improve viewing angles. Test from different seating positions.
Step 10: Maintain Your Outdoor TV
Outdoor electronics need regular care to last.
Clean the Screen Monthly
Use a microfiber cloth and screen-safe cleaner. Avoid harsh chemicals or paper towels.
Inspect Seals and Cables
Check the TV’s seals, mount screws, and cable connections every few months. Look for cracks, rust, or loose wires.
Use a Cover When Not in Use
Even weatherproof TVs benefit from a cover during storms or off-seasons. Choose a breathable, UV-resistant cover.
Winterize if Needed
In cold climates, consider storing the TV indoors during winter or using a heated outdoor enclosure.
Troubleshooting Common Issues
TV Won’t Turn On
– Check the power source and GFCI outlet.
– Ensure the extension cord (if used) is rated for outdoor use.
– Test with another device to rule out outlet issues.
Poor Picture Quality
– Adjust brightness and contrast settings.
– Clean the screen to remove dust or water spots.
– Check for signal interference or weak Wi-Fi.
Overheating
– Ensure the TV has proper ventilation.
– Avoid direct sunlight during peak hours.
– Use a shaded mount or canopy.
Water Damage
– Inspect seals and mounting holes for leaks.
– Reapply silicone sealant if needed.
– Consider moving the TV to a more protected area.
Enhance Your Outdoor Entertainment
Once your TV is installed, take your setup to the next level.
Add Outdoor Speakers
Wireless or wired outdoor speakers create a surround-sound experience. Place them around the kitchen and seating area.
Install Smart Lighting
Use smart bulbs or LED strips to set the mood. Sync them with your TV for a cinematic feel.
Use Voice Control
Pair your TV with Alexa or Google Assistant for hands-free control. Say “Play the game” or “Turn off the TV” without lifting a finger.
Create a Media Center
Add a weatherproof cabinet to store your streaming device, cables, and remotes. Keep everything organized and protected.
Conclusion
Installing a patio TV for your outdoor kitchen is a rewarding project that enhances your outdoor living space. By choosing a weatherproof TV, planning the location carefully, using the right mount, and running cables safely, you’ll create a durable and enjoyable entertainment setup.
Remember to prioritize safety—especially with electrical work—and don’t hesitate to hire professionals when needed. With regular maintenance and smart upgrades, your outdoor TV will provide years of entertainment under the stars.
Now grab your tools, follow this guide, and get ready to enjoy movie nights, game days, and summer barbecues like never before.

