
Installing an outside TV for pergola setups enhances outdoor living with entertainment and style. This guide walks you through choosing the right TV, mounting it securely, running cables safely, and protecting it from the elements—so you can enjoy movies under the stars worry-free.
Key Takeaways
- Choose a weatherproof outdoor TV: Standard indoor TVs aren’t built for sun, rain, or temperature swings. Opt for a certified outdoor model with an IP rating for durability.
- Use a sturdy, adjustable mount: A full-motion or tilt mount allows you to angle the screen for the best viewing from different seating areas under the pergola.
- Plan cable routing early: Run power and HDMI cables through conduit or along beams to keep them safe from moisture and pests.
- Protect against sun and glare: Install the TV in a shaded spot or use an anti-glare screen cover to maintain picture quality on sunny days.
- Ensure proper ventilation: Even outdoor TVs need airflow. Avoid enclosing the unit in tight spaces to prevent overheating.
- Secure all connections: Use waterproof cable connectors and sealants to prevent corrosion and electrical issues.
- Test before finalizing: Power up and check audio, video, and signal strength before securing everything permanently.
How to Install Outside TV for Pergola
Imagine relaxing under your pergola on a warm summer evening, sipping lemonade while watching your favorite movie on a crisp, clear screen. With the right setup, this dream becomes reality. Installing an outside TV for pergola areas isn’t just about mounting a screen—it’s about creating a durable, safe, and enjoyable outdoor entertainment zone.
This comprehensive guide will walk you through every step, from selecting the perfect TV to securing cables and protecting your investment from the elements. Whether you’re a DIY enthusiast or hiring a professional, these tips ensure your outdoor TV lasts for years. You’ll learn how to choose the right equipment, plan the installation, and troubleshoot common issues—all while keeping safety and performance top of mind.
By the end, you’ll have a weather-resistant, high-quality viewing experience that turns your pergola into the ultimate backyard hangout.
Step 1: Choose the Right Outdoor TV
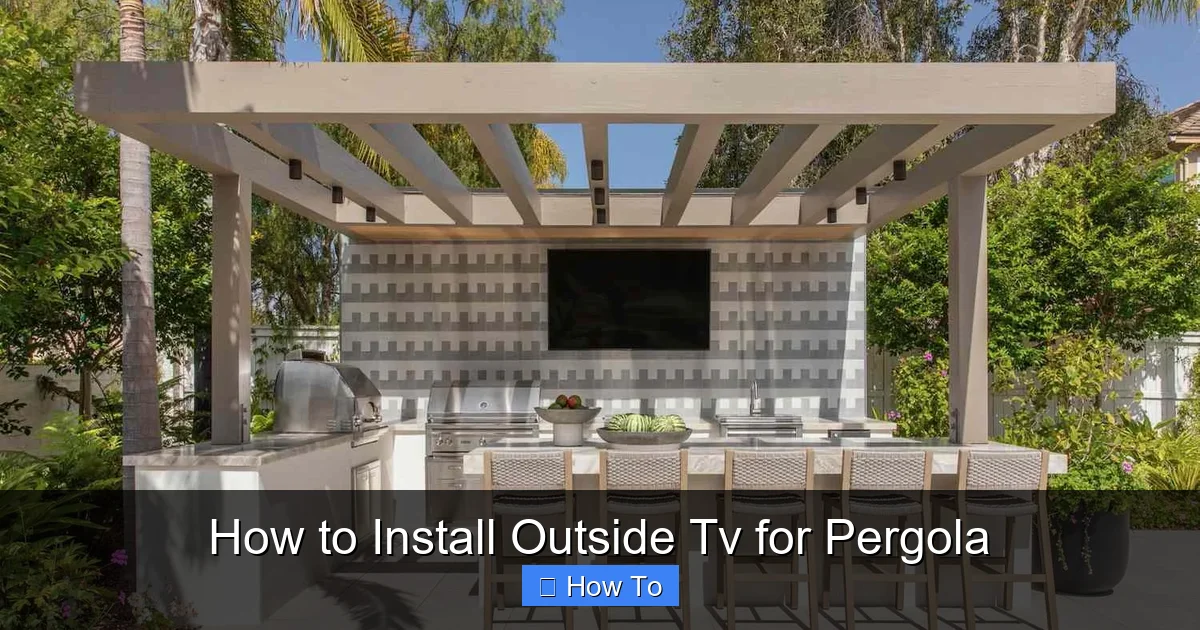
Visual guide about How to Install Outside Tv for Pergola
Image source: thespruce.com
Not all TVs are created equal—especially when it comes to outdoor use. Standard indoor TVs may short-circuit, fade, or overheat when exposed to humidity, rain, or direct sunlight. That’s why your first step is selecting a TV specifically designed for outdoor environments.
Look for Weatherproof Ratings
Outdoor TVs come with an Ingress Protection (IP) rating, which tells you how well they resist dust and water. For pergola installations, aim for at least IP54 or higher. This means the TV can handle splashes, light rain, and dust—perfect for covered outdoor spaces.
Some top brands offering outdoor models include Samsung’s Terrace series, SunBriteTV, and Seura. These TVs are built with sealed casings, rust-resistant materials, and enhanced cooling systems.
Consider Screen Size and Viewing Distance
Pergolas vary in size, so choose a screen that fits your space without overwhelming it. A good rule of thumb:
– For viewing distances of 6–8 feet, go with a 43–50 inch TV.
– For 8–10 feet, opt for 55–65 inches.
– For larger pergolas or group viewing, consider 70+ inches.
Also, think about seating layout. Will people be lounging on a sofa, sitting at a table, or standing? Adjust the TV size and placement accordingly.
Decide Between Partial and Full Outdoor TVs
There are two main types of outdoor TVs:
– Partial Outdoor (Covered Area) TVs: Designed for spaces with overhead protection, like pergolas. They resist moisture and temperature changes but aren’t meant for direct rain exposure.
– Full Outdoor (All-Weather) TVs: Built for open patios or decks. These are more expensive but offer maximum protection.
Since pergolas are typically covered, a partial outdoor TV is usually sufficient—unless your area gets heavy wind-driven rain.
Check for Smart Features and Connectivity
Most outdoor TVs come with built-in Wi-Fi, streaming apps (like Netflix, YouTube), and multiple HDMI ports. Make sure yours supports your preferred devices—whether it’s a Roku, Apple TV, or gaming console.
Also, verify audio options. Some outdoor TVs have weak built-in speakers. You may want to add weatherproof outdoor speakers or a soundbar for better sound.
Step 2: Select the Right Mounting Hardware
A secure mount is critical for safety and performance. A wobbly or poorly installed mount can damage your TV or cause it to fall.
Choose a Compatible Outdoor Mount
Look for a mount labeled “outdoor use” or “weather-resistant.” These are made from powder-coated steel or aluminum to resist rust and corrosion. Avoid cheap indoor mounts—they’ll degrade quickly outdoors.
Pick the Right Mount Type
There are three main types:
– Fixed Mount: Holds the TV flat against the wall. Great for permanent, straight-on viewing.
– Tilt Mount: Allows you to angle the screen up or down. Ideal if your pergola has high or low seating.
– Full-Motion (Articulating) Mount: Lets you swivel, tilt, and extend the TV. Perfect for flexible viewing from multiple angles.
For pergolas, a tilt or full-motion mount is often best, especially if you have varied seating arrangements.
Ensure Weight and VESA Compatibility
Check your TV’s weight and VESA pattern (the screw hole layout on the back). Your mount must support both. Most outdoor mounts list compatible TV sizes and weights—double-check before buying.
Consider a Ceiling or Post Mount
If your pergola has a solid roof or sturdy posts, you might mount the TV from above or on a side beam. Ceiling mounts free up wall space and offer a clean look. Just ensure the structure can handle the weight.
Step 3: Plan the Installation Location
Where you place the TV affects visibility, safety, and longevity. Take time to evaluate your pergola’s layout.
Avoid Direct Sunlight and Glare
Even with an outdoor TV, prolonged sun exposure can cause overheating and screen glare. Install the TV on a shaded side of the pergola—preferably facing north or east to minimize direct sun.
If shade isn’t possible, consider adding a retractable awning or outdoor curtains to block midday sun.
Ensure Clear Viewing Angles
Mount the TV at eye level when seated. For most people, this is about 42–48 inches from the floor to the center of the screen. Avoid placing it too high, which forces neck strain.
Use a full-motion mount to adjust the angle based on seating. For example, tilt the screen slightly downward if viewers are on a lower couch or bench.
Check for Obstructions
Make sure trees, beams, or decorations won’t block the view. Also, avoid placing the TV near grills, fire pits, or sprinklers—heat, smoke, and water can damage electronics.
Allow for Ventilation
Outdoor TVs still generate heat. Don’t enclose them in cabinets or tight spaces. Leave at least 2–3 inches of clearance on all sides for airflow.
Step 4: Prepare for Power and Signal
Running cables safely is one of the most important—and often overlooked—steps. Exposed wires are a tripping hazard and can degrade quickly outdoors.
Locate a Power Source
Your TV needs a dedicated outdoor electrical outlet. If you don’t have one near the pergola, hire a licensed electrician to install a GFCI (Ground Fault Circuit Interrupter) outlet. This protects against electrical shock in wet conditions.
Never use indoor extension cords outdoors. They’re not rated for moisture and can become brittle or dangerous.
Run Cables Through Conduit
Protect power and HDMI cables by running them through PVC or metal conduit. This shields them from rain, UV rays, and pests like squirrels or raccoons.
Route the conduit along beams, under decking, or through the ground (if permitted by local codes). Use waterproof cable glands where wires enter the TV or outlet.
Use Outdoor-Rated Cables
Standard HDMI cables aren’t built for outdoor use. Invest in outdoor-rated HDMI cables with UV-resistant jackets and corrosion-proof connectors. These last longer and maintain signal quality.
For long runs (over 25 feet), consider fiber optic HDMI cables, which resist interference and support 4K HDR.
Hide Cables for a Clean Look
Use cable raceways, zip ties, or paintable covers to blend wires into your pergola’s structure. This keeps the area tidy and reduces tripping risks.
Step 5: Install the Mount and TV
Now it’s time to mount your TV. Take your time—rushing can lead to mistakes.
Turn Off Power
Before drilling or connecting anything, turn off power at the breaker. Safety first!
Mark and Drill Mounting Holes
Hold the mount against the pergola beam or wall. Use a level to ensure it’s straight. Mark the screw holes with a pencil.
Drill pilot holes slightly smaller than your screws to prevent splitting wood. For concrete or brick, use a masonry bit and anchors.
Secure the Mount
Attach the mount using stainless steel lag bolts or structural screws. Tighten firmly, but don’t over-torque—this can strip the wood.
If mounting to a post, ensure it’s sturdy and not rotting. Reinforce with metal brackets if needed.
Attach the TV to the Mount
Most mounts come with brackets that attach to the TV’s VESA holes. Secure these first, then lift the TV and hook it onto the wall plate.
Have a helper assist—TVs can be heavy and awkward to handle alone.
Double-Check Stability
Gently tug the TV to ensure it’s secure. If it wobbles, tighten the bolts or adjust the mount.
Step 6: Connect and Test the System
With the TV mounted, it’s time to connect everything and test performance.
Connect Power and HDMI Cables
Plug the TV into the outdoor outlet. Connect your streaming device, cable box, or game console using outdoor-rated HDMI cables.
Use waterproof cable connectors or silicone sealant around entry points to prevent moisture ingress.
Power On and Configure
Turn on the TV and follow the setup wizard. Connect to Wi-Fi, log into streaming apps, and adjust picture settings.
Test Audio and Video
Play a high-quality video to check for clarity, color, and sound. If the image is blurry or the sound cuts out, check cable connections and signal strength.
Adjust Viewing Angle
Use the mount’s tilt or swivel features to fine-tune the screen position. Make sure it’s comfortable from all seating areas.
Step 7: Protect and Maintain Your Outdoor TV
Even the best outdoor TV needs care to last.
Use a Weatherproof Cover
When not in use, especially during storms or winter, cover the TV with a fitted outdoor TV cover. This adds an extra layer of protection against dust, pollen, and UV rays.
Clean Regularly
Wipe the screen and casing with a soft, dry cloth. For smudges, use a microfiber cloth lightly dampened with water—never spray liquid directly on the TV.
Inspect Cables and Connections
Every few months, check for frayed wires, loose connections, or corrosion. Replace damaged cables immediately.
Monitor for Overheating
If the TV feels hot to the touch or shuts off unexpectedly, it may be overheating. Ensure vents are clear and the area has proper airflow.
Troubleshooting Common Issues
Even with careful planning, problems can arise. Here’s how to fix the most common ones:
TV Won’t Turn On
– Check the power outlet with another device.
– Ensure the breaker hasn’t tripped.
– Verify the remote has batteries and is pointed at the sensor.
Poor Picture Quality or No Signal
– Re-seat HDMI cables at both ends.
– Test with a different cable or device.
– Check for interference from nearby electronics.
Screen Glare or Washed-Out Colors
– Adjust the TV’s brightness and contrast settings.
– Reposition the TV to avoid direct sunlight.
– Use an anti-glare screen protector.
Audio Issues
– Ensure volume isn’t muted or too low.
– Check audio output settings (HDMI, optical, etc.).
– Test with external speakers if built-in audio is weak.
Mount Feels Loose
– Tighten all bolts and screws.
– Add reinforcement brackets if the structure is weak.
– Consider relocating to a sturdier beam.
Conclusion
Installing an outside TV for pergola spaces transforms your backyard into a cozy, modern entertainment hub. By choosing a weatherproof TV, using the right mount, planning cable routes, and protecting against the elements, you create a setup that’s safe, functional, and built to last.
Remember: safety comes first—always consult a professional for electrical work. Take your time with each step, and don’t skip maintenance. With the right care, your outdoor TV will deliver stunning visuals and reliable performance for years of movie nights, game days, and relaxing evenings under the stars.
Now grab your popcorn, invite some friends, and enjoy your new outdoor oasis!

