
Installing an outside TV for your pool area lets you enjoy movies, sports, and music by the water. This guide walks you through choosing the right TV, mounting it safely, running cables, and protecting it from weather and glare.
Key Takeaways
- Choose a weatherproof outdoor TV: Standard indoor TVs can’t handle sun, rain, or humidity. Look for models rated for outdoor use with IP55 or higher protection.
- Pick the right location: Mount the TV under a covered area like a pergola or gazebo to reduce sun and rain exposure. Avoid direct sunlight to prevent glare and overheating.
- Use proper mounting hardware: Invest in a sturdy, rust-resistant outdoor TV mount that can tilt and swivel for the best viewing angle from the pool.
- Run cables safely and neatly: Use weatherproof conduit and cable covers to protect wires from moisture and UV damage. Bury cables underground when possible.
- Control glare and brightness: Install anti-glare screens or use TVs with high brightness (at least 700 nits) to see clearly in daylight.
- Secure power and signal sources: Use GFCI outlets and weatherproof enclosures for all electrical connections to prevent shocks and damage.
- Test and maintain regularly: Check seals, cables, and mounts every season to ensure everything stays safe and functional.
How to Install Outside TV for Pool Area
Imagine lounging by the pool, sipping a cold drink, and watching the big game or your favorite movie on a big screen—without stepping inside. Installing an outside TV for your pool area makes this dream a reality. Whether you’re hosting a summer party or enjoying a quiet evening under the stars, an outdoor TV adds comfort, entertainment, and value to your backyard oasis.
But setting up a TV outside isn’t as simple as plugging it in and mounting it on the wall. You need to consider weather, safety, visibility, and durability. This step-by-step guide will walk you through everything you need to know to install an outdoor TV safely and effectively. From choosing the right model to running cables and protecting against the elements, we’ve got you covered.
By the end of this guide, you’ll know exactly how to install an outside TV for your pool area—so you can enjoy crystal-clear viewing all season long.
Step 1: Choose the Right Outdoor TV
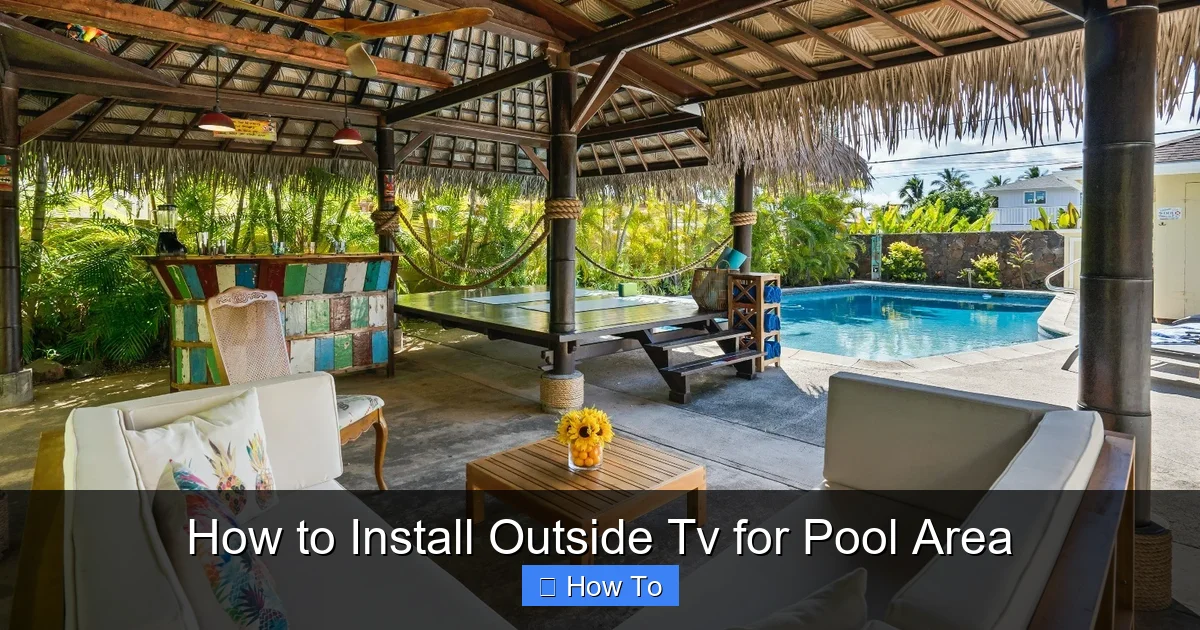
Visual guide about How to Install Outside Tv for Pool Area
Image source: housedigest.com
Not all TVs are built for the great outdoors. Indoor TVs aren’t designed to handle heat, humidity, rain, or dust. Using one outside can lead to overheating, electrical failure, or even fire hazards. That’s why your first step is selecting a TV specifically made for outdoor use.
Look for Weatherproof Ratings
Outdoor TVs come with an IP (Ingress Protection) rating that tells you how well they resist dust and water. For pool areas, aim for a rating of IP55 or higher. This means the TV can handle low-pressure water jets and dust protection—perfect for splashes and humid environments.
Some top brands in outdoor TVs include:
– Samsung Terrace
– SunBriteTV
– Seura
– LG Outdoor
These models are built with sealed casings, corrosion-resistant materials, and internal cooling systems to prevent overheating.
Consider Screen Brightness and Anti-Glare Features
Sunlight can wash out your picture, making it hard to see during the day. Look for a TV with a brightness of at least 700 nits—many outdoor models go up to 2,500 nits. Higher brightness ensures a clear, vibrant image even in direct sunlight.
Also, choose a TV with an anti-reflective screen coating. This reduces glare from the sun and water reflections, so you don’t have to squint to see the action.
Decide on Size and Resolution
For a pool area, a 55-inch to 75-inch screen works well, depending on viewing distance. Sit about 8 to 12 feet away for the best experience.
Go for 4K Ultra HD resolution if possible. It delivers sharp, detailed images that look amazing on large screens. Many outdoor TVs also support HDR (High Dynamic Range) for richer colors and better contrast.
Built-in Speakers vs. External Audio
Most outdoor TVs have built-in speakers, but they may not be powerful enough for open spaces. Consider adding weatherproof outdoor speakers or a soundbar for better audio. You can connect them via Bluetooth or wired connections.
Step 2: Pick the Perfect Location
Where you mount your TV is just as important as the TV itself. The right spot ensures great viewing, protects the TV, and keeps everyone safe.
Choose a Covered Area
Mount your TV under a roof, pergola, gazebo, or awning. This shields it from direct rain, snow, and intense sun. If you don’t have coverage, consider installing a retractable shade or outdoor canopy to protect the screen.
Avoid mounting the TV where it will be exposed to pool splashes or sprinklers. Even weatherproof TVs can suffer from constant moisture.
Consider Viewing Angles
Think about where people will be sitting—loungers, chairs, or a patio set. The TV should be visible from multiple angles without straining necks.
Mount the screen at eye level when seated. For most people, that’s about 42 to 48 inches from the ground to the center of the screen. Use a swivel or tilt mount to adjust the angle for different seating areas.
Avoid Direct Sunlight
Even with high brightness, direct sun can cause glare and overheating. If possible, install the TV on a north- or east-facing wall to minimize afternoon sun exposure.
If you must face west or south, use an anti-glare screen protector or install a sunshade above the TV.
Check for Obstructions
Make sure trees, fences, or furniture won’t block the view. Also, avoid placing the TV near heat sources like grills or fire pits, which can damage the screen or electronics.
Step 3: Select the Right Mounting Hardware
A strong, secure mount is essential for safety and performance. Don’t use indoor mounts—they’re not built to handle outdoor conditions.
Choose an Outdoor-Rated TV Mount
Look for mounts labeled “outdoor use” or “weatherproof.” These are made from rust-resistant materials like powder-coated aluminum or stainless steel.
Popular options include:
– Full-motion mounts (swivel, tilt, extend)
– Fixed mounts (low profile, secure)
– Tilt mounts (adjust angle up/down)
A full-motion mount is ideal for pool areas because it lets you adjust the screen for different viewing angles—perfect for parties or relaxing in different spots.
Ensure Proper Weight and Size Support
Check the mount’s weight and VESA (mounting pattern) compatibility with your TV. Most outdoor TVs use standard VESA sizes (200×200, 400×400, etc.), but always double-check.
Never overload a mount. If your TV is 65 inches or larger, use a heavy-duty mount rated for at least 1.5 times the TV’s weight.
Install on a Solid Surface
Mount the TV on a sturdy wall—brick, concrete, or wood studs. Avoid drywall, stucco, or vinyl siding unless reinforced.
Use a stud finder to locate studs in wood frames. For brick or concrete, use masonry anchors and a hammer drill.
Step 4: Plan and Run Cables Safely
Running power and signal cables outdoors requires careful planning to avoid hazards and damage.
Use Weatherproof Conduit
All cables—power, HDMI, antenna, Ethernet—should run through UV-resistant, waterproof conduit. This protects them from sun, rain, and pests.
PVC conduit is affordable and easy to install. For underground runs, use direct burial-rated conduit.
Bury Cables Underground (If Possible)
If you’re running cables from your house to the pool area, bury them at least 18 to 24 inches deep. This protects them from lawn mowers, foot traffic, and frost.
Use a trenching tool or hire a professional if the distance is long.
Use Outdoor-Rated Cables
Standard indoor cables degrade quickly outside. Use:
– Outdoor HDMI cables with UV protection and waterproof connectors
– Direct burial Ethernet cables for internet or streaming devices
– Weatherproof power cords with GFCI protection
Avoid splicing cables. Use weatherproof junction boxes if connections are needed.
Keep Power and Signal Cables Separate
Run power and data cables in separate conduits or at least 12 inches apart. This prevents interference and reduces fire risk.
Install a Weatherproof Enclosure
If cables must enter the wall or connect to devices, use a weatherproof electrical box or enclosure. Seal all openings with silicone caulk to keep moisture out.
Step 5: Connect Power Safely
Electrical safety is critical around water. Follow these steps to protect yourself and your equipment.
Use a GFCI Outlet
A Ground Fault Circuit Interrupter (GFCI) outlet shuts off power if it detects a leak—essential near pools. Install one within 6 feet of the TV location.
If your existing outlet isn’t GFCI, hire an electrician to upgrade it.
Install a Dedicated Circuit
Outdoor TVs and accessories can draw significant power. Use a dedicated 20-amp circuit to avoid overloading your home’s electrical system.
This also reduces the risk of tripping breakers during use.
Use a Surge Protector
Lightning and power surges can damage electronics. Plug your TV and devices into a weatherproof outdoor surge protector with at least 2,000 joules of protection.
Turn Off Power Before Working
Always shut off the circuit breaker before connecting or disconnecting cables. Use a voltage tester to confirm power is off.
Step 6: Mount the TV
Now it’s time to install the TV. Take your time—rushing can lead to mistakes or accidents.
Prepare the Mounting Area
Clean the wall surface and mark the mounting holes. Use a level to ensure the mount is straight.
Drill pilot holes for screws or anchors. For concrete or brick, use a hammer drill and masonry bits.
Attach the Mount to the Wall
Secure the mount with rust-resistant screws or bolts. Tighten firmly, but don’t over-torque.
Double-check that the mount is level and secure.
Connect Cables Before Mounting
Run all cables through the wall or conduit and connect them to the TV before mounting. This prevents awkward reaching or dropping the TV.
Use cable management clips to keep wires neat and secure.
Mount the TV
With a helper, lift the TV and hook it onto the mount. Follow the manufacturer’s instructions for locking mechanisms.
Tighten all screws and test the mount’s movement (if adjustable).
Test the Setup
Turn on the TV and check the picture, sound, and signal. Adjust the angle for the best view.
Step 7: Enhance Your Outdoor Entertainment
Your TV is installed—now make the experience even better.
Add Streaming Devices
Use a weatherproof streaming box like:
– Roku Ultra (with outdoor case)
– Amazon Fire TV Stick (in a protective enclosure)
– Apple TV (with a weatherproof box)
Connect via HDMI and power. Use a Wi-Fi extender if signal is weak.
Install Outdoor Speakers
Mount weatherproof speakers on posts, walls, or under eaves. Use Bluetooth for wireless convenience or run speaker wire through conduit.
Popular options:
– Polk Audio Atrium
– JBL Control
– Bose Free Space
Control with a Remote or App
Use the TV remote, or download the manufacturer’s app to control the TV from your phone or tablet.
Consider a waterproof remote or a universal remote with backlighting for nighttime use.
Add Lighting
Install soft LED strip lights around the TV or seating area for ambiance. Use low-voltage, weatherproof lighting for safety.
Troubleshooting Common Issues
Even with careful planning, problems can arise. Here’s how to fix them.
TV Won’t Turn On
– Check the GFCI outlet—press the reset button.
– Test the power cord and surge protector.
– Ensure the circuit breaker hasn’t tripped.
Poor Picture Quality
– Adjust brightness and contrast settings.
– Clean the screen with a microfiber cloth.
– Check HDMI cable connections.
Weak Wi-Fi Signal
– Move the router closer or use a Wi-Fi extender.
– Switch to a 5GHz band for less interference.
– Use an Ethernet cable for a wired connection.
Overheating
– Ensure the TV has proper ventilation.
– Avoid direct sunlight during peak hours.
– Check that the internal cooling fan is working.
Water Damage
– Inspect seals and gaskets regularly.
– Reapply silicone caulk if needed.
– Keep the TV covered during storms if possible.
Maintenance Tips
To keep your outdoor TV in top shape, follow these maintenance steps.
Clean the Screen Monthly
Use a soft, dry microfiber cloth. For smudges, lightly dampen the cloth with water—never spray liquid directly on the screen.
Check Cables and Connections
Inspect for fraying, corrosion, or loose connections. Replace damaged cables immediately.
Inspect the Mount
Look for rust, loose screws, or movement. Tighten or replace parts as needed.
Cover During Off-Season
If you live in a cold climate, consider using a weatherproof TV cover during winter to protect against snow and ice.
Test GFCI Outlet Monthly
Press the test button to ensure it trips and resets properly.
Conclusion
Installing an outside TV for your pool area is a smart upgrade that brings entertainment, comfort, and style to your outdoor space. With the right TV, proper mounting, safe wiring, and regular maintenance, you can enjoy movies, sports, and shows by the water for years to come.
Remember: safety first. Use weatherproof equipment, GFCI outlets, and professional help when needed. Don’t cut corners—your TV and your family’s safety are worth the investment.
Now that you know how to install an outside TV for your pool area, it’s time to grab your tools and get started. Soon, you’ll be kicking back with friends and family, watching the sunset on the big screen—right from your backyard.

