
Installing an outdoor TV for your pool area enhances your backyard entertainment experience. This guide walks you through choosing the right TV, mounting it safely, running cables, and protecting it from the elements. With the right tools and precautions, you can enjoy your favorite shows poolside in no time.
Key Takeaways
- Choose a weatherproof outdoor TV: Standard indoor TVs are not built to withstand humidity, rain, or temperature changes. Invest in a certified outdoor model designed for poolside use.
- Select the right mounting location: Position the TV where it’s visible from seating areas but protected from direct sunlight, splashing water, and extreme weather.
- Use proper outdoor-rated cables and connectors: Regular indoor cables can degrade quickly outdoors. Use UV-resistant, waterproof cables and conduit for power and signal lines.
- Ensure safe electrical installation: Hire a licensed electrician to install GFCI outlets and ensure all wiring meets local codes to prevent electrical hazards near water.
- Protect against glare and reflections: Install the TV under a covered area or use an anti-glare screen to improve visibility during daylight hours.
- Secure the mount and TV properly: Use corrosion-resistant hardware and ensure the wall or structure can support the TV’s weight, especially in windy conditions.
- Test and maintain regularly: After installation, test all connections and inspect the setup periodically for wear, loose mounts, or water damage.
How to Install Outdoor TV for Pool Area
Imagine lounging by the pool on a sunny afternoon, sipping a cold drink, and watching the big game or your favorite movie on a crisp, clear screen. That’s the magic of an outdoor TV. But setting one up isn’t as simple as plugging in a regular TV and calling it a day. Installing an outdoor TV for your pool area requires careful planning, the right equipment, and attention to safety—especially near water.
In this comprehensive guide, you’ll learn everything you need to know to install an outdoor TV safely and effectively. We’ll cover how to choose the right TV, pick the perfect location, mount it securely, run cables safely, and protect your investment from the elements. Whether you’re a DIY enthusiast or planning to hire a pro, this step-by-step guide will help you create a stunning outdoor entertainment space that lasts for years.
Step 1: Choose the Right Outdoor TV
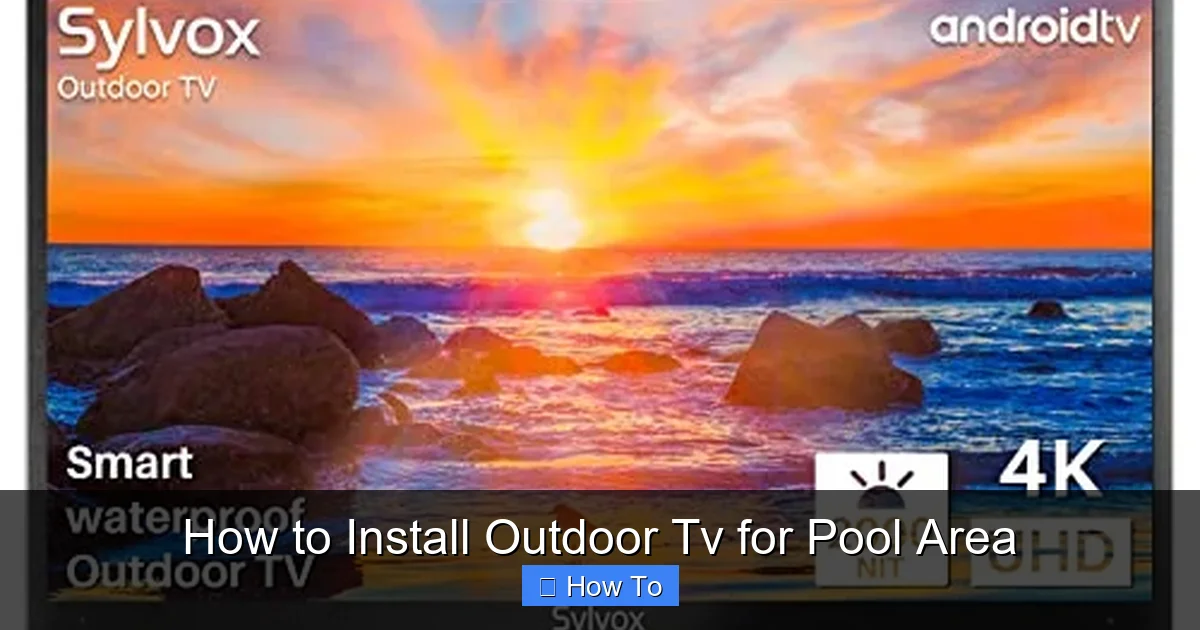
Visual guide about How to Install Outdoor Tv for Pool Area
Image source: fernseher.org
Not all TVs are created equal—especially when it comes to outdoor use. Standard indoor TVs are not designed to handle the humidity, temperature swings, rain, or UV exposure common around pools. Using one outdoors can lead to overheating, screen damage, or even electrical hazards.
Look for Certified Outdoor Models
When shopping for an outdoor TV, look for models specifically labeled as “outdoor,” “all-weather,” or “weatherproof.” These TVs are built with sealed casings, corrosion-resistant materials, and internal cooling or heating systems to handle extreme temperatures. Brands like SunBrite, Samsung Terrace, and LG Outdoor are known for reliable outdoor models.
Consider Brightness and Screen Type
Outdoor visibility is a major challenge. Direct sunlight can wash out standard screens. Choose a TV with high brightness—measured in nits—ideally 700 nits or higher. Many outdoor TVs use anti-reflective coatings or direct-lit LED panels to improve visibility in bright conditions. Avoid OLED screens for pool areas, as they can suffer from burn-in and are less bright than LED alternatives.
Decide Between Partial and Full Sun Models
Outdoor TVs come in two main types:
- Partial Sun Models: Designed for covered patios, under eaves, or shaded areas. They’re more affordable and sufficient if your TV will be protected from direct sun and rain.
- Full Sun/All-Weather Models: Built for full exposure to sun, rain, and snow. These are more expensive but ideal if your pool area has little to no overhead cover.
For most pool areas, a partial sun model under a covered pergola or awning works well. But if you’re installing in an open space, invest in a full sun model for longevity.
Check Size and Viewing Distance
Choose a screen size based on your seating layout. A general rule: for every 1.5 feet of viewing distance, use 1 inch of screen size. So, if your seating is 10 feet away, a 65-inch TV is ideal. Avoid going too large—oversized screens can be hard to view comfortably and may overwhelm the space.
Step 2: Pick the Perfect Location
Where you mount your TV is just as important as the TV itself. A poor location can lead to glare, water damage, or limited viewing angles.
Prioritize Visibility and Comfort
Mount the TV where it’s easily visible from your primary seating areas—loungers, outdoor sofas, or dining tables. Avoid placing it too high or at an extreme angle, which can strain necks during long viewing sessions. The center of the screen should be at or slightly below eye level when seated.
Protect from Water and Splash Zones
Even weatherproof TVs aren’t meant to be drenched. Keep the TV at least 5–6 feet away from the pool edge to avoid direct splashing. If that’s not possible, install it under a sturdy roof, pergola, or retractable awning. This also helps shield it from rain and UV damage.
Minimize Glare and Reflections
Sunlight reflecting off the water or surrounding surfaces can make the screen hard to see. Position the TV so the sun doesn’t hit the screen directly. If unavoidable, consider installing an anti-glare screen protector or using a TV with a matte finish. Avoid placing the TV opposite large windows or light-colored walls that bounce light.
Ensure Structural Support
The wall or structure you mount to must be strong enough to hold the TV and withstand wind. Concrete, brick, or solid wood beams are ideal. Avoid drywall, stucco, or thin siding unless reinforced. For freestanding setups, consider a heavy-duty outdoor TV stand or pole mount anchored into concrete.
Step 3: Gather Tools and Materials
Before you start, make sure you have everything you need. Rushing out for missing parts mid-project can be frustrating.
Essential Tools
- Stud finder
- Level
- Drill and drill bits
- Screwdrivers (Phillips and flathead)
- Tape measure
- Pencil or marker
- Ladder (if mounting high)
Mounting Hardware
- Outdoor-rated TV wall mount (full-motion, tilt, or fixed—choose based on your viewing needs)
- Corrosion-resistant screws and anchors (stainless steel or coated)
- Concrete anchors (if mounting to brick or concrete)
- Mounting template (often included with the mount)
Cables and Electrical Supplies
- Outdoor-rated HDMI cable (UV-resistant, waterproof connectors)
- Power cable (outdoor-rated, preferably with a weatherproof cover)
- Conduit or cable raceway (to protect wires from weather and pests)
- GFCI outlet (required near water sources)
- Weatherproof outlet cover
- Cable ties and clips
Safety Gear
- Work gloves
- Safety glasses
- Non-slip shoes
Step 4: Install the Mounting Bracket
Now it’s time to get hands-on. Proper mounting is critical for safety and performance.
Locate Studs or Reinforce the Wall
Use a stud finder to locate wall studs. Mounting into studs provides the strongest support. If studs aren’t aligned with your desired location, use heavy-duty toggle bolts or molly bolts for drywall, or concrete anchors for masonry. For extra security, consider installing a horizontal wooden backer board anchored to the structure.
Mark and Drill Pilot Holes
Hold the mounting bracket against the wall at the desired height. Use a level to ensure it’s straight. Mark the screw holes with a pencil. Drill pilot holes slightly smaller than your screws to prevent splitting.
Secure the Bracket
Attach the bracket using the appropriate screws and anchors. Double-check that it’s level and tightly secured. Give it a gentle tug to test stability. If it wobbles, reinforce the mounting points.
Consider Tilt or Swivel Options
If you choose a full-motion or tilt mount, make sure there’s enough clearance for movement without hitting walls or furniture. Test the range of motion before finalizing the installation.
Step 5: Run Cables Safely
Running cables outdoors requires special care to prevent damage and ensure safety—especially near water.
Use Outdoor-Rated Cables
Standard indoor cables aren’t built for outdoor conditions. Use UV-resistant, waterproof HDMI and power cables. Look for cables labeled “direct burial” or “outdoor rated” if running underground.
Protect Cables with Conduit
Run cables through PVC or metal conduit to shield them from moisture, rodents, and physical damage. Bury conduit at least 6 inches underground if running from a house to a pergola or standalone mount. Use waterproof conduit connectors at all joints.
Route Cables Neatly and Securely
Avoid loose, dangling wires. Use cable clips or raceways to secure cables along walls or under eaves. Keep cables away from pool equipment, sharp edges, and high-traffic areas.
Connect to a GFCI Outlet
Electrical safety is paramount near water. All outdoor outlets must be GFCI (Ground Fault Circuit Interrupter) protected. These outlets detect electrical faults and shut off power instantly, preventing shocks. If your existing outlet isn’t GFCI, hire a licensed electrician to install one.
Use a Weatherproof Outlet Cover
Install an in-use weatherproof cover over the outlet. These covers protect plugs from rain and allow you to keep devices connected safely.
Step 6: Mount the TV
With the bracket in place and cables ready, it’s time to hang the TV.
Attach Mounting Arms to the TV
Most outdoor mounts require you to attach arms or brackets to the back of the TV using the VESA mounting pattern (e.g., 200×200, 400×400). Use the screws provided with the mount. Don’t overtighten—this can crack the TV’s casing.
Lift and Secure the TV
With a helper, lift the TV and hook it onto the wall bracket. Ensure it locks securely in place. Double-check that all latches or safety screws are engaged.
Connect Cables
Plug in the power and HDMI cables. Route them neatly through the mount’s cable management system if available. Avoid sharp bends or pinching cables.
Test the Setup
Turn on the TV and test the picture, sound, and input sources. Adjust the angle if needed. Make sure the remote control works from your seating area.
Step 7: Protect and Maintain Your Outdoor TV
Even the best outdoor TV needs care to last.
Use a Weatherproof Cover
When not in use, especially during storms or off-seasons, cover the TV with a fitted outdoor TV cover. This protects the screen and ports from dust, pollen, and UV damage.
Clean Regularly
Wipe the screen with a soft, dry microfiber cloth. For smudges, use a screen-safe cleaner—never spray liquid directly on the TV. Clean the exterior with a damp cloth and mild soap.
Inspect for Damage
Check the mount, cables, and TV casing monthly for signs of rust, loose screws, or wear. Tighten any loose hardware and replace damaged cables immediately.
Monitor Temperature Extremes
Most outdoor TVs operate between -30°F and 120°F. Avoid using the TV in extreme cold or heat unless it’s specifically rated for those conditions. Prolonged exposure can shorten its lifespan.
Troubleshooting Common Issues
Even with careful installation, problems can arise. Here’s how to fix the most common ones.
TV Won’t Turn On
Check the power connection and GFCI outlet. Press the reset button on the GFCI if it’s tripped. Ensure the remote has fresh batteries and is aimed at the sensor.
Poor Picture Quality or No Signal
Inspect HDMI cables for damage or loose connections. Try a different cable or input source. Ensure the TV is set to the correct input mode.
Screen Glare or Washed-Out Image
Reposition the TV to avoid direct sunlight. Use an anti-glare screen protector or install a shade above the TV.
Mount Feels Loose
Turn off the TV and check all mounting screws and anchors. Tighten or replace as needed. If the wall is damaged, reinforce it before remounting.
Cables Are Exposed or Damaged
Re-route cables through conduit or raceways. Replace any frayed or cracked cables immediately to prevent electrical hazards.
Conclusion
Installing an outdoor TV for your pool area is a rewarding project that transforms your backyard into a true entertainment oasis. By choosing a weatherproof TV, selecting the right location, using proper mounting and cabling techniques, and maintaining the setup, you can enjoy crystal-clear viewing all year long.
Remember, safety comes first—especially near water. Always use GFCI outlets, outdoor-rated materials, and consult a professional electrician if you’re unsure about wiring. With the right preparation and care, your outdoor TV will provide countless hours of fun for family and friends.
So grab your tools, pick a sunny day, and get ready to kick back by the pool with your favorite show. Your perfect outdoor viewing experience is just a few steps away.

