
This guide walks you through how to install outdoor television for covered patio with confidence. From choosing the right TV to secure mounting and weatherproofing, you’ll get expert tips and clear steps for a flawless setup.
Key Takeaways
- Choose a weatherproof outdoor TV: Standard indoor TVs aren’t built for outdoor conditions. Opt for a certified outdoor model designed to withstand humidity, dust, and temperature changes.
- Use a sturdy, weather-resistant mount: A full-motion or tilt mount made for outdoor use ensures stability and allows optimal viewing angles, even in windy conditions.
- Plan your power and signal sources: Locate outlets and cable connections before mounting. Use outdoor-rated extension cords and surge protectors for safety.
- Protect cables from the elements: Run wires through conduit or use cable raceways to prevent water damage and tripping hazards.
- Test everything before finalizing: Power on the TV, check signal strength, and adjust the angle to ensure a great viewing experience from your favorite seating spot.
- Maintain your setup regularly: Clean the screen and check connections seasonally to keep your outdoor TV in top condition.
- Consider professional help if unsure: If electrical work or structural mounting feels risky, hire a qualified technician for peace of mind.
How to Install Outdoor Television for Covered Patio: A Complete Step-by-Step Guide
Imagine relaxing on your covered patio with a cold drink in hand, watching your favorite show or the big game under the open sky. With the right setup, your outdoor living space can become a true entertainment hub. But installing an outdoor television isn’t as simple as mounting a regular TV on the wall. You need to consider weather resistance, power access, signal strength, and safety.
In this comprehensive guide, we’ll walk you through how to install outdoor television for covered patio from start to finish. Whether you’re a DIY enthusiast or a first-time installer, you’ll learn everything you need to know to get your outdoor TV up and running safely and efficiently. We’ll cover choosing the right TV, selecting the best location, mounting securely, running cables, and maintaining your setup for years of enjoyment.
Let’s get started!
Step 1: Choose the Right Outdoor Television
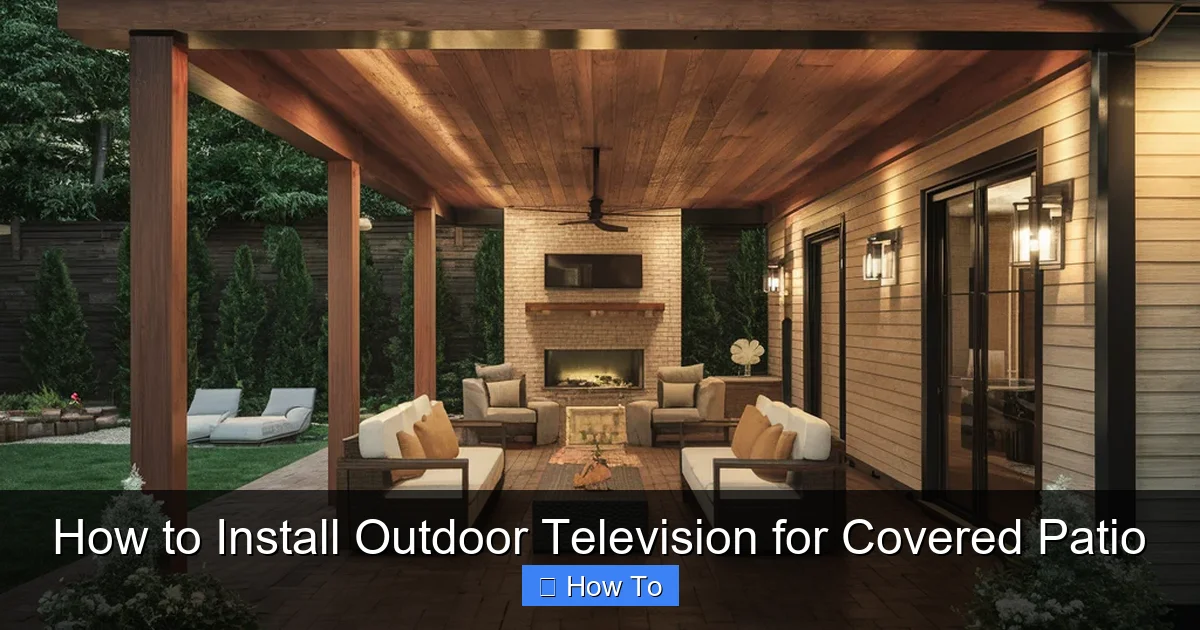
Visual guide about How to Install Outdoor Television for Covered Patio
Image source: i.pinimg.com
The first and most important step in installing an outdoor TV is selecting the right model. Not all TVs are created equal—especially when it comes to outdoor use.
Why You Need an Outdoor TV
Indoor TVs are not built to handle the elements. They lack protection against humidity, dust, temperature swings, and UV exposure. Even under a covered patio, moisture and temperature changes can damage internal components over time.
An outdoor television, on the other hand, is specifically engineered for exterior environments. These models feature:
– Weatherproof casings (often IP54 or higher rated)
– Temperature-regulated internal systems
– Anti-glare screens for better visibility in sunlight
– Enhanced durability against dust and insects
Types of Outdoor TVs
There are two main types of outdoor TVs:
1. **All-Weather Outdoor TVs**: Fully sealed and designed for permanent outdoor installation. These are ideal for covered patios, decks, and gazebos.
2. **Partial-Weather TVs (or Outdoor-Ready TVs)**: These are indoor TVs with added protective features, often used with external weatherproof enclosures. They’re less expensive but may not last as long in harsh conditions.
For a covered patio, an all-weather outdoor TV is the best investment. Look for models from reputable brands like Samsung Terrace, SunBriteTV, or Seura.
Screen Size and Placement Considerations
Choose a screen size based on your viewing distance. A general rule is:
– 40–50 inches for 6–8 feet away
– 55–65 inches for 8–12 feet away
– 70+ inches for 12+ feet away
Also, consider the height. The center of the screen should be at or slightly below eye level when seated—typically 42 to 48 inches from the floor.
Step 2: Select the Best Location on Your Covered Patio
Where you mount your TV can make or break your viewing experience. The right spot balances visibility, protection, and convenience.
Assess Sunlight and Glare
Even under a covered patio, direct or reflected sunlight can cause glare. Avoid mounting the TV where morning or afternoon sun hits the screen directly. If unavoidable, choose a TV with a high-brightness display (measured in nits) and anti-reflective coating.
Check for Shade and Coverage
Ensure the mounting area is fully protected from rain, snow, and wind-driven moisture. A covered patio is ideal, but make sure the overhang is deep enough (at least 12–18 inches) to shield the TV from sideways rain.
Consider Viewing Angles
Think about where people will sit. The TV should be visible from your primary seating area without excessive head tilting. A full-motion mount can help adjust the angle later, but start with a good base location.
Proximity to Power and Signal Sources
Your TV will need power and a signal (cable, satellite, or streaming). Locate nearby outdoor-rated electrical outlets and access points for HDMI, coaxial, or Ethernet cables. If none are available, you may need to run new wiring—more on that later.
Step 3: Gather the Right Tools and Materials
Before you start drilling, make sure you have everything you need. Here’s a checklist:
Essential Tools
- Stud finder
- Level
- Drill and drill bits (masonry bits if mounting on brick or concrete)
- Screwdrivers (Phillips and flathead)
- Tape measure
- Pencil or marker
- Safety goggles and gloves
Materials Needed
- Outdoor-rated TV mount (full-motion, tilt, or fixed)
- Weatherproof outdoor TV
- Outdoor-rated power cord and surge protector
- Weatherproof cable raceway or conduit
- Outdoor-rated HDMI and coaxial cables (if needed)
- Wall anchors (if not mounting into studs)
- Silicone sealant (for sealing screw holes)
Optional but Helpful
- Extension ladder (for high mounting)
- Cable management clips
- Wireless HDMI transmitter (to reduce cable clutter)
- Outdoor soundbar or speakers
Step 4: Prepare the Mounting Surface
A secure mount starts with a solid foundation. Whether you’re attaching to wood, brick, or concrete, proper preparation is key.
Locate Studs or Use Anchors
Use a stud finder to locate wall studs if mounting on wood or drywall. Mounting into studs provides the strongest support. If no studs are available, use heavy-duty toggle bolts or masonry anchors rated for the TV’s weight.
For brick or concrete, you’ll need a hammer drill and masonry anchors. Always check the mount’s weight capacity and ensure your wall can support it.
Mark the Mounting Points
Hold the mount against the wall at the desired height. Use a level to ensure it’s straight. Mark the screw holes with a pencil. Double-check measurements before drilling.
Drill Pilot Holes
Drill pilot holes slightly smaller than your screws or anchors. This prevents splitting wood and makes insertion easier. For masonry, use the appropriate drill bit size for your anchors.
Seal Screw Holes (Optional but Recommended)
After mounting, apply a small amount of silicone sealant around each screw head. This prevents water from seeping into the wall and reduces the risk of rust.
Step 5: Install the Outdoor TV Mount
Now it’s time to attach the mount securely.
Attach the Mounting Bracket to the Wall
Line up the bracket with your marked holes. Insert screws or anchors and tighten them firmly. Use a level again to confirm the bracket is straight.
Attach the TV Plate to the TV
Most outdoor TVs have VESA mounting patterns (e.g., 200×200, 400×400). Attach the mounting plate to the back of the TV using the provided screws. Make sure it’s tight and secure.
Hang the TV on the Mount
With a helper, lift the TV and hook the plate onto the wall bracket. Ensure it’s fully seated and locked in place. Most mounts have safety screws or latches to prevent accidental detachment.
Adjust the Angle
If using a tilt or full-motion mount, adjust the screen to the optimal viewing angle. Tighten any locking mechanisms to hold the position.
Step 6: Run and Protect Cables
Exposed cables are not only unsightly—they’re also a tripping hazard and vulnerable to weather damage.
Plan Your Cable Route
Decide how to run power and signal cables from the TV to the outlet and source (cable box, streaming device, etc.). The cleanest option is to run cables inside the wall, but this requires cutting drywall and may need professional help.
For a simpler approach, use outdoor-rated cable raceways. These plastic or metal channels attach to the wall and hide wires while protecting them from moisture.
Use Conduit for Maximum Protection
For long-term durability, especially in areas with heavy rain or snow, run cables through PVC or metal conduit. This is more work but offers the best protection.
Connect Power Safely
Plug the TV into a GFCI (Ground Fault Circuit Interrupter) outlet. These are required for outdoor use and shut off power if they detect a fault, reducing shock risk.
Use an outdoor-rated surge protector to guard against power spikes. Never use indoor extension cords—they’re not safe for exterior use.
Label and Organize Cables
Use zip ties or clips to bundle cables neatly. Label each one (e.g., “HDMI 1,” “Power”) so you know what’s what during future maintenance.
Step 7: Connect and Test Your Outdoor TV
With everything in place, it’s time to power up and test.
Connect Signal Sources
Plug in your cable box, streaming device (like Roku or Apple TV), or antenna. Use high-quality outdoor-rated HDMI cables for the best signal.
If using a satellite or cable service, ensure the coaxial cable is properly connected and secured with weatherproof fittings.
Power On and Configure
Turn on the TV and follow the on-screen setup. Connect to Wi-Fi if using streaming apps. Adjust picture settings for outdoor viewing—brighter settings often work better in daylight.
Test All Functions
Check that:
– The picture is clear and free of interference
– Audio works (consider adding outdoor speakers if needed)
– Remote control functions properly
– All inputs (HDMI, USB, etc.) are working
Fine-Tune the Viewing Angle
Sit in your usual spot and adjust the mount if needed. Make sure the screen is visible from all seating areas without glare.
Step 8: Weatherproof and Maintain Your Setup
Even with an outdoor TV, regular maintenance ensures longevity.
Use a Weatherproof Cover (Optional)
When not in use, especially during storms or winter, consider using a fitted outdoor TV cover. This adds an extra layer of protection.
Clean the Screen Regularly
Dust, pollen, and bird droppings can accumulate. Use a microfiber cloth and mild cleaner designed for screens. Avoid ammonia-based products.
Inspect Cables and Connections
Every few months, check that cables are secure, not frayed, and free of moisture. Reapply sealant if needed.
Check the Mount and Screws
Ensure the mount remains tight and level. Vibrations from wind or nearby activity can loosen screws over time.
Troubleshooting Common Issues
Even with careful installation, problems can arise. Here’s how to handle them:
TV Won’t Turn On
– Check the power outlet with another device.
– Ensure the surge protector is on and functioning.
– Verify the power cord is securely plugged in.
Poor Picture Quality
– Check HDMI connections—loose cables cause signal loss.
– Adjust brightness and contrast settings for outdoor lighting.
– Ensure the signal source (cable, antenna) is strong.
Remote Control Not Working
– Replace batteries.
– Make sure nothing is blocking the IR sensor on the TV.
– Try using a smartphone app as a remote if supported.
Water Damage or Moisture Inside the TV
– Power off immediately and unplug.
– Contact the manufacturer—most outdoor TVs have warranties covering weather damage.
– Never attempt to open the TV yourself.
Mount Feels Loose
– Tighten all screws and bolts.
– Check wall anchors—replace if they’re pulling out.
– Consider reinforcing with additional support if needed.
When to Call a Professional
While many homeowners can install an outdoor TV themselves, some situations call for expert help:
– Running electrical wiring through walls or underground
– Mounting on brick, stone, or concrete without proper tools
– Installing a ceiling-mounted TV or complex multi-TV setup
– Dealing with structural concerns (e.g., weak walls)
A licensed electrician or AV installer can ensure safety and code compliance, especially for permanent installations.
Final Thoughts
Installing an outdoor television for your covered patio transforms your outdoor space into a year-round entertainment zone. By choosing the right TV, mounting it securely, protecting cables, and maintaining the setup, you’ll enjoy crystal-clear viewing in the fresh air.
Remember, safety comes first. Use outdoor-rated materials, protect against electrical hazards, and don’t hesitate to seek professional help when needed. With this guide, you’re well-equipped to tackle the project with confidence.
Now grab your remote, kick back, and enjoy your favorite shows under the stars—your outdoor oasis is ready.

