
Installing an outdoor TV in a coastal home requires special considerations due to salt air, humidity, and strong winds. This guide walks you through choosing the right equipment, selecting a safe location, and ensuring long-term durability with step-by-step instructions and expert advice.
Key Takeaways
- Choose a marine-grade or fully weatherproof outdoor TV: Standard indoor TVs will corrode quickly in coastal environments. Look for models rated IP55 or higher with anti-corrosion coatings.
- Use stainless steel or powder-coated mounting hardware: Regular metal brackets rust fast near the ocean. Opt for 316 marine-grade stainless steel for maximum durability.
- Protect all electrical connections from moisture: Use waterproof junction boxes, silicone sealant, and conduit to prevent short circuits and corrosion.
- Install the TV under cover or in a sheltered area: Even weatherproof TVs last longer when shielded from direct rain, salt spray, and UV exposure.
- Run cables through sealed conduit: Prevent water and salt damage by routing HDMI, power, and antenna cables through UV-resistant, waterproof conduit.
- Schedule regular maintenance checks: Inspect seals, mounts, and connections every 3–6 months to catch early signs of wear or corrosion.
- Consider a professional installer for complex setups: If mounting on a high wall or running long cable runs, hiring an expert ensures safety and code compliance.
How to Install Outdoor Television for Coastal Homes
If you live by the coast, you know how beautiful—and brutal—the environment can be. Salt air, high humidity, strong winds, and intense sun can wreak havoc on electronics not built to handle them. That’s why installing an outdoor television for coastal homes isn’t as simple as mounting a TV on the patio wall. It requires careful planning, the right equipment, and smart installation techniques to ensure your outdoor entertainment setup lasts for years.
In this comprehensive guide, you’ll learn everything you need to know about installing an outdoor TV in a coastal environment. From choosing the right weatherproof television to protecting cables and mounting hardware, we’ll walk you through each step with practical tips and real-world examples. Whether you’re setting up a TV by the pool, on the deck, or under a pergola, this guide will help you do it safely, effectively, and with confidence.
By the end, you’ll have a durable, high-performing outdoor entertainment system that stands up to the challenges of coastal living—without breaking the bank or risking damage from the elements.
Step 1: Choose the Right Outdoor TV for Coastal Conditions
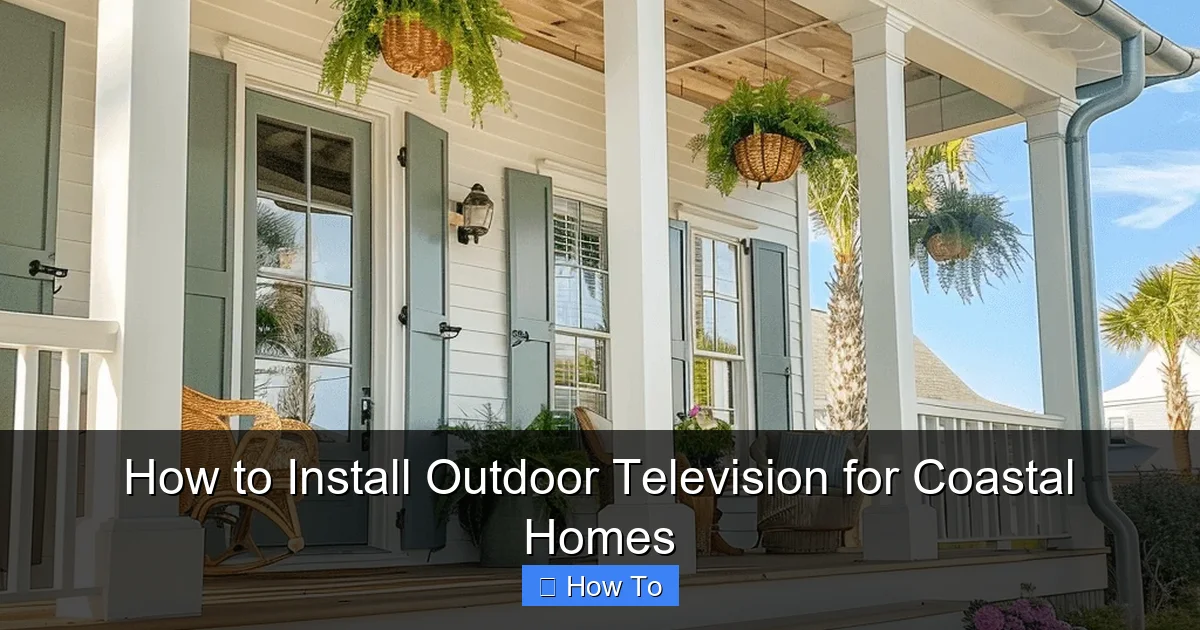
Visual guide about How to Install Outdoor Television for Coastal Homes
Image source: casuallycoastal.com
Not all outdoor TVs are created equal—especially when it comes to coastal climates. Standard indoor TVs may look tempting, but they’re not built to withstand salt air, moisture, or temperature swings. Investing in a purpose-built outdoor television is the first and most important step.
Look for Weatherproof Ratings (IP Rating)
Outdoor TVs should have an Ingress Protection (IP) rating of at least IP55. This means the TV is protected against dust and water jets from any direction. For coastal areas, IP65 or higher is even better, offering full protection against dust and low-pressure water spray.
Popular brands like SunBrite, Samsung Terrace, and Seura offer models specifically designed for outdoor use. These TVs come with sealed casings, anti-glare screens, and internal cooling systems to prevent overheating.
Prioritize Anti-Corrosion Features
Salt air is highly corrosive and can eat through metal components and circuit boards over time. Look for TVs with anti-corrosion coatings on internal parts, especially in the power supply and connectors. Some models even use marine-grade materials similar to those found on boats.
For example, the SunBrite Veranda series includes a powder-coated aluminum chassis and sealed ventilation to keep salt and moisture out. These features significantly extend the TV’s lifespan in coastal environments.
Consider Screen Brightness and Viewing Angle
Coastal areas often have bright, reflective sunlight. Choose a TV with a high brightness level—measured in nits—of at least 700 nits, ideally 1000 or more. This ensures the screen remains visible even in direct sunlight.
Also, consider the viewing angle. If your seating area is off to the side, look for a TV with wide viewing angles (178 degrees) to avoid color distortion.
Indoor vs. Outdoor TVs: Why It Matters
Some homeowners try to save money by using an indoor TV in a covered outdoor space. While this might work temporarily, it’s a risky long-term strategy. Indoor TVs lack proper sealing, have vents that allow moisture in, and use materials that corrode quickly in salty air.
Even under a roof, salt particles can settle on the TV and cause internal damage over time. A true outdoor TV is built from the ground up to handle these conditions.
Step 2: Select the Best Location for Your Outdoor TV
Where you install your TV is just as important as what TV you choose. The right location can protect your investment and improve your viewing experience.
Choose a Sheltered Area
Avoid installing the TV in an open area where it’s exposed to direct rain, salt spray, or harsh sunlight. Instead, look for a covered space like a screened porch, pergola, or under a roof overhang. These areas provide natural protection while still allowing for great outdoor viewing.
If you don’t have a covered space, consider building a simple awning or installing a retractable shade to shield the TV during peak sun hours.
Avoid Direct Salt Spray
Even if your TV is weatherproof, it’s best to keep it away from areas where ocean spray is common. Salt particles can accumulate on the screen and casing, leading to corrosion and reduced visibility.
If your deck or patio faces the ocean, consider mounting the TV on the side wall of the house or under a covered cabana. This reduces exposure while still offering a great view.
Ensure Proper Ventilation
Outdoor TVs generate heat, especially in sunny conditions. Make sure the mounting area allows for airflow around the TV. Avoid enclosing it in a tight cabinet or box unless it’s specifically designed for outdoor use with built-in ventilation.
Also, keep the TV at least 6 inches away from walls or other surfaces to prevent overheating.
Check for Signal and Power Access
Before finalizing the location, make sure you have access to power and a strong signal source. You’ll need an outdoor-rated electrical outlet nearby, and if you’re using an antenna or satellite, ensure the signal isn’t blocked by trees, buildings, or metal structures.
If running cables over long distances, plan your route in advance to avoid tripping hazards and water exposure.
Step 3: Choose the Right Mounting Hardware
The mount you use must be strong, durable, and resistant to corrosion. Standard indoor mounts won’t cut it in a coastal environment.
Use Marine-Grade Stainless Steel
Look for mounting brackets made from 316 marine-grade stainless steel. This type of steel contains molybdenum, which makes it highly resistant to saltwater corrosion. Avoid 304 stainless steel, which is less durable in coastal areas.
Brands like Peerless, Sanus, and Vogel’s offer outdoor-rated mounts with anti-corrosion finishes. Make sure all screws, bolts, and anchors are also made from stainless steel.
Select the Right Mount Type
There are three main types of outdoor TV mounts:
- Fixed mounts: Hold the TV flat against the wall. Best for permanent setups where you don’t need to adjust the angle.
- Tilt mounts: Allow you to angle the TV up or down for better viewing. Great for decks or patios with varying seating heights.
- Full-motion (articulating) mounts: Let you swivel and extend the TV for flexible viewing. Ideal for outdoor kitchens or multi-use spaces.
For coastal homes, a tilt or fixed mount is often the best choice. Full-motion mounts have more moving parts, which can wear out faster in salty air.
Ensure Proper Weight and Size Compatibility
Check the mount’s weight and size capacity to match your TV. Most outdoor mounts support TVs from 32 to 75 inches and up to 100–150 pounds. Always follow the manufacturer’s guidelines.
Step 4: Prepare the Mounting Surface
A secure mount starts with a strong, stable surface. Whether you’re attaching to wood, concrete, or brick, proper preparation is key.
Locate Studs or Use Anchors
If mounting on a wood-frame wall, use a stud finder to locate the studs. Mounting directly into studs provides the strongest hold. Use at least two lag bolts per stud, spaced according to the mount’s specifications.
For concrete, brick, or block walls, use heavy-duty masonry anchors or sleeve anchors. Drill pilot holes with a hammer drill and insert the anchors securely.
Seal All Drill Holes
Salt air can seep into tiny gaps and cause corrosion over time. After drilling, apply a bead of silicone sealant around each hole before inserting screws or anchors. This creates a waterproof barrier.
Check for Level and Alignment
Use a level to ensure the mount is perfectly horizontal. Even a small tilt can make the TV look crooked and strain the mount over time.
Step 5: Run and Protect Your Cables
Exposed cables are vulnerable to water, UV rays, and physical damage. Proper cable management is essential for safety and longevity.
Use Waterproof Conduit
Run all cables—power, HDMI, antenna, and Ethernet—through UV-resistant, waterproof conduit. PVC or flexible metal conduit works well for outdoor use. Make sure the conduit is rated for direct burial if running underground.
Seal Cable Entry Points
Where cables enter the TV or wall, use waterproof cable glands or silicone sealant to prevent moisture from getting in. Avoid using tape alone, as it degrades over time.
Protect Power Connections
Use a weatherproof outdoor junction box to connect power cables. Install a GFCI (Ground Fault Circuit Interrupter) outlet to protect against electrical shock, especially in wet conditions.
If running power from indoors, use outdoor-rated extension cords or have an electrician install a dedicated outdoor circuit.
Label and Organize Cables
Use zip ties or cable clips to keep wires neat and secure. Label each cable at both ends so you know what’s what during setup or future maintenance.
Step 6: Install the TV and Mount
Now it’s time to put everything together. Take your time and follow the manufacturer’s instructions carefully.
Attach the Mount to the Wall
Secure the mounting bracket to the wall using the appropriate hardware. Double-check that it’s level and tightly fastened.
Connect the Cables
Before hanging the TV, connect all cables to the back. Use HDMI cables rated for outdoor use, and consider using signal boosters if running long distances.
Hang the TV on the Mount
With a helper, carefully lift the TV and hook it onto the mount. Make sure it’s securely locked in place. Test the stability by gently pushing on the screen.
Adjust the Viewing Angle
If using a tilt or articulating mount, adjust the angle for optimal viewing. Avoid overextending the arm, as this can put stress on the wall and mount.
Step 7: Test and Secure the Setup
Once everything is in place, it’s time to test your system.
Power On and Check Signal
Turn on the TV and verify that all inputs are working. Check the picture quality, sound, and internet connection (if using smart features).
Test Remote and Controls
Make sure the remote works from your seating area. If using a soundbar or streaming device, test those as well.
Secure Loose Cables
Use cable clips or raceways to secure any loose wires along the wall or ceiling. This prevents tripping and protects cables from wind damage.
Step 8: Maintain Your Outdoor TV
Even the best outdoor TV needs regular care to last in a coastal environment.
Clean the Screen and Casing
Wipe the screen weekly with a microfiber cloth and mild cleaner. Avoid ammonia-based products, which can damage anti-glare coatings. Clean the casing to remove salt buildup.
Inspect Seals and Connections
Every 3–6 months, check the TV’s seals, mount, and cable connections for signs of wear, rust, or moisture. Reapply sealant if needed.
Check for Corrosion
Look for rust on screws, brackets, or connectors. Replace any corroded parts immediately to prevent further damage.
Cover During Storms
If a hurricane or severe storm is forecast, consider covering the TV with a waterproof cover or moving it indoors if possible.
Troubleshooting Common Issues
TV Won’t Turn On
Check the power source and GFCI outlet. Reset the breaker if needed. Ensure all cables are securely connected.
Poor Picture Quality
This could be due to a weak signal, loose HDMI cable, or interference. Try reseating cables or using a signal booster.
Screen Flickering or Glare
Adjust the TV’s brightness and contrast settings. Consider installing a sunshade or repositioning the TV to reduce glare.
Remote Not Working
Replace the batteries or check for obstructions between the remote and TV. Some outdoor TVs come with IR extenders for better range.
Conclusion
Installing an outdoor television for coastal homes is a rewarding project that lets you enjoy your favorite shows and movies in the fresh ocean air. But it’s not just about mounting a TV—it’s about doing it right to protect your investment from salt, moisture, and weather.
By choosing a weatherproof TV, using marine-grade hardware, protecting your cables, and maintaining the system regularly, you can enjoy years of reliable outdoor entertainment. Take your time, follow the steps in this guide, and don’t hesitate to consult a professional if you’re unsure about electrical work or complex installations.
With the right setup, your coastal home can become the ultimate outdoor oasis—where every sunset comes with a great view and your favorite show.

