
Installing a deck TV for a large patio transforms your outdoor space into a premium entertainment zone. This guide walks you through choosing the right TV, selecting a secure mount, running cables safely, and weatherproofing everything for year-round use.
Key Takeaways
- Choose an outdoor-rated TV: Standard indoor TVs aren’t built to withstand temperature swings, humidity, or UV exposure—opt for a weatherproof outdoor model.
- Use a heavy-duty, full-motion mount: A large patio needs flexible viewing angles; a sturdy mount ensures safety and adjustability.
- Plan cable routing carefully: Conceal and protect power and HDMI cables from the elements using conduit or in-wall solutions.
- Weatherproof all connections: Use outdoor-rated extension cords, surge protectors, and waterproof boxes to prevent damage and hazards.
- Test before finalizing: Power up and adjust the TV before sealing everything to avoid rework.
- Consider lighting and glare: Position the TV to minimize sun glare and add ambient lighting for evening viewing.
- Follow local codes and permits: Some areas require permits for electrical work or structural modifications—check with your local building authority.
How to Install Deck TV for Large Patio
Imagine relaxing on your spacious patio, sipping your favorite drink, and watching the big game or a movie under the stars—all from a crisp, clear outdoor TV mounted right on your deck. Installing a deck TV for a large patio isn’t just about mounting a screen; it’s about creating a durable, safe, and enjoyable outdoor entertainment experience. Whether you’re hosting summer barbecues or enjoying quiet evenings outdoors, a properly installed deck TV can elevate your space.
But it’s not as simple as bolting a regular TV to the wall. Outdoor environments pose unique challenges: extreme temperatures, rain, humidity, dust, and UV rays can damage electronics not designed for the elements. Plus, a large patio means longer cable runs, potential glare issues, and the need for flexible viewing angles.
In this comprehensive guide, you’ll learn how to safely and effectively install a deck TV for a large patio. We’ll cover everything from selecting the right TV and mount, planning your layout, running cables, weatherproofing, and final testing. By the end, you’ll have a reliable, high-quality outdoor viewing setup that lasts for years.
Let’s get started.
Step 1: Choose the Right Outdoor TV
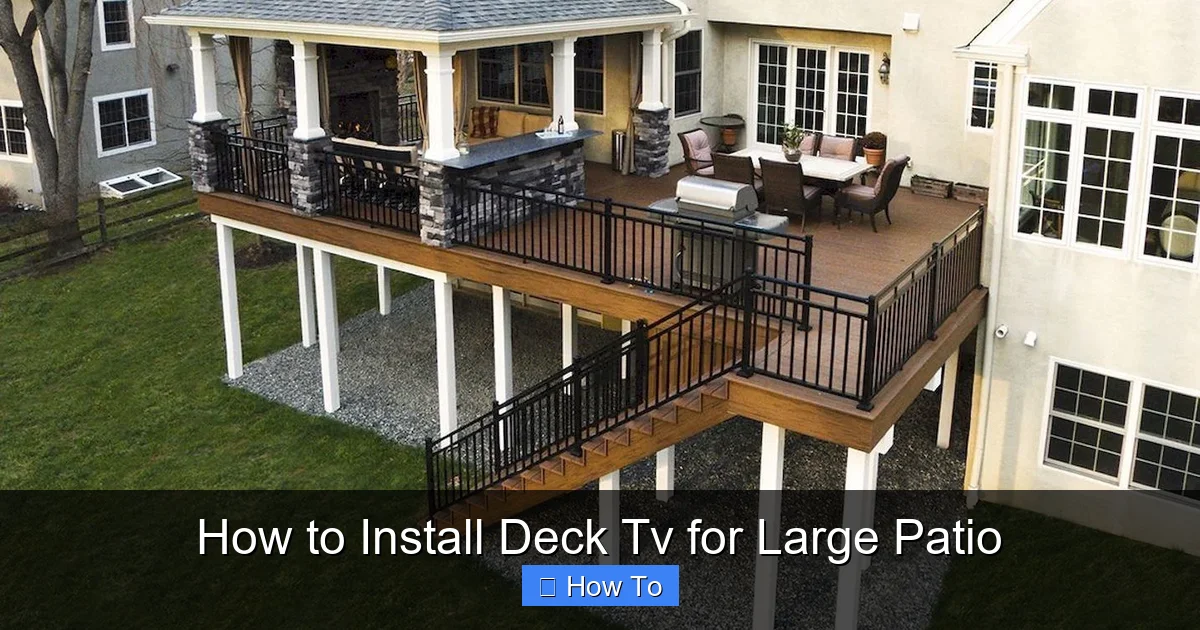
Visual guide about How to Install Deck Tv for Large Patio
Image source: i.pinimg.com
The foundation of a successful deck TV installation is selecting the correct television. Not all TVs are created equal—especially when it comes to outdoor use.
Why You Need an Outdoor-Rated TV
Standard indoor TVs are not built to handle outdoor conditions. They lack proper ventilation, weather sealing, and UV protection. Exposure to moisture, temperature fluctuations, and direct sunlight can cause screen burn-in, internal condensation, or complete failure within months.
Outdoor-rated TVs, on the other hand, are specifically engineered for exterior use. They feature:
– Weatherproof casings (often IP55 or higher rated)
– Anti-glare screens
– Temperature-regulated internal cooling and heating
– UV-resistant materials
– Sealed ports and connectors
These features ensure your TV performs reliably in rain, snow, heat, and cold.
Types of Outdoor TVs
There are two main types of outdoor TVs:
1. **All-Season Outdoor TVs**: Designed for year-round use in any climate. These are fully enclosed, weatherproof, and often include built-in heaters and fans to regulate internal temperature. Ideal for large patios in regions with harsh winters or intense summers.
2. **Partial-Cover Outdoor TVs**: Meant for use under covered areas like pergolas, gazebos, or screened-in patios. They offer some weather resistance but aren’t fully sealed. These are more affordable but less durable in exposed areas.
For a large, open patio, we recommend an all-season outdoor TV. Brands like SunBriteTV, Seura, and Samsung’s The Terrace are top choices known for durability and picture quality.
Screen Size and Resolution
For a large patio, consider a screen size between 55 and 75 inches. Larger screens provide better visibility from greater distances and enhance the cinematic experience.
Choose at least 4K resolution for sharp, detailed images. Many outdoor TVs now support HDR (High Dynamic Range), which improves contrast and color accuracy—especially helpful in bright daylight.
Smart Features and Connectivity
Look for smart TV capabilities so you can stream content directly via Wi-Fi. Built-in apps like Netflix, YouTube, and Apple TV make it easy to access your favorite shows without extra devices.
Ensure the TV has multiple HDMI ports, USB inputs, and audio outputs. You’ll likely connect a soundbar, streaming stick, or gaming console.
Step 2: Select the Right Mounting System
A secure, adjustable mount is critical for both safety and viewing comfort—especially on a large patio where people may watch from various angles.
Types of Outdoor TV Mounts
– **Fixed Mounts**: Hold the TV flush against the wall. Best for consistent viewing angles but offer no adjustability.
– **Tilt Mounts**: Allow you to angle the TV up or down to reduce glare.
– **Full-Motion (Articulating) Mounts**: Let you swivel, tilt, and extend the TV. Ideal for large patios where viewers sit in different spots.
For maximum flexibility, go with a full-motion mount. It lets you pull the TV out for better viewing and push it back when not in use.
Weight and VESA Compatibility
Check your TV’s weight and VESA pattern (the screw hole layout on the back). The mount must support both. Most outdoor TVs are heavier than indoor models due to their rugged construction, so choose a mount rated for at least 20–30% more than your TV’s weight.
Material and Weather Resistance
Outdoor mounts should be made of powder-coated steel or aluminum to resist rust and corrosion. Avoid cheap plastic or untreated metal mounts—they’ll degrade quickly.
Look for mounts labeled “weatherproof” or “outdoor-rated.” Some come with protective covers for the moving parts.
Installation Height and Viewing Angle
Mount the TV at eye level when seated. For a large patio, aim for 42 to 48 inches from the floor to the center of the screen. This ensures comfortable viewing from lounge chairs, sofas, or dining sets.
Avoid mounting too high—it strains the neck and reduces immersion.
Step 3: Plan Your Layout and Location
Before drilling any holes, plan where the TV will go and how you’ll route cables.
Assess the Deck Structure
Your deck must support the weight of the TV and mount—typically 50–100 pounds combined. Check if the wall you’re mounting to is structurally sound.
– **Wood Framing**: Ideal. Use lag bolts into wall studs (usually 16 or 24 inches apart).
– **Masonry or Concrete**: Requires masonry anchors or sleeve anchors.
– **Metal Studs**: Not recommended unless reinforced with a backer board.
If your deck wall is thin or made of lightweight material, consider reinforcing it with a plywood backer anchored to the frame.
Consider Sun and Glare
Direct sunlight can wash out the screen. Observe the patio throughout the day to identify glare zones.
– Mount the TV under an eave, pergola, or awning if possible.
– Use a TV with an anti-reflective screen.
– Position the TV perpendicular to the sun’s path when possible.
If glare is unavoidable, consider installing retractable shades or outdoor curtains.
Plan for Seating and Viewing Zones
Map out where people will sit. The optimal viewing distance for a 65-inch TV is 8 to 10 feet. For larger screens, increase the distance slightly.
Ensure no obstructions (like railings or plants) block the view. Use a full-motion mount to adjust the angle based on seating.
Power and Signal Sources
Identify the nearest power outlet and Wi-Fi router. You’ll need to run power and possibly HDMI cables from these sources to the TV.
If the outlet is far, you may need to install a new outdoor-rated GFCI (Ground Fault Circuit Interrupter) outlet near the TV. This is safer and more convenient.
Step 4: Run and Protect Cables
Running cables outdoors requires careful planning to protect them from weather, pests, and physical damage.
Use Outdoor-Rated Cables
Never use standard indoor extension cords or HDMI cables. They degrade quickly when exposed to moisture and UV light.
– **Power Cables**: Use outdoor-rated, heavy-duty extension cords or direct wiring through conduit.
– **HDMI Cables**: Choose weatherproof, UV-resistant HDMI cables rated for outdoor use. For runs over 25 feet, consider fiber optic HDMI cables to prevent signal loss.
Conceal Cables for Safety and Aesthetics
Exposed cables are tripping hazards and look messy. Here are three ways to hide them:
1. **In-Wall Conduit**: The cleanest option. Run cables through PVC or metal conduit inside the wall. Requires drilling but offers maximum protection.
2. **Surface-Mounted Conduit**: Attach a weatherproof raceway along the wall or deck post. Easier to install than in-wall but slightly more visible.
3. **Cable Hides or Trunking**: Flexible covers that snap over cables. Good for short runs or temporary setups.
Always use outdoor-rated conduit and fittings.
Weatherproof Connections
All connections must be sealed to prevent water ingress.
– Use waterproof junction boxes for power connections.
– Seal HDMI and other ports with silicone or outdoor-rated tape.
– Plug unused ports with rubber caps.
Use a Surge Protector
Outdoor electronics are vulnerable to power surges from lightning or grid fluctuations. Plug the TV and accessories into a high-quality outdoor surge protector.
Look for models with weatherproof covers and multiple outlets.
Step 5: Install the Mount and TV
Now it’s time to mount the hardware. Safety is paramount—always follow manufacturer instructions.
Gather Your Tools
You’ll need:
– Drill and drill bits
– Level
– Tape measure
– Socket wrench or screwdriver
– Stud finder
– Ladder or step stool
– Helper (recommended for lifting the TV)
Mark and Drill Mounting Holes
1. Hold the mount against the wall at the desired height.
2. Use a level to ensure it’s straight.
3. Mark the screw hole locations.
4. Use a stud finder to locate wall studs. Drill pilot holes into the studs.
5. If no studs are available, use heavy-duty masonry anchors.
Secure the Mount
1. Align the mount with the pilot holes.
2. Insert lag bolts or anchors and tighten securely.
3. Double-check that the mount is level and firmly attached.
Attach the TV to the Mount
1. Have a helper hold the TV while you attach the mounting brackets to the back.
2. Carefully lift the TV and hook it onto the wall plate.
3. Secure with locking screws or safety bolts.
4. Test the mount’s movement—swivel, tilt, and extend to ensure smooth operation.
Step 6: Connect and Test the System
Before finalizing, power up and test everything.
Connect Cables
1. Plug in the power cable.
2. Connect HDMI cables to your streaming device, soundbar, or gaming console.
3. Ensure all connections are tight and secure.
Power On and Configure
1. Turn on the TV and follow the setup wizard.
2. Connect to Wi-Fi.
3. Test streaming apps, volume, and picture quality.
Adjust Viewing Angle
Use the full-motion mount to fine-tune the TV’s position. Eliminate glare and ensure all seating areas have a clear view.
Test in Different Conditions
Check the TV in daylight, at night, and during light rain (if safe). Make sure the screen remains clear and the mount holds steady.
Step 7: Weatherproof and Maintain
Even the best outdoor TV needs ongoing care.
Regular Cleaning
Wipe the screen and casing with a soft, damp cloth. Avoid harsh chemicals. Clean monthly or after heavy rain.
Inspect Cables and Connections
Check for fraying, corrosion, or loose connections every few months. Replace damaged cables immediately.
Use a TV Cover (Optional)
When not in use, especially in winter, consider a breathable, waterproof TV cover to protect against dust and UV exposure.
Schedule Professional Inspections
Once a year, have an electrician inspect the wiring and surge protection system.
Troubleshooting Common Issues
TV Won’t Turn On
– Check power connections and surge protector.
– Ensure the outlet has power (test with another device).
– Verify the remote has batteries.
Weak or No Signal
– Re-seat HDMI cables.
– Test with a different cable or device.
– Check Wi-Fi signal strength—consider a Wi-Fi extender.
Screen Glare or Washed-Out Picture
– Adjust the TV angle.
– Install an awning or shade.
– Use a TV with higher brightness (nits).
Mount Feels Loose
– Tighten all bolts and screws.
– Check for wall damage or rot.
– Reinforce the wall if necessary.
Conclusion
Installing a deck TV for a large patio is a rewarding project that enhances your outdoor living space. By choosing an outdoor-rated TV, using a sturdy full-motion mount, running protected cables, and weatherproofing every connection, you create a safe, durable, and enjoyable entertainment hub.
Take your time with planning and installation. Follow local codes, prioritize safety, and don’t hesitate to consult a professional for electrical work. With the right setup, your deck TV will provide years of movie nights, sports games, and relaxing evenings under the stars.
Now go enjoy your upgraded patio—your new outdoor theater awaits.

