
Transform your poolside experience by installing a backyard TV that’s weather-resistant, securely mounted, and perfectly positioned. This guide walks you through choosing the right TV, planning the layout, running cables safely, and setting up your outdoor entertainment system with confidence.
Key Takeaways
- Choose a weatherproof outdoor TV: Standard indoor TVs aren’t built for humidity, rain, or temperature swings—opt for a certified outdoor model like SunBrite or Samsung Terrace.
- Plan your viewing angle and distance: Position the TV so it’s visible from pool loungers and seating areas without glare from sunlight or water reflections.
- Use proper mounting hardware: Invest in a heavy-duty, corrosion-resistant outdoor mount rated for your TV’s size and weight.
- Run cables safely through conduit: Protect power and HDMI cables from moisture and damage using weatherproof conduit and outdoor-rated wiring.
- Ensure GFCI-protected power supply: Always connect your outdoor TV to a Ground Fault Circuit Interrupter outlet for safety near water.
- Test before finalizing: Power on the system and check audio, video, and signal strength before securing all components permanently.
- Consider smart features and streaming: Use a weatherproof streaming device like Roku or Apple TV with a protective case for easy access to content.
How to Install Backyard TV for Pool Area
Imagine relaxing by the pool, sipping a cool drink, and catching the big game or your favorite movie—all from the comfort of your backyard. Installing a backyard TV for your pool area isn’t just about convenience; it’s about creating a true outdoor entertainment oasis. Whether you’re hosting a summer barbecue or enjoying a quiet evening under the stars, a properly installed outdoor TV can elevate your experience.
But setting up a TV near water and exposed to the elements isn’t as simple as mounting one indoors. You’ll need to consider weather resistance, safe wiring, proper mounting, and optimal viewing angles. This comprehensive guide will walk you through every step—from choosing the right TV to final testing—so you can enjoy your backyard TV safely and reliably for years to come.
Step 1: Choose the Right Outdoor TV
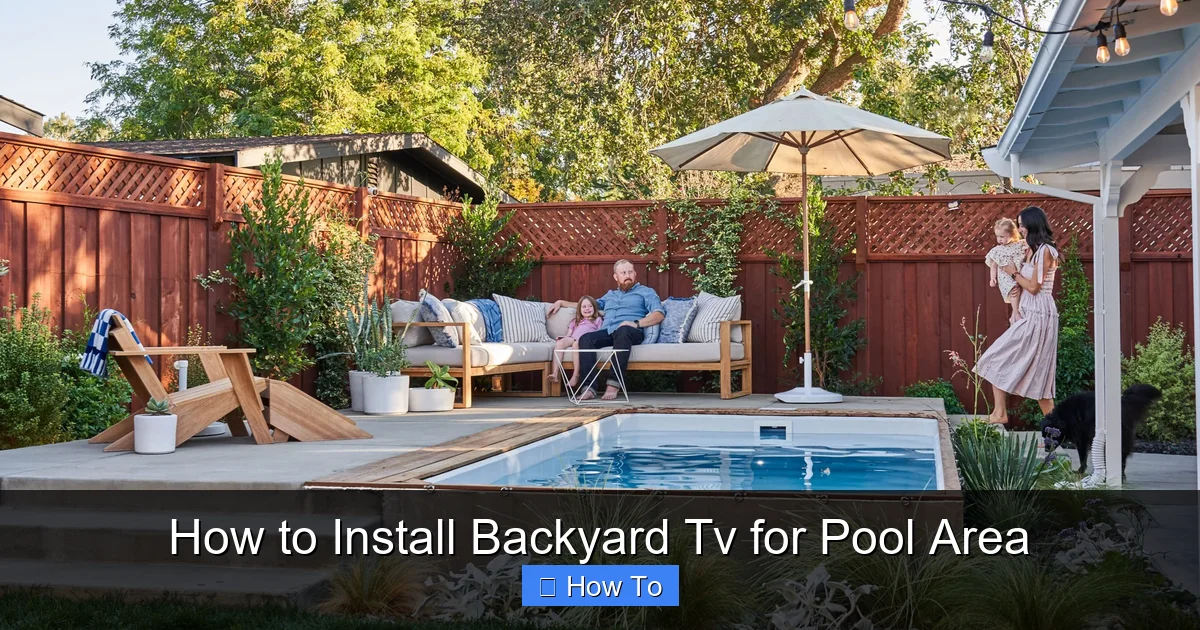
Visual guide about How to Install Backyard Tv for Pool Area
Image source: yardzen.com
Not all TVs are created equal, especially when it comes to outdoor use. A standard indoor TV might seem like a budget-friendly option, but it won’t withstand the humidity, rain, dust, and temperature fluctuations common around pools. That’s why your first step is selecting a TV specifically designed for outdoor environments.
Look for Weatherproof Ratings
Outdoor TVs are built with sealed casings, rust-proof materials, and enhanced cooling systems. Look for models with an IP (Ingress Protection) rating of at least IP55, which means they’re protected against dust and water jets. Higher-end models may offer IP65 or IP66 ratings for even greater durability.
Popular brands like SunBriteTV, Samsung Terrace, and Seura specialize in outdoor displays. These TVs are engineered to operate in temperatures ranging from -22°F to 122°F (-30°C to 50°C), making them ideal for pool areas that experience both summer heat and occasional cold snaps.
Consider Screen Size and Brightness
Outdoor viewing requires a brighter screen than indoor use. Sunlight reflecting off the pool water can wash out images on dimmer displays. Aim for a TV with a brightness of at least 700 nits—many outdoor models offer 1000 nits or more. For a typical poolside setup, a 55-inch to 65-inch screen is ideal, depending on your viewing distance.
Use this simple rule: for every 1.5 feet of viewing distance, choose 1 inch of screen size. So if your seating is 8 feet away, a 55-inch TV (8 ÷ 1.5 ≈ 5.3) is a great fit.
Smart Features and Connectivity
Most outdoor TVs come with built-in smart platforms like Android TV, Roku, or webOS. This allows you to stream content directly without extra devices. However, if your chosen model lacks smart features, you can add a weatherproof streaming box like the Roku Ultra LT or Apple TV 4K in a protective outdoor enclosure.
Make sure the TV has multiple HDMI ports, USB inputs, and Wi-Fi connectivity. Some models also include built-in speakers, but for better sound, consider adding outdoor speakers later.
Step 2: Plan Your TV Location and Viewing Angle
Where you place your TV is just as important as the TV itself. A poorly positioned screen can lead to glare, neck strain, or limited visibility.
Assess Sunlight and Glare
Observe your pool area throughout the day. Note where the sun hits the wall or structure where you plan to mount the TV. Direct sunlight can create harsh glare, making it hard to see the screen. Ideally, mount the TV on a north- or east-facing wall (in the Northern Hemisphere) to minimize afternoon sun exposure.
If glare is unavoidable, consider installing a retractable awning or pergola with shade cloth to block direct sunlight during peak hours.
Determine Optimal Viewing Height
The center of the TV screen should be at or slightly below eye level when seated. For poolside lounging, this typically means mounting the screen 42 to 48 inches from the ground to the center of the display.
Use a tape measure and painter’s tape to mark the proposed location. Sit in your usual lounging spot and have someone hold a cardboard cutout of the TV size to simulate the view.
Check for Obstructions
Ensure there are no trees, railings, or structures blocking the view. Also, avoid placing the TV directly above a grill or fire pit, as smoke and grease can damage the screen over time.
Step 3: Select the Right Mounting Hardware
A sturdy, weather-resistant mount is essential for safety and longevity. Never use an indoor mount outdoors—it can corrode, weaken, or fail under outdoor conditions.
Choose an Outdoor-Rated Mount
Look for mounts labeled “outdoor use” or “weatherproof.” These are made from powder-coated aluminum or stainless steel to resist rust and corrosion. Brands like Peerless, Sanus, and Mounting Dream offer reliable outdoor TV mounts.
Ensure the mount is VESA-compatible with your TV (check the back of the TV for mounting hole patterns) and rated for your TV’s weight and size.
Decide on Mount Type
You have three main options:
- Fixed Mount: Keeps the TV flush against the wall. Best for permanent, straight-on viewing.
- Tilt Mount: Allows you to angle the TV up or down to reduce glare or improve viewing from different heights.
- Full-Motion (Articulating) Mount: Lets you swivel and extend the TV for flexible viewing angles. Great if you want to watch from multiple spots around the pool.
For most pool areas, a tilt or full-motion mount offers the best versatility.
Secure the Mount to a Stud or Reinforced Surface
Use a stud finder to locate wall studs. If mounting on stucco, brick, or concrete, use appropriate anchors like masonry screws or expansion bolts. For added stability, consider reinforcing the wall with a plywood backer board secured to multiple studs.
Never mount a TV to drywall alone—especially outdoors where wind and vibration can loosen fittings over time.
Step 4: Run Power and Signal Cables Safely
This is where many DIYers go wrong. Running cables improperly can lead to electrical hazards, signal loss, or water damage. Follow these steps to do it right.
Use Outdoor-Rated Cables
All cables—power, HDMI, and audio—must be rated for outdoor use. Look for labels like “direct burial,” “UV-resistant,” or “outdoor-rated.” Standard indoor HDMI cables will degrade quickly when exposed to sun and moisture.
For HDMI, consider a high-speed, weatherproof cable with Ethernet support. If running over 25 feet, use an active HDMI cable or an HDMI extender with Cat6 cable to maintain signal quality.
Protect Cables with Conduit
Run all cables through rigid PVC or flexible metal conduit. This protects them from rodents, UV rays, and physical damage. Use watertight conduit fittings and seal all entry points with silicone caulk or outdoor-rated sealant.
Plan your cable route carefully. The shortest path isn’t always the best—avoid sharp bends and areas prone to standing water.
Connect to a GFCI Outlet
Electrical safety is critical near water. Your outdoor TV must be plugged into a Ground Fault Circuit Interrupter (GFCI) outlet. These outlets detect electrical imbalances and cut power instantly to prevent shocks.
If you don’t have a GFCI outlet nearby, hire a licensed electrician to install one. Never use extension cords outdoors—they’re not safe for permanent use and can overheat.
Hide and Secure Cables
Use cable raceways, in-wall conduits, or bury cables underground (if permitted by local codes). For a clean look, paint conduit and raceways to match your wall color.
Label both ends of each cable to avoid confusion during setup.
Step 5: Install the TV and Mount
Now it’s time to put everything together. Take your time—rushing can lead to mistakes or damage.
Attach the Mount to the Wall
Follow the manufacturer’s instructions precisely. Use a level to ensure the mount is perfectly horizontal. Drill pilot holes, insert anchors if needed, and tighten all bolts securely.
Double-check that the mount is firmly anchored and doesn’t wobble.
Mount the TV to the Bracket
With the help of a friend, lift the TV and attach it to the wall plate. Most mounts use quick-release latches or locking screws. Ensure all fasteners are tightened and the TV is secure.
Never mount a TV alone—outdoor models are heavy and awkward to handle.
Connect Cables
Plug in the power cable, HDMI, and any other connections. Route cables neatly through the mount’s cable management system if available.
Avoid sharp bends in HDMI cables, which can damage internal wires.
Step 6: Set Up and Test the System
Before celebrating, test everything to ensure it works properly.
Power On and Check Display
Turn on the TV and verify the picture quality. Look for brightness, color accuracy, and any dead pixels. Adjust settings like contrast and backlight for optimal outdoor viewing.
Test Audio and Connectivity
Play a video with sound to confirm audio works. If using built-in speakers, test volume levels. For better sound, connect outdoor speakers via Bluetooth or wired connection.
Test Wi-Fi signal strength. If weak, consider adding a weatherproof Wi-Fi extender near the TV.
Check Streaming and Apps
Open your favorite streaming apps (Netflix, YouTube, etc.) and play content. Ensure buffering is minimal and quality is high.
If using an external streaming device, make sure it’s securely housed in its protective case and powered correctly.
Step 7: Add Finishing Touches
Your backyard TV is now functional, but a few final touches will make it feel complete.
Install Outdoor Speakers
Built-in TV speakers often lack volume and clarity outdoors. Add weatherproof speakers like the Bose Free Space 51 or Yamaha NS-AW150. Mount them on nearby walls or place them on speaker stands around the pool.
Use wireless speakers for easier setup, or run speaker wire through conduit for a cleaner look.
Add Lighting and Ambiance
String lights, LED strip lights, or landscape lighting can enhance the mood. Install dimmable lights near seating areas to reduce glare on the screen while providing ambient illumination.
Create a Weatherproof Control Station
Store your remote, streaming device, and cables in a weatherproof storage box or cabinet. Some outdoor TVs come with built-in storage compartments.
Troubleshooting Common Issues
Even with careful planning, problems can arise. Here’s how to fix the most common ones.
TV Won’t Turn On
Check the GFCI outlet—it may have tripped. Press the “reset” button. Also, verify all power connections are secure.
Poor Picture Quality or No Signal
Ensure HDMI cables are fully inserted and undamaged. Test with a different cable if possible. Check Wi-Fi signal strength and restart your router.
Glare or Reflections on Screen
Adjust the TV tilt or install a glare-reducing screen protector. Consider adding a shade structure above the TV.
Audio Out of Sync
This is common with streaming devices. Go to your TV or app settings and adjust audio delay. Most devices have a “lip sync” correction option.
Mount Feels Loose
Tighten all bolts and check wall anchors. If the wall is weak, reinforce it with additional backing.
Conclusion
Installing a backyard TV for your pool area is a rewarding project that brings entertainment, comfort, and value to your outdoor space. By choosing a weatherproof TV, planning the layout carefully, using proper mounting and wiring techniques, and testing thoroughly, you’ll create a setup that’s safe, reliable, and enjoyable for years.
Remember: safety first—always use GFCI outlets and outdoor-rated materials. Don’t hesitate to consult a professional electrician or installer if you’re unsure about any step.
With your new backyard TV, every pool day can feel like a private screening under the open sky. So grab your sunscreen, fire up the grill, and get ready to enjoy your favorite shows in the ultimate outdoor setting.

