
Hiding cables for a weatherproof TV in coastal homes requires smart planning and the right materials. This guide walks you through step-by-step methods to protect your setup from salt air, humidity, and UV exposure while keeping your outdoor space clean and safe.
Key Takeaways
- Use marine-grade cable conduits: These resist corrosion from salt air and are built to last in harsh coastal conditions.
- Route cables above ground when possible: Avoid burying cables in sandy soil, which shifts and retains moisture.
- Seal all connections with waterproof tape or silicone: Prevent water and salt intrusion at junction points.
- Choose UV-resistant cable covers: Sun exposure degrades standard plastic; UV-rated materials last longer.
- Plan cable paths before mounting the TV: A clean layout reduces clutter and future maintenance.
- Regular maintenance is essential: Inspect cables every 3–6 months for wear, especially after storms.
- Consider wireless alternatives: Reduce cable clutter with wireless HDMI kits designed for outdoor use.
How to Hide Cables for a Weatherproof TV in Coastal Homes
Living near the coast means enjoying ocean views, fresh breezes, and outdoor living spaces that feel like a permanent vacation. But it also means dealing with salt air, high humidity, sand, and intense sun—all of which can wreak havoc on electronics and cables. If you’ve installed a weatherproof TV on your patio, deck, or outdoor living room, you know how important it is to protect not just the TV, but the cables that power and connect it.
Hiding cables isn’t just about aesthetics. In coastal environments, exposed cables are vulnerable to corrosion, UV damage, and physical wear from wind and sand. Left unprotected, they can fail, create tripping hazards, or even pose electrical risks. The good news? With the right tools and techniques, you can hide your cables safely and effectively—keeping your setup clean, secure, and long-lasting.
In this guide, we’ll walk you through a complete, step-by-step process for hiding cables for your weatherproof TV in a coastal home. You’ll learn how to choose the right materials, plan your cable route, install protective covers, and maintain your system over time. Whether you’re a DIY enthusiast or working with a contractor, these tips will help you create a sleek, weather-resistant outdoor entertainment space.
Why Cable Protection Matters in Coastal Areas
Coastal climates are tough on electronics. Salt air is highly corrosive and can degrade metal connectors and cable insulation over time. High humidity promotes mold and condensation inside conduits. Sand can scratch and abrade surfaces, while intense UV rays break down plastics and rubber coatings. Even weatherproof TVs aren’t immune to these environmental challenges—especially when it comes to the cables that connect them to power, HDMI sources, and audio systems.
Exposed cables are more than just an eyesore. They’re prone to damage from weather, pests, and accidental contact. In high-traffic areas like decks or patios, loose wires can become tripping hazards. And in coastal zones, where storms and high winds are common, unsecured cables can be torn loose or damaged.
Hiding and protecting your cables does more than improve appearance—it extends the life of your equipment, reduces maintenance, and keeps your outdoor space safe. By investing a little time upfront, you’ll save money and hassle down the road.
Step 1: Choose the Right Weatherproof TV and Mount
Before you even think about hiding cables, make sure your TV and mount are built for coastal conditions. Not all “weatherproof” TVs are created equal. Look for models specifically rated for outdoor use in marine or coastal environments. These typically have:
– IP65 or higher ingress protection (dust-tight and protected against water jets)
– Anti-corrosion coatings on internal components
– UV-resistant screens and housings
– Wide operating temperature ranges
Popular brands like SunBrite, Seura, and Samsung’s Terrace series offer excellent coastal-ready options.
Your mount should also be marine-grade. Standard outdoor mounts may rust quickly in salt air. Choose aluminum or stainless steel mounts with powder-coated finishes. Wall mounts are ideal for minimizing cable exposure, but if you’re using a freestanding or ceiling mount, ensure it has built-in cable management channels.
Tip: Check the Warranty
Some manufacturers void warranties if the TV is installed in high-salt environments. Confirm that your model is approved for coastal use before purchasing.
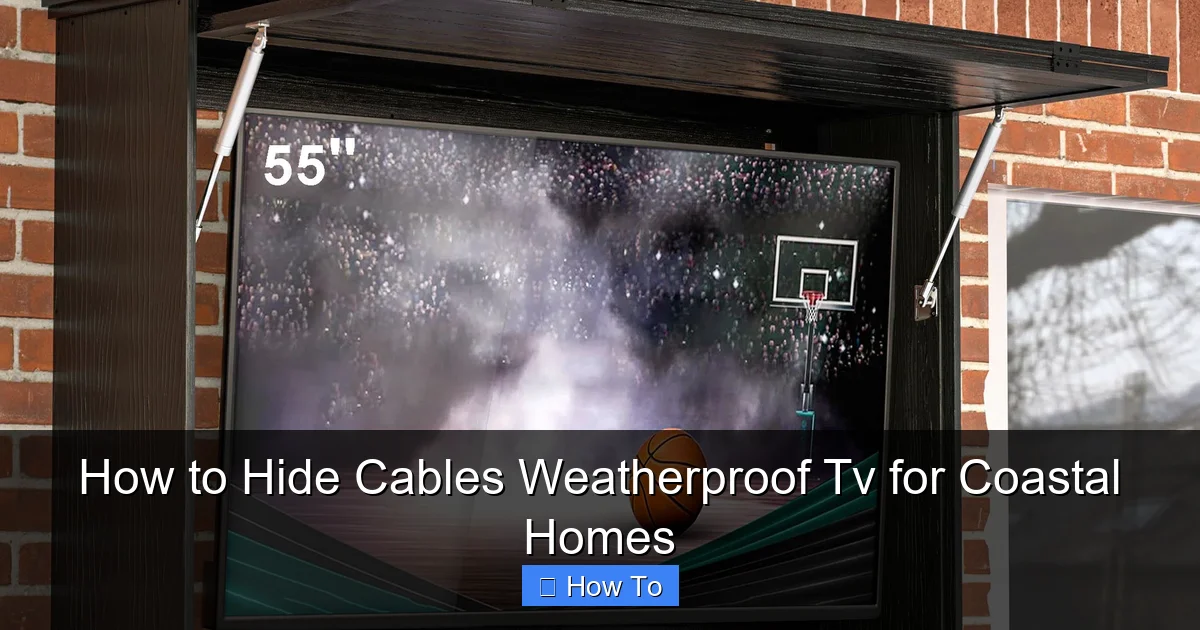
Visual guide about How to Hide Cables Weatherproof Tv for Coastal Homes
Image source: assets.wfcdn.com
Step 2: Plan Your Cable Route
A successful cable-hiding project starts with smart planning. Before drilling any holes or running wires, map out the path from your TV to the nearest power outlet, media source (like a streaming box or receiver), and any audio equipment.
Assess the Distance and Obstacles
Measure the distance from your TV to the power source and other devices. Note any walls, railings, or landscaping features that could interfere. In coastal homes, avoid routing cables through areas prone to flooding or heavy spray.
Choose the Best Path
Ideally, run cables along the underside of decks, behind railings, or along exterior walls. Avoid burying cables in the ground—sandy soil shifts, retains moisture, and makes repairs difficult. If you must go underground, use a rigid conduit and seal all entry points.
Minimize Cable Length
Use only the length of cable you need. Excess coiled wire can trap moisture and create heat buildup. Cut cables to size or use retractable spools for flexibility.
Label Your Cables
Use waterproof labels or colored tape to mark each cable (e.g., “Power,” “HDMI 1,” “Audio”). This makes troubleshooting and future upgrades much easier.
Step 3: Select the Right Cable Protection Materials
Not all cable covers are suitable for coastal environments. You need materials that resist salt, moisture, UV rays, and physical wear. Here are the best options:
Marine-Grade Conduit
PVC or HDPE (high-density polyethylene) conduit rated for marine use is ideal. These materials resist corrosion, are flexible, and can be painted to match your exterior. Look for UL-listed, UV-stabilized conduit with a minimum wall thickness of 0.125 inches.
Cable Raceway Systems
Raceway covers snap onto walls or under decks and hide multiple cables in a single channel. Choose aluminum or polycarbonate models with gasketed lids for a weather-tight seal. Brands like Legrand and Panduit offer outdoor-rated options.
Flexible Cable Sleeves
For shorter runs or tight spaces, use braided nylon or silicone sleeves. These protect individual cables from abrasion and UV damage. They’re especially useful for HDMI and audio cables that can’t be bent sharply.
Weatherproof Junction Boxes
Use IP66-rated enclosures to house power adapters, splitters, or HDMI extenders. Mount them in shaded, ventilated areas away from direct spray. Seal all entry points with silicone or rubber grommets.
Stainless Steel or Aluminum Clips and Fasteners
Standard steel screws and brackets will rust quickly. Use marine-grade stainless steel (316 grade) or aluminum fasteners to secure conduits and raceways.
Step 4: Run and Secure the Cables
Now it’s time to install your cables safely and neatly.
Turn Off Power
Before handling any electrical cables, turn off power at the breaker. Use a voltage tester to confirm the circuit is dead.
Drill Holes Carefully
If running cables through walls or under decks, use a drill bit slightly larger than the conduit. Seal all holes with exterior-grade silicone or foam sealant to prevent water intrusion. In coastal homes, use stainless steel drill bits to avoid rust.
Use Conduit for Long Runs
For runs longer than 10 feet, always use conduit. This protects cables from physical damage and makes future upgrades easier. Use conduit bodies (also called pull boxes) at corners or long straight runs to simplify pulling wires.
Secure Cables Every 18–24 Inches
Use stainless steel straps or UV-resistant zip ties to fasten cables to surfaces. Avoid over-tightening, which can crush insulation. Leave a little slack to allow for thermal expansion and movement.
Bend Cables Gently
Never bend cables tighter than their minimum bend radius (usually 4–6 times the cable diameter). Sharp bends can damage internal conductors, especially in HDMI and Ethernet cables.
Step 5: Hide Cables with Aesthetic Solutions
Once your cables are protected, it’s time to hide them from view. The goal is to blend them into your outdoor space without compromising protection.
Under-Deck Routing
Run cables along the underside of your deck using raceways or conduit. Paint the covers to match your deck color. This keeps cables out of sight and protected from foot traffic.
Wall-Mounted Raceways
Attach raceways to exterior walls using stainless steel screws. Choose low-profile designs that sit flush against the surface. For a seamless look, paint the raceway to match your siding.
Cable Channels in Railings
If your TV is mounted near a railing, use hollow aluminum or vinyl railings as natural cable channels. Drill small entry and exit holes, then feed cables through. Seal the holes with silicone.
Landscaping Integration
For ground-level runs, use flat, flexible conduit that can be buried just beneath mulch or gravel. Avoid deep burial—shallow placement allows for easy access and reduces moisture exposure.
Furniture and Planters
Use outdoor furniture or large planters to conceal junction boxes or power strips. Just ensure there’s adequate ventilation and the equipment isn’t exposed to water.
Step 6: Seal and Weatherproof All Connections
Even the best cable hiding job can fail if connections aren’t properly sealed.
Use Waterproof Tape
Wrap all outdoor electrical connections with self-amalgamating tape (like Scotch 2228) or butyl rubber tape. These tapes fuse together when stretched, creating a waterproof seal.
Apply Silicone Sealant
Use 100% silicone caulk (not acrylic) to seal gaps around conduit entries, junction boxes, and wall penetrations. Choose a UV-resistant, paintable formula for longevity.
Install Gland Fittings
For cables entering enclosures or conduits, use IP68-rated cable glands. These compress around the cable to create a watertight seal without damaging the insulation.
Use In-Line Splice Kits
If you need to extend a cable, use a waterproof in-line splice kit designed for outdoor use. Avoid twisting wires together and covering with tape—this is not safe or durable.
Step 7: Test and Maintain Your System
After installation, test everything before finalizing the setup.
Power On and Check Connections
Turn the power back on and verify that the TV, audio, and streaming devices are working. Check for signal loss, flickering, or audio dropouts.
Inspect for Water Intrusion
After rain or high humidity, inspect all seals, conduits, and junction boxes. Look for condensation, rust, or loose fittings.
Schedule Regular Maintenance
Every 3–6 months, clean cable covers, check fasteners, and reapply sealant if needed. After storms, inspect for damage from wind or flying debris.
Keep a Spare Kit
Store spare cable ties, sealant, and a few feet of extra cable in a weatherproof container. This makes quick repairs easier.
Troubleshooting Common Issues
Even with the best planning, problems can arise. Here’s how to handle common issues:
Cable Signal Loss
If your HDMI or Ethernet signal is weak, check for sharp bends, damaged connectors, or water in the line. Replace damaged cables and ensure all connections are dry and secure.
Rust on Fasteners
If you see rust, replace the fastener immediately with a marine-grade stainless steel version. Sand and repaint surrounding areas to prevent spread.
Condensation in Conduit
This indicates a seal failure. Open the conduit, dry the cables, and reseal all entry points. Consider adding a small vent or desiccant pack to absorb moisture.
UV Damage to Covers
Cracked or brittle raceways should be replaced. Choose UV-stabilized materials and repaint as needed.
Tripping Hazards
If cables are still visible or loose, re-secure them or reroute using a different path. Never leave cables lying on the ground.
Bonus Tips for Coastal Cable Management
– Use wireless HDMI kits: Reduce cable clutter with a reliable outdoor wireless transmitter. Look for models with 30–50 foot range and weather-resistant transmitters.
– Install a dedicated outdoor outlet: Hire an electrician to install a GFCI-protected outlet near your TV. This reduces the need for long extension cords.
– Elevate equipment: Keep power strips and adapters off the ground using wall-mounted enclosures or elevated platforms.
– Choose flat cables: Flat HDMI and Ethernet cables are easier to route under rugs, decks, or trim.
– Document your setup: Take photos and notes of your cable layout. This helps with future repairs or upgrades.
Conclusion
Hiding cables for a weatherproof TV in a coastal home isn’t just about looks—it’s about durability, safety, and peace of mind. The salty, humid, and sunny environment demands extra care, but with the right materials and techniques, you can create a clean, reliable outdoor entertainment system that lasts for years.
Start by choosing a TV and mount rated for coastal use, then plan your cable route carefully. Use marine-grade conduits, raceways, and fasteners to protect against corrosion and UV damage. Seal all connections, hide cables using aesthetic solutions, and maintain your system regularly.
By following this guide, you’ll protect your investment, reduce clutter, and enjoy your outdoor TV without worrying about weather or wear. Whether you’re watching the sunset over the ocean or hosting a backyard movie night, your setup will be as resilient as it is beautiful.

