
Hiding TV cables on a coastal patio requires special attention to weatherproofing and corrosion resistance. This guide walks you through durable, stylish, and safe methods to conceal cables while protecting them from salt air, humidity, and UV exposure.
Key Takeaways
- Use marine-grade materials: Always choose cable management products rated for outdoor and coastal environments to resist rust and corrosion.
- Elevate and protect cables: Keep wires off the ground and shielded from moisture using conduit, raceways, or under-deck trays.
- Seal all connections: Waterproof connectors and silicone sealant prevent saltwater intrusion and electrical hazards.
- Plan for airflow and access: Ensure cables aren’t tightly bundled and can be accessed for maintenance without damaging finishes.
- Blend with design: Use color-matched raceways or natural materials like teak or composite to maintain your patio’s aesthetic.
- Follow local codes: Consult electrical codes for outdoor installations, especially in flood-prone or high-wind coastal zones.
- Regular maintenance matters: Inspect cables and enclosures seasonally to catch wear from salt, sun, or storms early.
Introduction: Why Hiding TV Cables on a Coastal Patio Matters
If you’ve invested in an outdoor TV for your coastal patio, you know how quickly salt air, humidity, and UV rays can degrade electronics and wiring. While enjoying sunset views or backyard movie nights sounds idyllic, exposed cables not only look messy—they’re a safety hazard and a maintenance nightmare in seaside environments. Salt corrosion can eat through standard wiring insulation, moisture can cause shorts, and wind can loosen connections over time.
This guide will show you how to hide TV cables on your patio safely, durably, and stylishly—specifically tailored for homes near the ocean. You’ll learn how to choose the right materials, route cables effectively, protect them from the elements, and maintain your setup so it lasts for years. Whether you’re mounting a TV under a pergola, on a deck post, or near a pool, these steps will help you create a clean, professional look without sacrificing function or safety.
We’ll cover everything from planning your cable path to sealing connections and choosing weatherproof enclosures. By the end, your patio will look sleek, your TV will stay powered and protected, and you’ll avoid costly repairs down the line.
Step 1: Assess Your Patio Layout and TV Placement
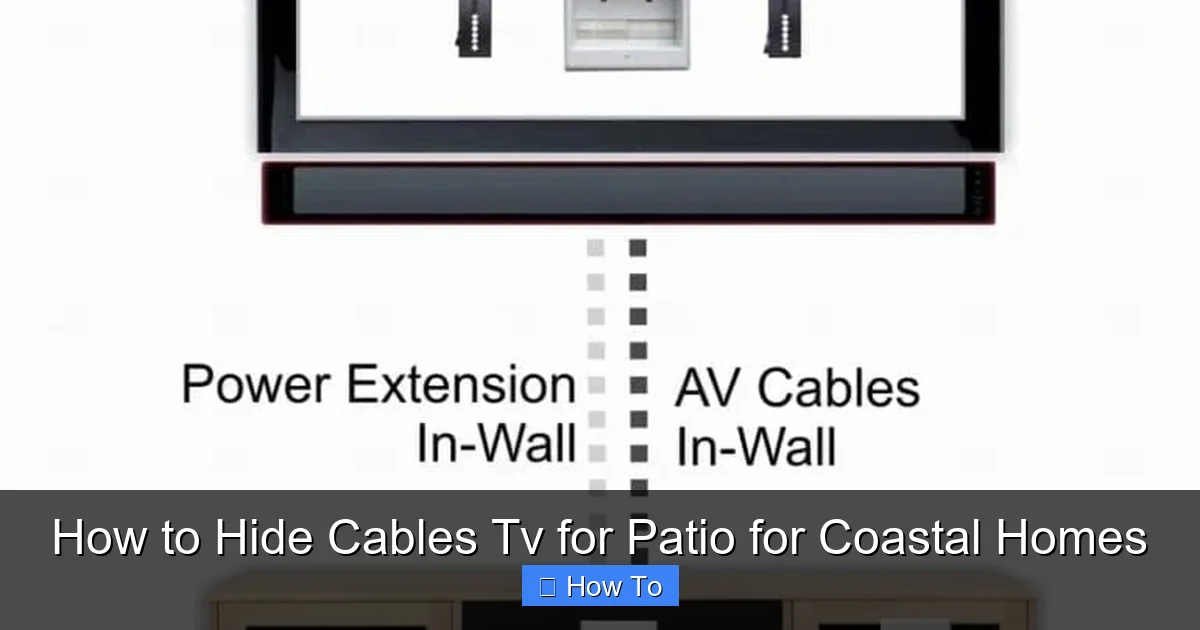
Visual guide about How to Hide Cables Tv for Patio for Coastal Homes
Image source: hellotech.com
Before running a single wire, take time to map out your space. Coastal patios often have unique features—salt-resistant decking, elevated foundations, outdoor kitchens, or pergolas—that affect how and where you can hide cables.
Identify Power and Signal Sources
Start by locating your nearest outdoor-rated electrical outlet. If you don’t have one, you may need to hire a licensed electrician to install a GFCI (Ground Fault Circuit Interrupter) outlet, which is required for outdoor use and essential in damp coastal areas. Also, note where your cable, satellite, or streaming source (like a media box or router) will be housed. Ideally, keep these components in a sheltered, dry location—like a weatherproof cabinet or under a covered porch.
Determine the TV Mounting Location
Decide exactly where your TV will go. Common spots include:
– Mounted on a wall or post
– Under a pergola or covered patio
– On a freestanding outdoor TV stand
Measure the distance from the TV to the power source and signal input. This helps you calculate how much cable you’ll need and whether you’ll require extensions or signal boosters.
Consider Environmental Challenges
Coastal environments pose unique threats:
– **Salt air** accelerates corrosion on metal parts and degrades rubber/plastic insulation.
– **High humidity** increases the risk of condensation inside enclosures.
– **UV exposure** can brittle and crack standard cable jackets.
– **Wind and storms** may loosen loose cables or damage exposed wiring.
Choose a cable path that minimizes exposure to these elements. For example, run wires under decking or along shaded walls rather than across open, sun-baked surfaces.
Step 2: Choose the Right Cables and Materials
Not all cables are created equal—especially when salt and sun are involved. Using indoor-rated cables outdoors is a common mistake that leads to premature failure.
Use Outdoor-Rated, UV-Resistant Cables
Look for cables labeled “direct burial,” “outdoor,” or “UV-resistant.” These are designed to withstand moisture, temperature swings, and sunlight. For TV setups, you’ll typically need:
– **Coaxial cable** (for satellite or antenna)
– **HDMI cables** (for streaming devices or receivers)
– **Power cords** (preferably with weatherproof covers)
Avoid cheap, unshielded cables. Instead, opt for:
– **RG6 coaxial cable** with a bonded foil shield and UV-resistant jacket
– **Outdoor-rated HDMI cables** with corrosion-resistant connectors
– **SJTW or SJTOW power cords**, which are flexible and weather-resistant
Select Marine-Grade or Corrosion-Resistant Hardware
Standard plastic or metal raceways may rust or degrade in coastal air. Instead, use:
– **Stainless steel conduit** or **aluminum raceways** with powder-coated finishes
– **Polyethylene or PVC conduit** (non-metallic, won’t corrode)
– **Teak or composite cable covers** that blend with outdoor décor
Avoid galvanized steel unless it’s specifically rated for marine environments—many standard versions will rust quickly near saltwater.
Invest in Waterproof Connectors and Enclosures
All connection points—where cables enter enclosures, splitters, or the TV—must be sealed. Use:
– **Waterproof junction boxes** with silicone gaskets
– **Heat-shrink tubing with adhesive lining** for splices
– **Dielectric grease** on metal connectors to prevent oxidation
For HDMI and power connections, consider **outdoor-rated extension kits** that include sealed housings.
Step 3: Plan the Cable Route
A well-planned route minimizes exposure, reduces tripping hazards, and makes future maintenance easier.
Run Cables Along Protected Paths
Ideal routes include:
– **Under decking or along joists** (use cable clips to secure)
– **Inside conduit buried just below the surface** (if permitted by local codes)
– **Along walls or under eaves** where they’re shielded from rain and sun
– **Through existing outdoor structures** like pergola beams or railings
Avoid running cables across open patio surfaces where they can be tripped over or damaged by furniture.
Use Conduit for Exposed or High-Traffic Areas
If cables must cross a walkway or sit in an open area, protect them with:
– **Rigid PVC conduit** (easy to install, corrosion-proof)
– **Flexible corrugated conduit** for curved paths
– **Cable ramps** for temporary or movable setups (great for events)
Paint conduit to match your deck or wall color for a seamless look.
Keep Cables Elevated and Dry
Never let cables rest directly on wet concrete or soil. Use:
– **Cable trays or raceways** mounted above ground
– **Hooks or clips** to suspend wires under decks
– **Drainage-friendly routing** that avoids low spots where water pools
If you’re near a pool or fountain, ensure cables are at least 6 feet away from water features unless using fully sealed, submersible-rated systems.
Step 4: Install Cable Management Systems
Now it’s time to install the hardware that will hide and protect your cables.
Mount Raceways or Conduit
For wall-mounted TVs, surface-mounted raceways are a clean, modern solution. Choose a color that matches your wall or trim. Installation steps:
1. Measure and mark the path from the TV to the power/source.
2. Drill pilot holes for mounting screws (use stainless steel screws).
3. Attach the raceway base, then thread cables through.
4. Snap on the cover and secure with screws if needed.
For a more hidden look, use **in-wall conduit** if your patio wall is accessible from inside. This requires cutting into the wall but offers the cleanest finish.
Use Under-Deck Cable Trays
If your TV is mounted under a deck or pergola, run cables along the underside using:
– **Plastic or aluminum cable trays**
– **J-hooks or bridle rings** spaced every 12–18 inches
– **Zip ties** (use UV-resistant ones) to bundle cables neatly
Ensure trays are sloped slightly to allow water runoff and prevent pooling.
Install Weatherproof Enclosures for Electronics
Your streaming box, router, or cable splitter should never be left exposed. Use a **NEMA-rated outdoor enclosure** (NEMA 3R or 4X for coastal areas) to protect devices. These boxes are sealed against rain, dust, and salt spray.
Mount the enclosure in a shaded, ventilated spot—never in direct sunlight. Use a small fan or vent with a filter if heat buildup is a concern.
Step 5: Seal and Protect All Connections
Even the best cables will fail if connections aren’t properly sealed.
Waterproof Every Junction
At every splice, splitter, or connector:
1. Apply **dielectric grease** to metal contacts to prevent corrosion.
2. Use **heat-shrink tubing** with adhesive lining—heat it until it forms a tight seal.
3. For coaxial connections, use **weatherproof F-type connectors** with rubber boots.
Seal Entry Points into Enclosures
When cables enter a junction box or TV mount:
– Use **cable glands** or **sealed entry plates**
– Apply **silicone sealant** around the edges
– Ensure gaskets are clean and properly seated
Avoid over-tightening, which can crack seals.
Test for Moisture Resistance
After installation, spray a light mist of water (simulating rain) on connections and enclosures. Check for leaks or condensation inside boxes after 24 hours.
Step 6: Secure and Organize Cables
Loose cables are prone to damage and look messy.
Bundle Neatly with UV-Resistant Ties
Use **nylon zip ties** rated for outdoor use. Avoid metal ties—they can rust and cut into insulation.
Bundle cables loosely to allow airflow and prevent overheating. Label each bundle (e.g., “Power,” “HDMI,” “Coax”) for easy identification.
Anchor Cables to Prevent Sway
In windy coastal areas, use:
– **Adhesive-backed cable clips** (rated for outdoor use)
– **Stainless steel straps** with rubber padding
– **Magnetic mounts** for metal surfaces
Space anchors every 12–18 inches to prevent drooping.
Leave Service Loops
At both ends of long runs, leave a small loop of extra cable (6–12 inches). This allows for future adjustments or repairs without stretching wires.
Step 7: Blend Cables with Your Patio Design
Hiding cables isn’t just about function—it’s about aesthetics.
Match Colors and Materials
Choose raceways and conduit in colors that blend with your deck, wall, or pergola. Popular options:
– **White or beige** for light wood or stucco
– **Charcoal or black** for modern decks
– **Natural wood-look** for rustic patios
Paintable raceways let you customize the match.
Use Natural or Composite Covers
For a high-end look, consider:
– **Teak cable covers** that age gracefully in salt air
– **Composite decking strips** with built-in cable channels
– **Outdoor-rated fabric sleeves** in neutral tones
These options hide cables while complementing your outdoor furniture and landscaping.
Integrate with Landscaping
Route cables behind planters, along fence lines, or under mulch (if using buried conduit). Use low-voltage landscape lighting stakes to hold cables in place without damaging roots.
Troubleshooting Common Issues
Even with careful planning, problems can arise. Here’s how to fix them.
Cables Are Corroding or Brittle
**Cause:** Salt air or UV exposure.
**Fix:** Replace with marine-grade cables. Apply UV protectant spray to existing wires. Install shade covers or use conduit for protection.
Signal Loss or Interference
**Cause:** Long cable runs, poor shielding, or moisture in connectors.
**Fix:** Use signal boosters for HDMI over long distances. Re-seal all connections. Replace damaged coaxial cables.
Enclosures Are Condensing Inside
**Cause:** Temperature swings and poor ventilation.
**Fix:** Add vented filters or small desiccant packs. Avoid fully sealed boxes unless rated for condensation control.
Cables Are Tripping Hazards
**Cause:** Poor routing or lack of covers.
**Fix:** Re-route under decking or use cable ramps. Install warning signs if needed.
Power Outlets Keep Tripping
**Cause:** Moisture in GFCI outlets or overloaded circuits.
**Fix:** Replace with a new outdoor GFCI outlet. Ensure total wattage of devices doesn’t exceed circuit capacity.
Maintenance Tips for Coastal Environments
Coastal setups require regular care to stay functional.
Inspect Every 3–6 Months
Check for:
– Rust on metal parts
– Cracks in cable jackets
– Loose connections
– Condensation in enclosures
Clean salt residue with a damp cloth and mild detergent.
Reapply Sealant Annually
Silicone and dielectric grease degrade over time. Reapply to all connections and entry points each spring.
Trim Nearby Vegetation
Plants can rub against cables or trap moisture. Keep foliage at least 6 inches away from wiring.
Prepare for Storms
Before hurricanes or heavy storms:
– Disconnect non-essential devices
– Secure loose cables
– Cover enclosures with tarps if needed
Conclusion: Enjoy a Clean, Safe, and Durable Outdoor TV Setup
Hiding TV cables on a coastal patio isn’t just about looks—it’s about protecting your investment from one of nature’s harshest environments. By using marine-grade materials, planning smart cable routes, sealing all connections, and maintaining your system regularly, you can enjoy crystal-clear outdoor entertainment for years to come.
Remember, the key to success in coastal areas is **proactive protection**. Salt air and humidity won’t wait for you to react. With the right approach, your patio TV setup will stay safe, functional, and beautiful—no matter how close you are to the shore.
Take your time, follow local codes, and don’t hesitate to consult a professional electrician for complex installations. Your future self will thank you every time you press play under the stars.

