
Hiding cables for your patio TV keeps your outdoor space safe, tidy, and ready for game day. This guide walks you through smart, weatherproof solutions to conceal wires while protecting your equipment and enhancing your viewing experience.
Key Takeaways
- Plan your cable route first: Map out the shortest, safest path from your TV to the power source and other devices to minimize exposure and tripping hazards.
- Use weatherproof cable management products: Choose outdoor-rated raceways, conduits, and covers designed to withstand sun, rain, and temperature changes.
- Anchor cables securely: Prevent sagging or damage by using clips, zip ties, or adhesive mounts rated for outdoor use.
- Protect power cords with GFCI outlets: Always plug into a Ground Fault Circuit Interrupter outlet to reduce the risk of electrical shock in damp conditions.
- Test your setup before game day: Run a full system check to ensure all connections are secure and signals are strong.
- Maintain your cable system regularly: Inspect covers and seals seasonally to prevent wear from weather or pests.
- Prioritize safety and aesthetics: A clean cable setup not only looks better but also reduces accidents and extends the life of your gear.
How to Hide Cables Patio TV for Outdoor Sports Watching
Imagine this: It’s game day. The sun is shining, your friends are gathered around the patio, and the big screen is ready to go. But then you notice it—the tangled mess of cables snaking across the deck, tripping hazards waiting to happen, and wires exposed to the elements. Not exactly the perfect setup for enjoying the final minutes of a championship match.
That’s where this guide comes in. Whether you’re watching the Super Bowl, the World Cup, or your favorite team’s playoff game, a clean, organized outdoor entertainment area makes all the difference. Hiding cables for your patio TV isn’t just about looks—it’s about safety, durability, and creating a space where you can focus on the action, not the wiring.
In this comprehensive how-to guide, you’ll learn step-by-step how to hide cables for your patio TV so your outdoor sports setup is sleek, secure, and ready for any weather. We’ll cover planning your layout, choosing the right materials, installing cable management systems, and maintaining your setup over time. By the end, you’ll have a professional-looking outdoor entertainment zone that’s both functional and safe.
Step 1: Plan Your Cable Layout
Before you touch a single wire, take time to plan. A well-thought-out layout saves time, reduces clutter, and prevents future headaches. Start by identifying all the devices that need power and signal connections.
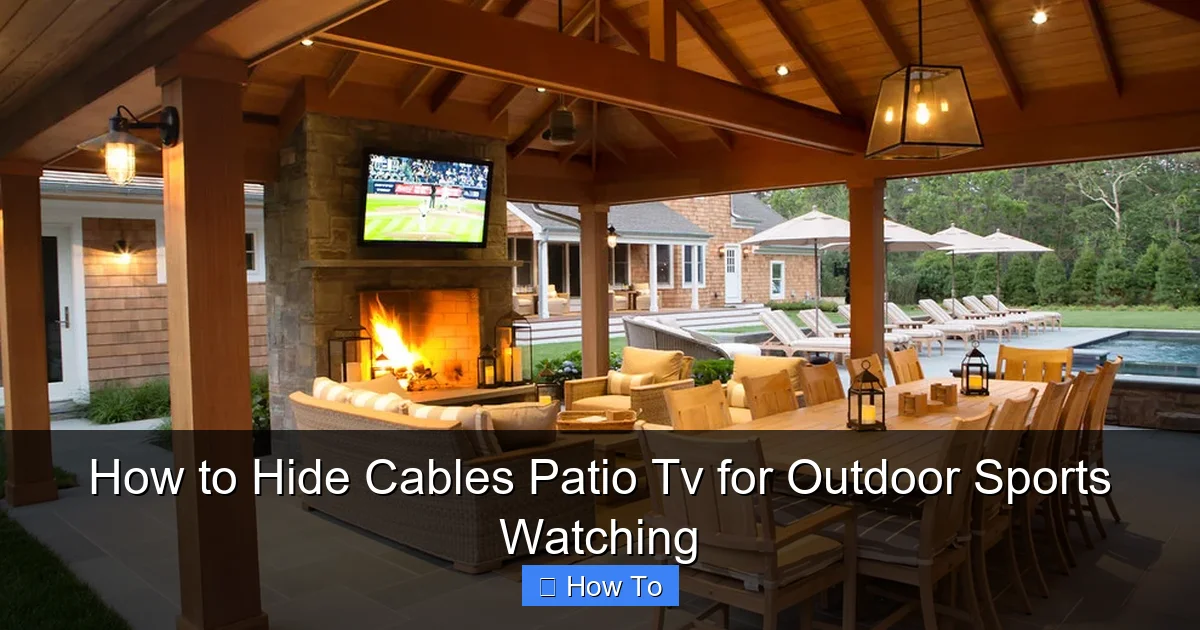
Visual guide about How to Hide Cables Patio Tv for Outdoor Sports Watching
Image source: st.hzcdn.com
Identify All Connected Devices
Your patio TV setup likely includes more than just the TV. Common devices include:
- Streaming devices (like Roku, Apple TV, or Fire Stick)
- Soundbars or outdoor speakers
- Game consoles (Xbox, PlayStation)
- Wi-Fi extenders or mesh nodes
- Outdoor lighting or smart controls
Make a list of each device and note how many cables it requires—power, HDMI, Ethernet, etc. This helps you estimate total cable length and choose the right management tools.
Map the Shortest, Safest Route
Trace the path each cable will take from the TV to its destination. Aim for the shortest route that avoids high-traffic areas, steps, and water sources. For example:
- If your TV is mounted on a wall, run cables down the back of the wall or along the edge toward an outlet.
- If the TV sits on a stand, route cables behind furniture or along the ground toward a power source.
- Avoid running cables across doorways or under rugs where they can be crushed or tripped over.
Use painter’s tape to mark the planned path on the wall or floor. This visual guide helps during installation and ensures you don’t miss any spots.
Check for Power and Signal Sources
Locate the nearest outdoor GFCI (Ground Fault Circuit Interrupter) outlet. This is essential for safety, especially in damp environments. If you don’t have one, consider hiring an electrician to install one near your TV area.
Also, check your Wi-Fi signal strength. Weak signals can cause buffering during live sports. If needed, install a weatherproof Wi-Fi extender or use an Ethernet cable for a wired connection.
Step 2: Choose the Right Cable Management Tools
Not all cable covers are created equal—especially for outdoor use. You need products designed to withstand sun, rain, snow, and temperature swings. Here’s what to look for.
Outdoor-Rated Cable Raceways
Cable raceways are plastic or metal channels that hide and protect wires. For patios, choose raceways labeled “weatherproof” or “UV-resistant.” These won’t crack, fade, or warp in extreme conditions.
Popular options include:
- Legrand Outdoor Cable Raceway: Durable PVC, easy to cut and paint, comes in white or beige.
- BlueLounge CableBox: Sleek, modern design that doubles as a storage box for remotes and accessories.
- D-Line Outdoor Cable Cover: Flexible, snap-on design that blends with decking or walls.
Measure your cables and choose a raceway with enough space for all wires, plus a little extra for future additions.
Flexible Conduit for Long Runs
For longer cable runs—like from a house outlet to a freestanding TV—use flexible electrical conduit. This corrugated plastic or metal tubing protects wires from moisture, pests, and physical damage.
Look for:
- UV-stabilized PVC conduit (ideal for sunny areas)
- Metal conduit for added durability (great for high-traffic zones)
- Pre-slit conduit for easy insertion of cables
Attach conduit to walls, fences, or deck posts using outdoor-rated brackets or adhesive mounts.
Cable Clips and Zip Ties
For quick, temporary fixes, use outdoor-rated cable clips or zip ties. These are great for bundling wires together or securing them to railings or posts.
Choose:
- Adhesive-backed clips with strong outdoor glue
- Stainless steel zip ties (resist rust and UV damage)
- Reusable Velcro straps for easy adjustments
Avoid cheap plastic ties—they become brittle and break in the sun.
Weatherproof Outlet Covers
Protect your power connections with in-use outlet covers. These clear, hinged boxes shield plugs from rain while allowing access.
Install one over your GFCI outlet and any extension cords. Look for models with gaskets and locking mechanisms for maximum protection.
Step 3: Install Cable Management Systems
Now it’s time to put your plan into action. Follow these steps to install your chosen cable management tools safely and effectively.
Prepare the Surface
Clean the area where you’ll install raceways or clips. Remove dirt, grease, or loose paint. For adhesive mounts, wipe the surface with rubbing alcohol to ensure a strong bond.
If drilling is needed (for conduit or brackets), use a masonry bit for concrete or brick, and a standard drill bit for wood or vinyl siding.
Install Cable Raceways
Start at the TV and work toward the power source.
- Cut the raceway to length using a hacksaw or utility knife.
- Open the raceway and lay your cables inside. Group similar cables (power, HDMI, etc.) together.
- Close the raceway and secure it to the wall or deck using screws or outdoor adhesive.
- If painting is desired, use exterior-grade paint that matches your patio color.
For corners or turns, use pre-made corner pieces or gently bend flexible raceways.
Run Conduit for Long Distances
If your TV is far from the house, run conduit underground or along the surface.
- Dig a shallow trench (6–8 inches deep) if burying conduit. Check local codes first.
- Use PVC conduit with watertight fittings.
- Pull cables through using a fish tape or string.
- Seal both ends with silicone caulk to prevent moisture entry.
For above-ground runs, attach conduit to fence posts or deck rails using U-bolts or straps.
Secure Loose Cables
Use clips or zip ties to bundle and anchor any remaining loose wires.
- Group cables together every 12–18 inches.
- Avoid over-tightening zip ties—this can damage insulation.
- Use adhesive mounts under tables or behind furniture for hidden support.
For a clean look, route cables behind outdoor furniture or along the edge of a pergola.
Connect and Test
Once all cables are hidden, plug everything in and test your system.
- Turn on the TV and check for picture and sound.
- Test streaming apps and live sports channels.
- Verify Wi-Fi or Ethernet connection speed.
- Ensure all devices power on without issues.
If something isn’t working, double-check connections and cable integrity.
Step 4: Protect Cables from Weather and Wear
Outdoor cables face harsh conditions. Sun, rain, snow, and pests can degrade wires over time. Take these steps to extend their life.
Use UV-Resistant Cable Sleeves
Slide cables into UV-resistant sleeves or spiral wrap. These flexible covers protect insulation from sun damage and make bundles neater.
Choose sleeves with a high UV rating and easy installation.
Apply Silicone Sealant
At entry points (where cables enter raceways or walls), apply a bead of outdoor silicone sealant. This prevents water from seeping in.
Use a waterproof, paintable silicone for a clean finish.
Elevate Cables Off the Ground
Never let cables rest directly on wet concrete or grass. Use cable ramps or small blocks to keep them elevated.
This reduces moisture exposure and prevents tripping.
Install Cable Ramps for High-Traffic Areas
If cables must cross a walkway, use a cable ramp. These rubber or plastic covers protect wires and provide a safe walking surface.
Choose ramps with bright yellow edges for visibility.
Step 5: Maintain Your Cable System
A little maintenance goes a long way. Check your setup regularly to ensure it stays safe and functional.
Monthly Inspections
Look for:
- Cracks or fading in raceways
- Loose clips or adhesive mounts
- Frayed or exposed wires
- Pest damage (chewed insulation)
Replace damaged parts immediately.
Seasonal Deep Clean
Twice a year, clean your cable covers and outlets. Use a damp cloth to remove dirt and mildew. Check seals and reapply silicone if needed.
Update as Needed
If you add new devices (like a soundbar or smart lights), revisit your cable plan. Upgrade raceways or conduit if necessary.
Troubleshooting Common Issues
Even with the best planning, problems can arise. Here’s how to fix common issues.
Cables Keep Coming Loose
If clips or adhesive mounts fail, the surface may be too rough or dirty. Clean the area and use stronger mounts, like screw-in brackets.
Signal Loss or Interference
Long HDMI or Ethernet runs can weaken signals. Use signal boosters or fiber optic HDMI cables for distances over 25 feet.
Water in Conduit or Raceways
If you find moisture, dry the cables and reseal all entry points. Consider adding a drip loop—a downward curve in the cable before it enters the raceway—to divert water.
Tripping Hazards Remain
If cables still cross walkways, install a permanent cable ramp or reroute through a wall or under decking.
Final Tips for a Pro-Looking Setup
Want your patio to look like it belongs in a magazine? Try these pro tips:
- Paint raceways to match your wall or deck color.
- Use cable combs to organize wires inside raceways.
- Label each cable with tags or colored tape for easy identification.
- Store remotes and accessories in a weatherproof box near the TV.
- Add outdoor lighting to highlight your setup without exposing wires.
Conclusion
Hiding cables for your patio TV doesn’t have to be complicated or expensive. With the right tools, a solid plan, and a little effort, you can create a clean, safe, and stylish outdoor entertainment space perfect for watching sports.
From planning your cable route to installing weatherproof raceways and maintaining your system, every step brings you closer to a clutter-free patio. Not only will your setup look better, but it will also protect your equipment and reduce the risk of accidents.
So next time the game is on, you can focus on the score—not the wires. Whether it’s a backyard barbecue or a solo viewing session, your outdoor TV area will be ready for action, rain or shine.

