
Cleaning your outside TV for small patio doesn’t have to be complicated. This guide walks you through safe, effective methods to keep your outdoor screen spotless and protected from dust, moisture, and UV exposure—without damaging the display or electronics.
Key Takeaways
- Turn off and unplug the TV first: Always power down and disconnect your outdoor TV before cleaning to prevent electrical hazards and protect internal components.
- Use only gentle, non-abrasive tools: Microfiber cloths, soft brushes, and distilled water are ideal—avoid paper towels, sponges, or harsh chemicals that can scratch or degrade the screen.
- Clean the screen and housing separately: The display and outer casing require different approaches; never spray liquid directly onto the screen.
- Protect from weather between cleanings: Use a weatherproof cover when the TV is off to reduce dust buildup and shield against rain, pollen, and UV rays.
- Clean regularly but gently: Wipe down your outdoor TV every 2–4 weeks depending on your climate to maintain clarity and extend its lifespan.
- Avoid high-pressure water or steam cleaners: These can force moisture into seals and damage internal electronics, especially in non-sealed models.
- Check manufacturer guidelines: Always refer to your TV’s manual for model-specific cleaning recommendations and warranty requirements.
How to Clean Outside TV for Small Patio: A Complete Step-by-Step Guide
If you’ve invested in an outdoor TV for your small patio, you know how much it enhances your outdoor living experience. Whether you’re watching the big game under the stars or enjoying a movie night with friends, a clean, clear screen makes all the difference. But unlike indoor TVs, outdoor models face constant exposure to dust, pollen, rain, humidity, and even bird droppings. Over time, this buildup can dull the picture quality, reduce brightness, and—if not handled properly—damage the screen or internal components.
The good news? Cleaning your outside TV for small patio is simple, safe, and only takes a few minutes when done correctly. This comprehensive guide will walk you through everything you need to know—from preparation and tools to step-by-step cleaning techniques and long-term maintenance tips. By the end, you’ll feel confident maintaining your outdoor TV so it stays sharp, vibrant, and protected season after season.
Why Cleaning Your Outdoor TV Matters
Outdoor TVs are built to withstand the elements, but that doesn’t mean they’re immune to dirt and grime. In fact, regular cleaning is essential for both performance and longevity. Here’s why:
First, dust, pollen, and pollution can accumulate on the screen surface, creating a hazy film that reduces image clarity. This is especially noticeable during daytime viewing when sunlight hits the screen. Second, moisture from rain or morning dew can mix with dirt to form stubborn stains or promote mold growth in humid climates. Third, bird droppings, tree sap, or insect residue can etch into the screen coating if left too long, leading to permanent damage.
Additionally, outdoor TVs often have ventilation ports, speakers, and control panels that can trap debris. If these areas aren’t cleaned periodically, airflow may be restricted, causing the TV to overheat. And while many outdoor models are weather-resistant, they’re not always fully waterproof—especially older or budget-friendly versions. Improper cleaning methods, like using abrasive cloths or spraying water directly on the screen, can compromise seals and lead to costly repairs.
By cleaning your outside TV for small patio regularly and correctly, you’re not just improving picture quality—you’re also protecting your investment and ensuring safe, reliable performance for years to come.
What You’ll Need: Tools and Supplies
Before you start cleaning, gather the right tools. Using the wrong materials can do more harm than good. Here’s a checklist of safe, effective supplies:
- Microfiber cloths (2–3): These are soft, lint-free, and ideal for wiping screens without scratching. Avoid cotton towels or paper products, which can leave fibers or micro-scratches.
- Distilled water: Tap water contains minerals that can leave streaks or spots. Distilled water ensures a clean, residue-free finish.
- Mild dish soap (optional): A drop of gentle, non-abrasive soap can help break down oily residues. Never use ammonia, alcohol, or window cleaners like Windex—these can damage anti-reflective coatings.
- Soft-bristle brush or makeup brush: Useful for gently removing dust from vents, speakers, and crevices.
- Spray bottle: Fill it with distilled water (or a diluted soap solution) for controlled application.
- Step ladder (if needed): Ensure safe access to your TV without overreaching or straining.
- Weatherproof cover (recommended): Not a cleaning tool, but essential for protecting your TV between uses.
Avoid using:
– Paper towels or napkins
– Abrasive sponges or scrub pads
– Compressed air (can force moisture into seals)
– Vinegar, bleach, or ammonia-based cleaners
– High-pressure washers or steam cleaners
Step 1: Power Down and Unplug the TV
Safety always comes first. Before touching your outdoor TV, make sure it’s completely powered off and unplugged from the electrical outlet. This prevents the risk of electric shock and protects the internal electronics from accidental damage during cleaning.
Even if your TV has a weatherproof enclosure, moisture and cleaning solutions can still seep into small gaps, especially around ports or seams. Turning off the power eliminates any chance of short-circuiting.
If your TV is hardwired or connected to a weatherproof outlet box, turn off the circuit breaker that controls the outlet. This adds an extra layer of safety, particularly in damp or rainy conditions.
Wait at least 10–15 minutes after turning off the TV before cleaning. This allows internal components to cool down, reducing the risk of thermal shock if you apply cool water to a warm screen.
Step 2: Assess the Level of Dirt and Debris
Not all cleanings are the same. Take a moment to inspect your TV and determine how dirty it is. This will help you decide whether a quick wipe-down is enough or if a deeper clean is needed.
Look for:
– Light dust or pollen on the screen
– Fingerprints or smudges
– Sticky residues (like sap or food splatter)
– Bird droppings or insect nests near vents
– Water spots or mineral deposits
For light dust, a dry microfiber cloth may be sufficient. For tougher grime, you’ll need a damp cloth and possibly a mild cleaning solution. If you notice mold, mildew, or caked-on debris, proceed with extra care—these require gentle but thorough cleaning to avoid spreading spores or scratching the surface.
Step 3: Dry Dusting the Screen and Frame
Start with a dry clean to remove loose particles. This prevents scratching when you move to wet cleaning later.
How to Dry Dust Safely
- Use a clean, dry microfiber cloth or a soft-bristle brush.
- Gently wipe the screen in straight, vertical motions—never in circles, which can spread dust and create swirl marks.
- Pay attention to the edges and corners where dust tends to accumulate.
- Use the brush to lightly sweep dust from speaker grilles, ventilation slots, and control buttons.
- Don’t press hard—let the cloth or brush do the work.
This step removes up to 70% of surface dirt and prepares the screen for deeper cleaning. Skipping it can lead to scratches when you apply liquid later.
Step 4: Prepare a Safe Cleaning Solution
For most outdoor TVs, plain distilled water is enough. But if you’re dealing with fingerprints, smudges, or light stains, a mild soap solution can help.
How to Make a Safe Cleaning Solution
- Fill a spray bottle with distilled water.
- Add 1–2 drops of mild dish soap (like Dawn or Seventh Generation).
- Swirl gently to mix—don’t shake vigorously, as this creates bubbles.
Never spray this solution directly onto the TV. Instead, lightly mist it onto your microfiber cloth. The cloth should be damp, not dripping. Excess moisture can seep into the TV’s edges or ports, especially if the seals aren’t fully intact.
If you’re unsure about using soap, stick to distilled water. Many outdoor TV manufacturers recommend water-only cleaning to avoid chemical damage.
Step 5: Clean the Screen Gently
Now it’s time to clean the display. This is the most delicate part of the process.
Step-by-Step Screen Cleaning
- Take your damp microfiber cloth (lightly misted with solution).
- Starting at the top corner, wipe the screen in gentle, vertical strokes.
- Use light pressure—imagine you’re wiping a soap bubble.
- Work your way down, overlapping each pass slightly to avoid streaks.
- For stubborn spots, hold the cloth in place for a few seconds to let the moisture loosen the grime, then wipe gently.
- Never spray liquid directly on the screen.
- Avoid pressing on the center of the screen, which can damage pixels.
If your TV has an anti-glare or anti-reflective coating (common on outdoor models), be extra careful. These coatings are thin and can wear off with harsh cleaning.
After cleaning, use a second dry microfiber cloth to buff the screen. This removes any remaining moisture and prevents water spots. Again, use vertical strokes and light pressure.
Step 6: Clean the TV Housing and Frame
The outer casing of your outdoor TV also collects dirt, especially if it’s mounted near plants, grills, or high-traffic areas.
How to Clean the Frame and Back
- Use the same damp cloth (or a separate one) to wipe down the bezel, sides, and back of the TV.
- Pay special attention to areas around buttons, ports, and mounting brackets.
- For textured or grooved surfaces, use a soft brush to dislodge dirt.
- If the back is hard to reach, use a long-handled brush or a cloth wrapped around a ruler.
- Avoid getting moisture near ventilation holes or speaker openings.
Most outdoor TVs have powder-coated aluminum or weather-resistant plastic housings that can handle light moisture. But again, never soak the unit or use high-pressure water.
Step 7: Clean Around the Mount and Wall Area
Don’t forget the space around your TV. Dust and dirt on the wall or mount can transfer back to the screen.
Tips for Cleaning the Surrounding Area
- Wipe down the wall behind and beside the TV with a damp cloth.
- Use a brush to clean the mounting bracket and screws.
- If you have a cable management cover, remove it (if possible) and clean underneath.
- Check for cobwebs, insect nests, or plant debris that could fall onto the TV.
Keeping the area clean reduces the chance of recontamination and helps maintain a tidy patio setup.
Step 8: Let the TV Dry Completely
After cleaning, allow your TV to air dry for at least 15–20 minutes before turning it back on. This ensures all moisture has evaporated, especially from seams and ports.
Drying Tips
- Leave the TV off and unplugged during drying.
- If it’s a sunny day, the natural heat can help speed up evaporation—but avoid direct sunlight on a wet screen, as it can cause streaking.
- Use a fan on low setting to improve airflow if you’re in a humid climate.
- Never use a hair dryer or heat gun—excessive heat can damage components.
Only plug in and power on the TV once you’re confident it’s completely dry.
Step 9: Apply a Protective Cover (Optional but Recommended)
To minimize future cleaning and protect your TV from the elements, use a weatherproof cover when the TV is not in use.
Choosing the Right Cover
- Look for a cover made from breathable, UV-resistant fabric (like polyester with a waterproof coating).
- Ensure it fits snugly but isn’t too tight—this prevents moisture buildup.
- Choose a cover with a soft inner lining to avoid scratching the screen.
- Some covers come with drawstrings or Velcro straps for secure fitting.
Using a cover can reduce cleaning frequency by up to 50%, especially in areas with heavy pollen, rain, or bird activity.
How Often Should You Clean Your Outdoor TV?
The ideal cleaning schedule depends on your local climate and usage.
- Light use, dry climate: Every 4–6 weeks
- Moderate use, seasonal pollen or dust: Every 2–3 weeks
- High humidity, coastal areas, or near trees: Every 1–2 weeks
- After storms, heavy rain, or bird activity: Clean as needed
Set a reminder on your phone or calendar to stay consistent. Regular maintenance prevents buildup and makes each cleaning quicker and easier.
Troubleshooting Common Cleaning Issues
Even with the best care, problems can arise. Here’s how to handle common issues:
Streaks or Haze on the Screen
This usually happens when cleaning solution dries unevenly or when using tap water. Fix it by re-wiping with a dry microfiber cloth. For future cleanings, use distilled water and buff thoroughly.
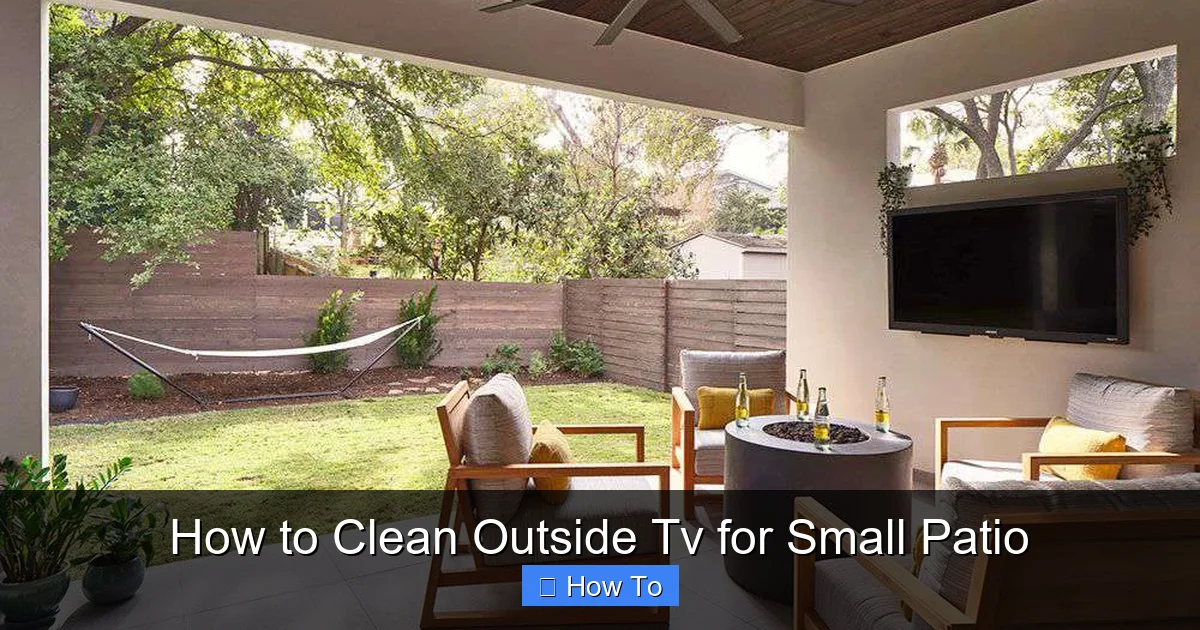
Visual guide about How to Clean Outside Tv for Small Patio
Image source: thespruce.com
Water Spots or Mineral Deposits
These are caused by hard water. If they’ve already formed, dampen a cloth with distilled water and gently rub the spot. Avoid scrubbing. Consider installing a dehumidifier nearby if you live in a hard water area.
Sticky Residue (Sap, Grease, etc.)
Apply a small amount of isopropyl alcohol (70% or less) to a cloth—never directly on the screen. Test on a small area first. Wipe gently and follow with a damp cloth to remove any alcohol residue.
Mold or Mildew Growth
If you spot fuzzy growth, especially in humid climates, mix 1 part white vinegar with 3 parts distilled water. Dampen a cloth and wipe the affected area. Rinse with a water-dampened cloth and dry thoroughly. Improve ventilation to prevent recurrence.
Scratches on the Screen
Minor scratches can sometimes be minimized with a screen polish designed for TVs. For deep scratches, contact the manufacturer—attempting DIY repairs may void your warranty.
Tips for Long-Term Outdoor TV Care
Cleaning is just one part of maintaining your outdoor TV. Follow these tips to keep it in top condition:
- Mount it properly: Ensure your TV is installed in a shaded or covered area, ideally under a pergola, awning, or roof overhang. This reduces direct sun and rain exposure.
- Use a surge protector: Outdoor electronics are vulnerable to power surges from lightning or grid fluctuations. A weatherproof surge protector adds protection.
- Check seals regularly: Inspect the gaskets and seals around the screen and ports. If they’re cracked or brittle, replace them to maintain weather resistance.
- Avoid extreme temperatures: Don’t operate the TV in freezing conditions or direct midday sun for extended periods. Most outdoor TVs are rated for specific temperature ranges—check your manual.
- Keep it level: A tilted mount can cause water to pool on the screen. Ensure your TV is mounted straight and slightly angled downward if possible.
Conclusion
Cleaning your outside TV for small patio doesn’t have to be a chore. With the right tools, techniques, and a little regular maintenance, you can keep your outdoor screen looking crisp and performing flawlessly year-round. Remember: always power off and unplug first, use gentle materials like microfiber and distilled water, and avoid harsh chemicals or high-pressure cleaning methods.
By following this guide, you’re not just cleaning your TV—you’re protecting your investment and ensuring countless hours of enjoyment under the open sky. Whether you’re hosting a backyard movie night or catching up on your favorite show with a view, a clean screen makes all the difference.
So grab your microfiber cloth, take a few minutes every few weeks, and give your outdoor TV the care it deserves. Your patio—and your viewing experience—will thank you.

