
Installing an outdoor TV in a coastal home requires special care due to salt air, humidity, and strong winds. This guide walks you through choosing the right TV, selecting a secure mount, and protecting your setup from corrosion so you can enjoy outdoor entertainment year-round.
Key Takeaways
- Choose a marine-grade or outdoor-rated TV: Standard indoor TVs will fail quickly in coastal environments due to salt corrosion and moisture.
- Use stainless steel or powder-coated hardware: Regular metal mounts and screws will rust; opt for corrosion-resistant materials rated for marine use.
- Install in a sheltered location: Position your TV under a covered patio, awning, or pergola to reduce direct exposure to rain and salt spray.
- Seal all connections and cables: Use waterproof conduit and silicone sealant to prevent moisture from entering electrical components.
- Perform regular maintenance: Clean the screen and housing monthly with fresh water to remove salt buildup and inspect for rust or damage.
- Consider a weatherproof enclosure: If using an indoor TV outdoors, invest in a certified outdoor TV enclosure with ventilation and UV protection.
- Hire a professional if unsure: Electrical work near moisture and high winds can be dangerous—when in doubt, consult a licensed installer familiar with coastal installations.
How to Install Outdoor TV for Coastal Homes
If you live near the coast, you know how beautiful—and harsh—the environment can be. Salt air, high humidity, strong winds, and intense sun can wreak havoc on electronics not built for the elements. That’s why installing an outdoor TV in a coastal home isn’t as simple as mounting a regular TV on the wall and calling it a day. It requires careful planning, the right equipment, and ongoing maintenance to ensure your setup lasts.
In this comprehensive guide, we’ll walk you through every step of installing an outdoor TV in a coastal environment. You’ll learn how to choose the right TV, pick a durable mount, protect against corrosion, run cables safely, and maintain your system so it stays functional and looking great for years. Whether you’re setting up a TV by the pool, on a covered deck, or under a beachfront pergola, this guide will help you do it right—safely and effectively.
Why Coastal Environments Are Challenging for Outdoor TVs
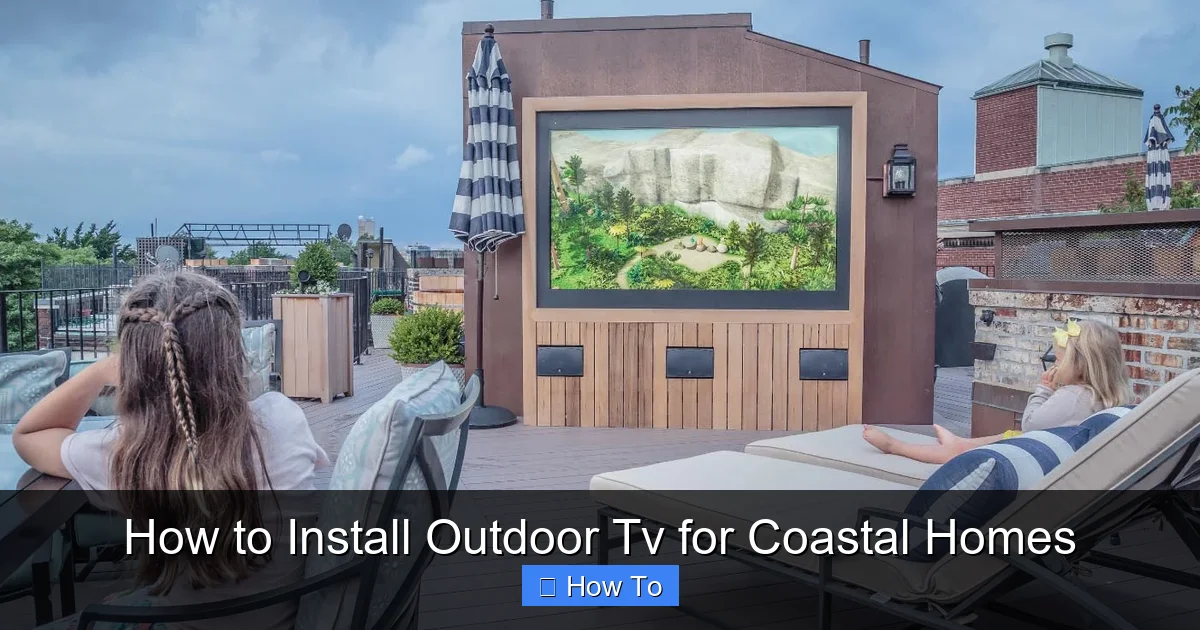
Visual guide about How to Install Outdoor Tv for Coastal Homes
Image source: storables.com
Before diving into installation, it’s important to understand why coastal areas are particularly tough on electronics. The combination of salt, moisture, and UV exposure creates a perfect storm for corrosion, electrical failure, and screen damage.
Salt air is one of the biggest culprits. Even if your TV is under cover, tiny salt particles can settle on surfaces and seep into vents, ports, and internal components. Over time, this leads to corrosion, short circuits, and reduced performance. Humidity accelerates this process, especially during foggy or rainy seasons.
UV rays from the sun can fade screens, crack plastic casings, and degrade adhesives. And let’s not forget wind—coastal areas often experience strong gusts that can loosen mounts or blow debris into your setup.
Indoor TVs are not designed to handle these conditions. Even “weather-resistant” models may not be enough unless they’re specifically rated for outdoor or marine use. That’s why choosing the right equipment and installation method is critical.
Step 1: Choose the Right Outdoor TV
The foundation of a successful outdoor TV installation is selecting the correct television. Not all outdoor TVs are created equal, and for coastal homes, you need one built to withstand the elements.
Look for Outdoor or Marine-Grade Ratings
Start by choosing a TV that is explicitly rated for outdoor use. These models are built with sealed casings, corrosion-resistant internal components, and enhanced cooling systems. Look for certifications like IP55 or IP65, which indicate resistance to dust and water jets.
For coastal homes, consider a marine-grade TV. These are designed for use on boats and coastal installations and often feature additional protections like conformal coating on circuit boards to prevent salt damage.
Popular brands like SunBrite, Samsung Terrace, and LG Outdoor offer models specifically engineered for outdoor environments. While they come at a higher price point than indoor TVs, they’re a worthwhile investment for longevity.
Consider Screen Brightness and Anti-Glare Features
Outdoor TVs need to be bright enough to be visible in daylight. Look for a model with at least 700 nits of brightness—many outdoor models offer 1,000 nits or more. Anti-glare or anti-reflective screens are also essential, especially if your TV will face direct sunlight.
Some models come with built-in heaters and coolers to regulate temperature, which is helpful in extreme coastal climates where temperatures can swing dramatically between day and night.
Decide Between All-Weather TV and Enclosure
You have two main options: buy a dedicated outdoor TV or use an indoor TV inside a weatherproof enclosure.
– All-weather TV: Built from the ground up for outdoor use. More expensive but offers the best protection and performance.
– Weatherproof enclosure: A protective case that houses a standard indoor TV. More affordable, but requires proper ventilation and maintenance.
If you go the enclosure route, make sure it’s certified for outdoor use (look for IP ratings) and has features like UV-resistant glass, passive or active cooling, and a secure locking mechanism. Brands like Peerless, Seura, and Ecolink offer high-quality enclosures.
Step 2: Select the Right Mounting Location
Where you install your TV is just as important as what you install. The right location can significantly extend the life of your setup.
Choose a Sheltered Spot
Avoid installing your TV in direct exposure to rain, salt spray, or intense sun. Ideal locations include:
– Under a covered patio or pergola
– On a wall shielded by an overhang
– In a screened-in porch
– Under a gazebo with a solid roof
Even a few feet of overhead protection can make a big difference. If you don’t have a covered area, consider building a small awning or installing a retractable canopy.
Mind the Viewing Angle and Distance
Think about where people will be sitting. The TV should be mounted at eye level when seated, typically 42 to 60 inches from the ground. Avoid placing it too high or at an awkward angle.
Also, consider the distance from seating. A general rule is to sit at a distance equal to 1.5 to 2.5 times the screen’s diagonal size. For a 55-inch TV, that’s about 7 to 12 feet away.
Check for Wind Exposure
Coastal winds can be strong and unpredictable. Avoid mounting your TV on a wall that faces prevailing winds or is exposed to open areas. If you must install in a windy spot, use a low-profile mount and ensure all hardware is securely fastened.
Step 3: Choose a Corrosion-Resistant Mount
The mount is your TV’s anchor to the wall, so it must be strong, stable, and resistant to rust.
Use Stainless Steel or Powder-Coated Hardware
Standard steel mounts will rust quickly in salt air. Instead, choose a mount made from marine-grade stainless steel (look for 316 stainless steel, which has added molybdenum for extra corrosion resistance) or one with a high-quality powder-coated finish.
Brands like Sanus, Peerless, and Vogel’s offer outdoor-rated mounts with corrosion-resistant materials. Make sure all screws, bolts, and brackets are also stainless steel or coated.
Pick the Right Mount Type
There are three main types of outdoor TV mounts:
– Fixed mounts: Hold the TV flush against the wall. Best for covered areas with minimal wind.
– Tilting mounts: Allow you to angle the TV downward for better viewing. Good for higher installations.
– Full-motion (articulating) mounts: Let you swivel and extend the TV. Great for flexible viewing but more exposed to wind and require stronger anchoring.
For coastal homes, fixed or tilting mounts are often the safest choice due to their lower profile and reduced wind resistance.
Ensure Proper Wall Support
The wall must be able to support the weight of the TV and mount. Use a stud finder to locate wall studs and anchor the mount securely. For masonry or concrete walls (common in coastal homes), use concrete anchors or sleeve anchors rated for outdoor use.
If you’re unsure about the wall’s structural integrity, consult a contractor before installation.
Step 4: Run and Protect Your Cables
Cables are often the weakest link in outdoor setups. Exposure to moisture, UV rays, and salt can degrade them over time.
Use Outdoor-Rated Cables
Standard indoor HDMI and power cables aren’t designed for outdoor use. Instead, use cables rated for direct burial or outdoor exposure. Look for UV-resistant jackets and water-blocking gel in the insulation.
For HDMI, consider using a high-speed HDMI cable with Ethernet and a protective braided jacket. Fiber optic HDMI cables are also a good option for long runs, as they’re immune to electromagnetic interference and more durable.
Route Cables Through Conduit
Protect all cables by running them through waterproof electrical conduit. PVC or metal conduit with sealed fittings will keep moisture and salt out. Use conduit bodies or junction boxes at connection points to allow for future maintenance.
If running cables through walls, seal all entry points with silicone caulk or outdoor-grade sealant to prevent water intrusion.
Use Weatherproof Connections
All cable connections should be made in weatherproof enclosures. Use outdoor-rated junction boxes with gasketed covers. For HDMI and other signal cables, consider using waterproof couplers or connectors designed for marine use.
Power cables should be connected to a GFCI (Ground Fault Circuit Interrupter) outlet to protect against electrical shock, especially in damp environments.
Step 5: Install the TV and Mount
Now it’s time to put everything together. Take your time and follow safety precautions.
Turn Off Power
Before starting any electrical work, turn off power to the outlet you’ll be using. Use a voltage tester to confirm it’s off.
Mount the Bracket to the Wall
Hold the mounting bracket against the wall and use a level to ensure it’s straight. Mark the screw holes, drill pilot holes, and secure the bracket with stainless steel lag bolts. Double-check that it’s firmly attached and can support the TV’s weight.
Attach the Mounting Plate to the TV
Most outdoor TVs come with VESA mounting patterns. Attach the mounting plate to the back of the TV using the provided screws. Make sure they’re tight but don’t over-tighten and risk cracking the casing.
Hang the TV and Secure It
With a helper, lift the TV and hook it onto the wall bracket. Engage any locking mechanisms to prevent accidental dislodging. For extra security, use safety cables or straps to tether the TV to the wall.
Connect Cables and Test
Run your HDMI, power, and any other cables through the conduit and connect them to the TV and source devices (like a streaming box or cable box). Plug in the power and test the TV to ensure everything works.
Step 6: Weatherproof and Seal All Components
Even with the right equipment, gaps and seams can let in moisture. Take extra steps to seal your installation.
Apply Silicone Sealant
Use a high-quality, UV-resistant silicone sealant around the edges of the mount, conduit entry points, and any gaps between the TV and wall. This creates a watertight barrier against rain and salt spray.
Use Cable Glands
At points where cables enter the TV or enclosure, use waterproof cable glands to seal the openings. These screw-on fittings compress around the cable to prevent water ingress.
Install a Drip Loop
For power cables running from the TV to the outlet, create a drip loop—a downward curve in the cable before it goes into the wall. This prevents water from traveling along the cable and into the outlet.
Step 7: Set Up Power and Signal Sources
Your TV needs power and a signal source. Plan these carefully to avoid clutter and exposure.
Use a Weatherproof Outlet
Install a GFCI outlet in a weatherproof enclosure if one isn’t already present. The enclosure should have a hinged cover that closes over the plugs to protect them from rain.
Protect Source Devices
Devices like streaming boxes, cable boxes, or gaming consoles should be housed in a weatherproof media cabinet or enclosure near the TV. These cabinets often have ventilation fans and cable passthroughs.
Alternatively, you can run cables from an indoor source through the wall, but this requires careful sealing and may involve professional help.
Consider Wireless Options
To reduce cable clutter, consider using wireless HDMI transmitters or streaming devices like Apple TV or Roku that connect via Wi-Fi. Just ensure your outdoor Wi-Fi signal is strong enough.
Step 8: Perform Regular Maintenance
Even the best setup needs upkeep in a coastal environment.
Clean Monthly
Wipe down the TV screen and housing with a soft, damp cloth and fresh water. Avoid harsh chemicals or abrasive materials that can scratch the screen or damage coatings.
Inspect for Corrosion
Every few months, check the mount, screws, and cables for signs of rust or wear. Replace any corroded parts immediately.
Check Seals and Conduit
Inspect silicone seals and conduit for cracks or gaps. Reapply sealant as needed.
Trim Nearby Vegetation
Keep plants and shrubs trimmed back from the TV to reduce moisture buildup and prevent salt spray from clinging to leaves and dripping onto the screen.
Troubleshooting Common Issues
Even with careful installation, problems can arise. Here’s how to handle common issues:
TV Won’t Turn On
Check the power connection and GFCI outlet. Reset the GFCI if it’s tripped. Ensure the outlet is receiving power.
Screen Flickering or No Signal
Inspect HDMI cables for damage or loose connections. Replace if necessary. Test with a different cable or device.
Rust on Mount or Screws
Remove and replace rusted hardware with stainless steel equivalents. Apply anti-corrosion spray to prevent future issues.
Overheating
Ensure the TV or enclosure has proper ventilation. Clear any debris blocking vents. Consider adding a small fan if passive cooling isn’t enough.
Water Inside Enclosure
Power off immediately. Open the enclosure and dry all components. Check seals and conduit for leaks. Re-seal and test before reusing.
Conclusion
Installing an outdoor TV in a coastal home is a rewarding project that lets you enjoy your favorite shows and movies while soaking in the ocean breeze. But it’s not without its challenges. Salt air, humidity, and wind demand special attention to equipment, installation, and maintenance.
By choosing a marine-grade or outdoor-rated TV, using corrosion-resistant mounts and hardware, installing in a sheltered location, and protecting all cables and connections, you can create a setup that lasts for years. Regular cleaning and inspections will keep everything in top shape.
Remember, when in doubt, consult a professional—especially for electrical work or structural mounting. A little extra care upfront can save you from costly repairs or replacements down the line.
With the right approach, your outdoor TV will be a centerpiece of coastal living—rain or shine, salt or sun.

