
Transform your backyard into the ultimate outdoor sports viewing zone with a properly installed TV. This guide walks you through choosing the right equipment, mounting safely, and optimizing your setup for clear, weather-resistant viewing—so you never miss a game again.
Key Takeaways
- Choose a weatherproof outdoor TV: Indoor TVs aren’t built for the elements. Invest in a model rated for outdoor use with UV protection, anti-glare screens, and sealed components.
- Pick the right mounting location: Install your TV under a covered area like a pergola or patio roof to protect it from direct rain and sun exposure.
- Use outdoor-rated cables and connectors: Standard indoor cables degrade quickly outside. Use UV-resistant, waterproof HDMI and power cables designed for outdoor use.
- Ensure proper ventilation and cooling: Even outdoor TVs can overheat. Leave space around the unit and consider adding a fan or shade if needed.
- Secure your setup against theft and weather: Use anti-theft locks and anchor your mount firmly. Check connections regularly for corrosion or wear.
- Optimize audio with outdoor speakers: Built-in TV speakers often lack volume outdoors. Pair your TV with weatherproof speakers for immersive sound.
- Test and adjust viewing angle: Position the screen so it’s visible from your seating area without glare or awkward neck strain.
How to Install Backyard TV for Outdoor Sports Watching
Imagine this: It’s game day. The sun is shining, the grill is fired up, and your friends are gathered around—not huddled in the living room, but lounging in your backyard, cheering as the big screen comes to life under the open sky. With the right setup, you can turn your outdoor space into the ultimate sports-watching destination. Installing a backyard TV isn’t just about mounting a screen outside—it’s about creating a durable, high-quality viewing experience that stands up to the elements while delivering crisp visuals and immersive sound.
In this complete guide, we’ll walk you through every step of installing a backyard TV for outdoor sports watching. From choosing the right TV and mounting hardware to running cables safely and optimizing your audio, you’ll learn how to build a setup that’s both functional and fun. Whether you’re hosting a Super Bowl party or catching a weekend baseball game, this guide ensures your outdoor entertainment zone is ready for action—rain or shine.
Step 1: Choose the Right Outdoor TV
The foundation of any great backyard TV setup is the TV itself. Not all TVs are created equal, especially when it comes to outdoor use. While it might be tempting to save money by using an indoor TV, doing so can lead to poor performance, quick damage, and even safety hazards.
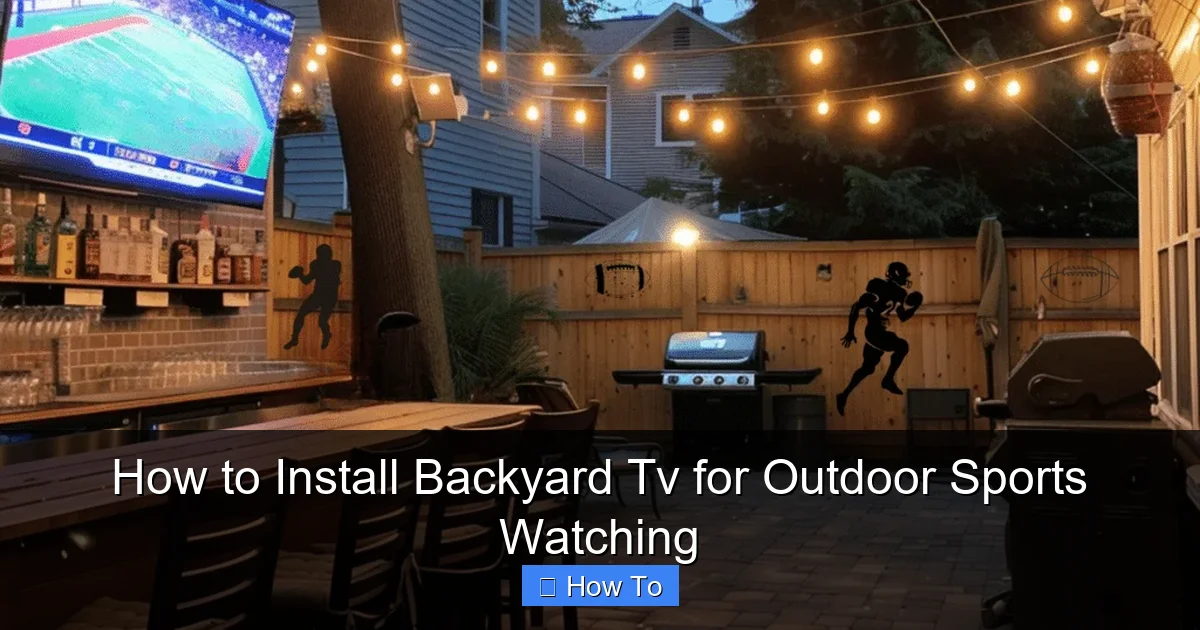
Visual guide about How to Install Backyard Tv for Outdoor Sports Watching
Image source: basichomediy.com
Why You Need an Outdoor-Rated TV
Indoor TVs are designed for controlled environments—dry, temperature-stable, and shielded from dust and moisture. Outdoors, your TV will face humidity, rain, UV rays, temperature swings, and even insects. An outdoor-rated TV is built with these challenges in mind. These models feature:
- Weatherproof casings: Sealed to prevent water and dust ingress (look for IP55 or higher ratings).
- Anti-glare screens: Reduce reflections from sunlight, making daytime viewing possible.
- UV-resistant materials: Prevent yellowing or cracking of the screen and casing over time.
- Enhanced cooling systems: Prevent overheating in direct sun or high temperatures.
Types of Outdoor TVs
There are three main types of outdoor TVs to consider:
- Fully Outdoor TVs: Built from the ground up for outdoor use. These are the most durable and expensive but offer the best performance and longevity. Brands like SunBriteTV and Samsung’s Terrace series are top choices.
- Partial Outdoor TVs: Designed for covered areas like patios or screened-in porches. They offer some weather resistance but aren’t meant for direct exposure to rain or snow.
- Indoor TVs in Outdoor Enclosures: You can use a standard indoor TV inside a weatherproof outdoor TV enclosure. This is a more budget-friendly option, but enclosures can limit ventilation and add bulk.
Screen Size and Resolution
For backyard sports viewing, aim for a screen size between 55 and 75 inches. Larger screens enhance the immersive experience, especially when viewers are seated 10–15 feet away. Choose at least 4K resolution for sharp, detailed images—crucial for fast-moving sports like football or soccer.
Pro Tip: If your seating area is shaded or used mostly at night, a standard 4K TV in an enclosure might suffice. But for daytime viewing in bright sunlight, invest in a true outdoor TV with high brightness (measured in nits)—look for 1,000 nits or higher.
Step 2: Select the Best Location for Your TV
Where you mount your TV can make or break your outdoor viewing experience. The ideal location balances visibility, protection from the elements, and ease of access for wiring and maintenance.
Look for Covered Areas
Even the most rugged outdoor TVs last longer when shielded from direct rain and intense sun. The best spots include:
- Under a pergola or gazebo
- On a covered patio or deck
- Inside a screened porch
- Mounted under an eave or roof overhang
Avoid mounting your TV in open areas where it’s exposed to the sky. Constant rain, snow, or hail can damage even weatherproof models over time.
Consider Viewing Angles and Distance
Position your TV so it’s visible from your primary seating area—like a patio couch, outdoor sectional, or Adirondack chairs. The center of the screen should be at or slightly below eye level when seated (about 42–48 inches from the ground).
Use the “1.5 to 2.5 times screen size” rule for optimal viewing distance. For a 65-inch TV, that’s roughly 8 to 13 feet away. Too close, and you’ll strain your eyes; too far, and you’ll lose detail.
Avoid Glare and Reflections
Sunlight reflecting off the screen can ruin your viewing experience. Test your chosen spot at different times of day. If glare is an issue, consider:
- Installing a retractable awning or shade sail
- Using an outdoor TV with an anti-reflective coating
- Mounting the TV at a slight downward angle
Example: If your patio faces west, the late afternoon sun might hit the screen directly. In that case, mount the TV on the east wall or use a shade to block the sun.
Step 3: Choose the Right Mounting Hardware
A sturdy, secure mount is essential for safety and performance. Outdoor TVs are heavier than indoor models due to reinforced casings, so you’ll need heavy-duty hardware.
Types of Outdoor TV Mounts
- Fixed Wall Mounts: Simple and affordable. Best for permanent installations where you don’t need to adjust the angle.
- Tilting Mounts: Allow you to angle the TV downward for better viewing from seated positions. Great for patios with elevated seating.
- Full-Motion (Articulating) Mounts: Let you swivel and extend the TV. Ideal if you want to watch from multiple areas (e.g., near the grill and the seating zone).
Make sure the mount is rated for outdoor use and can support your TV’s weight and size. Check the VESA pattern (the spacing of the screw holes on the back of the TV) to ensure compatibility.
Secure Mounting to the Wall
Use lag bolts or concrete anchors to attach the mount directly to wall studs or masonry. Never rely on drywall anchors—they’re not strong enough for outdoor TVs.
If you’re mounting on a wood frame wall, locate the studs with a stud finder and drill pilot holes. For brick or concrete, use a hammer drill and masonry anchors.
Safety Tip: Have a friend help you lift and hold the TV during installation. Outdoor TVs can weigh 50–100 pounds, and dropping one could damage the screen or injure someone.
Step 4: Run Power and Signal Cables Safely
Powering your outdoor TV and connecting it to your source (cable box, streaming device, etc.) requires careful planning. You’ll need to run cables from your indoor entertainment system to the outdoor TV location—safely and discreetly.
Use Outdoor-Rated Cables
Standard indoor cables aren’t built to withstand UV rays, moisture, or temperature changes. Always use:
- Outdoor-rated HDMI cables: Look for “direct burial” or “UV-resistant” labels. These have thicker insulation and protective jackets.
- Weatherproof power cables: Use a heavy-duty outdoor extension cord or, better yet, have an electrician install a dedicated outdoor outlet.
- Conduit for protection: Run cables through PVC or metal conduit to shield them from pests, weather, and physical damage.
Plan Your Cable Route
The best route is usually through an exterior wall near your indoor entertainment center. Drill a small hole from inside to outside, then feed the cables through. Seal the hole with silicone caulk to prevent water intrusion.
Alternatively, you can run cables along the wall surface using cable raceways or hide them under decking or landscaping. Avoid running cables where they could be tripped over or damaged by lawn equipment.
Connect to Power Safely
Never plug an outdoor TV into a standard indoor outlet. Instead:
- Install a GFCI (Ground Fault Circuit Interrupter) outlet outdoors. This protects against electrical shock in wet conditions.
- Use a weatherproof outlet cover that closes when not in use.
- Consider a surge protector designed for outdoor use to guard against power spikes.
Pro Tip: If running power is too complex, consider a wireless HDMI transmitter. These devices send audio and video signals from your indoor receiver to the outdoor TV without cables—though they require a strong, unobstructed signal path.
Step 5: Set Up Audio for Outdoor Listening
Great picture is only half the experience. Outdoor environments are noisy—wind, birds, traffic—and built-in TV speakers often can’t compete. To truly enjoy the roar of the crowd or the announcer’s commentary, you need dedicated outdoor audio.
Options for Outdoor Sound
- Weatherproof Speakers: Mount two or more speakers around your seating area. Look for models with UV-resistant grilles and rust-proof hardware. Pair them with an outdoor amplifier or AV receiver.
- Outdoor Soundbars: Some brands offer all-in-one outdoor soundbars that mount under the TV. These are easier to install but may lack the power of separate speakers.
- Wireless Bluetooth Speakers: Great for temporary setups. Place them on tables or mount them on posts. Just ensure they’re charged and within range.
Wired vs. Wireless Audio
Wired speakers offer better sound quality and reliability, especially for large areas. Wireless options are more flexible but can suffer from interference or battery issues.
If using wired speakers, run speaker wire through conduit alongside your HDMI and power cables. Use outdoor-rated speaker wire and waterproof connectors.
Example Setup: Mount two 6-inch outdoor speakers on either side of the TV, connected to a compact outdoor amplifier hidden under the deck. Use a Bluetooth transmitter from the TV’s audio output for wireless control.
Step 6: Test and Optimize Your Setup
Once everything is installed, it’s time to test your system and fine-tune the experience.
Check Video and Audio Quality
Turn on the TV and play a sports broadcast. Look for:
- Clear, sharp images with no lag or pixelation
- Brightness that’s visible in daylight (if applicable)
- Audio that’s loud and clear from all seating areas
Adjust the TV’s picture settings for outdoor viewing—increase brightness and contrast, and enable motion smoothing for fast action.
Secure All Connections
Double-check that all cables are tightly connected and protected. Use zip ties or cable clips to keep wires neat and prevent them from dangling or snagging.
Test in Different Conditions
Watch a game during the day, at dusk, and at night. Note any issues with glare, sound, or overheating. Make adjustments as needed—like adding a shade or repositioning speakers.
Troubleshooting Common Issues
TV Won’t Turn On
- Check the power outlet with another device.
- Ensure the GFCI hasn’t tripped—press the reset button.
- Verify all cables are securely connected.
Poor Picture Quality
- Make sure you’re using a high-speed HDMI cable.
- Check for signal interference from nearby electronics.
- Adjust the TV’s picture settings for outdoor use.
Audio Is Too Quiet or Distorted
- Increase the volume on both the TV and external speakers.
- Check speaker wire connections for corrosion or looseness.
- Ensure speakers are properly powered and positioned.
Overheating or Shutting Down
- Ensure the TV has adequate ventilation—don’t block vents.
- Install a small outdoor fan nearby if needed.
- Avoid direct sunlight on the TV’s back panel.
Maintaining Your Backyard TV
To keep your outdoor TV in top condition, perform regular maintenance:
- Clean the screen monthly with a microfiber cloth and mild cleaner.
- Inspect cables and connections for wear or corrosion.
- Check the mount and bolts for tightness.
- Cover the TV during extreme weather if possible.
With proper care, your outdoor TV can last 5–10 years or more.
Conclusion
Installing a backyard TV for outdoor sports watching is a game-changer for your home entertainment. It transforms your yard into a social hub where friends and family gather to cheer, celebrate, and connect—all under the open sky. By choosing the right TV, mounting it securely, running cables safely, and optimizing audio, you create a setup that’s not only functional but built to last.
Remember, the key to success is planning. Take time to assess your space, invest in quality outdoor-rated equipment, and follow safety guidelines. Whether you’re watching the World Series, March Madness, or the Olympics, your backyard will be the place to be. So fire up the grill, invite the neighbors, and enjoy the game—your new outdoor theater is ready for action.

