
Installing a backyard TV on a covered patio lets you enjoy movies, sports, and shows outdoors in comfort. This guide walks you through choosing the right TV, mounting it safely, running cables neatly, and protecting it from the elements—so you can relax and entertain under the stars.
Key Takeaways
- Choose an outdoor-rated TV: Regular indoor TVs aren’t built for humidity, temperature swings, or dust—opt for a weatherproof or outdoor-specific model.
- Pick the right mount: Use a full-motion or tilt wall mount rated for outdoor use and your TV’s size and weight.
- Plan cable routing early: Conceal power, HDMI, and antenna cables through walls or use weatherproof conduits to prevent tripping and damage.
- Ensure proper ventilation: Even under cover, your TV needs airflow—avoid enclosing it in tight spaces without ventilation.
- Use surge protection: Outdoor electronics are vulnerable to power surges—plug into a high-quality outdoor surge protector.
- Test before finalizing: Power on and test all connections before securing cables and closing access panels.
- Maintain regularly: Clean the screen and check seals seasonally to keep your outdoor TV in top shape.
How to Install Backyard TV for Covered Patio
Imagine sipping lemonade on a warm summer evening, watching the big game or your favorite movie under the stars—all from the comfort of your covered patio. With a backyard TV, that dream becomes reality. But installing a TV outdoors isn’t as simple as mounting one indoors. You need to consider weather resistance, cable management, power supply, and safety.
This comprehensive guide will walk you through every step of installing a backyard TV for your covered patio—from choosing the right television to securing cables and protecting your investment. Whether you’re a DIY enthusiast or hiring a pro, these tips will help you create a safe, stylish, and functional outdoor entertainment space.
By the end of this guide, you’ll know exactly how to install a backyard TV that lasts for years, delivers great picture and sound, and enhances your outdoor living experience.
Step 1: Choose the Right Outdoor TV
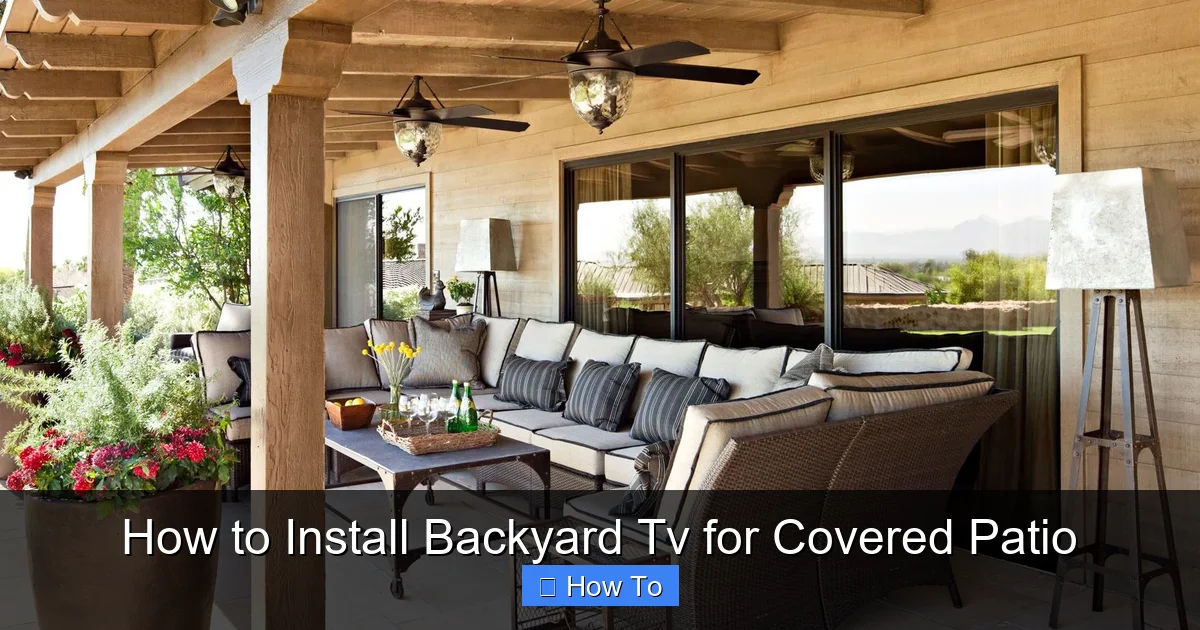
Visual guide about How to Install Backyard Tv for Covered Patio
Image source: bhg.com
The first and most important decision is selecting a TV built for outdoor use. Regular indoor TVs are not designed to handle the humidity, temperature changes, dust, and occasional moisture that come with outdoor environments—even under a covered patio.
Outdoor vs. Indoor TVs: What’s the Difference?
Indoor TVs are made for climate-controlled rooms. They lack weatherproofing, proper ventilation for heat dissipation, and protective coatings. In contrast, outdoor TVs are engineered to withstand the elements. They feature:
– Weatherproof casings that resist moisture, dust, and UV rays.
– Wide operating temperature ranges (typically -22°F to 122°F or -30°C to 50°C).
– Anti-glare screens for better visibility in daylight.
– Enhanced cooling systems to prevent overheating.
Types of Outdoor TVs
There are three main types of outdoor TVs:
1. Fully Weatherproof TVs: These are sealed units designed for year-round outdoor use, even in rain or snow. Brands like SunBriteTV, Seura, and Samsung Terrace offer high-end models with excellent brightness (2,000+ nits) and durability. Ideal for covered patios with some exposure to the elements.
2. Partial Weatherproof TVs: These are suitable for fully covered areas like screened patios or pergolas with solid roofs. They’re less expensive than fully weatherproof models but still offer protection against humidity and dust.
3. Indoor TVs in Outdoor Enclosures: If you already own a high-quality indoor TV, you can use a weatherproof outdoor TV enclosure. These protective cases shield the TV from moisture and debris while allowing airflow. Popular brands include Peerless-AV and VIVO. This is a budget-friendly option, but ensure the enclosure is rated for your climate.
Screen Size and Placement
Choose a screen size based on viewing distance. A general rule: for every 1 inch of screen size, sit about 1.5 feet away. For example, a 55-inch TV is best viewed from 6–8 feet away.
Also, consider where you’ll mount the TV. Avoid direct sunlight hitting the screen, as it can cause glare. If your patio gets morning or evening sun, position the TV so the screen faces away from the brightest light.
Step 2: Select the Right Mounting Hardware
Once you’ve chosen your TV, it’s time to pick a mount. Not all mounts are created equal—especially for outdoor use.
Types of Outdoor TV Mounts
– Fixed Wall Mounts: Simple and secure, these hold the TV flat against the wall. Best for permanent setups where you don’t need to adjust the angle.
– Tilt Mounts: Allow you to angle the TV downward for better viewing from seating areas. Great for patios with elevated seating.
– Full-Motion (Articulating) Mounts: Let you swivel, tilt, and extend the TV. Perfect if you want to watch from different areas—like a grill station or lounge chair.
Key Features to Look For
– Weatherproof coating: Look for powder-coated or stainless steel mounts resistant to rust and corrosion.
– Weight and size capacity: Ensure the mount supports your TV’s weight and VESA pattern (the screw hole layout on the back).
– VESA compatibility: Most TVs use standard VESA sizes (e.g., 200×200, 400×400). Check your TV’s manual and match it to the mount.
– Locking mechanism: Some mounts include locks to prevent theft—useful in shared or public spaces.
Mounting Surface Considerations
You can mount your TV on:
– Exterior walls (brick, stucco, wood)
– Pergola beams
– Ceiling mounts (for under-deck or overhang setups)
Make sure the surface is sturdy enough to support the TV and mount. Avoid mounting on thin siding or weak structures. Use a stud finder to locate solid framing behind drywall or siding.
Step 3: Plan Your Cable Management
Running cables neatly and safely is crucial for both aesthetics and safety. Exposed wires can be tripping hazards and are vulnerable to weather damage.
Cables You’ll Need
– Power cable: Connects the TV to an outdoor-rated outlet.
– HDMI cables: For connecting streaming devices, cable boxes, or gaming consoles.
– Antenna or coaxial cable: For over-the-air TV signals.
– Ethernet cable (optional): For a wired internet connection (more reliable than Wi-Fi outdoors).
Concealing Cables
There are several ways to hide cables:
1. In-Wall Routing: Run cables through the wall from the mounting point to an interior room. This is the cleanest look but requires drilling and possibly professional help. Use in-wall rated (CL2 or CL3) cables and install conduit for protection.
2. Surface-Mounted Conduit: Use weatherproof plastic or metal conduit to cover cables running along the wall. Paint it to match your wall color for a seamless look.
3. Cable Channels or Raceways: Self-adhesive or screw-on plastic channels that snap over cables. Easy to install and removable.
4. Under-Deck or Behind-Pergola Routing: If mounting under a deck or pergola, run cables along beams or under the structure using zip ties and protective sleeves.
Power Supply and Outlets
Your TV needs a reliable power source. Use a GFCI (Ground Fault Circuit Interrupter) outlet outdoors—it shuts off power if it detects a fault, preventing shocks.
If you don’t have an outdoor outlet near your TV, hire a licensed electrician to install one. Never use extension cords permanently—they’re not weatherproof and can overheat.
Step 4: Install the Mount and TV
Now it’s time to get hands-on. Follow these steps carefully to ensure a secure and safe installation.
Gather Your Tools
– Drill with masonry bits (for brick or concrete)
– Level
– Tape measure
– Screwdriver or impact driver
– Stud finder
– Pencil
– Safety goggles and gloves
Step-by-Step Mounting Process
1. Locate the Mounting Point
Hold the mount against the wall where you want the TV. Use a level to ensure it’s straight. Mark the screw holes with a pencil.
2. Drill Pilot Holes
If mounting into wood, drill pilot holes slightly smaller than the screws. For brick or concrete, use a hammer drill and masonry bits. Insert wall anchors if needed.
3. Secure the Mount
Attach the mount to the wall using the provided lag bolts or screws. Tighten firmly, but don’t over-tighten and strip the holes.
4. Attach the Mounting Brackets to the TV
Most mounts come with brackets that screw into the VESA holes on the back of the TV. Use the correct screws (usually included) and tighten securely.
5. Hang the TV
With a helper, lift the TV and hook the brackets onto the wall mount. Double-check that it’s secure and level.
6. Adjust the Angle (if using a tilt or full-motion mount)
Tilt or swivel the TV to the best viewing angle. Tighten any locking knobs to hold it in place.
Safety Tips
– Always have a helper when lifting the TV—TVs are heavy and awkward to handle.
– Never mount a TV above a fireplace or heat source.
– Ensure the mount is rated for your TV’s weight—overloading can cause failure.
Step 5: Connect and Test Your Devices
With the TV mounted, it’s time to connect your devices and test everything.
Connect Power and Devices
– Plug the TV into the outdoor GFCI outlet.
– Connect HDMI cables to your streaming device (like Roku, Apple TV, or Fire Stick), cable box, or gaming console.
– If using an antenna, connect the coaxial cable.
– For wired internet, plug in an Ethernet cable.
Test the Setup
Turn on the TV and check:
– Is the picture clear and bright?
– Are all inputs working (HDMI 1, 2, etc.)?
– Is the sound audible? (Consider adding outdoor speakers if needed.)
– Does the remote control work from your seating area?
Secure Loose Cables
Use zip ties, cable clips, or conduit to tidy up any exposed wires. Make sure nothing is pinched or dangling.
Step 6: Protect Your TV from the Elements
Even under a covered patio, your TV is exposed to humidity, dust, and temperature changes. Take these steps to protect it.
Use a Weatherproof Cover (Optional)
When not in use, cover the TV with a breathable, waterproof TV cover. This prevents dust buildup and protects against accidental splashes.
Ensure Proper Ventilation
Don’t enclose the TV in a cabinet or box without ventilation. Outdoor TVs need airflow to cool internal components. If using an enclosure, choose one with built-in fans or vents.
Install a Surge Protector
Power surges from lightning or grid fluctuations can damage electronics. Plug your TV and devices into a high-quality outdoor surge protector with a high joule rating (1,000+ joules).
Regular Maintenance
– Wipe the screen monthly with a microfiber cloth and screen-safe cleaner.
– Check seals and gaskets on outdoor TVs or enclosures for cracks.
– Inspect cables and connections for wear or corrosion.
Troubleshooting Common Issues
Even with careful planning, problems can arise. Here’s how to fix common issues.
TV Won’t Turn On
– Check the power outlet: Test it with another device.
– Ensure the surge protector is on and functioning.
– Verify the TV’s power cable is securely plugged in.
Poor Picture Quality
– Adjust brightness and contrast settings—outdoor TVs often need higher settings.
– Check for glare: Reposition the TV or use curtains to block sunlight.
– Ensure HDMI cables are high-speed and undamaged.
Weak Wi-Fi Signal
Outdoor areas often have poor Wi-Fi coverage. Solutions:
– Use a Wi-Fi extender or mesh network.
– Run an Ethernet cable for a wired connection.
– Place your router closer to the patio.
Remote Control Not Working
– Replace the batteries.
– Ensure there’s a clear line of sight between the remote and TV.
– Consider using a Bluetooth or RF remote for better range.
Overheating
– Make sure the TV has adequate ventilation.
– Avoid placing it in direct sunlight.
– If using an enclosure, ensure it has cooling fans.
Conclusion
Installing a backyard TV for your covered patio is a rewarding project that transforms your outdoor space into a true entertainment hub. By choosing a weatherproof TV, using the right mount, managing cables neatly, and protecting your setup from the elements, you’ll enjoy years of movie nights, game days, and relaxing evenings under the stars.
Remember: safety comes first. If you’re unsure about electrical work or structural mounting, consult a professional. And don’t forget regular maintenance—it’s the key to longevity.
With this guide, you’re ready to bring the comfort of indoor entertainment to your backyard. So grab some popcorn, invite your friends, and press play on your new outdoor oasis.

