
Hide cables safely and neatly when setting up a weatherproof TV for outdoor sports viewing. This guide covers cable management, weatherproofing, and smart routing to keep your setup clean, secure, and protected from the elements.
Key Takeaways
- Plan your cable route first: Map out the shortest, safest path from your TV to power and signal sources before drilling or installing.
- Use weatherproof conduit and raceways: Protect cables from rain, UV rays, and temperature swings with outdoor-rated enclosures.
- Anchor cables securely: Prevent tripping hazards and cable damage by using clips, ties, and mounting hardware designed for outdoor use.
- Seal all entry points: Apply silicone sealant or grommets where cables enter walls or enclosures to block moisture and pests.
- Label and organize cables: Keep things manageable by labeling each cable and grouping similar types together.
- Test before finalizing: Always power up and check signal quality before sealing everything permanently.
- Maintain access for future repairs: Use removable panels or access points so you can troubleshoot or upgrade later.
How to Hide Cables for a Weatherproof TV for Outdoor Sports Watching
Watching the big game under the open sky is one of life’s simple pleasures—especially when you’ve got a weatherproof TV mounted on your patio, deck, or backyard wall. But nothing ruins the vibe faster than a tangled mess of cables snaking across your outdoor space. Exposed wires aren’t just ugly—they’re dangerous. They can trip guests, get damaged by weather, or even cause electrical hazards.
The good news? You can enjoy a clean, professional-looking outdoor entertainment setup with a few smart cable management techniques. In this guide, we’ll walk you through how to hide cables for a weatherproof TV so you can focus on the action, not the wires.
Whether you’re setting up for football Sundays, March Madness, or summer baseball nights, this step-by-step guide will help you create a safe, stylish, and weather-resistant outdoor viewing area. We’ll cover planning, tools, installation, and maintenance—so your setup lasts season after season.
Let’s get started.
Why Cable Management Matters for Outdoor TVs
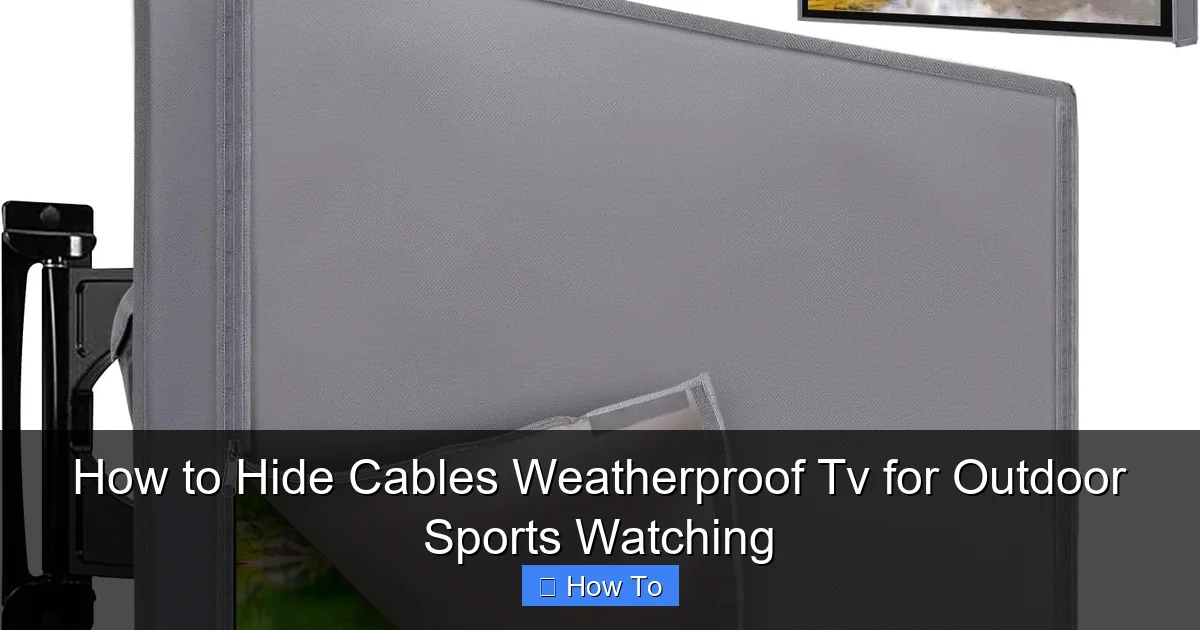
Visual guide about How to Hide Cables Weatherproof Tv for Outdoor Sports Watching
Image source: m.media-amazon.com
Before diving into the how-to, let’s talk about why hiding cables isn’t just about aesthetics.
Outdoor environments are tough on electronics. Rain, snow, extreme heat, UV rays, and even critters can damage exposed wiring. A loose HDMI cable might seem harmless, but over time, moisture can seep into connectors, causing signal loss or short circuits. Power cords left on the ground become tripping hazards—especially during lively game-day gatherings.
Plus, a clean setup looks more inviting. Guests will feel more comfortable relaxing in a space that’s organized and safe. And if you ever decide to sell your home, a well-maintained outdoor entertainment area can be a major selling point.
So, hiding cables isn’t just a nice-to-have—it’s essential for safety, longevity, and enjoyment.
Step 1: Plan Your Cable Route
The first step in any successful outdoor TV installation is planning. Rushing into drilling holes or running wires without a map can lead to mistakes, extra work, and even damage to your home’s exterior.
Assess Your Setup
Start by identifying where your weatherproof TV will be mounted. Common locations include:
– Exterior walls (brick, stucco, wood)
– Under covered patios or pergolas
– On freestanding poles or mounts
Next, locate your power source. Is there an outdoor GFCI (Ground Fault Circuit Interrupter) outlet nearby? If not, you may need to hire an electrician to install one. Never use indoor outlets for outdoor equipment—this is a serious safety risk.
Then, consider your signal sources. Will you be connecting a cable box, streaming device (like a Roku or Apple TV), soundbar, or gaming console? Each device adds another cable to manage.
Map the Shortest Path
Once you know where everything is, draw a simple sketch of your setup. Include:
– TV location
– Power outlet
– Signal source (e.g., indoor media cabinet)
– Any obstacles (windows, doors, gutters)
Look for the shortest, most direct route from the TV to the power and signal sources. The goal is to minimize cable length while avoiding high-traffic areas.
For example, if your TV is on the back wall and your media cabinet is in the living room just inside, you might run cables through the wall or along the base of the house.
Choose Indoor vs. Outdoor Routing
You have two main options for routing cables:
Through the wall: This is the cleanest look. You drill a small hole (usually 1–2 inches) through the exterior wall near the TV mount and feed cables inside. This keeps everything hidden and protected.
Along the exterior: If drilling isn’t an option (e.g., you’re renting or have a historic home), you can run cables along the outside of the wall using raceways or conduit.
We’ll cover both methods in detail below.
Step 2: Gather the Right Tools and Materials
Having the right gear makes all the difference. Here’s what you’ll need for a professional-looking, weatherproof cable setup.
Essential Tools
- Drill and drill bits: For making holes in walls or mounting hardware.
- Fish tape or coat hanger: To pull cables through walls or conduit.
- Cable ties and clips: For securing wires along surfaces.
- Screwdrivers and level: For mounting brackets and ensuring everything is straight.
- Measuring tape and pencil: For accurate placement.
- Utility knife or wire strippers: For trimming conduit or adjusting cable length.
Weatherproof Materials
- Outdoor-rated conduit or raceways: PVC or metal conduit protects cables from moisture and physical damage. Look for UV-resistant options.
- Weatherproof cable glands or grommets: These seal holes where cables enter walls or enclosures.
- Silicone sealant: Use outdoor-grade silicone to waterproof any gaps.
- Outdoor cable ties and mounts: Regular plastic ties degrade in sunlight. Use UV-resistant versions instead.
- Conduit fittings and elbows: For turning corners smoothly without kinking cables.
- Label maker or tape: To identify each cable (e.g., “HDMI 1,” “Power”).
Cable Recommendations
Not all cables are created equal for outdoor use.
– HDMI: Use high-speed, outdoor-rated HDMI cables with weatherproof connectors. Avoid cheap, unshielded cables—they’re prone to interference.
– Power cords: Use outdoor extension cords rated for wet locations (look for “SJTW” or “SJTOW” on the label). Never splice or modify cords.
– Ethernet (if using wired internet): Choose Cat 6 or Cat 6a cables with UV protection and waterproof jackets.
Pro tip: Buy cables slightly longer than needed. It’s better to have extra than to stretch them tight, which can cause signal loss.
Step 3: Run Cables Through the Wall (Cleanest Method)
If you’re comfortable drilling and your home allows it, running cables through the wall is the best way to hide them completely.
Step 3.1: Mark the Entry and Exit Points
Use your sketch to determine where the cables will enter the wall (near the TV) and exit (inside, near your media cabinet).
At the TV location, mark a spot about 6–12 inches below the mount. This gives you room to connect cables without strain.
Inside, find the corresponding spot on the interior wall. Use a stud finder to avoid drilling into studs or electrical wires.
Step 3.2: Drill the Holes
Start outside. Use a drill bit slightly larger than your conduit diameter (usually 1.5–2 inches). Drill at a slight downward angle to prevent water from pooling inside.
Go slowly, especially if you’re drilling into brick or stucco. Use a hammer drill if needed.
Once the hole is through, switch to the inside and clean up any debris.
Step 3.3: Install a Weatherproof Grommet or Cable Gland
Insert a rubber grommet or metal cable gland into the hole. These create a tight seal around the cables and prevent moisture from entering.
If using a gland, tighten it securely but don’t over-tighten—this can crush the cables.
Step 3.4: Feed the Cables
Attach your cables to a fish tape or stiff wire. Lubricate the cables lightly with soap or cable lube to reduce friction.
From the inside, push the fish tape through the hole until it emerges outside. Then, attach your cables and pull them back through.
Work slowly and avoid bending cables too sharply. HDMI and Ethernet cables have minimum bend radius requirements—usually 4 times the cable diameter.
Step 3.5: Seal the Hole
Once all cables are through, fill any gaps around the grommet with outdoor silicone sealant. This creates a waterproof barrier.
Let the sealant cure for 24 hours before mounting the TV.
Step 4: Use Exterior Raceways or Conduit (No Drilling Option)
If you can’t drill through the wall, raceways or conduit are your best bet. These are plastic or metal channels that attach to the exterior and hide cables in plain sight.
Step 4.1: Choose the Right Raceways
Look for outdoor-rated raceways made from UV-resistant PVC or aluminum. They come in various sizes and colors to match your siding.
Popular brands include Legrand, Wiremold, and D-Line. Some even have adhesive backs for easy installation.
Step 4.2: Plan the Route
Lay out the raceway along your planned path. Avoid areas with heavy foot traffic or where water pools.
Use a level to ensure it’s straight. Mark screw holes with a pencil.
Step 4.3: Install the Raceways
If using adhesive-backed raceways, clean the surface with rubbing alcohol first. Press firmly and hold for 30 seconds.
For screw-mounted types, drill pilot holes and secure with stainless steel screws (to prevent rust).
Use corner pieces or elbows to navigate around edges or corners smoothly.
Step 4.4: Insert and Secure Cables
Open the raceway and lay your cables inside. Don’t overcrowd—leave about 30% empty space for airflow and future additions.
Close the raceway and snap or screw it shut.
Use outdoor cable clips every 12–18 inches to prevent sagging.
Step 4.5: Seal Ends and Joints
Apply silicone sealant to the ends of the raceway and any joints. This prevents water and insects from getting in.
Step 5: Secure and Organize Cables at the TV
Even with hidden routing, cables need to be managed at the TV end.
Step 5.1: Use a Cable Management Box
A weatherproof cable management box mounts behind or below the TV. It holds your streaming device, power strip, and excess cable length.
Look for boxes with ventilation holes and cable entry ports. Some even have built-in surge protection.
Step 5.2: Bundle Cables Neatly
Use Velcro straps or reusable cable ties to group similar cables together (e.g., all HDMI, all power).
Avoid zip ties that tighten permanently—you’ll want to adjust or replace cables later.
Step 5.3: Label Everything
Use a label maker or write on tape to identify each cable. This saves time when troubleshooting or upgrading.
Example labels:
– “HDMI – Apple TV”
– “Power – Soundbar”
– “Ethernet – Router”
Step 5.4: Leave Slack for Movement
Don’t pull cables tight. Leave a small loop (6–8 inches) behind the TV so you can move it for cleaning or adjustments.
Step 6: Weatherproof All Connections
Even hidden cables need protection at connection points.
Step 6.1: Use Weatherproof Covers
For outdoor outlets, install a weatherproof cover with a flip-up lid. These keep plugs dry even in rain.
If your power strip is outside, place it in a sealed outdoor electrical box.
Step 6.2: Wrap Connections with Electrical Tape
For extra protection, wrap cable connections (like HDMI or power plugs) with self-fusing silicone tape. This creates a waterproof seal without adhesive residue.
Step 6.3: Elevate Off the Ground
Never let cables rest on wet surfaces. Use hooks, clips, or mounts to keep them at least 6 inches above the ground.
Step 7: Test and Finalize
Before you call it done, test everything.
Step 7.1: Power Up and Check Signals
Turn on the TV and all connected devices. Make sure:
– Picture and sound are clear
– Internet connection is stable (if using streaming)
– All remotes work
Step 7.2: Inspect for Issues
Look for:
– Flickering screens (could mean a loose HDMI)
– Overheating devices (check ventilation)
– Water pooling near cables
Step 7.3: Make Final Adjustments
Tighten any loose clips, reseal gaps, or reroute cables if needed.
Once everything works, take a photo of your setup. This helps if you need to troubleshoot later.
Troubleshooting Common Cable Issues
Even with careful planning, problems can happen. Here’s how to fix the most common ones.
Problem: No Signal or Poor Picture Quality
- Check connections: Unplug and reconnect all cables.
- Test with a shorter cable: Long HDMI runs can degrade signal. Use an HDMI extender or booster if needed.
- Look for interference: Keep power cables away from signal cables to avoid noise.
Problem: Cables Are Sagging or Loose
- Add more clips: Install additional mounts every 12 inches.
- Use a support wire: For long runs, run a thin steel cable alongside and attach cables to it.
Problem: Water Got Into the Conduit
- Drain and dry: Remove cables, dry everything thoroughly, and reseal.
- Improve slope: Ensure conduit slopes downward away from the TV to let water drain out.
Problem: Animals Chewed Through Cables
- Use metal conduit: Squirrels and rodents can’t chew through steel.
- Apply repellent: Use natural deterrents like peppermint oil around entry points.
Maintenance Tips for Long-Term Success
Your outdoor setup will last longer with regular care.
– Inspect every season: Check for loose clips, cracked raceways, or frayed cables.
– Clean gently: Wipe down raceways and boxes with a damp cloth. Avoid harsh chemicals.
– Trim vegetation: Keep plants and vines away from cables to prevent damage.
– Update as needed: Swap out old cables for newer, higher-speed versions when upgrading devices.
Conclusion
Hiding cables for your weatherproof TV doesn’t have to be complicated. With a little planning, the right tools, and weatherproof materials, you can create a clean, safe, and professional-looking outdoor entertainment space.
Whether you run cables through the wall or use exterior raceways, the key is to protect them from the elements and keep them organized. Label everything, test thoroughly, and maintain your setup regularly.
Now, when game day arrives, you can focus on the touchdowns, not the tangled wires. Grab some snacks, invite your friends, and enjoy the game under the stars—cable-free and stress-free.
Your outdoor sports watching experience just got a major upgrade.

