
Protect your outdoor TV setup from harsh coastal conditions while keeping cables hidden and secure. This guide covers weatherproof cable management, routing techniques, and materials built to withstand salt air, humidity, and storms—ensuring a clean, safe, and long-lasting installation.
Key Takeaways
- Use marine-grade or weatherproof conduit: Standard plastic conduits degrade in salt air; choose UV-resistant, corrosion-proof materials like PVC or metal conduit rated for outdoor and coastal use.
- Route cables underground or along structures: Bury cables in conduit at least 18 inches deep or secure them along walls, railings, or soffits to avoid tripping hazards and weather exposure.
- Seal all connections and entry points: Use waterproof cable glands, silicone sealant, and drip loops to prevent moisture from entering outlets, TVs, or junction boxes.
- Choose the right cable types: Opt for direct burial-rated coaxial and HDMI cables with UV and moisture protection to avoid signal loss and corrosion.
- Plan for maintenance and upgrades: Install pull strings in conduits and use accessible junction boxes so you can replace or add cables without redoing the entire run.
- Follow local electrical codes: Coastal areas often have strict building codes; consult a licensed electrician to ensure compliance with grounding, GFCI protection, and burial depth requirements.
- Blend with your outdoor design: Use paintable raceways, hidden channels, or natural landscaping to conceal cables while maintaining a clean, stylish look.
How to Hide Cables Outdoor Television for Coastal Homes
If you’ve invested in an outdoor television for your coastal home, you know how amazing it is to enjoy your favorite shows while soaking up ocean views. But let’s be honest—exposed cables can ruin the vibe. Worse, in coastal environments, those cables are under constant attack from salt air, high humidity, UV rays, and strong winds. Without proper protection and concealment, your setup could fail prematurely, become a safety hazard, or look messy.
This guide will walk you through how to hide cables for outdoor television in coastal homes—safely, effectively, and with style. You’ll learn the best materials, routing techniques, and weatherproofing strategies to keep your cables protected and out of sight. Whether you’re mounting your TV on a patio wall, under a pergola, or near the pool, these steps will help you create a clean, durable, and code-compliant installation.
We’ll cover everything from choosing the right cables and conduits to sealing connections and blending cable runs with your outdoor decor. By the end, you’ll have a setup that’s not only functional and safe but also enhances your outdoor living space.
Why Cable Management Matters in Coastal Environments
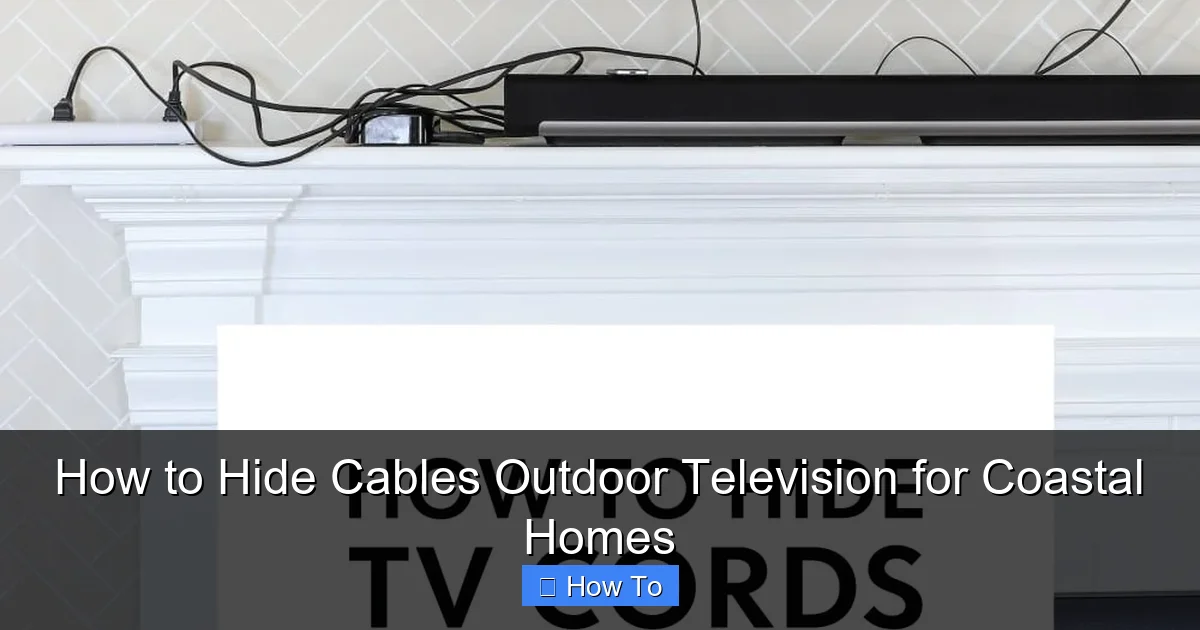
Visual guide about How to Hide Cables Outdoor Television for Coastal Homes
Image source: thehomesihavemade.com
Coastal homes face unique challenges when it comes to outdoor electronics. Salt air is highly corrosive and can degrade metal connectors, weaken insulation, and cause electrical shorts. High humidity promotes mold and condensation, while intense sunlight breaks down standard plastics and rubber coatings. Add in strong winds, salt spray, and occasional storms, and you’ve got a recipe for cable failure.
Exposed cables are also a tripping hazard, especially in high-traffic areas like decks or patios. And let’s not forget aesthetics—no one wants to see a tangled mess of wires snaking across their beautiful outdoor space.
Proper cable management does more than just hide wires. It:
- Extends the lifespan of your cables and equipment
- Reduces the risk of electrical faults and fire hazards
- Keeps your outdoor area safe and clutter-free
- Protects against moisture, corrosion, and UV damage
- Maintains a clean, professional look
In short, hiding your cables isn’t just about looks—it’s about safety, durability, and peace of mind.
Step 1: Plan Your Cable Route
Before you buy a single cable or tool, take time to plan your route. A well-thought-out plan saves time, money, and frustration down the line.
Assess Your Setup
Start by identifying:
- Where your outdoor TV will be mounted
- Where your power source is located (outlet, junction box, or outdoor-rated GFCI)
- Where your signal sources are (cable box, streaming device, antenna)
- Any obstacles like walls, railings, planters, or landscaping
Draw a simple sketch or use a note-taking app to map the path your cables will take. Measure the distance so you know how much cable and conduit to buy.
Choose the Best Path
The ideal route is:
- Short and direct to minimize signal loss
- Hidden from view (along walls, under decks, or underground)
- Protected from foot traffic and weather
- Accessible for future maintenance
Avoid running cables across open walkways or areas where they could be damaged by furniture, pets, or garden tools.
Check Local Codes and Permits
Coastal areas often have strict building and electrical codes. Some jurisdictions require permits for outdoor electrical work or underground conduit installation. Always check with your local building department before starting.
If you’re unsure, consult a licensed electrician—especially for power runs. Safety and compliance are non-negotiable.
Step 2: Choose the Right Cables and Materials
Not all cables are created equal—especially for coastal use. You need materials that can withstand salt, moisture, and sun.
Use Direct Burial-Rated Cables
Standard indoor cables will fail quickly outdoors. Instead, choose:
- Direct burial coaxial cable: For antenna or cable TV signals. Look for UV-resistant jackets and moisture-blocking gel or tape.
- Outdoor-rated HDMI cable: If running HDMI over long distances, use a cable rated for outdoor use with weatherproof connectors. For runs over 25 feet, consider an HDMI extender with Ethernet or fiber optic.
- Outdoor Ethernet cable (Cat6a): For streaming devices or smart TVs. Choose shielded, UV-resistant, and water-blocked versions.
- Outdoor power cable: Use SOOW or SJOW cord rated for wet locations and outdoor use.
Avoid cheap, unrated cables—they’re a false economy in harsh environments.
Select Weatherproof Conduit
Conduit protects cables from physical damage, moisture, and UV exposure. For coastal homes, choose:
- Schedule 40 or 80 PVC conduit: UV-resistant, corrosion-proof, and easy to work with. Ideal for underground or surface mounting.
- Metal conduit (EMT or rigid): More durable and fire-resistant, but can corrode unless galvanized or coated. Use with care in salt-heavy areas.
- Flexible conduit: Useful for tight bends or areas with movement, like near deck joints.
Avoid standard plastic conduit—it becomes brittle in sunlight and cracks over time.
Get the Right Connectors and Fittings
Use:
- Waterproof cable glands: To seal entry points into boxes or TV enclosures.
- PVC cement and primer: For permanent, watertight conduit joints.
- Weatherproof junction boxes: With gaskets and screw-down covers.
- Stainless steel straps and clamps: To secure conduit—regular steel will rust quickly near the coast.
Step 3: Run Cables Underground (Best for Long Distances)
Burying cables is one of the most effective ways to hide and protect them—especially for runs from your house to a patio, gazebo, or pool area.
Dig a Trench
Use a shovel, trenching tool, or rent a mini-trencher for longer runs. The trench should be:
- At least 18 inches deep (per NEC code for direct burial)
- Wide enough to fit your conduit with extra space
- Slightly sloped to allow water drainage
Avoid areas with large roots, rocks, or utility lines. Call 811 before you dig to locate underground utilities.
Install Conduit
Place the PVC or metal conduit in the trench. Use:
- Conduit couplings and elbows for turns
- Conduit straps every 3–4 feet to prevent shifting
- A pull string inside the conduit for future cable upgrades
Seal all joints with PVC cement. For extra protection, wrap above-ground transitions with UV-resistant tape.
Pull the Cables
Attach your cables to the pull string and gently feed them through the conduit. Use a cable lubricant if needed, but avoid over-tightening—HDMI and coaxial cables are fragile.
Leave extra length at both ends (about 2–3 feet) for connections and future adjustments.
Backfill and Mark the Trench
Cover the conduit with soil, tamping it down as you go. Add a layer of sand or gravel above the conduit for extra protection.
Install a permanent marker (like a conduit marker stake) so you know where the line is buried.
Step 4: Route Cables Along Structures (Best for Short Runs)
If your TV is close to the house or mounted on a wall, running cables along structures is faster and easier than burying.
Use Surface-Mounted Conduit or Raceways
Attach conduit or paintable raceways to walls, soffits, or railings. Choose:
- White or paintable PVC raceways that blend with your trim
- Aluminum or stainless steel channels for a modern look
- Flexible conduit for curved surfaces
Secure with stainless steel screws and anchors. Avoid adhesive-only mounts—they fail in heat and humidity.
Hide Cables Behind Trim or Molding
If you’re mounting the TV on an exterior wall, run cables behind existing trim, baseboards, or crown molding. Use a fish tape to guide cables through wall cavities.
For a cleaner look, install new decorative molding with a hollow channel inside.
Use Natural Landscaping
Route cables behind shrubs, trellises, or garden beds. Use low-profile conduit or bury shallowly under mulch (but still in conduit for protection).
Avoid planting directly over buried cables—roots can damage them over time.
Step 5: Seal All Connections and Entry Points
Moisture is the enemy. Even a tiny gap can let in salt spray and cause corrosion.
Create Drip Loops
Before cables enter a box or TV, form a U-shaped loop below the entry point. This prevents water from traveling along the cable and into the connection.
Use Waterproof Cable Glands
At every entry point (TV enclosure, junction box, outlet), use a cable gland rated for outdoor use. Tighten securely to create a watertight seal.
Apply Silicone Sealant
Use marine-grade silicone around conduit entries, box covers, and any gaps. Reapply every few years as it degrades.
Install Weatherproof Enclosures
Mount your streaming device, cable box, or power strip in a NEMA-rated outdoor enclosure. Look for:
- IP65 or higher rating
- Vented or insulated options (depending on climate)
- Lockable doors for security
Step 6: Secure and Conceal the Final Setup
Now that your cables are routed and protected, it’s time to hide them from view.
Paint Conduit and Raceways
Match the color of your conduit or raceway to your wall, trim, or deck. Use exterior-grade paint for durability.
Use Cable Clips and Ties
Secure loose cables to walls or under decks with UV-resistant zip ties or adhesive clips. Avoid over-tightening—cables need room to expand and contract.
Integrate with Outdoor Decor
Hide cables behind outdoor furniture, planters, or decorative screens. Use cable sleeves or fabric covers for a softer look.
For a high-end finish, install a custom-built media cabinet or TV niche with built-in cable management.
Troubleshooting Common Issues
Cables Are Hard to Pull Through Conduit
- Use a pull string and cable lubricant
- Ensure conduit has smooth, gradual bends (no sharp turns)
- Break long runs into shorter sections with junction boxes
Signal Loss or Interference
- Check for damaged or kinked cables
- Ensure HDMI cables are rated for the distance
- Use signal boosters or extenders for long runs
Moisture in Junction Boxes
- Re-seal all entry points with silicone
- Install a desiccant pack inside the box
- Check for missing gaskets or loose covers
Conduit Cracking or Discoloration
- Replace with UV-resistant PVC or metal
- Paint exposed sections with UV-blocking paint
- Shield from direct sunlight with soffits or covers
Maintenance Tips for Long-Term Success
Even the best installations need upkeep. Follow these tips to keep your system running smoothly:
- Inspect cables and seals annually for cracks, corrosion, or wear
- Clean connectors with isopropyl alcohol and a soft brush
- Reapply silicone sealant every 2–3 years
- Check for pest damage—rodents love to chew cables
- Trim back vegetation that could damage exposed lines
Conclusion
Hiding cables for your outdoor television in a coastal home isn’t just about aesthetics—it’s about creating a safe, durable, and reliable setup that stands up to the elements. By using weatherproof materials, proper routing techniques, and smart concealment strategies, you can protect your investment and enjoy a clean, professional-looking outdoor entertainment space.
Remember: salt air, humidity, and UV exposure are relentless. Don’t cut corners on cables, conduit, or sealing. Plan carefully, follow local codes, and when in doubt, consult a professional.
With the steps in this guide, you’ll have a cable management system that’s hidden, protected, and built to last—so you can focus on what really matters: enjoying your favorite shows with the ocean breeze at your back.

