
Hiding cables for your deck TV on a covered patio doesn’t have to be complicated. This guide walks you through practical, weather-resistant solutions to keep wires out of sight and your outdoor entertainment area looking clean and safe. From cable raceways to in-wall concealment, we’ve got you covered.
Key Takeaways
- Plan your cable route first: Map out the shortest, safest path from your TV to power and signal sources before installing anything.
- Use weatherproof materials: Always choose outdoor-rated cable covers, conduits, and fasteners to protect against moisture and UV damage.
- Consider in-wall solutions for a clean look: If your patio has walls or soffits, running cables inside them offers the most seamless finish.
- Label all cables during installation: This makes future troubleshooting or upgrades much easier.
- Secure cables properly to prevent tripping hazards: Use adhesive clips, zip ties, or raceways to keep wires tidy and off the floor.
- Test everything before finalizing: Power on your system and check signal quality after hiding cables to avoid rework.
- Maintain access for future repairs: Avoid permanently sealing cables in ways that make maintenance difficult.
Introduction: Why Hiding Cables Matters on Your Covered Patio
So, you’ve set up a sleek TV on your covered patio—great choice! Whether you’re watching the big game, streaming a movie under the stars, or catching up on your favorite show while grilling, an outdoor TV adds serious comfort and style. But let’s be honest: those dangling HDMI, power, and speaker cables? They’re not doing your space any favors.
Visible wires not only look messy, but they can also be dangerous. Tripping hazards, water exposure, and wear from foot traffic can damage your gear or worse—cause accidents. Plus, pests like rodents love to chew on exposed cables. That’s why learning how to hide cables for your deck TV on a covered patio is essential.
The good news? You don’t need to be a DIY expert or spend a fortune to get a clean, professional look. With the right tools, a bit of planning, and some smart techniques, you can conceal your cables safely and effectively—even in an outdoor environment.
In this guide, we’ll walk you through every step: from planning your cable route to choosing the best hiding methods, installing them properly, and maintaining your setup over time. Whether your patio has walls, open beams, or just a simple overhang, we’ve got solutions that work.
By the end, your outdoor entertainment area will look polished, safe, and ready for year-round enjoyment—no tangled wires in sight.
Step 1: Assess Your Patio Layout and TV Setup
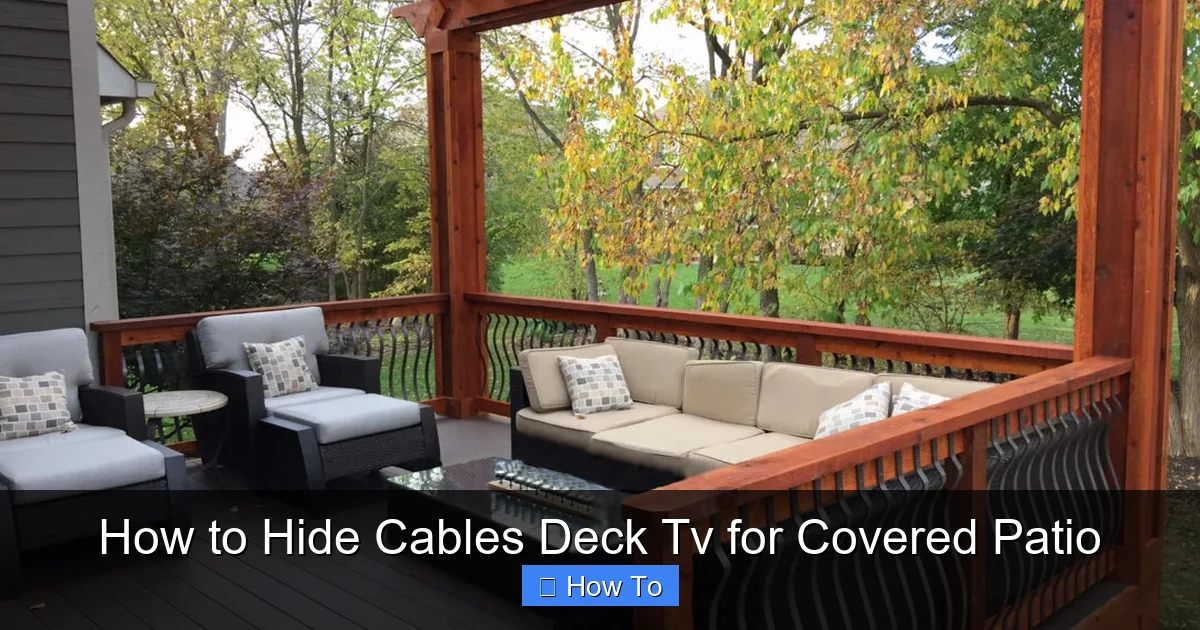
Visual guide about How to Hide Cables Deck Tv for Covered Patio
Image source: aspenoutdoordesigns.com
Before you buy a single cable clip or raceway, take a good look at your space. Every covered patio is different—some have solid walls, others have lattice or open beams, and some are more like screened-in porches. Your setup will determine the best cable-hiding strategy.
Start by identifying where your TV is mounted. Is it on a wall? A post? A freestanding stand? Next, trace the path your cables need to take. Where does power come from? Where are your streaming devices, soundbar, or gaming consoles located? Do you have a receiver or media box inside the house that needs to connect?
Also, consider how much cable you’ll need. Measure the distance from your TV to each power outlet and signal source. Add a little extra—about 10–15%—to allow for slack and routing around corners.
Don’t forget about weather. Even though your patio is covered, it’s still exposed to humidity, rain splash, and temperature swings. That means indoor cable solutions won’t cut it. You’ll need outdoor-rated products designed to withstand the elements.
Finally, think about future access. Will you need to swap out a cable or add a new device later? Choose methods that allow for easy maintenance without tearing everything apart.
Example: A Typical Covered Patio Setup
Imagine your TV is mounted on the exterior wall of your house, under a roof overhang. Your streaming box and soundbar sit on a weatherproof cabinet below the TV. Power comes from an outdoor GFCI outlet about six feet away. An HDMI cable runs from the TV to a media closet inside the house, about 20 feet through the wall.
In this case, you’ll need:
– Weatherproof HDMI cable (rated for outdoor use)
– Outdoor-rated power strip or surge protector
– Conduit or raceway to run cables along the wall
– In-wall solution for the HDMI run into the house
Mapping this out on paper or using a notes app helps you visualize the project and avoid surprises.
Step 2: Choose the Right Cable Hiding Method
Now that you’ve assessed your space, it’s time to pick the best way to hide your cables. There’s no one-size-fits-all solution, but here are the most effective methods for covered patios:
Option 1: Cable Raceways (Best for Visible Walls)
Cable raceways are plastic or metal channels that snap or screw onto walls to hide wires. They’re affordable, easy to install, and come in various sizes and colors to match your siding or trim.
Look for outdoor-rated raceways with UV protection and water resistance. Some even have adhesive backing for quick mounting, though screw-mounted versions are more secure in windy areas.
Raceways are ideal if your patio has flat, accessible walls and you don’t mind a slight protrusion. They’re also great for running multiple cables together—perfect for power, HDMI, and speaker wires.
Option 2: Flexible Conduit (Great for Curves and Corners)
If your cables need to bend around posts, beams, or uneven surfaces, flexible conduit is your friend. Made from PVC or corrugated plastic, it’s bendable yet durable.
You can run individual cables through the conduit and secure it with outdoor zip ties or clips. It’s especially useful for running wires along the underside of a deck or up a support column.
Just make sure the conduit is rated for outdoor use and has a smooth interior to prevent cable snagging during installation.
Option 3: In-Wall or In-Soffit Concealment (Most Professional Look)
For the cleanest finish, run cables inside walls, soffits, or ceiling panels. This method hides wires completely and protects them from weather and physical damage.
If your patio has a soffit (the underside of the roof overhang), you may be able to drill into it and feed cables through. Use a fish tape to guide wires through tight spaces.
For walls, you’ll need to drill through the exterior siding and interior drywall. This is more involved but worth it for a seamless look. Always check for electrical wires or plumbing before drilling.
Option 4: Under-Deck Routing (Ideal for Elevated Patios)
If your patio is on a raised deck, consider running cables underneath. Use outdoor-rated cable trays or zip ties to secure wires to the underside of the deck boards.
This keeps cables off the ground and out of sight. Just ensure they’re protected from moisture and not in direct contact with damp wood.
Option 5: Decorative Cable Covers or Sleeves
For a quick fix, use braided cable sleeves or decorative covers that wrap around multiple wires. These are less secure than raceways but can blend in with your décor.
Choose UV-resistant sleeves in colors that match your patio furniture or trim. They’re best for short runs or temporary setups.
Step 3: Gather Your Tools and Materials
Once you’ve chosen your method, it’s time to gather supplies. Here’s a checklist of what you’ll likely need:
- Outdoor-rated HDMI, power, and speaker cables (check length and bandwidth needs)
- Cable raceways, conduit, or sleeves (choose based on your method)
- Weatherproof cable clips, zip ties, or adhesive mounts
- Drill with masonry and wood bits (if drilling into walls or soffits)
- Fish tape or flexible rod (for in-wall runs)
- Measuring tape and pencil
- Level (to keep raceways straight)
- Wire strippers and crimping tool (if making custom cables)
- GFCI outlet tester (to ensure safety)
- Label maker or tape (to mark cables)
Pro tip: Buy a little extra cable and conduit than you think you’ll need. It’s frustrating to run halfway through a project and realize you’re short.
Also, invest in quality outdoor cables. Cheap indoor cables can degrade quickly when exposed to sun and moisture. Look for labels like “CMR,” “CMX,” or “outdoor-rated” on the jacket.
Step 4: Plan and Mark Your Cable Route
Now it’s time to map out exactly where your cables will go. Start at the TV and work backward to each power source and signal destination.
Use painter’s tape or chalk to mark the path on the wall, soffit, or deck. This helps you visualize the route and make adjustments before drilling or mounting.
Keep cables as short as possible to reduce signal loss and clutter. Avoid sharp bends, especially with HDMI cables, which can damage internal wires.
If running cables near power lines, maintain at least 6 inches of separation to prevent interference. Use shielded cables if you must cross power lines.
For in-wall runs, locate studs and electrical boxes using a stud finder. Plan your entry and exit points carefully—drilling into a stud is fine, but avoid electrical wires.
Example Route Planning
Let’s say your TV is on the west wall, and your media closet is inside on the east side of the house. The shortest path might go up into the soffit, across the ceiling cavity, and down through the interior wall.
Mark the entry point near the TV mount and the exit point inside the closet. Use a laser level to ensure the route is straight.
If using raceways, plan for corners and transitions. Most raceways come with corner pieces—use them for a clean look.
Step 5: Install Your Chosen Cable Hiding System
With your route mapped, it’s time to install. Follow these steps based on your chosen method.
Installing Cable Raceways
1. Clean the wall surface with rubbing alcohol to remove dirt and grease.
2. Measure and cut the raceway to length using a hacksaw or utility knife.
3. Dry-fit the raceway along the marked path to ensure it fits.
4. Apply outdoor-rated adhesive or drill pilot holes for screws.
5. Secure the base of the raceway to the wall.
6. Open the cover and lay in your cables.
7. Snap the cover shut and ensure it’s sealed against moisture.
Tip: Use silicone caulk around the edges for extra weatherproofing.
Running Cables Through Conduit
1. Measure and cut the conduit to length.
2. Attach a pull string or fish tape to guide cables through.
3. Feed cables through the conduit before mounting.
4. Secure the conduit to the wall or beam using outdoor zip ties or clips.
5. Leave a little slack at both ends for connections.
For long runs, have a helper feed the cable while you pull from the other end.
In-Wall or In-Soffit Installation
1. Drill a small pilot hole at the entry point.
2. Use a fish tape to guide the cable through the wall or soffit cavity.
3. Attach the cable to the fish tape and pull it through.
4. Seal the entry and exit holes with outdoor caulk to prevent water intrusion.
5. Connect cables to your devices.
Safety note: Turn off power at the breaker before drilling near electrical outlets.
Under-Deck Routing
1. Use a drill to create access holes under the deck if needed.
2. Feed cables through and secure with outdoor-rated cable ties.
3. Use a cable tray for longer runs to keep wires organized.
4. Ensure cables are not touching damp wood—use spacers if necessary.
Step 6: Connect and Test Your System
Once all cables are hidden, it’s time to connect everything.
Start by plugging in your TV, streaming device, soundbar, and any other components. Use a weatherproof outdoor surge protector for power—this protects your gear and makes it easy to turn everything off.
Connect your HDMI, audio, and power cables. Double-check that each cable is securely plugged in and labeled.
Power on the system and test each function:
– Does the TV turn on?
– Is the picture clear with no flickering?
– Is audio working through the soundbar or speakers?
– Can you stream content without buffering?
If something isn’t working, don’t panic. Check connections first. A loose HDMI cable is the most common issue.
Use a signal tester or app (like HDMI Detective) to check for signal loss, especially on long runs.
If you’re using an outdoor antenna or satellite dish, ensure the cable is properly grounded and sealed.
Step 7: Secure and Maintain Your Setup
A clean install isn’t just about looks—it’s about safety and longevity.
Go over all cable connections and secure any loose ends. Use additional clips or zip ties if needed.
Inspect your setup after rain or strong winds. Look for signs of wear, loose raceways, or water intrusion.
Every few months, check cables for cracks, fraying, or pest damage. Replace any damaged cables immediately.
Keep a diagram or photo of your cable layout for future reference. This helps if you need to add a device or troubleshoot later.
Troubleshooting Common Issues
Even with careful planning, problems can arise. Here’s how to fix the most common ones:
Problem: Cables Won’t Fit in Raceways
Solution: Use a larger raceway or split cables into multiple channels. Avoid overstuffing—it can cause overheating and signal loss.
Problem: Signal Loss on Long HDMI Runs
Solution: Use an active HDMI cable or HDMI extender with signal boosting. Passive cables over 25 feet often fail outdoors.
Problem: Water Getting Into Conduit or Raceways
Solution: Seal all entry points with silicone caulk. Use drip loops (a downward curve in the cable) to prevent water from traveling into devices.
Problem: Cables Keep Coming Loose
Solution: Use heavier-duty clips or screws instead of adhesive. Adhesive can fail in heat or humidity.
Problem: Pests Chewing on Cables
Solution: Use metal conduit or armored cable. Apply peppermint oil around entry points—rodents hate the smell.
Conclusion: Enjoy a Clean, Safe Outdoor Entertainment Space
Hiding cables for your deck TV on a covered patio might seem like a small detail, but it makes a big difference. A tidy setup not only looks better—it’s safer, more durable, and easier to maintain.
By planning your route, choosing the right materials, and installing everything carefully, you’ve created an outdoor space that’s both functional and beautiful. Whether you used raceways, conduit, or in-wall solutions, your cables are now protected from the elements and out of sight.
Remember, the key to success is preparation and using outdoor-rated products. Don’t cut corners on quality—your TV and devices are worth the investment.
Now, kick back, grab a drink, and enjoy your favorite show—no wires in sight. Your covered patio is ready for movie nights, game days, and everything in between.

