
This guide walks you through how to install an outdoor TV for a covered patio, from choosing the right model to mounting and wiring. You’ll learn essential safety tips, weatherproofing techniques, and how to enjoy your outdoor entertainment space with confidence.
Key Takeaways
- Choose a true outdoor TV: Not all weather-resistant TVs are built for full outdoor use—look for models rated for outdoor environments with sealed components and anti-glare screens.
- Pick the right mounting location: Ensure the TV is protected from rain, direct sunlight, and heat buildup while maintaining a clear viewing angle from seating areas.
- Use weatherproof cables and connectors: Standard indoor cables can degrade quickly outdoors—opt for UV-resistant, waterproof HDMI and power cables.
- Secure power with GFCI protection: Outdoor electrical outlets must be GFCI-protected to prevent shocks and meet safety codes.
- Plan for sound and streaming: Consider weatherproof speakers or soundbars and ensure strong Wi-Fi coverage for streaming services.
- Test and maintain regularly: Check seals, connections, and screen clarity seasonally to extend your TV’s lifespan.
- Follow local building codes: Consult regulations for electrical work and mounting structures to ensure compliance and safety.
How to Install Outdoor TV for Covered Patio
Imagine sipping your morning coffee or hosting a summer barbecue while watching your favorite show under the shade of your covered patio. With the right setup, your outdoor space can become a true extension of your living room—complete with a high-quality TV. Installing an outdoor TV for a covered patio isn’t just about mounting a screen; it’s about creating a durable, safe, and enjoyable entertainment zone that stands up to the elements.
In this comprehensive guide, you’ll learn everything you need to know to install an outdoor TV on your covered patio. We’ll cover how to choose the right TV, select the best mounting spot, run cables safely, connect audio and streaming devices, and maintain your setup for years of use. Whether you’re a DIY enthusiast or hiring a professional, this step-by-step walkthrough will help you get it right the first time.
By the end of this guide, you’ll have a weather-resistant, securely mounted outdoor TV that delivers crisp picture quality and reliable performance—rain or shine.
Step 1: Choose the Right Outdoor TV
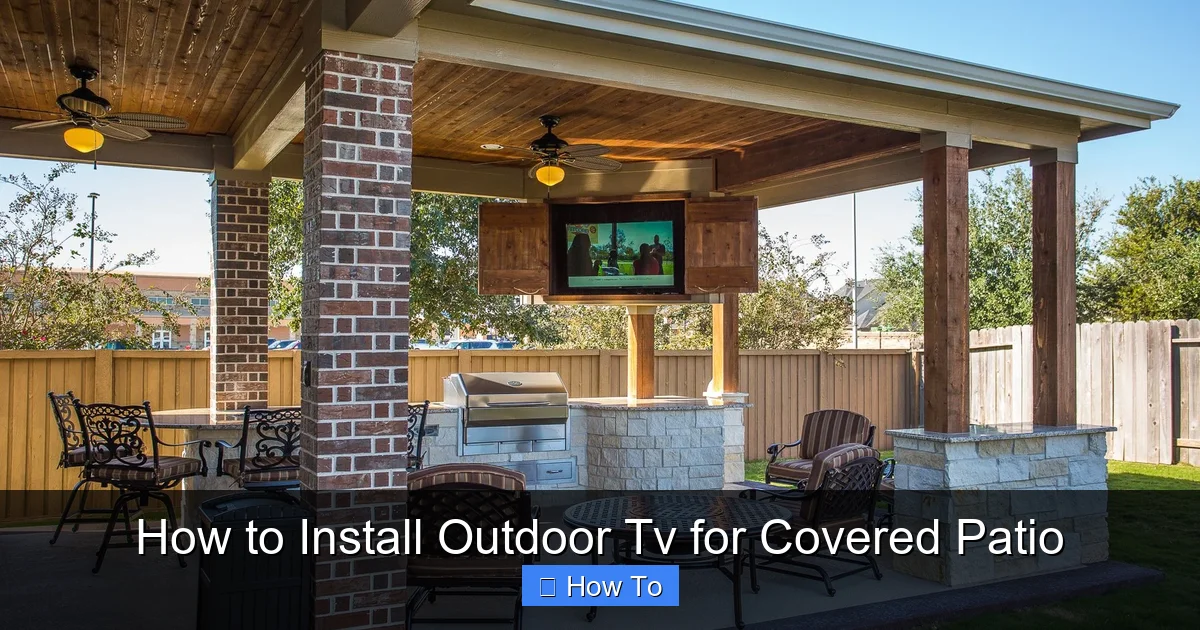
Visual guide about How to Install Outdoor Tv for Covered Patio
Image source: s-media-cache-ak0.pinimg.com
Not all TVs are created equal—especially when it comes to outdoor use. While you might be tempted to use a regular indoor TV under a covered patio, this is a risky move. Indoor TVs aren’t built to handle temperature swings, humidity, or dust, which can lead to overheating, fogging, or permanent damage.
Look for a True Outdoor TV
A true outdoor TV is specifically engineered for outdoor environments. These models come with features like:
– Weatherproof housing: Sealed to prevent moisture, dust, and insects from entering.
– Temperature regulation: Built-in cooling and heating systems to maintain optimal operating temperatures.
– Anti-glare screens: Designed to reduce reflections from sunlight, even in bright conditions.
– Vibration resistance: Sturdier internal components to withstand wind or nearby foot traffic.
Popular brands like SunBriteTV, Samsung Terrace, and LG Outdoor offer reliable outdoor models. These TVs are often more expensive than indoor ones, but they’re built to last and come with warranties that cover outdoor use.
Consider Screen Size and Viewing Distance
Choose a screen size based on how far you’ll be sitting from the TV. A general rule of thumb:
– For 6–8 feet: 43–50 inches
– For 8–10 feet: 55–65 inches
– For 10+ feet: 70+ inches
Also, consider the height at which the TV will be mounted. The center of the screen should be at or slightly below eye level when seated—typically 42 to 48 inches from the ground.
Check Brightness and Resolution
Outdoor TVs need higher brightness (measured in nits) to combat ambient light. Look for models with at least 700 nits, though 1000+ nits is ideal for sunny patios. Full HD (1080p) is acceptable, but 4K resolution offers sharper detail and is worth the investment if your budget allows.
Step 2: Select the Best Mounting Location
Where you mount your TV is just as important as the TV itself. The goal is to protect the TV from the elements while ensuring a comfortable viewing experience.
Assess Your Covered Patio
Start by evaluating your covered patio:
– Is it fully enclosed or open on one or more sides?
– Does it have a roof that extends far enough to shield the TV from rain and snow?
– Is there any direct sunlight hitting the wall where you plan to mount the TV?
Even under a cover, wind-driven rain can reach your TV. Make sure the mounting area is at least 2–3 feet under the roofline and protected from side exposure.
Avoid Heat Buildup
Heat is a major enemy of electronics. Avoid mounting the TV near grills, fire pits, or south-facing walls that absorb sunlight. Also, ensure there’s at least 4–6 inches of clearance above and around the TV for airflow. Some outdoor TVs have built-in fans, but extra ventilation helps.
Check for Obstructions
Walk around your patio and look for potential obstructions:
– Overhanging branches
– Gutters or downspouts
– Outdoor lighting fixtures
– Decorative elements
These can interfere with the TV’s signal, block the view, or make installation difficult.
Test the Viewing Angle
Sit in your primary seating area and look at the wall where you plan to mount the TV. Is the angle comfortable? Can everyone see the screen clearly? Avoid mounting too high or at an extreme angle, which can cause neck strain.
Step 3: Choose the Right Mount
The mount you choose will determine how secure and adjustable your TV is. For outdoor use, you need a heavy-duty, weather-resistant mount.
Fixed vs. Tilting vs. Full-Motion Mounts
– Fixed mounts: Hold the TV flush against the wall. Best for permanent viewing angles and minimal wind resistance.
– Tilting mounts: Allow you to angle the TV up or down. Useful if the TV is mounted high.
– Full-motion (articulating) mounts: Let you swivel and extend the TV. Great for flexible viewing but more exposed to wind.
For most covered patios, a tilting or fixed mount is sufficient. Full-motion mounts are riskier in windy areas unless properly reinforced.
Ensure Weather Resistance
Look for mounts labeled “outdoor-rated” or “weatherproof.” These are typically made of powder-coated steel or aluminum to resist rust and corrosion. Avoid cheap indoor mounts—they’ll degrade quickly outdoors.
Check Weight and Size Compatibility
Make sure the mount supports your TV’s size and weight. Most outdoor mounts list a VESA pattern (the spacing of mounting holes on the back of the TV) and weight capacity. Double-check these specs before buying.
Step 4: Prepare for Installation
Before you start drilling, gather your tools and plan your cable routing.
Tools You’ll Need
– Drill and drill bits (masonry bits if mounting into brick or concrete)
– Level
– Tape measure
– Stud finder (for wood or drywall)
– Screwdriver or impact driver
– Wire strippers and electrical tape
– Cable clips or conduit (for outdoor use)
– Ladder or step stool
Turn Off Power
Safety first! Turn off power to any outdoor outlets or circuits you’ll be working near. Use a voltage tester to confirm the power is off.
Plan Your Cable Route
Decide how you’ll run power and HDMI cables from the TV to your source devices (like a streaming box, cable box, or sound system). Options include:
– Running cables through the wall (requires drilling and sealing)
– Using outdoor-rated conduit along the wall
– Concealing cables with weatherproof raceways
If you’re running cables through the wall, make sure the path is clear of electrical wires, plumbing, or insulation. Use a fish tape to guide cables through walls.
Step 5: Install the Mount
Now it’s time to secure the mount to the wall.
Locate Studs or Use Anchors
For wood or drywall, locate studs using a stud finder. Mounting into studs provides the strongest support. If studs aren’t aligned with your desired location, use heavy-duty toggle bolts or molly bolts.
For brick, concrete, or stucco, use masonry anchors or sleeve anchors. Drill pilot holes carefully to avoid cracking the surface.
Mark and Drill Holes
Hold the mount against the wall and use a level to ensure it’s straight. Mark the screw holes with a pencil. Drill pilot holes slightly smaller than the anchors or screws.
Secure the Mount
Attach the mount using the appropriate screws and anchors. Tighten securely, but don’t over-tighten, which can strip the holes or damage the wall.
Double-Check Stability
Give the mount a firm tug to ensure it’s solid. If it wobbles, reinforce it or reposition.
Step 6: Run and Protect Cables
Cables are vulnerable to weather, pests, and wear. Proper routing and protection are essential.
Use Outdoor-Rated Cables
Standard indoor cables aren’t built for outdoor conditions. Use:
– Outdoor HDMI cables: UV-resistant, waterproof, and shielded from interference.
– Outdoor power cables: Rated for direct burial or outdoor use (if running underground).
– Ethernet cables (if needed): Use Cat 6 or higher with weatherproof jackets.
Seal Cable Entry Points
If running cables through the wall, seal the entry point with silicone caulk or a rubber grommet to prevent water intrusion. Use conduit if cables are exposed.
Label and Organize Cables
Label each cable at both ends (e.g., “HDMI to Soundbar,” “Power to TV”) to make future troubleshooting easier. Bundle cables neatly with zip ties or Velcro straps.
Step 7: Connect Power Safely
Powering your outdoor TV requires special attention to safety and code compliance.
Use a GFCI Outlet
All outdoor electrical outlets must be GFCI (Ground Fault Circuit Interrupter) protected. This shuts off power if it detects a fault, preventing shocks. If your outlet isn’t GFCI, have an electrician install one.
Avoid Extension Cords
Never use indoor extension cords outdoors. If you need extra length, use a heavy-duty outdoor-rated extension cord temporarily, or better yet, install a new outlet closer to the TV.
Consider a Surge Protector
Outdoor electronics are vulnerable to power surges from lightning or grid fluctuations. Use a weatherproof surge protector designed for outdoor use.
Step 8: Mount the TV
With the mount secure and cables ready, it’s time to hang the TV.
Attach Mounting Brackets to the TV
Most outdoor TVs come with VESA-compatible mounting holes. Attach the brackets that came with your mount to the back of the TV using the provided screws.
Lift and Hang the TV
With a helper, lift the TV and hook it onto the mount. Make sure it’s seated securely. Tighten any locking screws or bolts to prevent theft or movement.
Adjust the Angle
If using a tilting mount, adjust the angle so the screen is level and easy to view from your seating area.
Step 9: Connect Devices and Test
Now that the TV is mounted, connect your devices.
Connect HDMI and Power
Plug in the HDMI cable from your streaming device, cable box, or game console. Connect the power cable to the surge protector or outlet.
Set Up Wi-Fi or Ethernet
If your TV supports Wi-Fi, connect to your home network. For better streaming performance, use a weatherproof Ethernet cable if possible.
Test the Picture and Sound
Turn on the TV and test the picture quality. Adjust brightness and contrast settings for outdoor viewing. If using external speakers, test audio levels and sync.
Step 10: Add Audio and Streaming
A great picture deserves great sound.
Use Weatherproof Speakers
Indoor speakers won’t survive outdoors. Choose weather-resistant outdoor speakers or a soundbar designed for outdoor use. Mount them on the wall or place them on sturdy stands.
Consider a Streaming Device
Most outdoor TVs have smart features, but you may want to add a streaming device like a Roku, Apple TV, or Amazon Fire Stick for more apps and better performance. Use an outdoor-rated HDMI extender if the device needs to be placed away from the TV.
Step 11: Weatherproof and Secure
Even under cover, your TV needs protection.
Use a TV Cover (Optional)
When not in use, a breathable, UV-resistant TV cover can protect the screen from dust and debris. Avoid plastic covers that trap moisture.
Install a Security Lock
Outdoor TVs are tempting targets for theft. Use a security lock or cable to secure the TV to the mount.
Check Local Weather Patterns
If you live in an area with high winds, heavy rain, or snow, consider additional shielding or removable mounts for extreme weather.
Troubleshooting Common Issues
Even with careful planning, problems can arise.
TV Won’t Turn On
– Check power connections and GFCI outlet.
– Test the outlet with another device.
– Ensure the surge protector is on and functioning.
Poor Picture Quality
– Adjust brightness and contrast settings.
– Check HDMI cable connections.
– Ensure the signal source (cable box, streaming device) is working.
Wi-Fi Connection Drops
– Move your router closer or use a Wi-Fi extender.
– Switch to a 5GHz band for less interference.
– Use an Ethernet cable for a stable connection.
Overheating or Fogging
– Ensure proper ventilation around the TV.
– Avoid direct sunlight or heat sources.
– Check if the TV’s cooling system is working.
Audio Sync Issues
– Adjust audio delay settings in the TV menu.
– Use HDMI ARC or optical audio for better sync.
– Update firmware on the TV and audio devices.
Maintenance Tips
To keep your outdoor TV in top condition:
– Clean the screen monthly with a microfiber cloth and screen-safe cleaner.
– Inspect cables and seals for wear or damage.
– Check mounting hardware for looseness.
– Cover the TV during storms or long periods of non-use.
Conclusion
Installing an outdoor TV for your covered patio is a rewarding project that transforms your outdoor space into a true entertainment hub. By choosing a weather-resistant TV, mounting it securely, running cables safely, and protecting it from the elements, you’ll enjoy years of outdoor viewing pleasure.
Remember, safety and durability are key. Don’t cut corners on weatherproofing or electrical work. When in doubt, consult a professional electrician or installer.
With the right setup, your covered patio will become the go-to spot for movie nights, game days, and relaxing evenings under the stars—all from the comfort of your favorite seat.

