
Transform your backyard into an entertainment hub with a professionally installed outdoor TV. This guide walks you through choosing the right screen, mounting it safely, and connecting all your devices for unforgettable family gatherings under the stars.
[FEATURED_IMAGE_PLACEHOGER]
Key Takeaways
- Choose a weatherproof outdoor TV: Regular indoor TVs aren’t built for sun, rain, or temperature swings—invest in a certified outdoor model designed for durability.
- Pick the right location: Select a shaded, sheltered spot with minimal glare and easy access to power and Wi-Fi for the best viewing experience.
- Use a sturdy, weather-resistant mount: A proper outdoor TV mount ensures stability and allows tilt or swivel adjustments for optimal viewing angles.
- Protect all connections and cables: Use conduit, cable covers, and waterproof connectors to prevent damage from moisture and pests.
- Test everything before the big event: Run a full system check—picture, sound, streaming, and remote control—days before your family gathering.
- Consider sound and lighting: Enhance the experience with outdoor speakers and ambient lighting to create a cozy, immersive atmosphere.
- Plan for safety and maintenance: Regularly inspect your setup for wear and tear, and always follow electrical safety guidelines.
How to Install Outdoor Television for Family Gatherings
Imagine this: It’s a warm summer evening. The grill is sizzling, kids are laughing, and your extended family is gathered in the backyard. Instead of crowding around a tablet or laptop, everyone’s eyes are on a crisp, large-screen outdoor television playing the latest family-friendly movie or live sports event. The sound is rich, the picture is bright, and no one’s squinting in the sun. Sounds dreamy, right?
That dream is totally achievable—and easier than you might think. Installing an outdoor television for family gatherings isn’t just for luxury homes or commercial spaces. With the right tools, planning, and a little know-how, you can create a backyard entertainment zone that brings people together year after year.
In this complete guide, we’ll walk you through every step of installing an outdoor TV—from choosing the perfect screen to mounting it safely, connecting your devices, and setting up the ideal viewing environment. Whether you’re hosting a birthday party, a holiday barbecue, or just a casual weekend hangout, this guide will help you build a reliable, high-quality outdoor TV setup that’s built to last.
We’ll cover everything you need to know: what type of TV to buy, where to place it, how to secure it against the elements, how to run cables safely, and how to enhance the experience with sound and lighting. Plus, we’ll share practical tips, troubleshooting advice, and safety reminders to keep your system running smoothly.
By the end of this guide, you’ll be ready to press play on your next family gathering with confidence—and maybe even earn the title of “Best Host Ever.”
Step 1: Choose the Right Outdoor Television
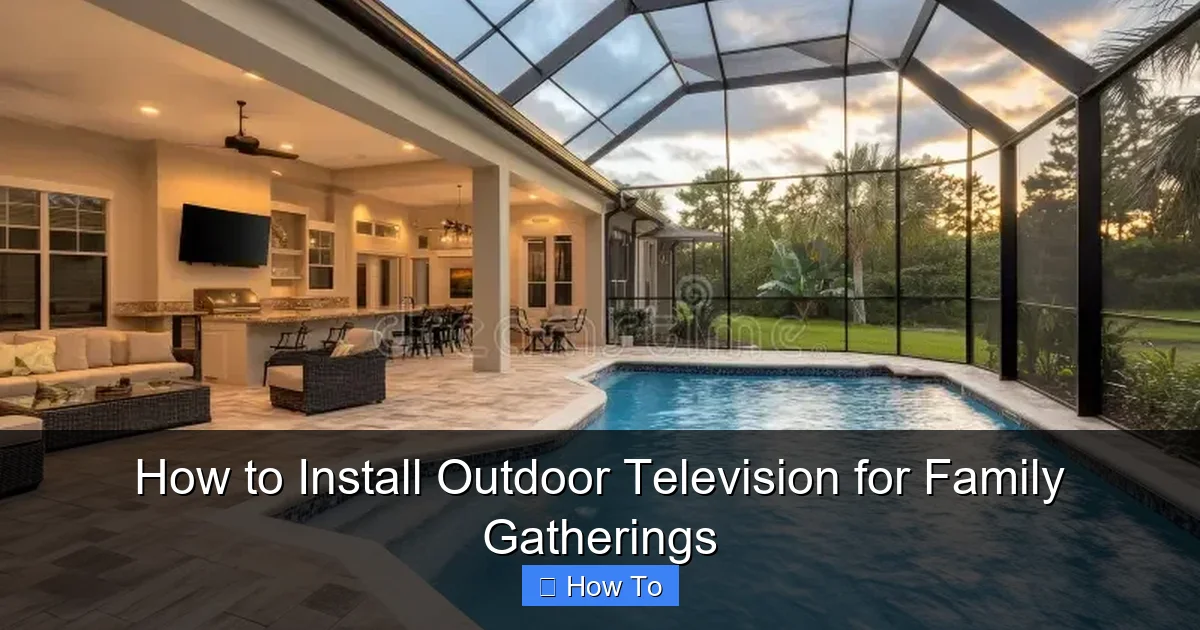
Visual guide about How to Install Outdoor Television for Family Gatherings
Image source: thumbs.dreamstime.com
The foundation of a great outdoor TV setup starts with the TV itself. Not all televisions are created equal—especially when it comes to outdoor use. Indoor TVs may look tempting because of their lower price, but they’re not built to handle the challenges of outdoor environments.
Why You Need an Outdoor-Specific TV
Outdoor TVs are engineered to withstand temperature extremes, humidity, rain, dust, and even direct sunlight. They feature:
– Weatherproof casings that protect internal components.
– Anti-glare screens that maintain visibility in bright conditions.
– Temperature-regulated cooling systems to prevent overheating.
– UV-resistant materials that won’t fade or crack over time.
Indoor TVs, on the other hand, can overheat, suffer screen burn-in from sun exposure, or short-circuit during rain. Even if you plan to install your TV under a covered patio, temperature swings and humidity can still damage an indoor model over time.
Types of Outdoor TVs
There are three main types of outdoor TVs to consider:
1. Fully Weatherproof Outdoor TVs
These are purpose-built for outdoor use and can be installed in fully exposed areas (like open patios or pool decks). They’re sealed against rain, snow, and dust, and often come with built-in heaters for cold climates. Brands like SunBrite, Seura, and Samsung’s Terrace series are top choices.
2. Partial-Cover Outdoor TVs
Designed for covered areas like screened-in porches or under roof overhangs. They’re protected from direct rain but still built to handle humidity and temperature changes. These are more affordable than fully weatherproof models and a great option if your setup is sheltered.
3. Indoor TVs with Outdoor Enclosures
If you already own a high-quality indoor TV, you can use a weatherproof outdoor enclosure. These protective cases shield the TV from the elements while allowing ventilation. Brands like Peerless and VIVO offer durable enclosures that fit most standard TV sizes.
Screen Size and Resolution
When choosing a screen size, consider your viewing distance. For most backyard setups:
– 43–55 inches: Ideal for small to medium gatherings (6–10 people) with seating 6–10 feet away.
– 65 inches or larger: Best for larger groups or longer viewing distances (10+ feet).
For resolution, go with at least 4K Ultra HD for sharp, vibrant images—especially important in bright outdoor lighting. Many outdoor TVs now support HDR (High Dynamic Range), which enhances color and contrast.
Smart Features and Connectivity
Look for a TV with built-in Wi-Fi and smart capabilities (like Roku, Android TV, or webOS) so you can stream Netflix, YouTube, or Disney+ without extra devices. Also, ensure it has multiple HDMI ports for connecting streaming sticks, gaming consoles, or cable boxes.
Step 2: Select the Perfect Location
Where you place your outdoor TV is just as important as the TV itself. A poor location can ruin the viewing experience—no matter how expensive your setup is.
Consider Sunlight and Glare
Direct sunlight can wash out the screen, making it hard to see. To minimize glare:
– Install the TV in a shaded area, such as under a pergola, awning, or large tree.
– Avoid south- or west-facing walls if you’re in the Northern Hemisphere—these get the most afternoon sun.
– Use a TV with a high brightness rating (measured in nits). Look for at least 700 nits; some outdoor models go up to 2,500 nits.
If shade isn’t an option, consider a TV with an anti-reflective coating or install a retractable shade or outdoor curtain nearby.
Ensure Clear Viewing Angles
Your TV should be visible from all seating areas. Avoid placing it too high or too low. The center of the screen should be at or slightly below eye level when seated—typically 42 to 48 inches from the ground.
Use a swivel or tilt mount to adjust the angle based on seating layout. For example, if your guests will be lounging on a sectional sofa, angle the TV slightly downward for better viewing.
Check for Power and Wi-Fi Access
Your TV needs a nearby power outlet and a strong Wi-Fi signal. If your ideal spot is far from an outlet, you may need to hire an electrician to install a weatherproof outdoor GFCI outlet. For Wi-Fi, consider a mesh network extender or a dedicated outdoor Wi-Fi access point to boost signal strength.
Protect from Wind, Rain, and Pests
Even under cover, your TV should be protected from wind-driven rain and curious critters. Avoid installing near open sides of a deck or in areas with heavy foot traffic. Use a TV with an IP55 or higher weather resistance rating (IP55 means protected against dust and low-pressure water jets).
Step 3: Choose and Install the Right Mount
A sturdy, weather-resistant mount is essential for safety and performance. A wobbly or poorly installed mount can lead to damage—or worse, a falling TV.
Types of Outdoor TV Mounts
– Fixed Mounts: Hold the TV flat against the wall. Best for permanent, straight-on viewing.
– Tilt Mounts: Allow you to angle the TV up or down. Great for reducing glare or adjusting for different seating heights.
– Full-Motion (Articulating) Mounts: Let you swivel, tilt, and extend the TV. Ideal for flexible viewing from multiple areas (like a patio and pool).
For most family gatherings, a tilt or full-motion mount offers the best flexibility.
Installation Tips
1. Use a stud finder to locate wall studs. Mount directly into studs—never just drywall or siding.
2. Use stainless steel or galvanized hardware to resist rust and corrosion.
3. Follow the manufacturer’s weight and size limits for your mount.
4. Install during dry weather to avoid slipping or electrical hazards.
5. Have a helper—TVs can be heavy and awkward to handle alone.
If you’re mounting on brick, concrete, or stucco, use a masonry drill bit and appropriate anchors. For wood siding, ensure the mount is sealed with outdoor caulk to prevent water intrusion.
Step 4: Run and Protect Cables Safely
Exposed cables are not only unsightly—they’re a safety hazard and can be damaged by weather, animals, or foot traffic.
Plan Your Cable Route
Map out the path from your TV to your power source, streaming devices, and sound system. Keep cables as short as possible to reduce signal loss and clutter.
Use Conduit or Cable Covers
Run all cables through PVC conduit or use outdoor-rated cable raceways to protect them. Conduit keeps wires dry, prevents chewing by rodents, and makes future upgrades easier.
For in-wall installations (if allowed by local codes), use in-wall rated (CL2/CL3) HDMI and power cables.
Waterproof All Connections
Use weatherproof junction boxes and waterproof cable connectors (like silicone-filled wire nuts or gel-filled splice kits) for any splices or adapters. Seal all connections with electrical tape and outdoor caulk.
Avoid using extension cords long-term. If needed, use a heavy-duty, outdoor-rated extension cord with a built-in GFCI for safety.
Step 5: Connect Your Devices
Now it’s time to bring your entertainment to life.
Streaming Devices
Plug in a streaming stick (like Roku, Apple TV, or Amazon Fire Stick) or connect a streaming box via HDMI. Most outdoor TVs have built-in apps, but a dedicated device often offers better performance and more options.
Sound System
Built-in TV speakers are usually weak and tinny outdoors. Upgrade with:
– Outdoor wireless speakers (like Sonos Move or Bose SoundLink).
– Weatherproof soundbars designed for outdoor use.
– Bluetooth speakers placed strategically around the seating area.
For a more immersive experience, consider a multi-zone audio system that syncs with your TV.
Gaming Consoles and Cable Boxes
If you’re hosting game nights or watching live sports, connect a PlayStation, Xbox, or cable/satellite box. Use HDMI cables rated for outdoor or in-wall use.
Power Management
Use a weatherproof surge protector or outdoor power strip to plug in all devices. This protects against power surges and makes it easy to turn everything on at once.
Step 6: Test and Optimize Your Setup
Before your first family gathering, run a full system test.
Check Picture and Sound
Play a variety of content—movies, sports, music videos—to test brightness, color, and audio clarity. Adjust picture settings (like brightness, contrast, and backlight) for outdoor viewing.
Test Remote Control Range
Make sure your remote works from all seating areas. If not, consider a universal remote with extended range or a smartphone app.
Secure Loose Items
Double-check that all cables are secured, the mount is tight, and no components are exposed to the elements.
Create a Cozy Atmosphere
Enhance the experience with:
– String lights or LED path lighting for ambiance.
– Outdoor curtains or screens to reduce wind and glare.
– Comfortable seating with blankets and cushions.
– A small outdoor fridge or cooler for drinks.
Troubleshooting Common Issues
Even the best setups can run into problems. Here’s how to fix common issues:
TV Won’t Turn On
– Check the power outlet with another device.
– Ensure the surge protector is on and functioning.
– Verify the remote has batteries and is pointed at the sensor.
Poor Picture Quality
– Adjust brightness and contrast settings.
– Check for loose HDMI connections.
– Move closer to the Wi-Fi router or use an extender.
Audio Delay or No Sound
– Ensure audio output is set correctly in TV settings.
– Re-pair Bluetooth speakers.
– Use an HDMI ARC connection if available.
Overheating or Shutting Down
– Ensure the TV has proper ventilation.
– Clean dust from vents.
– Avoid direct sunlight on the back of the TV.
Remote Not Working
– Replace batteries.
– Remove obstructions between remote and TV.
– Use the TV’s manual buttons to test functionality.
Safety and Maintenance Tips
Keep your outdoor TV in top shape with regular care:
– Clean the screen monthly with a microfiber cloth and mild cleaner (never ammonia-based).
– Inspect cables and mounts every season for wear, rust, or damage.
– Cover the TV during extreme weather (hurricanes, heavy snow) if not fully weatherproof.
– Turn off and unplug during thunderstorms to avoid power surges.
– Follow local electrical codes and consider hiring a licensed electrician for wiring work.
Conclusion
Installing an outdoor television for family gatherings is more than just a tech upgrade—it’s an investment in connection, comfort, and unforgettable memories. With the right TV, a smart location, secure mounting, and thoughtful setup, you can transform your backyard into a vibrant entertainment space that brings people together.
From movie nights under the stars to live sports watch parties, your outdoor TV will become the heart of your home’s social life. And the best part? Once it’s installed, the only thing you’ll need to worry about is what to watch next.
So gather your tools, invite the family, and get ready to press play on a whole new way to enjoy the great outdoors—right in your own backyard.

