
Installing a deck TV on your covered patio lets you enjoy movies, sports, and shows outdoors in comfort. This guide walks you through choosing the right TV, mounting it safely, managing cables, and protecting it from the elements. With the right tools and preparation, you’ll have a stylish, weather-ready outdoor TV setup in no time.
Key Takeaways
- Choose a weatherproof outdoor TV: Regular indoor TVs aren’t built for outdoor conditions. Invest in a fully weatherproof outdoor TV or use a protective outdoor TV enclosure.
- Use a sturdy, weather-resistant mount: A full-motion or tilt mount made for outdoor use ensures your TV stays secure and adjustable in wind and weather.
- Plan your cable routing carefully: Run power and HDMI cables through waterproof conduits or along protected paths to prevent damage and tripping hazards.
- Ensure proper ventilation and airflow: Even covered patios can trap heat. Avoid enclosing the TV in tight spaces to prevent overheating.
- Test all connections before finalizing: Power up and check audio, video, and streaming functions before securing everything in place.
- Consider a surge protector and remote extender: Outdoor electronics are vulnerable to power surges and signal interference. Use protective gear to extend your TV’s life.
- Maintain your setup regularly: Clean the screen, check seals, and inspect mounts seasonally to keep your deck TV in top condition.
How to Install Deck TV for Covered Patio
Imagine relaxing on your covered patio, sipping your favorite drink, and watching the big game or a movie night under the stars—all from the comfort of your outdoor living space. Installing a deck TV makes this dream a reality. Whether you’re hosting friends or enjoying a quiet evening, an outdoor TV adds entertainment value and convenience to your home.
This comprehensive guide will walk you through every step of installing a deck TV for your covered patio. From choosing the right television to mounting it securely and managing cables safely, we’ll cover everything you need to know. By the end, you’ll have a weather-resistant, high-performing outdoor entertainment system that enhances your outdoor lifestyle.
Why Install a Deck TV on a Covered Patio?
More homeowners are transforming their outdoor spaces into functional living areas. A covered patio offers shelter from rain and sun, making it an ideal spot for an outdoor TV. Unlike open decks, a covered area provides some protection from the elements, reducing wear and tear on your equipment.
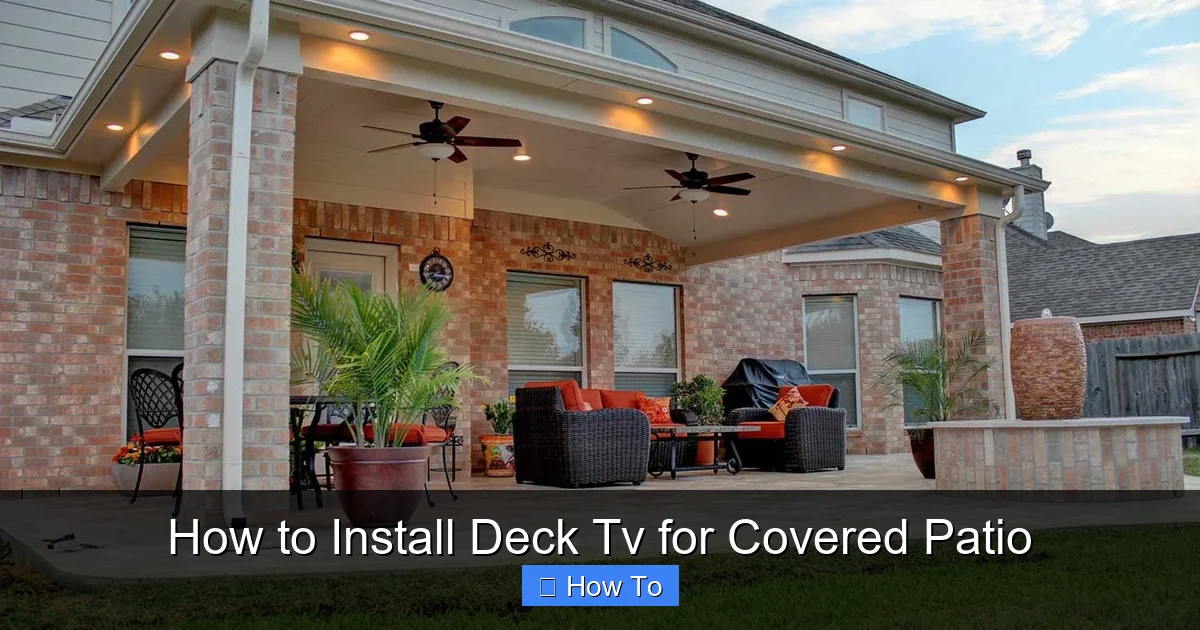
Visual guide about How to Install Deck Tv for Covered Patio
Image source: i.pinimg.com
Adding a TV to your deck or patio allows you to:
- Enjoy outdoor movie nights with family and friends
- Watch live sports while grilling or dining outside
- Extend your living space for entertaining
- Increase your home’s resale value with modern outdoor features
However, installing a TV outdoors isn’t as simple as mounting one indoors. You need to consider weather resistance, power supply, cable management, and safety. This guide will help you navigate those challenges with confidence.
Step 1: Choose the Right TV for Your Covered Patio
The first and most important decision is selecting the right television. Not all TVs are built for outdoor use, so you’ll need to choose wisely.
Indoor TV vs. Outdoor TV
Standard indoor TVs are not designed to withstand temperature changes, humidity, or dust. Even under a covered patio, they can overheat or suffer moisture damage. For long-term reliability, opt for one of these options:
- Fully weatherproof outdoor TVs: These are built with sealed casings, corrosion-resistant materials, and temperature-regulating fans. Brands like SunBrite, Seura, and Samsung offer models specifically for outdoor use.
- Outdoor TV enclosures: If you already own a high-quality indoor TV, you can protect it with a weatherproof enclosure. These cases seal the TV from rain, dust, and UV rays while allowing remote control use.
Screen Size and Placement
Consider the viewing distance when choosing your screen size. For most covered patios, a 55-inch to 75-inch TV works well. Use this rule of thumb: multiply the screen size by 1.5 to get the ideal viewing distance in inches. For example, a 65-inch TV should be viewed from about 8 feet away.
Also, think about glare. Even under cover, sunlight can reflect off the screen. Choose a TV with high brightness (at least 700 nits) and anti-glare coating for better visibility during the day.
Step 2: Select the Right Mounting Hardware
A sturdy mount is essential for safety and performance. Outdoor mounts must handle wind, vibration, and temperature changes.
Types of Outdoor TV Mounts
- Fixed mounts: Hold the TV flat against the wall. Best for areas with minimal wind and no need for angle adjustment.
- Tilt mounts: Allow you to angle the TV up or down for better viewing, especially if mounted high.
- Full-motion (articulating) mounts: Let you swivel and extend the TV for flexible viewing from different spots on the deck.
For most covered patios, a tilt or full-motion mount offers the best flexibility. Make sure the mount is rated for outdoor use and can support your TV’s weight and size.
Check Weight and VESA Compatibility
Before buying, check your TV’s weight and VESA pattern (the spacing of the mounting holes on the back). The mount must match both. Most outdoor mounts list compatible VESA sizes (e.g., 200×200, 400×400).
Step 3: Choose the Best Location for Your TV
Where you mount your TV affects both viewing comfort and equipment longevity.
Consider Viewing Angles and Height
The center of the screen should be at or slightly below eye level when seated. For most people, this is about 42 to 48 inches from the floor to the center of the screen. Avoid mounting too high, as it can cause neck strain.
Avoid Direct Sunlight and Heat Sources
Even under a covered patio, direct sunlight can cause glare and overheating. Choose a shaded wall or use outdoor curtains or awnings for extra protection. Also, keep the TV away from grills, fire pits, or heaters to prevent heat damage.
Ensure Clear Line of Sight
Make sure there are no obstructions like railings, plants, or furniture blocking the view. If using a full-motion mount, test the range of motion before final installation.
Step 4: Prepare for Installation
Before drilling any holes, gather your tools and prepare the area.
Tools and Materials You’ll Need
- Stud finder
- Drill and drill bits
- Level
- Tape measure
- Screwdrivers
- Outdoor-rated mounting bolts and anchors
- Weatherproof cable conduit or raceway
- Surge protector with outdoor rating
- Zip ties or cable clips
- Optional: Remote signal extender or IR repeater
Turn Off Power
Safety first! Turn off the power at the circuit breaker before running any electrical cables. This prevents accidental shocks.
Locate Wall Studs
Use a stud finder to locate the wooden studs in your patio wall. Mounting directly into studs provides the strongest support. If studs aren’t aligned with your desired location, use heavy-duty toggle bolts or masonry anchors for concrete or brick walls.
Step 5: Install the TV Mount
Now it’s time to secure the mount to the wall.
Mark and Drill Pilot Holes
Hold the mount against the wall at the desired height. Use a level to ensure it’s straight. Mark the screw holes with a pencil. Drill pilot holes slightly smaller than the mounting bolts to prevent wood splitting.
Secure the Mount
Attach the mount using outdoor-rated lag bolts or screws. Tighten firmly, but don’t over-tighten, which can strip the wood. Double-check that the mount is level and secure.
Test the Mount
Gently tug on the mount to ensure it’s firmly attached. If it wobbles, re-secure or add additional support.
Step 6: Run and Protect Your Cables
Exposed cables are a tripping hazard and can be damaged by weather. Proper cable management is crucial.
Plan Your Cable Path
Decide how you’ll route power, HDMI, and other cables from the TV to your outlet and devices. The cleanest method is running cables through the wall or using a surface-mounted conduit.
Use Weatherproof Conduit
For in-wall routing, use a waterproof electrical conduit. Drill a small hole from the inside to the outside, then feed the cables through. Seal the hole with silicone caulk to prevent water intrusion.
If you can’t run cables inside the wall, use a decorative outdoor cable raceway. These plastic or metal channels attach to the wall and hide cables while protecting them from rain and UV damage.
Connect to a GFCI Outlet
Outdoor electrical outlets should be GFCI (Ground Fault Circuit Interrupter) protected to prevent shocks. Plug your TV and devices into a GFCI outlet or use a GFCI-protected power strip.
Use a Surge Protector
Power surges from lightning or grid fluctuations can damage electronics. Use a high-quality outdoor surge protector with at least 2000 joules of protection.
Step 7: Mount the TV
With the mount secure and cables ready, it’s time to attach the TV.
Attach Mounting Brackets to the TV
Most mounts come with brackets that screw into the VESA holes on the back of the TV. Use the provided screws and tighten securely. Have a helper hold the TV while you attach it to the mount.
Hang the TV on the Mount
Lift the TV and hook it onto the wall plate. Listen for a click or feel it lock into place. Double-check that it’s secure.
Adjust the Angle
If using a tilt or full-motion mount, adjust the TV to your preferred viewing angle. Tighten any locking knobs to hold it in place.
Step 8: Connect Your Devices
Now connect your streaming devices, sound system, or cable box.
HDMI and Audio Connections
Use high-quality, outdoor-rated HDMI cables. These are thicker and more durable than standard cables. Connect your devices (like a Roku, Apple TV, or soundbar) to the TV.
Power Everything Up
Plug in all devices and turn on the TV. Test each input to ensure everything works. Adjust picture and sound settings for outdoor viewing—brighter picture, louder audio.
Set Up Streaming and Wi-Fi
If using a smart TV, connect to your Wi-Fi network. For better signal strength, consider a Wi-Fi extender placed near the patio. Some outdoor TVs have built-in Wi-Fi boosters.
Step 9: Secure and Conceal Cables
Neat cable management improves safety and appearance.
Use Cable Clips and Zip Ties
Attach cables to the wall or mount using outdoor-rated clips. Bundle loose wires with zip ties, but don’t overtighten—leave room for movement.
Hide Cables in Conduit or Raceways
If not already done, route cables through conduit or raceways. Paint the raceway to match your wall for a seamless look.
Step 10: Test and Enjoy
Before declaring the project complete, do a full test.
Check All Functions
Test the TV, remote, streaming apps, and audio. Make sure the picture is clear and the sound is loud enough for outdoor use.
Inspect for Safety
Ensure all screws are tight, cables are secure, and nothing is loose. Look for any signs of strain or wear.
Enjoy Your Outdoor Entertainment
Grab some snacks, invite friends over, and enjoy your new deck TV setup!
Troubleshooting Common Issues
TV Won’t Turn On
Check the power outlet with another device. Ensure the surge protector is on and the GFCI hasn’t tripped. Verify all cables are connected.
Poor Picture or Sound
Adjust brightness and contrast for outdoor lighting. Check HDMI connections and try a different cable. For sound, consider outdoor speakers if the TV’s built-in speakers are too quiet.
Remote Not Working
Replace the batteries. If using an IR remote, ensure nothing is blocking the signal. Consider a Bluetooth remote or IR repeater for better range.
Overheating
Make sure the TV has proper ventilation. Don’t enclose it in a tight space. If using an enclosure, ensure it has vents or a cooling fan.
Water Damage
If you notice moisture inside the screen or enclosure, turn off the TV immediately. Check seals and gaskets. Use a dehumidifier nearby if humidity is high.
Maintenance Tips for Long-Term Use
To keep your deck TV in great condition, follow these maintenance tips:
- Clean the screen monthly: Use a microfiber cloth and screen-safe cleaner. Avoid paper towels or harsh chemicals.
- Inspect seals and mounts: Check for cracks, rust, or loose parts every few months.
- Cover during extreme weather: If a storm is coming, use a weatherproof TV cover or bring the TV inside if possible.
- Update software: Keep your smart TV’s firmware updated for security and performance.
- Check cables annually: Look for fraying, corrosion, or loose connections.
Conclusion
Installing a deck TV for your covered patio is a rewarding project that enhances your outdoor living experience. With the right TV, mount, and setup, you can enjoy high-quality entertainment in the fresh air—rain or shine.
Remember to prioritize safety, weather protection, and proper cable management. Take your time during installation, and don’t hesitate to consult a professional if you’re unsure about electrical work or structural mounting.
Once everything is in place, you’ll have a stylish, functional outdoor entertainment center that brings joy to family gatherings, game nights, and quiet evenings under the stars. So grab your tools, follow this guide, and start enjoying your deck TV today!

