
This guide walks you through how to install a deck TV for backyard movie night, from choosing the right outdoor display to mounting, wiring, and optimizing your setup for comfort and safety. You’ll create a cozy, weather-resistant outdoor cinema that’s perfect for summer nights and family fun.
Key Takeaways
- Choose an outdoor-rated TV: Regular indoor TVs aren’t built for weather, temperature changes, or direct sunlight. Invest in a TV specifically designed for outdoor use to ensure durability and performance.
- Mount securely and at the right height: Use a heavy-duty, weatherproof mount rated for your TV’s size and weight. Position the screen so viewers can see it comfortably from seating areas, typically 4–6 feet off the ground.
- Protect all electrical connections: Use weatherproof outlets, conduit, and covers to prevent water damage. Never run cords across walkways or leave them exposed to the elements.
- Optimize audio with outdoor speakers: Built-in TV speakers often sound weak outdoors. Add weather-resistant Bluetooth or wired speakers for richer, fuller sound.
- Control glare and lighting: Install your TV in a shaded area or use an anti-glare screen. Add ambient lighting like string lights to reduce eye strain without washing out the picture.
- Plan for power and signal sources: Ensure you have access to power and HDMI/AV sources. Consider wireless streaming devices like Apple TV or Roku for easier content access.
- Test and maintain regularly: After installation, test all components and check connections seasonally. Clean the screen and inspect seals to keep your setup in top shape.
How to Install Deck TV for Backyard Movie Night
Imagine this: a warm summer evening, the sun setting behind your backyard, string lights twinkling above, and your family gathered on cozy outdoor seating—all watching a favorite movie under the stars. With a deck TV, you can turn this dream into reality. Installing a TV on your deck isn’t just about mounting a screen; it’s about creating an immersive, weather-safe, and comfortable outdoor entertainment space.
In this guide, we’ll walk you through every step of how to install a deck TV for backyard movie night. Whether you’re a DIY enthusiast or hiring a professional, you’ll learn how to choose the right equipment, mount your TV safely, manage power and cables, enhance audio, and optimize your setup for the best viewing experience. By the end, you’ll have a fully functional outdoor cinema that’s ready for movie nights, game days, or casual hangouts.
Let’s get started!
Step 1: Choose the Right Outdoor TV
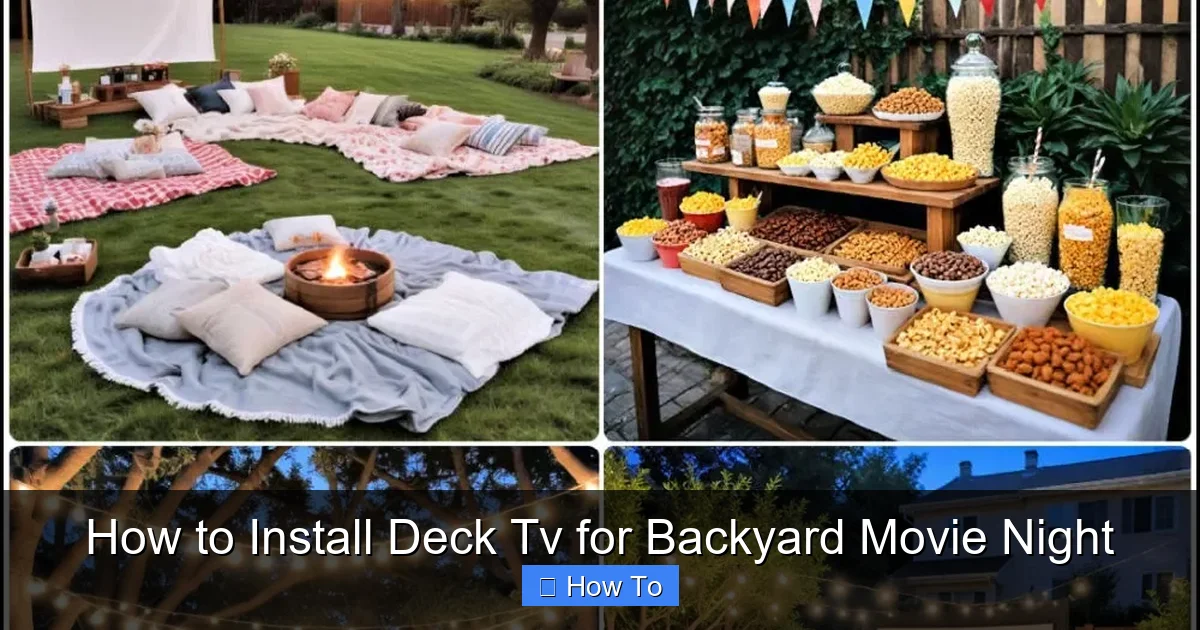
Visual guide about How to Install Deck Tv for Backyard Movie Night
Image source: images.suite101.com
Not all TVs are created equal—especially when it comes to outdoor use. A regular indoor TV may work temporarily, but it won’t withstand humidity, temperature swings, rain, or direct sunlight. That’s why your first step is selecting a TV built for the outdoors.
Look for Outdoor-Rated Models
Outdoor TVs are specifically engineered to handle environmental challenges. They feature:
– Weatherproof casings (often IP55 or higher rated)
– Temperature-resistant components
– Anti-glare or high-brightness screens for daylight viewing
– Built-in ventilation to prevent overheating
Popular brands include Samsung’s The Terrace, SunBriteTV, and Seura. These models come in various sizes, from 43 inches to 75 inches or more, so choose one that fits your deck space and viewing distance.
Consider Screen Brightness and Viewing Angle
Outdoor lighting can wash out indoor TVs. Look for a TV with at least 700 nits of brightness—ideally 1,000 nits or more—for clear visibility in daylight. Also, check the viewing angle. A wide viewing angle (178 degrees) ensures everyone on the deck can see the screen clearly, even from the sides.
Decide on Smart Features
Most outdoor TVs come with smart platforms like Android TV, Roku, or webOS. These let you stream Netflix, YouTube, Disney+, and more without needing extra devices. If your TV isn’t smart, you can add a streaming stick later.
Budget and Long-Term Value
Outdoor TVs are more expensive than indoor models—typically ranging from $1,500 to $5,000+. But think of it as an investment. A quality outdoor TV can last 7–10 years with proper care, making it worth the upfront cost.
Step 2: Select the Perfect Location on Your Deck
Where you place your TV matters—not just for viewing comfort, but also for safety and performance.
Assess Sunlight and Shade
Avoid mounting your TV in direct sunlight. Even with a high-brightness screen, glare can make it hard to see. Look for a shaded area, such as under a pergola, awning, or large tree. If shade isn’t available, consider installing a retractable canopy or outdoor TV cover.
Check Viewing Distance and Angle
Sit in your usual seating spots and look toward the deck wall or railing. The ideal viewing distance is 1.5 to 2.5 times the screen’s diagonal size. For example, a 55-inch TV should be viewed from 7 to 11 feet away.
Also, ensure the screen is at eye level when seated—typically 4 to 6 feet from the ground. Mounting too high or too low can cause neck strain.
Ensure Structural Support
Your deck must support the TV’s weight. Most outdoor TVs weigh 30–60 pounds, and the mount adds more. Check your deck’s construction:
– Is it attached to the house with proper footings?
– Are the joists sturdy and spaced correctly?
– Can the wall or railing handle the load?
If you’re unsure, consult a contractor. Never mount a TV to a flimsy railing or thin wall.
Step 3: Choose and Install a Weatherproof TV Mount
A strong, weather-resistant mount is essential for safety and longevity.
Types of Outdoor Mounts
– Fixed mounts: Keep the TV flush against the wall. Best for permanent setups.
– Tilt mounts: Allow slight upward or downward adjustment. Useful if the TV is mounted high.
– Full-motion mounts: Let you swivel and extend the TV. Great for flexible viewing angles but require more space.
Choose a mount rated for outdoor use and compatible with your TV’s VESA pattern (the screw hole layout on the back).
Installation Steps
1. Mark the mounting location: Use a stud finder to locate deck wall studs. Mark the center point at your desired height.
2. Drill pilot holes: Use a drill bit slightly smaller than your lag screws to avoid splitting the wood.
3. Secure the mount: Attach the mount bracket to the deck wall using stainless steel lag screws and washers. Use at least four screws into studs.
4. Attach the TV: Have a helper hold the TV while you secure it to the mount using the provided bolts. Double-check that it’s level.
Safety Tips
– Use a torque wrench to avoid over-tightening.
– Apply outdoor-rated silicone sealant around screw holes to prevent water intrusion.
– Never mount a TV to composite decking alone—always anchor into structural wood or steel.
Step 4: Run Power and Signal Cables Safely
Power and HDMI cables are necessary, but they must be protected from the elements.
Use Weatherproof Electrical Outlets
Install a GFCI (Ground Fault Circuit Interrupter) outlet on the deck, preferably under cover. This protects against electrical shocks and trips if moisture is detected. Hire a licensed electrician if you’re not experienced with wiring.
Protect Cables with Conduit
Run power and HDMI cables through PVC or metal conduit from the outlet to the TV. Bury the conduit slightly underground or secure it along the deck frame. Use outdoor-rated, UV-resistant cables.
Manage Cable Clutter
Use cable clips or raceways to keep wires tidy and out of the way. Label cables at both ends for easy troubleshooting.
Consider Wireless Options
To reduce cable runs, use wireless HDMI transmitters or streaming devices like Apple TV or Roku. These send video and audio from an indoor source to your outdoor TV via Wi-Fi.
Step 5: Enhance Audio with Outdoor Speakers
TV speakers often sound tinny outdoors. For a true movie theater experience, add external speakers.
Choose Weather-Resistant Speakers
Look for speakers with an IP rating of IPX4 or higher. Options include:
– Bluetooth speakers: Portable and easy to set up. Great for small groups.
– Wired outdoor speakers: Installed permanently around the deck. Offer superior sound quality.
– Soundbars: Some outdoor TVs support wireless soundbars. Check compatibility.
Placement Matters
Position speakers at ear level, angled toward seating areas. Avoid placing them too close to walls or corners, which can distort sound.
Connect to Your TV
Use HDMI ARC, optical audio, or Bluetooth to connect speakers. Test the audio before finalizing placement.
Step 6: Reduce Glare and Improve Viewing Comfort
Even the best TV can be hard to see if glare is an issue.
Use an Anti-Glare Screen Protector
Apply a matte anti-glare film to reduce reflections from sunlight or lights.
Add Ambient Lighting
Install soft, warm LED string lights or pathway lights around the deck. Avoid bright white lights directly behind or above the TV—they can cause glare.
Create a Shaded Viewing Zone
Use outdoor curtains, retractable awnings, or a pergola with climbing vines to block direct sunlight during peak hours.
Step 7: Set Up Streaming and Content Access
Your deck TV is only as good as the content you can watch.
Connect a Streaming Device
Plug in a Roku, Apple TV, or Amazon Fire Stick to access Netflix, Hulu, Disney+, and more. Most outdoor TVs have HDMI ports for easy connection.
Ensure Strong Wi-Fi
Outdoor areas often have weak Wi-Fi signals. Use a Wi-Fi extender or mesh network to boost coverage. Place the extender near the deck for best results.
Create a Media Library
Download movies or shows in advance if internet is spotty. Many streaming apps allow offline viewing.
Step 8: Test and Maintain Your Setup
Before your first movie night, test everything.
Run a Full System Check
– Turn on the TV and check picture quality.
– Test audio with music or a movie trailer.
– Verify all inputs (HDMI, USB, streaming).
– Ensure the mount is secure and the TV is level.
Perform Regular Maintenance
– Clean the screen monthly with a microfiber cloth and mild cleaner.
– Inspect seals and mounts for wear or rust.
– Check cables for fraying or water damage.
– Cover the TV during storms or off-seasons if not in use.
Troubleshooting Common Issues
TV Won’t Turn On
Check the power outlet with another device. Ensure the GFCI hasn’t tripped. Verify all cables are securely connected.
Poor Picture Quality
Adjust brightness and contrast settings. Check for loose HDMI connections. Move closer to the router if using wireless streaming.
Audio Delay or No Sound
Ensure audio output is set correctly in TV settings. Try a different cable or reconnect Bluetooth speakers.
Mount Feels Loose
Tighten all bolts and screws. Reapply sealant if water has seeped in. Consult a professional if the deck structure is compromised.
Conclusion
Installing a deck TV for backyard movie night is a rewarding project that transforms your outdoor space into a year-round entertainment hub. By choosing an outdoor-rated TV, mounting it securely, protecting your cables, and enhancing audio and lighting, you create a safe, comfortable, and immersive viewing experience.
Remember, the key to success is planning. Take time to assess your deck, invest in quality equipment, and follow safety guidelines. Whether you’re watching a blockbuster, a classic film, or a live sports event, your deck TV will bring people together under the open sky.
So grab some popcorn, dim the lights, and press play—your backyard cinema awaits.

