
Hide TV cables on your patio outdoor bar safely and stylishly with our complete guide. From planning cable routes to using weatherproof conduits and creative covers, we’ll show you how to keep your setup neat, secure, and protected from the elements.
Key Takeaways
- Plan your cable route first: Map the shortest, safest path from your TV to the power source and other devices to minimize exposure and clutter.
- Use outdoor-rated cables and conduits: Always choose cables labeled for outdoor use to prevent damage from moisture, UV rays, and temperature changes.
- Secure cables with clips and raceways: Use adhesive clips, J-hooks, or surface raceways to keep wires tidy and prevent tripping hazards.
- Protect connections with weatherproof enclosures: Seal cable junctions and power strips in outdoor-rated boxes to avoid short circuits and corrosion.
- Blend cables into your design: Paint raceways to match your patio or bar, or hide them behind furniture and decor for a seamless look.
- Test everything before finalizing: Ensure all connections work and cables are secure before concealing them permanently.
- Maintain access for future repairs: Avoid sealing cables in ways that make troubleshooting or upgrades difficult.
How to Hide Cables TV for Patio for Outdoor Bar
Setting up a TV on your patio or outdoor bar can transform your backyard into a true entertainment hub. Whether you’re hosting game nights, movie evenings, or weekend cookouts, having a TV outdoors adds comfort and fun. But one of the biggest challenges? Dealing with messy, exposed cables.
Visible wires not only ruin the clean look of your outdoor space—they can also be a tripping hazard or get damaged by rain, sun, and pests. The good news? Hiding TV cables for your patio outdoor bar is easier than you think. With the right tools, planning, and a few smart techniques, you can create a sleek, safe, and weather-resistant setup.
In this guide, we’ll walk you through every step of hiding TV cables for your outdoor bar. From choosing the right materials to routing cables safely and blending them into your decor, you’ll learn how to keep your setup looking professional and protected. Whether you’re a DIY beginner or a seasoned home improver, this guide has practical tips and clear instructions to help you get it right the first time.
Let’s dive in and turn your cluttered cable mess into a clean, cable-free outdoor oasis.
Why Hiding Outdoor TV Cables Matters
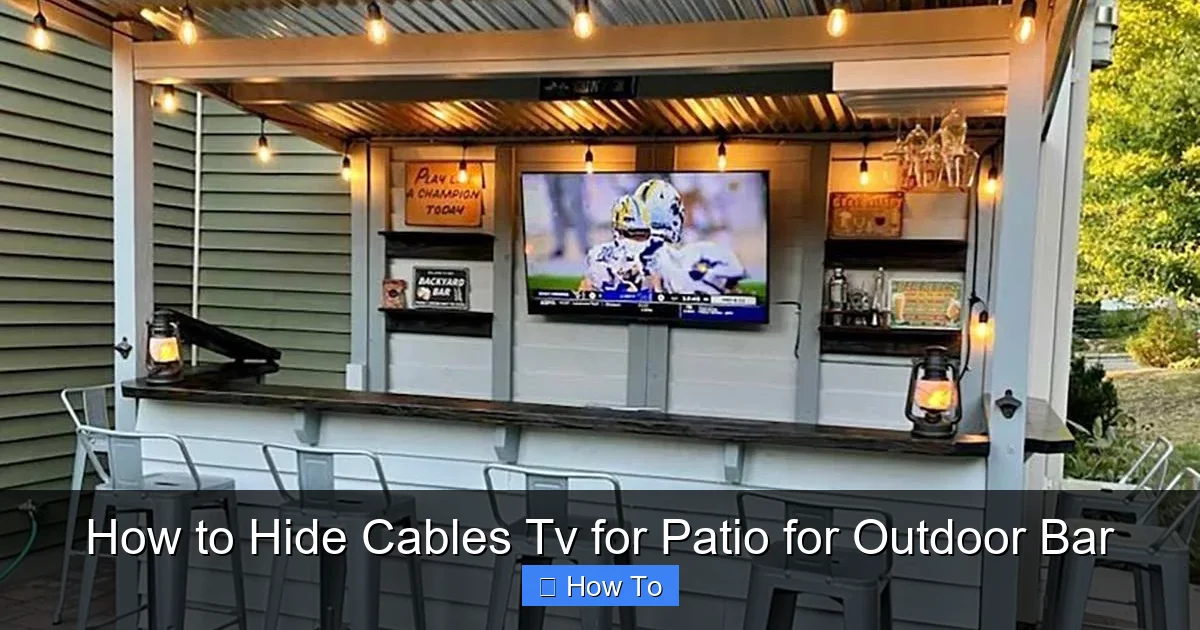
Visual guide about How to Hide Cables Tv for Patio for Outdoor Bar
Image source: rtaoutdoorliving.com
Before we get into the how-to, let’s talk about why it’s so important to hide your TV cables when setting up an outdoor bar or patio TV.
First, safety. Exposed cables can become tripping hazards, especially in dim lighting or when guests are mingling. A single misstep over a power cord could lead to injury—or even damage your TV or other electronics.
Second, weather protection. Outdoor cables are constantly exposed to sun, rain, snow, and temperature swings. Over time, standard indoor cables can crack, fray, or corrode, leading to electrical issues or fire risks. Using outdoor-rated cables and proper protection ensures longevity and safety.
Third, aesthetics. A clean, organized space looks more inviting and professional. No one wants to relax at a bar with a tangled mess of wires snaking across the floor or dangling from the TV mount. Hiding cables creates a polished, resort-like atmosphere that enhances your outdoor experience.
Finally, pest prevention. Rodents and insects are attracted to warm, insulated cables. If left exposed, they may chew through wires, causing short circuits or expensive damage. Properly enclosed cables are far less appealing to pests.
By taking the time to hide and protect your cables, you’re not just improving the look of your space—you’re also ensuring safety, durability, and peace of mind.
Planning Your Cable Route
The first step in hiding TV cables for your patio outdoor bar is planning. A little prep work now saves time, money, and frustration later.
Start by identifying where your TV will be mounted. Is it on a wall, under a pergola, or on a freestanding bar unit? Once you know the TV location, map out the shortest and safest path to your power source, sound system, streaming device, and any other connected equipment.
Avoid running cables across high-traffic areas like walkways or seating zones. Instead, route them along walls, under furniture, or through existing structures like railings or beams. If your bar has cabinets or shelving, consider running cables inside them for a hidden path.
Measure the distance between your TV and power outlet. Add a little extra length—about 10–15%—to allow for slack and future adjustments. This prevents tension on the cables, which can loosen connections or damage ports.
Also, think about future needs. Will you add a soundbar, gaming console, or outdoor speakers later? Plan for extra cable capacity now to avoid re-running wires later.
Use painter’s tape to mark the planned route on the floor or wall. Walk the path yourself to check for obstacles, sharp edges, or potential tripping points. Adjust as needed.
Finally, check local building codes. Some areas require permits or specific installation methods for outdoor electrical work. If you’re running cables through walls or under concrete, consult a professional to ensure compliance.
Choosing the Right Cables and Materials
Not all cables are created equal—especially when it comes to outdoor use. Using the wrong type can lead to poor performance, safety hazards, or premature failure.
Start with outdoor-rated cables. Look for labels like “UV-resistant,” “weatherproof,” or “direct burial” (if running underground). These cables have thicker insulation and protective jackets designed to withstand sun, moisture, and temperature changes.
For HDMI, power, and audio cables, choose versions specifically made for outdoor use. Standard indoor HDMI cables may work temporarily, but they’ll degrade quickly in harsh conditions.
Power cables should be heavy-duty and grounded. Use outdoor extension cords or permanent wiring with GFCI (Ground Fault Circuit Interrupter) protection. GFCI outlets shut off power instantly if they detect a fault, preventing shocks—especially important in wet environments.
For data and signal cables (like HDMI or Ethernet), consider shielded versions. These reduce interference from power lines or nearby electronics, ensuring a clear picture and sound.
Don’t forget surge protection. Outdoor setups are more vulnerable to power surges from lightning or grid fluctuations. Use a high-quality outdoor surge protector or install a whole-house surge suppressor.
Finally, choose the right conduit or raceway. Conduits protect cables from physical damage and weather. Options include:
– PVC conduit: Affordable, durable, and easy to install. Great for exposed or buried runs.
– Flexible conduit: Ideal for tight spaces or curved paths.
– Surface raceways: Plastic or metal channels that attach to walls or floors. Paintable and discreet.
Match your materials to your setup. For a clean look, raceways work well on visible surfaces. For hidden runs, conduit inside walls or under decking is better.
Step-by-Step: Hiding Cables Along Walls
One of the most common and effective ways to hide TV cables is by running them along walls. This method keeps wires off the floor and out of sight while maintaining easy access.
Gather Your Tools
You’ll need:
– Outdoor-rated cables
– Cable clips or J-hooks
– Drill and screws (or adhesive clips for no-drill options)
– Measuring tape
– Level
– Pencil
– Outdoor sealant (optional)
Mark the Route
Use a pencil and level to mark a straight line from your TV down the wall to the power source or outlet. Keep the line low—near the baseboard or behind furniture—to stay hidden.
Install Cable Clips
Space clips every 12–18 inches along the marked line. For drywall or wood, use screws. For stucco or brick, use masonry anchors. Alternatively, use heavy-duty adhesive clips rated for outdoor use—just ensure the surface is clean and dry.
Route the Cables
Feed your cables through the clips, starting at the TV and working toward the outlet. Keep cables snug but not tight. Avoid sharp bends, which can damage internal wires.
Secure and Seal
Once all cables are in place, press them firmly into the clips. If running near windows or doors, apply a small bead of outdoor sealant where cables enter or exit walls to prevent water intrusion.
Test the Setup
Plug in your TV and devices to ensure everything works. Check for signal loss or power issues. If problems arise, double-check connections and cable integrity.
This method works great for patios with walls, fences, or bar backs. It’s simple, affordable, and keeps cables protected and out of the way.
Using Surface Raceways for a Clean Look
Surface raceways are plastic or metal channels that snap over cables, creating a neat, paintable cover. They’re perfect for exposed areas where drilling isn’t an option or you want a polished finish.
Choose the Right Raceways
Select outdoor-rated raceways with UV protection and weather resistance. Look for models with snap-on covers and adhesive backing or screw mounts. Popular brands include Legrand, Panduit, and D-Line.
Measure and Cut
Measure the length needed and cut the raceway with a hacksaw or utility knife. Use a miter box for clean, straight cuts. Most raceways come with corner pieces and connectors for turns.
Install the Base
Clean the surface with rubbing alcohol to ensure strong adhesion. Peel off the backing and press the raceway firmly into place. For extra security, use screws at both ends and every 12 inches.
Insert Cables
Open the raceway cover and lay your cables inside. Avoid overfilling—leave about 30% of space empty to prevent overheating and make future upgrades easier.
Snap on the Cover
Close the cover and press firmly until it clicks. For a seamless look, paint the raceway to match your wall, bar, or patio color.
Raceways are ideal for modern patios, outdoor kitchens, or bars with visible surfaces. They’re easy to install, removable, and give a professional finish.
Running Cables Through or Under Structures
For a truly hidden setup, consider running cables through walls, under decking, or inside furniture.
Through Walls
If your TV is mounted on an exterior wall, drill a small hole (1–2 inches) from inside to outside near the base. Use a drill bit with a spade or hole saw attachment. Insert a conduit sleeve to protect cables and seal the hole with outdoor caulk.
Feed cables through the conduit and connect to your TV and power source. This method hides cables completely but requires careful planning and tools.
Under Decking or Pavers
For ground-level runs, dig a shallow trench (6–8 inches deep) and lay PVC conduit. Use direct-burial cables or standard cables inside the conduit. Cover with soil and replace pavers or deck boards.
Add a pull string inside the conduit to make future upgrades easier. Label both ends for easy identification.
Inside Furniture or Bar Units
If your outdoor bar has cabinets or shelves, run cables through the back or sides. Drill small holes and use grommets to protect wires. Route power and HDMI cables to a central hub inside the unit.
This keeps everything out of sight and protects cables from weather and foot traffic.
Protecting Connections and Power Sources
Even the best cable routing won’t help if your connections aren’t protected. Outdoor environments are tough on electronics, so sealing your connections is crucial.
Use Weatherproof Enclosures
Store power strips, surge protectors, and cable splitters in outdoor-rated electrical boxes. These boxes have gaskets and seals to keep out moisture and dust.
Mount the box under the bar, inside a cabinet, or on a wall out of direct rain. Use a lockable model for added security.
Seal Cable Entry Points
Where cables enter the enclosure, use rubber grommets or cable glands. These prevent water from seeping in and protect wires from chafing.
Apply silicone sealant around the edges for extra protection.
Elevate Power Sources
Never place power strips or outlets directly on the ground. Use a waterproof box mounted at least 6 inches above the surface. This prevents water pooling and reduces shock risk.
Use GFCI Outlets
Install a GFCI outlet or use a GFCI-protected power strip. These devices cut power instantly if they detect a ground fault—critical for outdoor safety.
Creative Ways to Hide Cables with Decor
Sometimes, the best hiding spot is in plain sight. Use your patio decor to camouflage cables and enhance your outdoor bar’s style.
Behind Plants and Greenery
Train climbing plants like ivy or jasmine to grow along walls or trellises near your cable route. The foliage naturally hides wires while adding beauty and shade.
Use outdoor-safe zip ties to gently secure cables to plant stems—never wrap tightly, as this can damage growth.
Under Outdoor Rugs or Mats
For floor-level runs, use a flat, outdoor rug with a low pile. Lay cables underneath and secure with tape or clips. Choose a rug with a non-slip backing for safety.
Avoid thick rugs that can cause tripping or trap moisture.
Inside Decorative Pipes or Conduits
Paint PVC pipes to look like copper, steel, or bamboo. Run cables through them and mount along walls or railings. This adds a rustic or industrial touch while hiding wires.
Behind Bar Accessories
Use shelves, wine racks, or storage bins to conceal cables. Route wires behind these items and plug into hidden outlets.
For a high-end look, build a custom cabinet with built-in cable management.
Troubleshooting Common Issues
Even with careful planning, problems can arise. Here’s how to fix common cable issues.
Signal Loss or Poor Picture Quality
Check HDMI cables for damage or loose connections. Outdoor HDMI cables can degrade over time. Replace with a higher-quality, shielded version if needed.
Ensure cables aren’t bent sharply or running parallel to power lines, which can cause interference.
Cables Coming Loose
If clips or raceways detach, clean the surface and reapply with stronger adhesive or screws. Use outdoor-rated products designed for your material (wood, concrete, etc.).
Water in Enclosures
If moisture builds up in your electrical box, check seals and grommets. Replace damaged parts and add silica gel packs to absorb humidity.
Ensure the box is mounted with a slight tilt to allow water to run off.
Overheating
Don’t bundle too many cables tightly. Allow airflow to prevent overheating, especially around power strips.
Use surge protectors with built-in cooling or thermal protection.
Pest Damage
If you find chewed wires, inspect for entry points. Seal gaps with steel wool and caulk. Use metal conduit in high-risk areas.
Maintenance Tips for Long-Term Success
Hiding cables is just the first step. Regular maintenance ensures your setup stays safe and functional.
Inspect Every Season
Check cables, clips, and enclosures at the start of each season. Look for cracks, fraying, or loose connections.
Clean Connections
Use a dry cloth to wipe dust and debris from plugs and ports. Avoid water near electrical components.
Update as Needed
Technology evolves. Upgrade to newer cables (like HDMI 2.1) or add wireless options (like Bluetooth speakers) to reduce cable clutter.
Label Everything
Use waterproof labels to identify cables and outlets. This makes troubleshooting and upgrades much easier.
Conclusion
Hiding TV cables for your patio outdoor bar doesn’t have to be complicated or expensive. With the right planning, materials, and techniques, you can create a clean, safe, and stylish entertainment space that stands up to the elements.
Start by mapping your cable route and choosing outdoor-rated cables and protection. Use clips, raceways, or conduits to keep wires secure and out of sight. Protect connections with weatherproof enclosures and GFCI outlets. And don’t forget to blend cables into your decor with plants, rugs, or custom builds.
Remember, the goal isn’t just to hide cables—it’s to create a space where you and your guests can relax, enjoy great entertainment, and feel safe. A little effort now pays off in comfort, durability, and peace of mind for years to come.
So grab your tools, follow this guide, and transform your outdoor bar into the ultimate backyard retreat—cable-free and ready for fun.

