
Transform your large patio into a sleek, cable-free entertainment zone with this complete guide. Discover practical, weather-safe ways to hide TV cables, boost safety, and maintain a clean look—no professional help needed.
Key Takeaways
- Plan your layout first: Measure your space and map out where the TV, power sources, and devices will go to minimize cable runs.
- Use weatherproof cable management: Choose outdoor-rated conduits, raceways, and clips designed to resist rain, UV rays, and temperature changes.
- Route cables along structural elements: Hide wires behind walls, under decking, or along railings for a seamless appearance.
- Prioritize safety and code compliance: Keep cables away from foot traffic, use GFCI outlets, and avoid overloading circuits.
- Test before finalizing: Ensure all connections work and signal quality remains strong after installation.
- Maintain access for future repairs: Use removable covers or labeled access points so you can troubleshoot without redoing the whole setup.
- Aesthetics matter: Match cable covers to your patio’s color scheme for a truly hidden look.
How to Hide Cables for Your Patio TV on a Large Patio
Imagine stepping onto your spacious patio on a warm summer evening. The sun is setting, the string lights are glowing, and your favorite show is about to start—on a crisp, wall-mounted outdoor TV. But wait… those dangling HDMI, power, and speaker cables are ruining the vibe. They’re tripping hazards, eyesores, and vulnerable to weather damage.
Don’t worry—you’re not stuck with a messy setup. Whether your patio spans 500 square feet or more, hiding TV cables is totally doable with the right tools, planning, and a little DIY spirit. In this guide, we’ll walk you through every step to create a clean, safe, and stylish outdoor entertainment space—no cables in sight.
By the end of this guide, you’ll know how to:
– Plan your cable layout for maximum efficiency
– Choose the best outdoor-rated cable management products
– Install conduits, raceways, and clips like a pro
– Route cables safely along walls, under decks, or through structures
– Keep everything weatherproof and code-compliant
– Maintain access for future upgrades or repairs
Let’s get started!
Step 1: Assess Your Patio Layout and TV Setup
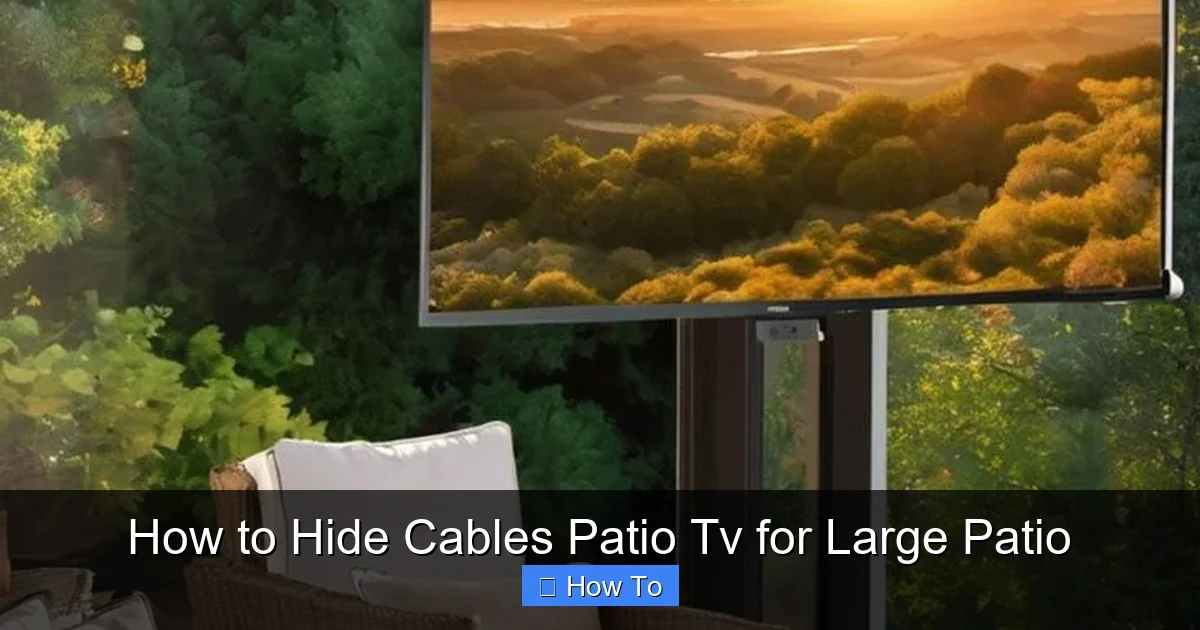
Visual guide about How to Hide Cables Patio Tv for Large Patio
Image source: i.pinimg.com
Before you buy a single cable tie, take time to understand your space. A large patio offers more flexibility—but also more opportunities for cable chaos if you don’t plan ahead.
Map Out Your Entertainment Zone
Start by sketching a rough layout of your patio. Include:
– The location of your TV (wall-mounted or on a stand)
– Power source (outdoor outlet or extension)
– Streaming devices (like a Roku, Apple TV, or soundbar)
– Speakers (if using a surround system)
– Seating areas and walkways
Ask yourself:
– Where will people walk? Avoid routing cables across high-traffic zones.
– Is your TV near a wall, pillar, or under an overhang? These offer natural hiding spots.
– Do you have access to indoor wiring (e.g., through a wall or crawlspace)? This can simplify power and signal routing.
Measure Cable Distances
Use a tape measure to determine how far each cable needs to travel. For example:
– From the TV to the power outlet
– From the TV to the streaming box
– From the TV to outdoor speakers
Add 10–15% extra length to each cable for slack and future adjustments. Longer runs may require signal boosters or Ethernet-over-coax solutions to prevent degradation.
Check Local Building Codes
Outdoor electrical work often requires permits or must follow specific codes (like NEC Article 400 for flexible cords). If you’re running power through walls or under decks, consult a licensed electrician—especially if trenching or drilling is involved.
Step 2: Choose the Right Outdoor Cable Management Products
Not all cable organizers are created equal. Indoor raceways won’t survive rain, sun, or temperature swings. You need gear built for the outdoors.
Weatherproof Conduit
Flexible or rigid conduit (like PVC or liquid-tight metal) protects cables from moisture, pests, and physical damage. Use it when running wires through walls, under decks, or along exposed beams.
– **Best for:** Long runs, underground routing, or high-exposure areas
– **Tip:** Choose UV-resistant white or gray PVC to blend with walls or ceilings.
Outdoor Raceways and Cable Channels
These are plastic or metal trays that snap onto walls or railings. They’re perfect for surface-mounted cable hiding.
– **Look for:** IP65 or higher waterproof rating, UV resistance, and easy-open lids
– **Popular brands:** D-Line, Legrand, and CableOrganizer.com offer outdoor-specific models
– **Pro tip:** Paint raceways to match your wall or trim for a nearly invisible finish.
Cable Clips and Adhesive Mounts
Use heavy-duty, outdoor-rated clips to secure loose wires along beams, fences, or under eaves.
– **Avoid cheap plastic clips**—they crack in the sun.
– **Use stainless steel or UV-stable plastic** with strong adhesive or screw mounts.
– **Example:** 3M VHB tape works great on clean, dry surfaces.
In-Wall Cable Management Kits
If your TV is mounted on an exterior wall, consider an in-wall kit designed for outdoor use. These include:
– Wall plates with brush openings
– Fire-rated conduit
– Grommets to prevent chafing
These keep cables completely hidden inside the wall—ideal for a clean, professional look.
Step 3: Plan Your Cable Routing Path
Now that you’ve got the right tools, it’s time to decide how to run your cables. The goal: shortest, safest, most concealed path.
Option 1: Route Along Walls or Railings
This is the easiest method for most patios.
– Run HDMI and power cables up the wall behind the TV, then across the ceiling or along a beam.
– Use raceways or clips to secure them.
– If you have a pergola or lattice, tuck cables behind it.
Option 2: Go Under the Deck or Patio Surface
For elevated decks or patios with access underneath:
– Drill a small hole through the decking near the TV mount.
– Feed cables down and route them along joists or beams.
– Use conduit to protect wires from moisture and critters.
– Bring cables back up near the power source or entertainment center.
Option 3: Through the Wall (Advanced)
If your TV is on an exterior wall of your house:
– Drill a hole from inside the wall cavity to the outside.
– Use a wall plate with brush inserts to feed cables through.
– Seal the hole with outdoor caulk to prevent water intrusion.
This method hides everything but requires more skill and tools.
Option 4: Along the Ground (Use Sparingly)
Only use this if no other option exists—and always protect cables.
– Bury flexible conduit just below the surface (check local codes).
– Use bright-colored warning tape above the conduit.
– Avoid areas with heavy foot traffic or garden tools.
Step 4: Install Power and Signal Sources Safely
Power is the most critical—and dangerous—part of your setup. Do it right.
Use a GFCI Outlet
Outdoor outlets must be GFCI (Ground Fault Circuit Interrupter) protected to prevent shocks. If your existing outlet isn’t GFCI, have an electrician upgrade it.
Install a Weatherproof Outdoor Box
If your devices (like a streaming box or soundbar) need power away from the TV:
– Mount a weatherproof electrical box under an eave or on a post.
– Use in-use covers (bubble-style) to protect plugs from rain.
– Label cords clearly (e.g., “HDMI to TV” or “Power to Soundbar”).
Consider a Dedicated Circuit
Large setups with multiple devices can draw significant power. If you’re adding speakers, lighting, or a mini-fridge, a dedicated 20-amp circuit prevents overloads.
Use Surge Protectors
Outdoor electronics are vulnerable to lightning and power surges. Plug your TV and devices into a high-quality outdoor surge protector with joule rating of 2000+.
Step 5: Run and Secure the Cables
Now for the fun part—installing the cables.
Start with Power Cables
– Turn off power at the breaker.
– Run the power cable from the outlet to the TV or device.
– Use clips or raceways every 12–18 inches to prevent sagging.
– Leave a little slack near connections for flexibility.
Route HDMI and Audio Cables
– Use high-speed HDMI cables rated for outdoor use (look for “outdoor” or “direct burial” labels).
– Avoid sharp bends—HDMI cables hate tight curves.
– Keep signal cables away from power lines to reduce interference.
Bundle and Label
– Group cables together with outdoor zip ties or Velcro straps.
– Label each cable at both ends with waterproof tags or tape.
– Example: “HDMI – Living Room Receiver” or “Power – Soundbar”
Test Before Finalizing
– Turn power back on.
– Check that the TV turns on, receives signal, and plays audio.
– Test all devices (streaming, speakers, etc.).
– Adjust routing if you notice signal loss or flickering.
Step 6: Hide and Finish the Installation
The final step: making everything disappear.
Paint to Match
If using raceways or conduit, spray-paint them to match your wall, ceiling, or trim. Use outdoor paint for durability.
Use Decorative Covers
Some patios have columns, planters, or built-in benches. Run cables behind these features for natural concealment.
Add Landscaping or Furniture
Place potted plants, outdoor cabinets, or storage benches near cable runs to block the view.
Install a Cable Management Box
For devices like streaming boxes or routers, use a weatherproof outdoor enclosure. These look like small cabinets and keep everything tidy and protected.
Troubleshooting Common Issues
Even the best plans can hit snags. Here’s how to fix common problems.
Problem: Cables Are Still Visible
– Recheck your routing—could you go under the deck or through a wall?
– Add more clips or raceways to pull cables tight and flush.
– Use longer raceways to cover gaps.
Problem: Signal Loss or Flickering
– HDMI cables over 25 feet may need a signal booster or fiber optic HDMI.
– Ensure cables aren’t pinched or bent sharply.
– Keep HDMI and power cables separated by at least 6 inches.
Problem: Water in Conduit or Raceways
– Drill small drain holes at the lowest point of conduit.
– Use waterproof gel or tape at connection points.
– Avoid completely sealing ends—allow airflow to prevent condensation.
Problem: Tripping Hazards Remain
– Re-route any ground-level cables.
– Use bright tape or markers as temporary warnings.
– Consider a low-profile ramp cover for unavoidable crossings.
Problem: Cables Get Damaged by Weather
– Replace any cracked or faded clips or raceways.
– Upgrade to higher-rated outdoor products.
– Trim back overhanging branches that drip water.
Maintenance Tips for Long-Term Success
Your cable setup should last for years—if you maintain it.
Inspect Seasonally
Check cables, clips, and raceways every spring and fall. Look for:
– Cracks or fading
– Loose mounts
– Water buildup
– Pest activity (mice love chewing wires)
Clean Gently
Use a damp cloth to wipe down raceways and conduits. Avoid harsh chemicals that can degrade plastic.
Update as Needed
If you add new devices (like a projector or smart lights), plan cable routes in advance. Label everything clearly.
Keep Spare Parts
Store extra clips, zip ties, and conduit fittings in a weatherproof bin. You’ll thank yourself later.
Conclusion
Hiding cables for your patio TV on a large outdoor space isn’t just about looks—it’s about safety, durability, and enjoying your entertainment zone without distractions. With smart planning, the right outdoor-rated products, and careful installation, you can create a sleek, cable-free setup that stands up to the elements.
Remember: start with a layout, choose weatherproof gear, route cables smartly, and test everything before finalizing. Whether you go under the deck, through the wall, or along a beam, the result will be a patio that’s as beautiful as it is functional.
So grab your tools, roll up your sleeves, and say goodbye to tangled wires. Your perfect outdoor movie night is just a few cable clips away.

