
Setting up an outdoor TV for a backyard movie night is fun—until cables clutter the space and pose safety risks. This guide shows you how to hide cables safely and stylishly using weatherproof methods that protect your gear and enhance your outdoor experience.
Key Takeaways
- Plan your cable route first: Map out the shortest, safest path from your TV to power and AV sources to minimize exposure and tripping hazards.
- Use weatherproof conduit and raceways: Protect cables from rain, UV rays, and temperature swings with outdoor-rated PVC or metal conduit.
- Anchor cables securely: Prevent sagging or damage by using outdoor-rated clips, staples, or adhesive mounts designed for exterior surfaces.
- Choose the right cable types: Use outdoor-rated HDMI, power, and extension cables with UV-resistant jackets and waterproof connectors.
- Hide cables in plain sight: Blend raceways with paint or use natural barriers like planters, trellises, or deck railings to conceal wiring.
- Test everything before the movie starts: Ensure all connections work and cables are secure to avoid last-minute fixes.
- Prioritize safety and code compliance: Keep power cables away from water sources and follow local electrical codes for outdoor installations.
How to Hide Cables Outdoor Television for Backyard Movie Night
Imagine this: It’s a warm summer evening. The sun has set, the string lights are glowing, and your favorite film is about to begin on your outdoor TV. But then you notice it—the tangled mess of cables snaking across your patio, threatening to trip guests or get damaged by a stray sprinkler. Sound familiar?
You’re not alone. Many backyard movie enthusiasts face the same challenge: how to enjoy a seamless outdoor entertainment experience without the eyesore and hazards of exposed cables. The good news? With the right tools and techniques, you can hide those cables safely, neatly, and permanently.
In this complete guide, you’ll learn step-by-step how to hide cables for your outdoor television setup. Whether you’re mounting a TV under a pergola, on a deck post, or near a fire pit, we’ll cover everything from planning your layout to choosing the best weatherproof materials. By the end, you’ll have a clean, professional-looking setup that’s ready for movie nights, game days, or casual outdoor hangouts—rain or shine.
Why Hiding Outdoor TV Cables Matters
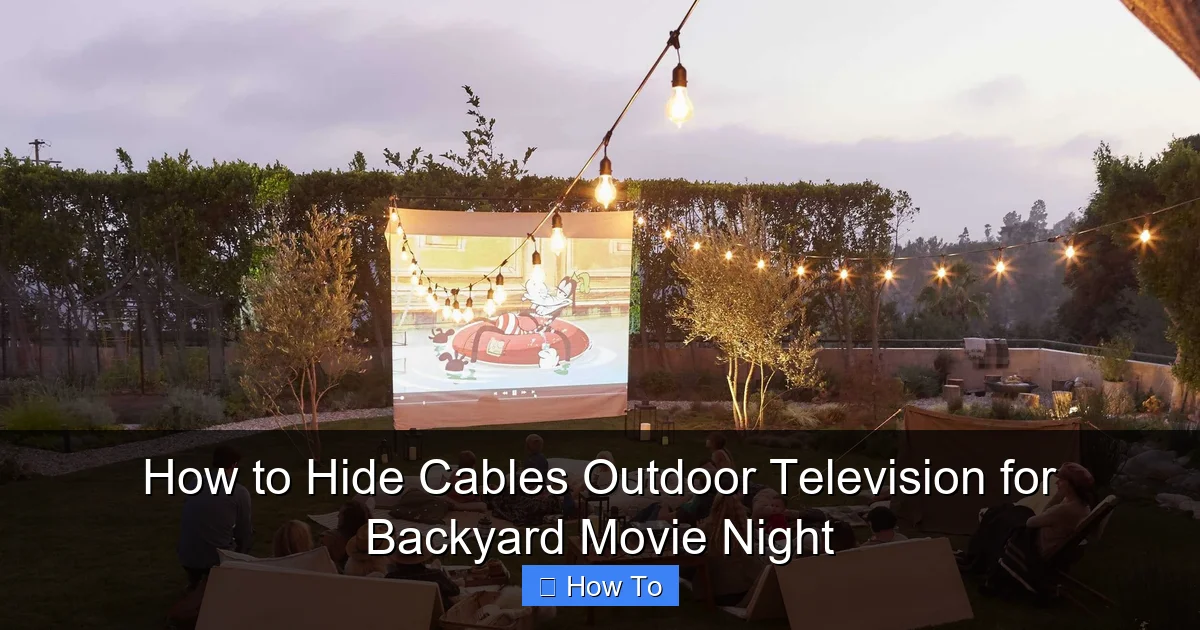
Visual guide about How to Hide Cables Outdoor Television for Backyard Movie Night
Image source: yardzen.com
Before diving into the how-to, let’s talk about why this matters. Outdoor cable management isn’t just about aesthetics—it’s about safety, durability, and performance.
First, exposed cables are a tripping hazard. Guests walking around in the dark can easily stumble over loose wires, especially if they’re not visible. Second, outdoor cables are exposed to the elements: rain, snow, extreme heat, and UV rays can degrade standard indoor cables over time, leading to signal loss or electrical issues. Third, animals like squirrels or raccoons may chew on unprotected wires. And finally, a clean setup just looks better. Nothing ruins the ambiance of a backyard cinema like a jumble of cords snaking across the lawn.
By properly hiding and protecting your cables, you’re investing in a safer, longer-lasting, and more enjoyable outdoor entertainment system.
Step 1: Plan Your Cable Route
The first step in hiding outdoor TV cables is planning. A little forethought can save you hours of frustration later.
Map Out the Setup
Start by deciding where your TV will go. Common locations include:
– Mounted on a wall or post
– Under a covered patio or pergola
– On a freestanding outdoor TV stand
Once you’ve chosen the location, identify where your power source and AV equipment (like a streaming device, soundbar, or receiver) will be. Most outdoor TVs need at least two cables: power and HDMI. If you’re using a sound system, you may have additional audio cables.
Draw a simple sketch of your backyard layout. Mark the TV location, power outlet, and any devices. Then, trace the shortest possible path for each cable. Avoid high-traffic areas, wet zones (like near sprinklers), and places where cables could be pinched or crushed.
Measure the Distance
Use a tape measure to determine how long each cable needs to be. Add a little extra length (about 6–12 inches) for flexibility and future adjustments. This helps prevent tension on connectors, which can cause signal loss or damage.
Check for Obstacles
Look for potential obstacles along your route:
– Trees or shrubs that might block the path
– Deck railings or stairs
– Gutters or downspouts
– Electrical panels or outdoor lighting
If you need to go around an obstacle, plan a gentle curve rather than a sharp bend. Sharp bends can damage cables over time.
Consider Future Access
Think about maintenance. Will you need to unplug devices occasionally? If so, avoid running cables through walls or under concrete. Instead, use removable raceways or conduit that allows easy access.
Step 2: Choose the Right Cables
Not all cables are created equal—especially for outdoor use. Using indoor cables outside is a common mistake that can lead to poor performance or even safety risks.
Use Outdoor-Rated Cables
Look for cables labeled “outdoor,” “direct burial,” or “UV-resistant.” These are designed to withstand moisture, temperature changes, and sunlight. Standard indoor HDMI or power cables have jackets that degrade quickly when exposed to the elements.
For example, an outdoor HDMI cable will have a thicker, weatherproof jacket and corrosion-resistant connectors. Similarly, outdoor extension cords are built with heavier insulation and grounded plugs.
Pick the Right Length
Avoid excessively long cables. Longer cables can cause signal degradation, especially with HDMI. If you need extra length, use a high-quality extension or an HDMI over Ethernet extender instead of daisy-chaining multiple cables.
Use Cable Management Accessories
Consider using cable sleeves, braided wraps, or spiral wraps to bundle multiple cables together. These not only keep things tidy but also add a layer of protection. Choose outdoor-rated versions made from materials like nylon or polyethylene.
Label Your Cables
Once everything is connected, label each cable at both ends with waterproof tags or labels. This makes troubleshooting and future upgrades much easier.
Step 3: Protect Cables with Conduit or Raceways
Now that you’ve planned your route and chosen the right cables, it’s time to protect them. The best way to hide and safeguard outdoor cables is by using conduit or raceways.
What Is Conduit?
Conduit is a protective tube that houses electrical wires and cables. It comes in various materials, including PVC, metal, and flexible plastic. For outdoor TV setups, rigid PVC conduit is a popular choice because it’s affordable, easy to install, and resistant to weather and UV rays.
Types of Outdoor Conduit
– PVC Conduit: Lightweight, corrosion-resistant, and ideal for most backyard setups. Available in gray or white. Use Schedule 40 for general use or Schedule 80 for higher durability.
– Metal Conduit (EMT or Rigid): Stronger and more fire-resistant, but heavier and harder to work with. Best for high-traffic or commercial areas.
– Flexible Conduit: Useful for tight bends or areas with movement, like near a swinging gate.
Installing PVC Conduit
Here’s how to install PVC conduit for your outdoor TV cables:
1. Cut the conduit to length using a hacksaw or PVC cutter. Make sure the ends are smooth.
2. Drill holes in the wall, post, or deck where the conduit will enter and exit. Use a drill bit slightly larger than the conduit diameter.
3. Attach conduit straps every 3–4 feet to secure the conduit to the surface. Use outdoor-rated screws and anchors for masonry or wood.
4. Feed the cables through using a fish tape or string. Lubricate the cables lightly with cable-pulling gel if needed.
5. Seal the ends with waterproof conduit caps or silicone sealant to prevent water ingress.
Using Surface-Mounted Raceways
If you don’t want to drill into walls, surface-mounted raceways are a great alternative. These are plastic or metal channels that attach to walls, fences, or deck railings.
– Choose a raceway that matches your outdoor décor (white, black, or brown).
– Use adhesive mounts or screws to attach it securely.
– Open the raceway, place the cables inside, and snap the cover shut.
– Paint the raceway to blend with the wall or trim for a seamless look.
Raceways are especially useful for shorter runs or temporary setups.
Step 4: Hide Cables Along Natural Features
Sometimes, the best way to hide cables is to make them part of the landscape. Use existing outdoor features to your advantage.
Run Cables Along Deck Railings
If your TV is near a deck, run cables along the underside of the railing. Use outdoor-rated cable clips to secure them. Paint the clips to match the railing color.
Tuck Cables Behind Planters or Trellises
Place large planters or trellises along the cable route. Run the cables behind them so they’re out of sight. Just make sure the plants don’t grow into the cables over time.
Use Garden Edging or Landscape Timbers
Bury shallow trenches along garden borders and run cables through them. Cover with soil or mulch. Use direct-burial cables or conduit for protection.
Blend with Outdoor Structures
If you have a pergola, gazebo, or outdoor kitchen, route cables along beams or under countertops. Use cord covers or paintable raceways to maintain a clean look.
Step 5: Secure Cables with Outdoor Clips and Staples
Even with conduit or raceways, you’ll need to secure loose sections of cable. Use outdoor-rated fasteners designed for exterior use.
Cable Clips and Adhesive Mounts
– Adhesive cable clips: Great for smooth surfaces like siding or painted wood. Choose ones with strong outdoor adhesive (3M VHB tape works well).
– Screw-in clips: More secure for rough surfaces like brick or stucco. Use stainless steel screws to prevent rust.
UV-Resistant Cable Ties
Use black or gray UV-resistant zip ties to bundle cables together. Avoid white ties—they yellow and degrade in sunlight.
Avoid Nails or Staples
Never use regular nails or staples to secure outdoor cables. They can pierce insulation and cause shorts. Always use insulated cable staples or clips.
Step 6: Weatherproof All Connections
Outdoor connections are vulnerable to moisture, which can cause corrosion and signal loss. Protect every junction.
Use Weatherproof Enclosures
For power strips, surge protectors, or HDMI extenders, use a weatherproof electrical box or outdoor-rated enclosure. These are sealed to prevent water entry and often include grommets for cable entry.
Apply Dielectric Grease
On metal connectors (like coaxial or speaker terminals), apply a small amount of dielectric grease. This repels moisture and prevents corrosion.
Seal Cable Entry Points
Where cables enter walls, conduit, or enclosures, seal the gaps with silicone caulk or rubber grommets. This prevents water, insects, and debris from getting in.
Use Waterproof Covers
For outdoor outlets or power connections, install a weatherproof cover with a flip-up lid. These keep plugs dry even in rain.
Step 7: Test and Troubleshoot
Before your first movie night, test the entire system.
Check Power and Signal
Turn on the TV and all connected devices. Make sure the picture and sound are clear. If you’re using a streaming device, test the Wi-Fi connection.
Inspect for Loose Connections
Gently tug on cables to ensure they’re secure. Look for frayed wires or loose clips.
Simulate Rain or Wind
If possible, spray water lightly on exposed areas to test for leaks. Check that no water enters conduit or enclosures.
Common Issues and Fixes
– No signal: Check HDMI connections and ensure cables are fully seated. Try a different cable if needed.
– Intermittent power: Loose connections or damaged cables. Re-secure or replace.
– Corrosion on connectors: Clean with isopropyl alcohol and apply dielectric grease.
– Cables sagging: Add more clips or support straps.
Safety Tips and Best Practices
Outdoor electrical work requires caution. Follow these safety guidelines:
– Turn off power at the breaker before working on electrical connections.
– Use GFCI outlets for all outdoor power sources. These shut off automatically if they detect a ground fault.
– Avoid running power and signal cables together in the same conduit. This can cause interference.
– Keep cables away from water sources like pools, fountains, or sprinklers.
– Follow local building codes. Some areas require permits for outdoor electrical work.
If you’re unsure about any step, consult a licensed electrician.
Bonus: Creative Cable Hiding Ideas
Want to go the extra mile? Try these creative solutions:
– Paintable raceways: Match the color to your wall or fence for near-invisibility.
– Hollow outdoor furniture: Use a weatherproof storage bench or side table with built-in cable management.
– Underground cable runs: For permanent setups, bury conduit 18–24 inches deep (check local codes).
– Smart covers: Install a decorative rock or fake plant over a junction box.
Conclusion
Hiding cables for your outdoor television doesn’t have to be complicated or expensive. With careful planning, the right materials, and a few simple tools, you can create a clean, safe, and professional-looking setup that enhances your backyard movie nights.
Remember: the key is to protect your cables from the elements, secure them properly, and blend them into your outdoor space. Whether you use conduit, raceways, or natural barriers, the result will be a seamless entertainment experience that you and your guests can enjoy year after year.
So grab your popcorn, dim the lights, and press play—your perfectly wired outdoor cinema awaits.

