
Installing a patio TV in a coastal home requires special considerations to protect against salt air, humidity, and strong winds. This guide walks you through choosing the right TV, selecting a durable mount, and ensuring long-term performance in harsh coastal conditions.
Key Takeaways
- Choose a weatherproof outdoor TV: Standard indoor TVs will corrode quickly in coastal environments—opt for models rated for outdoor or marine use.
- Use corrosion-resistant mounting hardware: Stainless steel or powder-coated aluminum mounts prevent rust from salt air exposure.
- Seal all cable connections: Use waterproof conduit and silicone sealant to protect power and signal cables from moisture.
- Install in a sheltered location: Position the TV under an eave or pergola to reduce direct exposure to rain and sun.
- Perform regular maintenance: Clean the screen and housing monthly and inspect seals and mounts for wear.
- Consider professional installation: Complex setups or hard-to-reach areas may benefit from a certified technician.
- Plan for power and signal routing: Run cables through sealed conduits and avoid low-lying areas where water may pool.
How to Install Patio TV for Coastal Homes
If you live near the coast, you know how beautiful—and challenging—outdoor living can be. The ocean breeze, salty air, and high humidity create a stunning backdrop for relaxing on your patio, but they also pose serious risks to electronics. That’s why installing a patio TV in a coastal home isn’t as simple as mounting a regular TV outside. You need the right equipment, smart placement, and proper protection to ensure your outdoor entertainment lasts for years.
In this comprehensive guide, you’ll learn exactly how to install a patio TV for coastal homes—step by step. We’ll cover everything from choosing the best weatherproof TV and mount to running cables safely and maintaining your setup over time. Whether you’re building a new outdoor living space or upgrading an existing one, this guide will help you enjoy your favorite shows, sports, and movies under the open sky—without worrying about corrosion, fogging, or sudden failures.
Why Coastal Environments Are Tough on Electronics
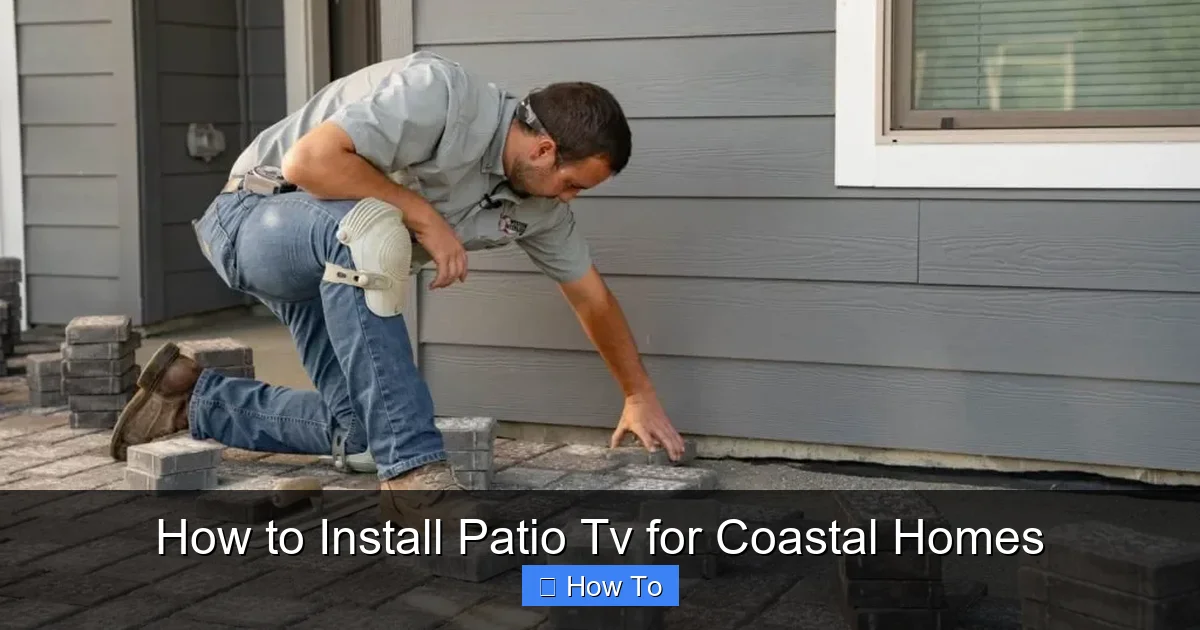
Visual guide about How to Install Patio Tv for Coastal Homes
Image source: i1.wp.com
Before diving into the installation process, it’s important to understand why coastal climates are so harsh on electronics. Salt air is one of the biggest culprits. When salt particles in the air mix with moisture, they create a corrosive environment that can quickly damage metal components, circuit boards, and connectors. Over time, this leads to rust, short circuits, and premature failure.
Humidity is another major factor. High moisture levels can cause internal condensation, especially when temperatures fluctuate between day and night. This can fog up screens, damage internal wiring, and promote mold growth. Additionally, strong coastal winds can put stress on mounting hardware, and UV rays from the sun can degrade plastics and seals.
Because of these challenges, a standard indoor TV simply won’t cut it. You need a purpose-built outdoor TV designed to withstand these conditions. Let’s explore what that means.
Step 1: Choose the Right Outdoor TV for Coastal Use
The foundation of a successful patio TV installation is selecting the right television. Not all “outdoor” TVs are created equal, and some are better suited for coastal environments than others.
Look for Weatherproof Ratings
Start by checking the TV’s IP (Ingress Protection) rating. This tells you how well the TV resists dust and water. For coastal use, aim for at least IP55 or higher. IP55 means the TV is protected against low-pressure water jets from any direction and limited dust ingress. Some premium models offer IP65 or IP66, which provide even better protection.
Opt for Marine-Grade or Coastal-Specific Models
Some manufacturers design TVs specifically for coastal or marine environments. These models often feature enhanced corrosion-resistant coatings, sealed internal components, and reinforced casings. Brands like SunBrite, Samsung Terrace, and Seura offer outdoor TVs with coastal durability in mind.
For example, the SunBrite Veranda series is built with a powder-coated aluminum chassis and sealed ventilation to prevent salt air from entering the internal electronics. These TVs also come with anti-glare screens that perform well in bright sunlight—perfect for a sunny patio.
Consider Screen Size and Viewing Distance
Choose a screen size that matches your patio layout. A 55-inch TV is ideal for most outdoor seating areas, but if you’re viewing from 10–15 feet away, a 65-inch model may provide a more immersive experience. Avoid going too large, as oversized screens can be harder to protect and may overwhelm the space.
Check for Built-In Heaters and Cooling
Temperature swings are common in coastal areas. Some outdoor TVs include built-in heaters to prevent condensation in cold, damp conditions and fans or passive cooling systems to avoid overheating in direct sun. These features extend the TV’s lifespan and ensure reliable performance year-round.
Step 2: Select a Durable, Corrosion-Resistant Mount
Once you’ve chosen your TV, the next step is selecting a mount that can handle the coastal environment. A weak or poorly designed mount can fail under wind stress or corrode from salt exposure.
Choose Stainless Steel or Powder-Coated Aluminum
Avoid standard steel mounts, which will rust quickly in salty air. Instead, look for mounts made from marine-grade stainless steel (such as 316 stainless) or aluminum with a powder-coated finish. These materials resist corrosion and maintain strength over time.
Ensure the Mount Is Rated for Outdoor Use
Not all wall mounts are suitable for outdoor installation. Check the product description to confirm it’s designed for exterior use. Outdoor-rated mounts are typically thicker, heavier, and include additional reinforcement to handle wind loads.
Consider a Full-Motion or Tilting Mount
A full-motion mount allows you to adjust the angle of the TV for optimal viewing, which is helpful if your patio has varying seating arrangements. Tilting mounts can also help reduce glare from the sun. Just make sure the moving parts are sealed or protected from moisture.
Verify Weight and Size Compatibility
Double-check that the mount supports your TV’s size and weight. Most outdoor mounts list a maximum weight capacity and compatible screen sizes. Overloading a mount can lead to failure, especially in windy conditions.
Step 3: Pick the Perfect Location
Where you install your patio TV matters just as much as the equipment you choose. The right location can significantly extend the life of your TV and improve your viewing experience.
Install Under Cover
Whenever possible, mount the TV under an eave, pergola, or covered patio roof. This provides essential protection from direct rain, snow, and intense sunlight. Even with a weatherproof TV, reducing exposure to the elements will help it last longer.
Face Away from Direct Sunlight
Avoid mounting the TV where it will be in direct sun for most of the day. Prolonged UV exposure can fade the screen and degrade the housing. If you must install in a sunny spot, consider adding a retractable awning or shade sail for extra protection.
Ensure Clear Viewing Angles
Position the TV so it’s easily visible from your primary seating area. Avoid placing it too high or at an awkward angle. A good rule of thumb is to mount the screen so the center is at or slightly below eye level when seated.
Check for Wind Exposure
Coastal areas often experience strong gusts. Avoid installing the TV on a wall that faces prevailing winds. If that’s not possible, choose a low-profile mount and ensure the wall is structurally sound.
Step 4: Prepare the Wall and Mounting Surface
A secure installation starts with a solid foundation. Before mounting anything, inspect and prepare the wall.
Use a Stud Finder
Locate the wall studs using a stud finder. Mounting directly into studs provides the strongest support. If studs aren’t aligned with your desired location, use heavy-duty toggle bolts or masonry anchors designed for outdoor use.
Check for Moisture and Rot
Inspect the wall for signs of water damage, rot, or mold—especially in older coastal homes. If the wall is compromised, repair it before installation. A weak wall can’t support the weight of a TV, especially in windy conditions.
Seal the Mounting Area
Once you’ve marked the mounting points, clean the area and apply a bead of outdoor-grade silicone sealant around the holes. This prevents water from seeping behind the mount and into the wall.
Step 5: Run and Protect Power and Signal Cables
Cable management is one of the most overlooked—but critical—aspects of outdoor TV installation. Exposed wires are vulnerable to moisture, pests, and physical damage.
Use Waterproof Conduit
Run all power and signal cables (HDMI, coaxial, etc.) through a waterproof electrical conduit. PVC or flexible metal conduit works well. Seal all entry and exit points with silicone or rubber grommets to prevent water ingress.
Route Cables Away from Water Sources
Avoid running cables along the ground or through areas where water may pool. Instead, route them along the wall or under the patio decking. If you must cross a wet area, use elevated cable trays or bury the conduit slightly below ground level.
Use Outdoor-Rated Cables
Standard indoor cables aren’t designed for outdoor conditions. Use UV-resistant, moisture-proof cables rated for exterior use. Look for labels like “direct burial” or “outdoor rated.”
Install a GFCI Outlet
For safety, connect your TV to a Ground Fault Circuit Interrupter (GFCI) outlet. This type of outlet shuts off power automatically if it detects a fault, reducing the risk of electric shock in wet conditions.
Label and Organize Cables
Use zip ties and labels to keep cables neat and identifiable. This makes future troubleshooting and maintenance much easier.
Step 6: Mount the TV Securely
Now it’s time to install the mount and attach the TV.
Attach the Mounting Bracket to the Wall
Using a level, mark the mounting holes and drill pilot holes. Secure the bracket to the wall with corrosion-resistant screws. Double-check that it’s level and tightly fastened.
Attach the TV Plate to the TV
Most outdoor TVs come with VESA mounting holes on the back. Attach the mounting plate to the TV using the provided hardware. Make sure all screws are tight.
Hang the TV on the Bracket
With the help of a friend, carefully lift the TV and hook it onto the wall bracket. Ensure it’s securely locked in place. Test the stability by gently pushing on the sides.
Adjust the Angle
If using a tilting or full-motion mount, adjust the TV to your preferred viewing angle. Tighten all adjustment knobs to prevent movement in the wind.
Step 7: Connect and Test the System
Once the TV is mounted, it’s time to connect your devices and test everything.
Connect Power and Signal Cables
Plug in the power cable and connect your HDMI, antenna, or streaming device. Use waterproof cable connectors or junction boxes if connections are exposed.
Power On and Configure
Turn on the TV and follow the on-screen setup guide. Connect to Wi-Fi, update the software, and test all inputs.
Check for Signal and Picture Quality
Watch a few minutes of live TV or a streaming service to ensure the picture is clear and the sound is working. Adjust the antenna or signal booster if needed.
Step 8: Perform Regular Maintenance
Even the best outdoor TVs need care to last in coastal environments.
Clean the Screen and Housing Monthly
Use a soft, lint-free cloth and a mild cleaner designed for electronics. Avoid abrasive materials that can scratch the screen.
Inspect Seals and Mounts
Every few months, check the TV’s seals, mounting hardware, and cable connections for signs of wear, rust, or loosening. Tighten screws and reapply sealant as needed.
Check for Condensation
If you notice fogging inside the screen, it may indicate a seal failure. Contact the manufacturer for service.
Troubleshooting Common Issues
Even with careful installation, problems can arise. Here’s how to handle the most common issues:
TV Won’t Turn On
Check the power connection and GFCI outlet. Reset the outlet if it has tripped. Ensure the TV isn’t in sleep mode.
Picture Is Blurry or Flickering
Inspect HDMI cables for damage or loose connections. Try a different cable or input source.
Mount Feels Loose
Tighten all mounting screws and check the wall for damage. If the wall is compromised, reinforce it or relocate the TV.
Corrosion on Mount or Cables
Clean affected areas with a wire brush and apply a corrosion inhibitor. Replace severely rusted parts immediately.
Conclusion
Installing a patio TV in a coastal home is a rewarding project that lets you enjoy entertainment in one of the most beautiful settings on earth. But it requires more than just hanging a TV outside. By choosing a weatherproof model, using corrosion-resistant hardware, and protecting your cables, you can create a reliable outdoor entertainment system that stands up to salt air, humidity, and wind.
Take your time with each step, prioritize safety, and don’t hesitate to consult a professional if you’re unsure. With the right preparation and maintenance, your patio TV will provide years of enjoyment—rain or shine, breeze or calm.
Now grab your tools, pick the perfect spot, and get ready to kick back with your favorite show under the coastal sky.

