
Installing an outdoor TV for football games lets you enjoy every touchdown under the open sky. This guide walks you through choosing the right TV, mounting it safely, protecting it from weather, and setting up audio and streaming—so your game day never misses a beat.
Key Takeaways
- Choose a true outdoor TV: Not all TVs labeled “outdoor” are equal—look for models rated for full sun, rain, and temperature extremes.
- Pick the right location: Install in a shaded, covered area like a patio or pergola to reduce glare and protect from direct weather exposure.
- Use a weatherproof mount: Standard indoor mounts can rust or fail outdoors—invest in a certified outdoor mounting system.
- Protect all connections: Use weatherproof conduit, cable sleeves, and outdoor-rated extension cords to prevent water damage.
- Secure power safely: Always use GFCI outlets and consider a surge protector designed for outdoor use.
- Test before game day: Run a full system check a week before the big game to troubleshoot any issues.
- Enhance with outdoor audio: Pair your TV with weather-resistant speakers for crowd noise and commentary that feels live.
How to Install Outdoor TV for Football Games Outside
There’s nothing quite like watching the big game under the stars—with friends, snacks, and the roar of the crowd echoing through your backyard. But to make that dream a reality, you need more than just a TV and a extension cord. Installing an outdoor TV for football games requires planning, the right gear, and a bit of know-how to ensure your setup is safe, durable, and delivers crystal-clear picture and sound—rain or shine.
In this complete guide, we’ll walk you through every step of installing an outdoor TV specifically for football season. Whether you’re setting up a permanent fixture on your patio or creating a seasonal game-day zone by the grill, you’ll learn how to choose the best outdoor TV, pick the perfect spot, mount it securely, protect it from the elements, and connect all your devices safely. By the end, you’ll be ready to host the ultimate outdoor viewing party—without worrying about weather, glare, or technical glitches.
Let’s get started!
Step 1: Choose the Right Outdoor TV
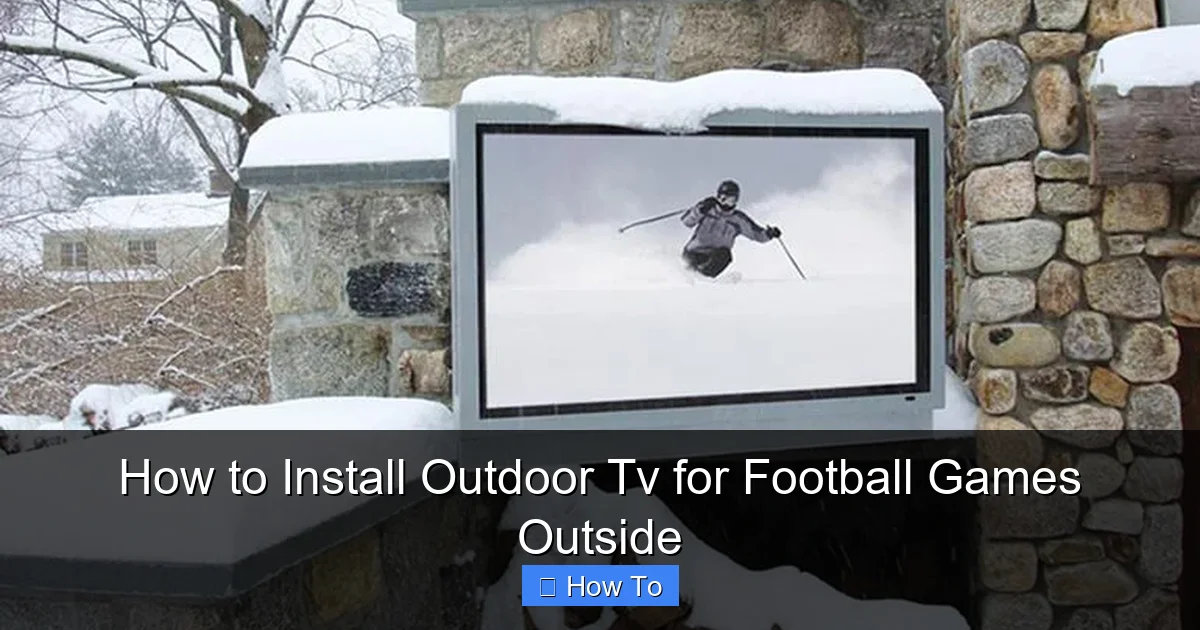
Visual guide about How to Install Outdoor Tv for Football Games Outside
Image source: content.osgnetworks.tv
Not all TVs are built for the great outdoors. While you might be tempted to drag your living room 65-inch OLED outside for the big game, that’s a recipe for disaster. Indoor TVs aren’t designed to handle temperature swings, humidity, direct sunlight, or rain—even if they’re under a roof.
Instead, you need a true outdoor TV. These models are engineered specifically for outdoor use and come with features that indoor sets simply don’t offer.
Types of Outdoor TVs
There are three main types of outdoor TVs:
- Partial-Outdoor (Covered Area) TVs: Designed for fully covered spaces like screened-in porches or garages with roofs. They can handle mild humidity and temperature changes but shouldn’t be exposed to rain or direct sun.
- Full-Outdoor (All-Weather) TVs: Built to withstand rain, snow, dust, and extreme temperatures. These are ideal for open patios, pergolas, or decks with minimal cover.
- Weatherproof Enclosure Systems: These aren’t TVs themselves, but protective cases that house standard indoor TVs. While cheaper, they often suffer from overheating, reduced brightness, and limited viewing angles.
For football season—especially if you live in a region with unpredictable weather—we recommend a full-outdoor TV. Brands like SunBrite, Samsung Terrace, and LG Outdoor are leaders in this space and offer models with brightness levels over 2,000 nits (compared to 300–500 nits for indoor TVs), anti-glare screens, and sealed components.
Key Features to Look For
When shopping for an outdoor TV, keep an eye out for these must-have features:
- High Brightness (2,000+ nits): Sunlight washes out standard screens. Outdoor TVs use ultra-bright panels to maintain visibility even on sunny afternoons.
- Anti-Glare and Anti-Reflective Coatings: These reduce reflections from the sun or nearby lights, so you’re not squinting during critical plays.
- Weatherproof Rating (IP55 or higher): Look for an Ingress Protection rating that guards against dust and water jets.
- Wide Operating Temperature Range: A good outdoor TV should work from -22°F to 122°F (-30°C to 50°C).
- Built-in Heaters and Cooling Fans: These prevent condensation in cold weather and overheating in summer.
- Outdoor-Safe Remote: Some models come with remotes that work through glass or from greater distances.
Screen Size and Viewing Distance
Just like indoors, screen size matters. For outdoor viewing, aim for a larger screen to compensate for distance and ambient light.
Use this simple rule: Viewing distance (in feet) = Screen size (in inches) ÷ 1.5
So, for a 65-inch TV, ideal viewing is about 43 feet away. If your seating is closer—say 10–15 feet—go for a 55-inch or 65-inch model. For larger yards, consider 75-inch or even 85-inch screens.
Step 2: Pick the Perfect Location
Where you mount your TV is just as important as the TV itself. The right spot ensures great viewing angles, minimal glare, and protection from the elements.
Ideal Outdoor Locations
Look for areas that are:
- Covered: A patio with a roof, pergola, or awning provides shade and rain protection.
- Shaded: Avoid direct southern or western exposure, which gets the hottest sun.
- Near Power and Connectivity: You’ll need access to electricity and possibly internet for streaming.
- Free from Obstructions: Trees, fences, or structures shouldn’t block the view.
- Safe from Foot Traffic: Keep the TV away from high-traffic zones to prevent accidental bumps.
A covered patio or outdoor kitchen area is often the best choice. If you don’t have a roof, consider installing a retractable awning or shade sail to protect both the TV and your guests.
Avoid These Spots
Steer clear of:
- Direct Sunlight: Even with a bright screen, prolonged sun exposure can overheat the TV and cause glare.
- Open Decks or Lawns: These offer no protection from rain, wind, or snow.
- Near Sprinklers or Pools: Water splashes can damage electronics, even with weatherproofing.
- High Wind Areas: Strong gusts can shake the mount or blow debris into the TV.
Consider Viewing Angles
Mount the TV at eye level when seated—typically 42 to 48 inches from the ground to the center of the screen. Tilt the mount slightly downward if viewers will be sitting lower, like on outdoor couches or benches.
Use a stud finder to locate wall studs or joists. If mounting on a post or beam, ensure it’s sturdy enough to support the TV and mount weight (usually 50–100 lbs total).
Step 3: Choose and Install a Weatherproof Mount
A standard indoor TV mount won’t cut it outdoors. You need a mount specifically designed for outdoor use—one that resists rust, handles wind loads, and allows for secure, adjustable positioning.
Types of Outdoor Mounts
- Fixed Wall Mount: Keeps the TV flush against the wall. Great for permanent setups with a clear, straight-on view.
- Tilt Mount: Allows you to angle the TV up or down. Ideal if viewers are at different heights.
- Full-Motion (Articulating) Mount: Lets you swivel, tilt, and extend the TV. Perfect for flexible seating or corner installations.
For most outdoor setups, a tilt or full-motion mount is recommended. It gives you flexibility to adjust for sun angle and seating changes.
Installation Steps
Follow these steps to install your outdoor mount safely:
1. Gather Tools and Materials
You’ll need:
- Outdoor-rated TV mount
- Drill and drill bits
- Masonry anchors (if mounting on brick or concrete)
- Level
- Measuring tape
- Stud finder
- Socket wrench or screwdriver
- Weatherproof sealant (optional)
2. Mark the Mounting Location
Hold the mount against the wall at your desired height. Use a level to ensure it’s straight. Mark the screw holes with a pencil.
3. Drill Pilot Holes
Drill into the studs or use masonry anchors for brick/concrete. Be careful not to drill too deep.
4. Secure the Mount
Attach the mount using the provided lag bolts. Tighten firmly, but don’t over-tighten and strip the holes.
5. Apply Weatherproof Sealant (Optional)
If mounting on stucco or brick, apply a bead of outdoor silicone sealant around the screw holes to prevent water seepage.
6. Attach the TV
With a helper, lift the TV and hook it onto the mount. Secure with locking screws if your mount includes them.
Safety Tips
- Never install a mount on drywall alone—always anchor to studs or solid structure.
- Check local building codes—some areas require permits for outdoor installations.
- Use a mount rated for at least 1.5 times the weight of your TV for safety.
Step 4: Protect Cables and Connections
Exposed wires are a major hazard outdoors. Rain, UV rays, and critters can damage cables, leading to shorts, signal loss, or even fire risks.
Use Outdoor-Rated Cables
All cables—HDMI, power, Ethernet—should be rated for outdoor use. Look for labels like “direct burial,” “UV-resistant,” or “outdoor-rated.”
Route Cables Safely
Option 1: In-Wall Conduit
Run cables through a waterproof conduit (like PVC or metal) from the TV to the power source. This is the cleanest and most secure method.
Option 2: Cable Management Sleeves
Use flexible, UV-resistant sleeves to bundle and protect cables along the wall or under a soffit.
Option 3: Wireless Streaming
Reduce cable clutter by using a streaming device (like Apple TV or Roku) with Wi-Fi. Just ensure your outdoor Wi-Fi signal is strong—consider a mesh network or outdoor extender.
Seal All Connections
Use weatherproof cable glands or silicone tape to seal HDMI and power connections at the back of the TV. Never leave ports exposed.
Power Safety
- Plug into a GFCI (Ground Fault Circuit Interrupter) outlet—required by code for outdoor use.
- Use a surge protector designed for outdoor use to guard against lightning and power spikes.
- Never daisy-chain extension cords. Use a single, heavy-duty outdoor-rated cord if needed.
Step 5: Set Up Streaming and Audio
Now that your TV is mounted and powered, it’s time to connect your devices and enhance the experience.
Connect Your Streaming Devices
Most outdoor TVs have HDMI ports, so you can plug in:
- Streaming sticks (Fire Stick, Roku, Chromecast)
- Game consoles (for pre-game fun)
- Cable/satellite boxes
- Blu-ray players
For the best performance, use a streaming device with 4K and HDR support. Test your internet speed—25 Mbps or higher is ideal for 4K streaming.
Improve Your Wi-Fi Signal
Outdoor areas often have weak Wi-Fi. Boost your signal with:
- A Wi-Fi extender placed near the patio
- A mesh network system (like Google Nest or Eero)
- A dedicated outdoor access point
Add Outdoor Audio
The built-in speakers on most TVs aren’t loud enough for outdoor use. Enhance the game-day atmosphere with:
Weather-Resistant Speakers
Mount speakers on nearby walls or place them on stands. Look for models with IPX5 or higher ratings.
Outdoor Soundbars
Some brands offer outdoor soundbars that mount directly below the TV—great for clear dialogue and crowd noise.
Wireless Audio Systems
Use Bluetooth or Wi-Fi speakers for easy setup. Just ensure they’re charged or plugged in.
Control Everything with One Remote
Simplify your setup with a universal remote or smart home integration. Apps like Logitech Harmony or voice assistants (Alexa, Google Assistant) can control TV, audio, and lighting with one command.
Step 6: Test and Maintain Your Setup
Before the first kickoff, run a full system test.
Pre-Game Checklist
- Turn on the TV and check picture quality in daylight and at night.
- Test all inputs (HDMI, streaming, audio).
- Verify Wi-Fi connectivity and streaming performance.
- Check audio levels—adjust for outdoor acoustics.
- Inspect all cables and connections for wear or exposure.
- Ensure the mount is secure and the TV is level.
Ongoing Maintenance
To keep your outdoor TV in top shape:
- Clean the screen monthly with a microfiber cloth and mild cleaner (never ammonia-based).
- Inspect seals and cables before each season.
- Cover the TV during off-seasons or extreme weather (use a breathable cover, not plastic).
- Check for firmware updates from the manufacturer.
Troubleshooting Common Issues
Even with careful planning, problems can arise. Here’s how to fix the most common ones:
TV Won’t Turn On
- Check the GFCI outlet—press the reset button.
- Test the power cord with another device.
- Ensure the remote has batteries and is paired.
Poor Picture Quality
- Adjust brightness and contrast settings for daylight viewing.
- Clean the screen—smudges and dirt reduce clarity.
- Check HDMI cables for damage or loose connections.
Weak or No Wi-Fi
- Move the router closer or add an extender.
- Switch to a less congested Wi-Fi channel.
- Use a wired Ethernet connection if possible.
Audio Out of Sync
- Adjust audio delay settings in the TV or sound system menu.
- Restart the streaming device.
- Use a wired audio connection instead of Bluetooth.
TV Overheating
- Ensure ventilation around the TV—don’t block vents.
- Install in a shaded area or add a sunshade.
- Check if the built-in cooling fan is working.
Conclusion
Installing an outdoor TV for football games is more than just a fun upgrade—it’s a way to bring people together, celebrate the season, and enjoy the game in a whole new way. With the right TV, a secure mount, weatherproof connections, and a few smart accessories, you can create a backyard viewing experience that rivals any sports bar.
Remember: safety and durability come first. Don’t cut corners on weatherproofing or power protection. Invest in quality gear, follow installation best practices, and test everything before game day.
Now grab some snacks, invite your friends, and get ready to cheer on your team under the open sky. Your ultimate outdoor football setup is just a few steps away.

