
Transform your backyard into the ultimate sports-viewing zone with a garden TV installation. This guide walks you through selecting, mounting, and protecting your outdoor TV so you can cheer on your team rain or shine—safely and stylishly.
Key Takeaways
- Choose a weatherproof outdoor TV: Regular indoor TVs aren’t built for the elements. Opt for an IP55 or higher-rated model designed for outdoor use.
- Pick the right location: Install your TV under a covered patio or pergola to protect it from direct rain, snow, and harsh sunlight.
- Use proper mounting hardware: Invest in a sturdy, weather-resistant outdoor TV mount that allows tilt and swivel for optimal viewing angles.
- Protect all connections: Seal cables and power sources with waterproof conduits and outdoor-rated extension cords to prevent damage and hazards.
- Ensure strong Wi-Fi or wired internet: Streaming live sports requires a stable connection—consider a weatherproof Wi-Fi extender or Ethernet cable.
- Test before game day: Run a full system check, including picture, sound, and streaming apps, to avoid last-minute surprises.
- Add ambiance with outdoor lighting: Use string lights or LED strips to create a fun, festive atmosphere for game nights.
How to Install Garden TV for Outdoor Sports Watching
There’s nothing quite like gathering friends and family in your backyard to watch the big game. Whether it’s the Super Bowl, the World Cup, or a championship baseball match, having a garden TV setup turns your outdoor space into a lively sports arena. But installing a TV outside isn’t as simple as dragging your living room set into the yard. You need the right equipment, smart placement, and weatherproofing to ensure your setup lasts through rain, heat, and humidity.
In this comprehensive guide, you’ll learn exactly how to install a garden TV for outdoor sports watching—step by step. We’ll cover choosing the right TV, finding the perfect spot, mounting it securely, protecting your electronics, and enhancing your viewing experience with sound and lighting. By the end, you’ll have a reliable, high-quality outdoor entertainment system ready for every season.
Step 1: Choose the Right Outdoor TV
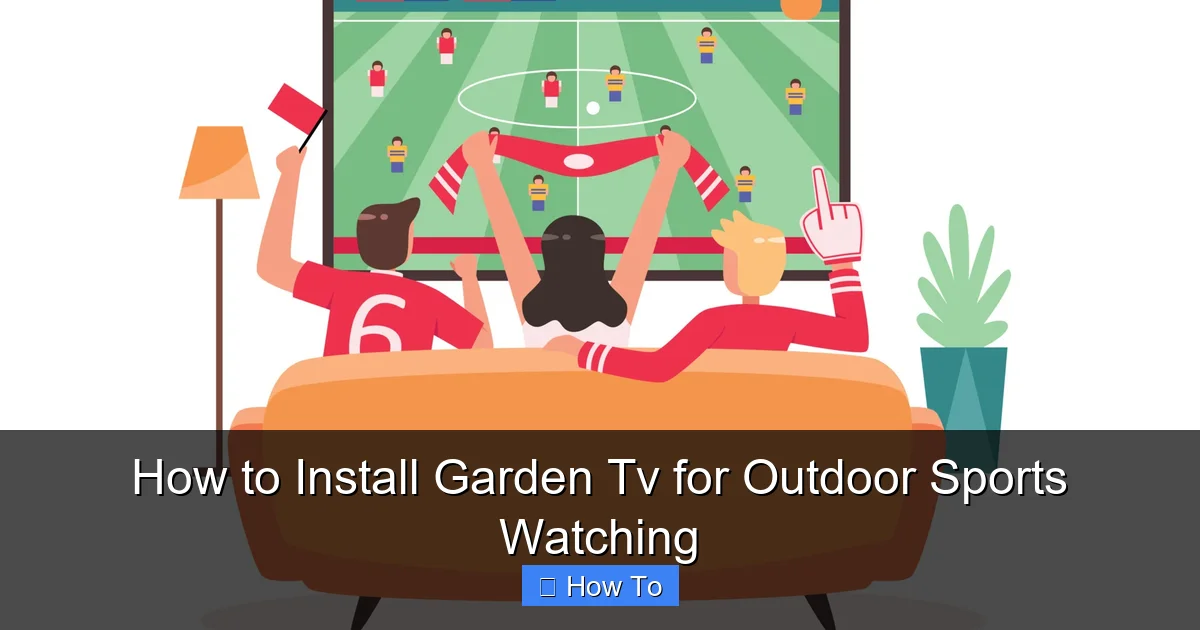
Visual guide about How to Install Garden Tv for Outdoor Sports Watching
Image source: static.vecteezy.com
The foundation of any great garden TV setup is the television itself. Not all TVs are created equal—especially when it comes to outdoor use.
Why Indoor TVs Don’t Work Outside
Indoor TVs are designed for climate-controlled environments. They lack protection against moisture, dust, temperature swings, and UV rays. Even a light rain or morning dew can damage internal components, leading to costly repairs or total failure. Worse, using an indoor TV outdoors can void your warranty and create safety hazards.
Look for an Outdoor-Rated TV
When shopping for a garden TV, prioritize models specifically built for outdoor use. These TVs come with several key features:
– Weatherproof casing: Rated IP55 or higher, meaning they’re protected against dust and water jets.
– Temperature resilience: Built to operate in extreme heat or cold, often with internal cooling or heating systems.
– Anti-glare screens: Designed to reduce reflections from sunlight, ensuring a clear picture even on bright days.
– Enhanced brightness: Outdoor TVs typically have higher nit ratings (2,000+ nits) to combat ambient light.
Popular brands include Samsung’s The Terrace, SunBriteTV, and Seura. These models are engineered from the ground up for outdoor performance.
Consider Size and Resolution
For a backyard setup, a 55-inch to 75-inch screen is ideal. Larger screens provide a more immersive experience, especially when viewers are seated 8 to 15 feet away. Choose 4K resolution for crisp, detailed images—perfect for spotting every play and facial expression.
Budget-Friendly Alternatives
If a dedicated outdoor TV is out of budget, consider a high-brightness indoor TV paired with a weatherproof outdoor enclosure. Brands like Peerless-AV and Clear-Com offer enclosures that shield standard TVs from the elements. While not as seamless as a built-for-outdoor model, this option can save money while still delivering solid performance.
Step 2: Select the Perfect Location
Where you place your garden TV is just as important as the TV itself. The right location ensures great viewing angles, protection from weather, and minimal glare.
Look for Covered Areas
The best spots are under a covered patio, pergola, or awning. These structures shield your TV from direct rain, snow, and harsh midday sun. Avoid open yards or areas exposed to wind-driven rain.
Consider Viewing Angles and Distance
Position the TV so it’s visible from your main seating area—like a patio set, outdoor sofa, or picnic table. The ideal viewing distance is 1.5 to 2.5 times the screen’s diagonal size. For a 65-inch TV, that’s about 8 to 13 feet away.
Minimize Glare
Sunlight can wash out your screen. To reduce glare:
– Mount the TV facing north or south (avoid direct east or west exposure).
– Use a TV with an anti-reflective coating.
– Add outdoor curtains or retractable shades for extra control.
Ensure Access to Power and Internet
Your TV needs electricity and a strong internet connection. Choose a location within reach of an outdoor-rated electrical outlet. If Wi-Fi is weak, plan for a wired Ethernet connection or a weatherproof Wi-Fi extender.
Step 3: Choose the Right Mount
A sturdy, weather-resistant mount is essential for safety and performance.
Types of Outdoor TV Mounts
– Fixed mounts: Hold the TV flush against the wall. Best for permanent setups with consistent viewing angles.
– Tilt mounts: Allow you to angle the screen up or down. Useful if the TV is mounted high on a wall.
– Full-motion (articulating) mounts: Let you swivel, tilt, and extend the TV. Ideal for flexible seating arrangements.
For sports watching, a tilt or full-motion mount is recommended. It lets you adjust the screen for optimal viewing, especially if guests sit at different angles.
Check Weight and VESA Compatibility
Make sure the mount supports your TV’s weight and VESA pattern (the spacing of the mounting holes on the back). Most outdoor mounts list compatibility details. When in doubt, choose a mount rated for a TV larger than yours for added safety.
Weatherproof Materials
Outdoor mounts should be made of rust-resistant materials like powder-coated steel or aluminum. Avoid cheap plastic or untreated metal that can corrode over time.
Step 4: Install the Mount and TV
Now it’s time to get hands-on. Follow these steps carefully to ensure a secure, professional installation.
Gather Your Tools
You’ll need:
– Drill and drill bits
– Level
– Screwdriver or impact driver
– Measuring tape
– Pencil
– Stud finder (if mounting on wood)
– Masonry anchors (if mounting on brick or concrete)
Locate Wall Studs or Use Anchors
If mounting on wood siding or a wooden pergola, use a stud finder to locate studs. Secure the mount directly into studs for maximum strength. For brick, concrete, or metal surfaces, use heavy-duty masonry anchors or concrete screws.
Mark and Drill Holes
Hold the mount against the wall at your desired height. Use a level to ensure it’s straight. Mark the screw holes with a pencil. Drill pilot holes slightly smaller than your screws to prevent cracking.
Attach the Mount
Secure the mount with the provided screws. Double-check that it’s level and tightly fastened. Have a friend help hold the mount if needed.
Mount the TV
With the mount installed, carefully lift the TV and attach it to the mount according to the manufacturer’s instructions. Most mounts use quick-release brackets for easy installation and removal.
Secure All Cables
Use cable clips or conduit to organize and protect wires. Keep them away from foot traffic and water runoff.
Step 5: Protect Your Electronics
Outdoor environments are tough on electronics. Proper protection ensures longevity and safety.
Use Weatherproof Conduits
Run all cables—power, HDMI, Ethernet—through waterproof conduits or raceways. These plastic or metal channels shield wires from rain, UV rays, and pests.
Seal Connections
Use silicone sealant or outdoor-rated electrical tape to seal cable entry points into the TV and wall. This prevents moisture from seeping in.
Install a Surge Protector
Power surges from lightning or grid fluctuations can fry your TV. Plug your setup into a high-quality outdoor surge protector with a high joule rating (1,000+ joules).
Consider a Weatherproof Enclosure for Accessories
If you’re using a streaming device (like a Roku or Apple TV), place it in a small outdoor-rated enclosure near the TV. This protects it from the elements while keeping it accessible.
Step 6: Set Up Power and Internet
Reliable power and internet are crucial for uninterrupted sports streaming.
Use Outdoor-Rated Extension Cords
Never use indoor extension cords outside. Choose cords labeled “outdoor use” with a minimum 12-gauge wire and a grounded plug. Keep them off the ground to avoid water exposure.
Install a GFCI Outlet
A Ground Fault Circuit Interrupter (GFCI) outlet shuts off power if it detects a short or water intrusion. If your outdoor outlet isn’t GFCI-protected, have an electrician install one for safety.
Boost Your Wi-Fi Signal
Weak Wi-Fi leads to buffering and poor video quality. To improve coverage:
– Use a weatherproof Wi-Fi extender mounted near the TV.
– Run a buried Ethernet cable from your router to the outdoor area.
– Consider a mesh Wi-Fi system with outdoor nodes.
Test your connection speed using a smartphone or laptop. For HD streaming, aim for at least 10 Mbps; for 4K, 25 Mbps or higher.
Step 7: Enhance Your Viewing Experience
A great garden TV setup isn’t just about the screen—it’s about the whole experience.
Add Outdoor Speakers
Built-in TV speakers often sound tinny outdoors. Upgrade with weatherproof Bluetooth or wired speakers. Place them on either side of the TV or around the seating area for immersive sound.
Install Ambient Lighting
String lights, LED strip lights, or solar-powered lanterns create a festive atmosphere. Use warm white lights to avoid washing out the screen. Dim them during gameplay for better picture quality.
Set Up Comfortable Seating
Arrange outdoor furniture so everyone has a clear view. Add cushions, blankets, and cup holders for comfort. Consider a fire pit or outdoor heater for cooler evenings.
Create a Snack Station
Keep drinks and snacks nearby with a weatherproof cooler or outdoor cabinet. A mini-fridge or beverage dispenser adds convenience.
Step 8: Test and Troubleshoot
Before the big game, run a full system check.
Test Picture and Sound
Play a high-motion sports clip to check for lag, buffering, or audio sync issues. Adjust settings like brightness, contrast, and volume.
Check All Connections
Ensure cables are secure and not damaged. Look for fraying, kinks, or moisture.
Verify Streaming Apps
Open your favorite sports apps (ESPN, YouTube TV, Hulu + Live TV) and confirm they load quickly. Update apps and firmware if needed.
Simulate Real Conditions
If possible, test your setup during the day and at night, in different weather. This helps identify glare, Wi-Fi dropouts, or power issues.
Troubleshooting Common Issues
Even the best setups can run into problems. Here’s how to fix common issues:
TV Won’t Turn On
– Check the power source and surge protector.
– Ensure the outlet has power (test with another device).
– Verify the TV’s power cable is securely connected.
Poor Picture Quality
– Adjust brightness and contrast settings.
– Check for glare and reposition the TV if needed.
– Ensure your internet speed meets streaming requirements.
Wi-Fi Keeps Dropping
– Move the Wi-Fi extender closer to the TV.
– Switch to a less congested Wi-Fi channel.
– Use a wired Ethernet connection if possible.
Speakers Not Working
– Confirm the audio output is set to external speakers.
– Check Bluetooth pairing or wired connections.
– Test with another audio source.
TV Overheats
– Ensure the TV has proper ventilation.
– Avoid direct sunlight on the screen.
– Use a TV with built-in cooling fans.
Maintenance Tips for Long-Term Use
To keep your garden TV in top shape:
– Clean the screen monthly: Use a microfiber cloth and screen-safe cleaner. Avoid harsh chemicals.
– Inspect cables and seals: Look for wear, cracks, or loose connections.
– Cover during off-seasons: Use a weatherproof TV cover when not in use for long periods.
– Trim nearby plants: Keep vines and branches away from the TV and mount.
Conclusion
Installing a garden TV for outdoor sports watching is a rewarding project that brings the excitement of the game right into your backyard. With the right TV, smart placement, secure mounting, and proper weatherproofing, you can create a durable, high-quality entertainment space that lasts for years.
Remember: safety and protection are key. Always use outdoor-rated equipment, seal all connections, and test your system before game day. Add speakers, lighting, and comfy seating to make your setup truly special.
Whether you’re hosting a Super Bowl party or catching a weekend match with family, your garden TV will be the centerpiece of outdoor fun. So grab your remote, fire up the grill, and get ready to cheer louder than ever—under the open sky.

