
Transform your backyard into an entertainment hub with a garden TV setup perfect for family gatherings. This guide walks you through choosing the right equipment, installing weatherproof components, and optimizing audio-visual quality for outdoor fun.
Key Takeaways
- Choose a weatherproof outdoor TV: Standard indoor TVs aren’t built for outdoor conditions—opt for models rated for outdoor use with UV protection and moisture resistance.
- Mount securely and safely: Use a sturdy, rust-resistant wall or ceiling mount rated for outdoor conditions to prevent accidents and ensure longevity.
- Protect all connections from the elements: Use waterproof cable conduits, outdoor-rated extension cords, and surge protectors to keep electronics safe.
- Optimize viewing angle and lighting: Position the TV to avoid glare from the sun or bright patio lights, and consider adding shade or a canopy.
- Enhance sound with outdoor speakers: Built-in TV speakers often lack volume outdoors—add weatherproof speakers for clear, immersive audio.
- Test everything before your event: Run a full system check a day before your family gathering to troubleshoot any issues.
- Create a cozy viewing area: Add comfortable seating, blankets, and ambient lighting to make the space inviting and family-friendly.
Introduction: Bring the Living Room Outside
Imagine this: It’s a warm summer evening. The grill is fired up, kids are playing, and the whole family is gathered around a big screen under the stars, watching a favorite movie or the big game. That’s the magic of a garden TV setup. Whether you’re hosting a birthday party, a holiday BBQ, or just a relaxed weekend hangout, installing a garden TV can turn your backyard into the ultimate family entertainment zone.
But setting up a TV outdoors isn’t as simple as dragging your living room set into the yard. You need the right equipment, weatherproofing, proper mounting, and smart placement to ensure a safe, enjoyable experience. Don’t worry—this guide will walk you through every step, from choosing the perfect outdoor TV to fine-tuning the audio and creating a cozy viewing area.
By the end of this guide, you’ll know exactly how to install garden TV for family gatherings, so you can enjoy outdoor movie nights, sports events, and more—rain or shine. Let’s get started!
Step 1: Choose the Right Outdoor TV
The foundation of any great garden TV setup is the TV itself. But not all TVs are created equal when it comes to outdoor use. Indoor TVs are designed for controlled environments and can quickly fail when exposed to heat, humidity, rain, or dust. That’s why you need a TV specifically built for outdoor conditions.
Look for an Outdoor-Rated TV
When shopping, search for “outdoor TV” or “weatherproof TV.” These models are engineered to withstand temperature fluctuations, moisture, and UV exposure. They often come with protective coatings, sealed ports, and enhanced cooling systems.
Popular brands like SunBrite, Seura, and Samsung offer outdoor-specific models. For example, the SunBriteTV Veranda series is a great mid-range option with full weather resistance and anti-glare screens.
Consider Screen Size and Brightness
Outdoor viewing requires higher brightness than indoor TVs. Look for a TV with at least 700 nits of brightness—many outdoor models go up to 1,500 or 2,000 nits to combat sunlight glare.
Screen size depends on your viewing distance. A general rule: for every 1.5 feet of viewing distance, choose 1 inch of screen size. So, if your seating is 12 feet away, a 75-inch TV is ideal. But don’t go too big—oversized screens can be hard to see clearly from close range.
Decide on Partial or Full Outdoor Rating
Outdoor TVs come in two main types:
- Partial Shade Models: Designed for covered patios, pergolas, or under eaves. They’re more affordable and still offer excellent protection.
- Full Sun/All-Weather Models: Built for open areas with direct sun and rain exposure. These are more expensive but offer maximum durability.
If your garden TV will be under a roof or awning, a partial shade model may suffice. For open-air setups, go all-weather.
Step 2: Pick the Perfect Location
Where you place your garden TV is just as important as the TV itself. A poor location can lead to glare, poor sound, or even safety hazards.
Assess Sunlight and Glare
Start by observing how sunlight hits your patio or yard throughout the day. Avoid placing the TV where direct sunlight will shine on the screen—this causes glare and makes it hard to see.
If possible, install the TV on a north- or east-facing wall (in the Northern Hemisphere) to minimize afternoon sun exposure. Alternatively, use a retractable awning, pergola with shade cloth, or outdoor curtains to block harsh light.
Ensure Clear Viewing Angles
Everyone should have a good view—no craning necks or awkward angles. Mount the TV at eye level when seated. For most people, this is about 42 to 48 inches from the ground to the center of the screen.
Avoid placing the TV too high or too low. If you’re mounting it above a fireplace or outdoor kitchen, use a tilting mount to angle the screen downward.
Check for Obstructions
Make sure trees, fences, or garden structures won’t block the view. Trim back branches if needed. Also, consider the distance from seating—too close, and viewers will see individual pixels; too far, and details get lost.
Step 3: Choose a Secure Mounting System
A sturdy mount is essential for safety and performance. A poorly installed mount can lead to a falling TV—dangerous and expensive.
Use an Outdoor-Rated Mount
Standard indoor mounts aren’t built to handle outdoor conditions. Look for mounts labeled “outdoor,” “weatherproof,” or “marine-grade.” These are made from rust-resistant materials like powder-coated steel or aluminum.
Popular options include the Sanus Outdoor Full-Motion Mount or the Peerless-AV Outdoor Fixed Mount. Full-motion mounts let you tilt and swivel the TV for better viewing angles, while fixed mounts are simpler and more secure.
Mount to a Solid Surface
Never mount a TV to wood siding, vinyl, or drywall alone. You need a solid backing like concrete, brick, or studs in a framed wall. Use a stud finder to locate studs, and anchor the mount with heavy-duty lag bolts.
For concrete or brick, use masonry anchors and a drill with a masonry bit. If you’re unsure, consult a professional installer.
Follow Weight and Size Limits
Check the mount’s weight and VESA compatibility (the bolt pattern on the back of the TV). Most outdoor mounts support TVs up to 100 inches and 150 pounds, but always double-check the specs.
Step 4: Protect Cables and Connections
Outdoor electronics are vulnerable to moisture, pests, and wear. Proper cable management is key to a long-lasting setup.
Use Waterproof Conduits
Run all power and HDMI cables through waterproof PVC or flexible conduit. This protects them from rain, snow, and UV damage. Secure the conduit to the wall with outdoor-rated clips.
Seal All Connections
Use silicone sealant or waterproof tape around cable entry points into the TV and wall. For extra protection, install a weatherproof junction box where cables connect to power or signal sources.
Choose Outdoor-Rated Cables
Standard indoor cables degrade quickly outside. Use outdoor-rated HDMI, power, and Ethernet cables. These have thicker insulation and UV-resistant jackets.
If you’re running cables underground, bury them at least 18 inches deep and use direct-burial-rated cables.
Install a Surge Protector
Power surges from lightning or grid fluctuations can fry your TV. Use a heavy-duty outdoor surge protector with a high joule rating (at least 2,000 joules). Plug all components into it, and connect it to a grounded outdoor outlet.
Step 5: Set Up Audio for Outdoor Enjoyment
TV speakers are usually too quiet for outdoor use. Wind, distance, and ambient noise can drown them out. That’s why adding outdoor speakers is a game-changer.
Choose Weatherproof Speakers
Look for speakers with an IP rating of at least IPX5 (protected against water jets). Brands like Polk, Bose, and JBL offer excellent outdoor models.
You can go with:
- Rock Speakers: Blend into the landscape—look like real rocks.
- Wall-Mounted Speakers: Install on fences, walls, or pergolas.
- Portable Bluetooth Speakers: Great for flexibility—move them around as needed.
Wire or Go Wireless
Wired speakers offer better sound quality and reliability. Run speaker wire through conduit, just like HDMI cables.
Wireless options like Bluetooth or Wi-Fi speakers are easier to install but may have latency or connection issues. For best results, use a dedicated outdoor audio system with a receiver and wired speakers.
Position for Even Sound
Place speakers at ear level and angle them toward the seating area. Avoid placing them too close to walls or corners, which can cause bass distortion.
For larger spaces, use multiple speakers for surround sound. A 2.1 or 5.1 system can create an immersive experience.
Step 6: Connect Your Devices
Now it’s time to hook up your streaming devices, gaming consoles, or cable box.
Use a Streaming Device
Most outdoor TVs don’t have built-in smart features. Use a streaming stick like Roku, Apple TV, or Amazon Fire Stick. These plug into the HDMI port and connect to Wi-Fi.
For better signal strength, consider a Wi-Fi extender or mesh network to boost coverage in your yard.
Hide the Equipment
Keep your streaming box, game console, or cable box in a weatherproof media cabinet or outdoor-rated enclosure. These cabinets have ventilation and cable ports to protect electronics.
Place the cabinet near the TV but out of direct sight—maybe behind a planter or under a bench.
Test All Connections
Before your first family gathering, power everything on and test:
- Picture quality and brightness
- Audio sync and volume
- Streaming apps and internet speed
- Remote control range
Make sure the remote works from all seating areas. If not, consider a universal remote or a smartphone app.
Step 7: Create a Cozy Viewing Area
A great garden TV setup isn’t just about tech—it’s about comfort and atmosphere.
Arrange Comfortable Seating
Use outdoor sofas, lounge chairs, or Adirondack chairs with cushions. Arrange them in a semi-circle facing the TV, with enough space to walk around.
Add throw blankets for cooler evenings and outdoor pillows for extra comfort.
Add Ambient Lighting
Bright lights can cause glare on the screen. Instead, use soft, warm lighting like string lights, lanterns, or LED path lights. Solar-powered options are eco-friendly and easy to install.
Avoid placing lights directly behind or above the TV.
Include Snack and Drink Stations
Set up a small table with popcorn, drinks, and snacks. Use insulated coolers to keep beverages cold. A mini-fridge or outdoor bar cart can add convenience.
Provide Shade and Shelter
If your TV isn’t under cover, consider a pop-up canopy, pergola, or umbrella to protect guests from sun or light rain.
Step 8: Maintain Your Garden TV
To keep your setup running smoothly, regular maintenance is key.
Clean the Screen and Housing
Wipe the screen weekly with a microfiber cloth and mild cleaner. Avoid ammonia-based products, which can damage anti-glare coatings.
Clean the TV housing and speakers to remove dust, pollen, and debris.
Check Cables and Connections
Inspect cables for fraying, corrosion, or loose connections. Re-seal any areas where moisture might enter.
Protect During Off-Seasons
If you live in a cold climate, consider covering the TV with a weatherproof cover during winter. Some owners even remove the TV and store it indoors when not in use.
Troubleshooting Common Issues
Even the best setups can run into problems. Here’s how to fix common issues:
Screen Glare or Poor Visibility
If the screen is hard to see, adjust the TV angle or add a shade. You can also increase brightness in the TV settings or use a screen hood.
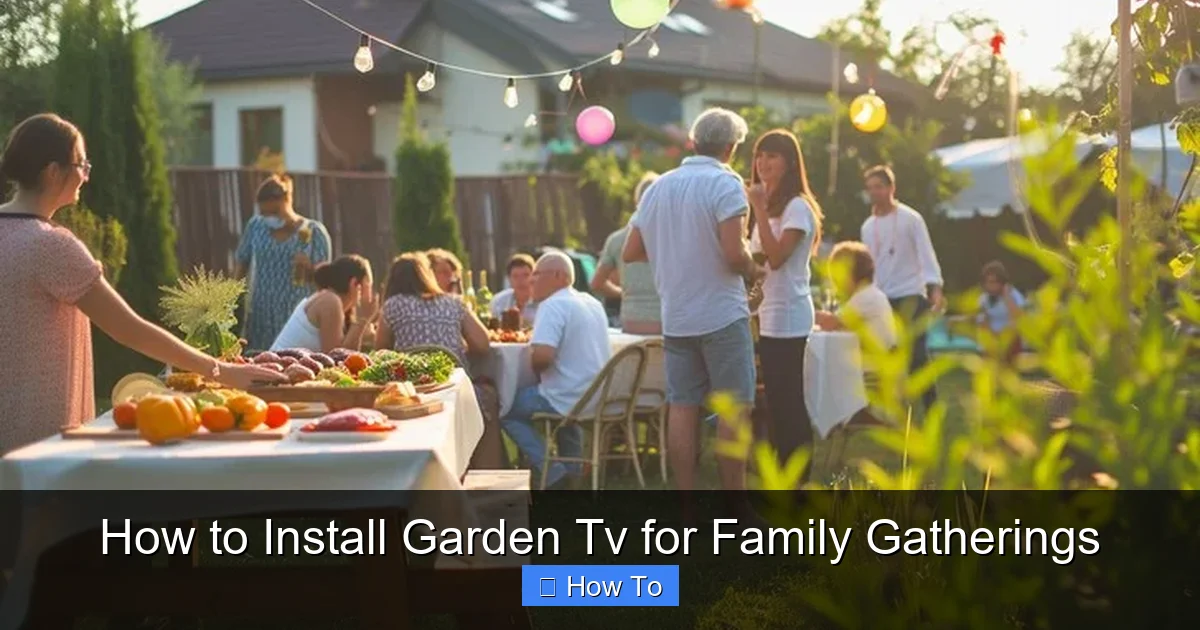
Visual guide about How to Install Garden Tv for Family Gatherings
Image source: images.stockcake.com
Weak or No Audio
Check speaker connections and volume settings. Ensure the audio source is selected correctly. Test with different devices to isolate the issue.
Wi-Fi Signal Drops
Move the router closer or install a Wi-Fi extender. Use a wired Ethernet connection if possible for more reliable streaming.
TV Won’t Turn On
Check the power source, surge protector, and remote batteries. Ensure the TV isn’t in sleep mode or disconnected from power.
Water Damage or Corrosion
If you notice rust or moisture, turn off power immediately. Inspect seals and conduits. Replace damaged cables and reapply sealant.
Conclusion: Enjoy Outdoor Family Time
Installing a garden TV for family gatherings is a rewarding project that brings people together. With the right equipment, careful planning, and a little maintenance, you can create a backyard entertainment space that’s safe, comfortable, and fun.
From choosing a weatherproof TV to setting up speakers and cozy seating, every step enhances the experience. Whether you’re watching a movie, cheering on your favorite team, or sharing home videos, your garden TV will become the heart of your outdoor gatherings.
So gather your family, fire up the grill, and press play. The great outdoors just got a whole lot more entertaining.

