
Transform your deck into an outdoor entertainment hub by installing a garden TV. This guide walks you through choosing the right weatherproof TV, mounting it safely, running cables, and setting up audio for the ultimate backyard experience.
Key Takeaways
- Choose a weatherproof outdoor TV: Look for models rated IP55 or higher to withstand rain, dust, and temperature changes.
- Select the right location on your deck: Pick a shaded, sheltered spot with minimal glare and easy access to power and signal sources.
- Use a secure outdoor-rated mount: Ensure the mount is corrosion-resistant and can support your TV’s weight and size.
- Run cables safely and discreetly: Use weatherproof conduits and cable covers to protect wires from the elements and tripping hazards.
- Enhance audio with outdoor speakers: Pair your TV with weather-resistant speakers for rich, immersive sound.
- Test everything before final setup: Check picture quality, sound, and remote control range to avoid post-installation issues.
- Maintain your garden TV regularly: Clean the screen and inspect seals and mounts seasonally to prolong lifespan.
How to Install Garden TV for Deck Entertainment
Imagine sipping lemonade on your deck, watching the big game under the stars, or enjoying a movie night with friends—all from the comfort of your backyard. With a garden TV, you can turn your outdoor space into a premium entertainment zone. Whether you’re hosting a summer BBQ or relaxing on a quiet evening, a properly installed outdoor TV adds convenience, fun, and value to your home.
In this comprehensive guide, we’ll walk you through every step of installing a garden TV for deck entertainment. From choosing the right weatherproof television to mounting it securely and setting up audio, you’ll learn how to create a safe, stylish, and functional outdoor viewing experience. No prior technical expertise is needed—just follow along, and you’ll be enjoying your favorite shows al fresco in no time.
Step 1: Choose the Right Garden TV
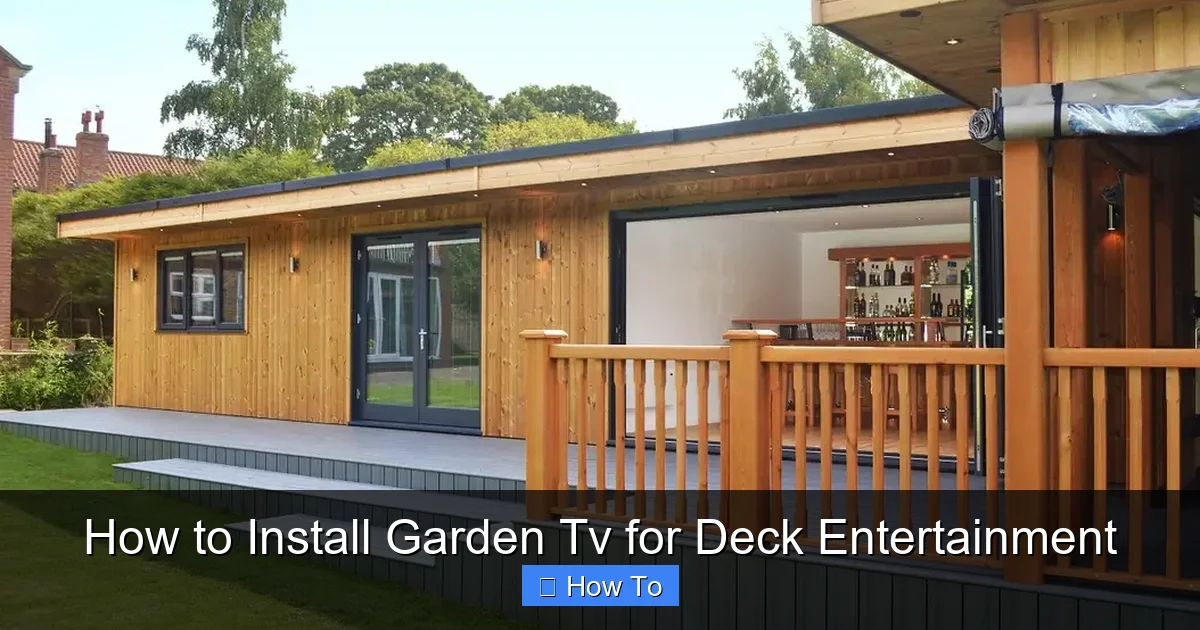
Visual guide about How to Install Garden Tv for Deck Entertainment
Image source: images.homify.com
The foundation of a successful outdoor TV setup is selecting the right television. Not all TVs are built for outdoor use, so it’s crucial to pick one designed specifically for garden or deck environments.
Look for Weatherproof Ratings
Outdoor TVs are rated using the Ingress Protection (IP) system, which measures resistance to dust and water. For deck use, aim for a TV with an IP55 rating or higher. This means the TV can handle rain, splashes, and dust without damage. Some premium models even offer IP65 or IP66 ratings for extreme weather protection.
Consider Screen Brightness and Anti-Glare Features
Sunlight can wash out indoor TVs, making them hard to see during the day. Garden TVs often feature high-brightness displays (measured in nits) and anti-reflective coatings. Look for a screen with at least 700 nits of brightness—some models go up to 2,500 nits—for clear visibility even in direct sunlight.
Choose the Right Size and Resolution
Deck size and seating distance matter. For most decks, a 43-inch to 55-inch TV is ideal. If your seating is 8–10 feet away, a 50-inch 4K UHD TV offers excellent clarity. Larger decks may benefit from a 65-inch model, but ensure it doesn’t overwhelm the space.
Built-in Features Matter
Many garden TVs come with built-in tuners, Wi-Fi, and streaming apps like Netflix, YouTube, and Amazon Prime. Some even include weather-resistant remotes and voice control. If you plan to stream content, ensure the TV supports your preferred platforms and has a strong Wi-Fi receiver.
Popular Garden TV Brands
Brands like SunBriteTV, Samsung Terrace, and Seura are leaders in outdoor television technology. While they come at a higher price point than indoor models, their durability and performance justify the investment for long-term outdoor use.
Step 2: Plan Your Deck Layout and TV Placement
Before drilling any holes or running cables, take time to plan where your garden TV will go. A well-thought-out layout ensures optimal viewing, safety, and aesthetics.
Assess Sunlight and Glare
Observe your deck throughout the day to identify areas with the least glare. South- and west-facing decks get the most sun, so consider placing the TV under a pergola, awning, or covered patio. If shade isn’t available, choose a TV with superior anti-glare technology.
Ensure Clear Viewing Angles
Position the TV so that all seating areas have a direct, unobstructed view. Avoid placing it too high or too low—eye level when seated is ideal. Most experts recommend mounting the screen so the center is about 42 to 48 inches from the ground.
Check for Power and Signal Access
Your TV will need access to electricity and a signal source (cable, satellite, or internet). Map out the nearest outdoor outlet and determine how you’ll connect to your home’s network. If outlets are far, you may need to hire an electrician to install a new weatherproof GFCI outlet.
Consider Wind and Weather Exposure
Decks can be windy, especially if elevated. Avoid placing the TV where strong gusts could loosen mounts or blow debris. Also, ensure the TV is protected from direct rain, snow, and ice. A covered area or retractable awning adds extra protection.
Plan for Audio
Think about where you’ll place speakers. Built-in TV speakers often lack volume and clarity outdoors. Plan for wireless or wired outdoor speakers placed near seating areas for balanced sound.
Step 3: Select and Install a Secure Outdoor TV Mount
A sturdy, weather-resistant mount is essential for safety and performance. Never use an indoor mount outdoors—it can corrode, fail, or cause injury.
Choose an Outdoor-Rated Mount
Look for mounts labeled “outdoor,” “weatherproof,” or “all-weather.” These are made from powder-coated aluminum or stainless steel to resist rust and corrosion. Ensure the mount is compatible with your TV’s VESA pattern (the screw hole layout on the back).
Decide on Mount Type
You have several options:
- Fixed Mount: Keeps the TV flat against the wall. Best for decks with consistent viewing angles.
- Tilt Mount: Allows slight upward or downward adjustment. Useful if the TV is mounted high.
- Full-Motion (Articulating) Mount: Lets you swivel and extend the TV. Great for flexible seating or corner installations.
For most decks, a tilt or fixed mount is sufficient. Full-motion mounts offer versatility but require stronger support and more complex installation.
Locate Studs and Use Proper Anchors
Use a stud finder to locate solid wood or metal studs in your deck railing or wall. Mounting into studs provides the strongest support. If studs aren’t aligned with your desired location, use heavy-duty toggle bolts or concrete anchors (for masonry).
Install the Mount Step-by-Step
- Hold the mount in place and mark drill points with a pencil.
- Drill pilot holes slightly smaller than the anchor screws.
- Secure the mount using stainless steel screws and washers.
- Double-check that the mount is level using a spirit level.
- Tighten all bolts securely, but avoid over-tightening, which can strip wood.
Tip: Use a Mount with Cable Management
Many outdoor mounts include built-in channels or covers to hide cables. This keeps wires organized and protected from the elements.
Step 4: Run Cables Safely and Discreetly
Exposed cables are not only unsightly—they’re a tripping hazard and can degrade over time. Proper cable management is key to a clean, safe installation.
Use Weatherproof Conduits
Run power, HDMI, and antenna cables through UV-resistant, waterproof conduits. PVC or flexible metal conduits work well. Seal all entry and exit points with silicone caulk to prevent water intrusion.
Route Cables Along Structural Elements
Hide cables behind deck railings, under trim, or along support beams. Avoid running wires across walkways. If you must cross a path, use a cable ramp or bury the conduit just below the surface (check local codes first).
Protect Power Cables
Use a heavy-duty outdoor extension cord or have a licensed electrician install a dedicated circuit. Never daisy-chain multiple extension cords. Ensure all connections are in weatherproof enclosures.
Minimize Signal Loss
HDMI cables lose signal over long distances. For runs over 25 feet, use active HDMI cables or HDMI over Ethernet extenders. Alternatively, consider a wireless HDMI transmitter for a cable-free setup.
Label Your Cables
Use colored tape or labels to identify each cable (e.g., “Power,” “HDMI 1,” “Antenna”). This makes future troubleshooting and upgrades much easier.
Step 5: Connect and Configure Your Garden TV
Once the mount and cables are in place, it’s time to connect and set up your TV.
Attach the TV to the Mount
With a helper, lift the TV and hook it onto the mount. Secure it with the provided locking screws or safety straps. Never mount a TV alone—TVs are heavy and awkward to handle.
Connect Power and Signal Sources
Plug in the power cable and connect your signal sources:
- HDMI from a streaming device (e.g., Roku, Apple TV)
- Coaxial cable from an outdoor antenna or cable box
- Ethernet cable for wired internet (optional but recommended for stability)
Power On and Run Initial Setup
Turn on the TV and follow the on-screen prompts to connect to Wi-Fi, select language, and scan for channels. Update the firmware if prompted.
Calibrate Picture and Sound Settings
Outdoor lighting affects picture quality. Use the TV’s “Outdoor” or “Bright” picture mode. Adjust brightness, contrast, and color to reduce glare. For sound, enable “Outdoor” or “Night” mode to enhance clarity.
Test Remote Control Range
Walk around your deck with the remote to ensure it works from all seating areas. If range is limited, consider a remote extender or use a smartphone app as a backup.
Step 6: Enhance Audio with Outdoor Speakers
Built-in TV speakers often struggle outdoors due to wind, distance, and ambient noise. Adding outdoor speakers dramatically improves the experience.
Choose Weather-Resistant Speakers
Look for speakers with IPX4 or higher ratings. Rock-shaped or landscape speakers blend into gardens, while wall-mounted models save space. Popular brands include Polk, JBL, and Bose.
Wireless vs. Wired Options
- Wireless (Bluetooth or Wi-Fi): Easy to install, no cables. Ideal for small decks.
- Wired: More reliable and higher quality. Requires running speaker wire, but offers better sound for larger areas.
Position Speakers Strategically
Place speakers at ear level, angled toward seating areas. Avoid pointing them directly at walls or glass, which can cause echoes. For surround sound, use a 2.1 or 5.1 system with a subwoofer.
Connect to Your TV
Use an audio extractor, soundbar, or AV receiver to connect speakers. Many outdoor speakers support Bluetooth pairing for quick setup.
Step 7: Protect and Maintain Your Garden TV
To keep your garden TV in top condition, regular maintenance is essential.
Clean the Screen and Housing
Wipe the screen weekly with a microfiber cloth and mild cleaner. Avoid ammonia-based products, which can damage anti-glare coatings. Clean the housing with a damp cloth to remove dust and pollen.
Inspect Seals and Mounts
Check rubber gaskets, cable ports, and mount screws every few months. Replace worn seals and tighten loose bolts to prevent water ingress.
Use a TV Cover in Extreme Weather
While garden TVs are built to last, a fitted cover adds extra protection during storms, snow, or long periods of non-use.
Schedule Professional Inspections
Have an electrician or technician inspect your setup annually, especially if you live in a harsh climate.
Troubleshooting Common Issues
Even with careful planning, problems can arise. Here’s how to fix common issues:
TV Won’t Turn On
Check the power outlet with another device. Ensure the extension cord or surge protector is working. If the TV has a physical power switch, make sure it’s on.
Poor Picture Quality
Adjust brightness and contrast settings. Ensure the HDMI cable is securely connected. If using Wi-Fi, move the router closer or use a Wi-Fi extender.
Remote Not Working
Replace the batteries. Check for obstructions between the remote and TV. Test the remote indoors to rule out interference.
Audio Out of Sync
This is common with wireless audio. Adjust the audio delay setting in your TV or speaker menu. Wired connections usually avoid this issue.
Water Damage or Corrosion
If you notice rust or moisture inside the TV, power it off immediately and contact the manufacturer. Prevent future issues by resealing cable ports and using a cover.
Conclusion
Installing a garden TV for deck entertainment is a rewarding project that enhances your outdoor lifestyle. By choosing a weatherproof TV, mounting it securely, running cables safely, and adding quality audio, you create a space where family and friends can gather for movies, sports, and relaxation—rain or shine.
Remember, the key to success is planning. Take time to assess your deck, select the right equipment, and follow safety guidelines. With proper installation and maintenance, your garden TV will provide years of enjoyment.
So grab your tools, invite some friends, and get ready to elevate your backyard experience. Your perfect outdoor entertainment setup is just a few steps away.

