
Installing a backyard TV in rainy climates requires careful planning to protect your equipment from moisture and weather damage. This guide walks you through choosing the right TV, weatherproof enclosures, secure mounting, and cable management to ensure a safe, long-lasting outdoor entertainment setup.
Key Takeaways
- Choose a weatherproof outdoor TV: Standard indoor TVs aren’t built for rain, humidity, or temperature swings—opt for models rated for outdoor use.
- Use a sealed outdoor enclosure: If using an indoor TV, house it in a fully waterproof, ventilated enclosure designed for outdoor conditions.
- Mount securely with corrosion-resistant hardware: Use stainless steel or powder-coated mounts to prevent rust and ensure stability in wet conditions.
- Protect all cables and connections: Use weatherproof conduit, outdoor-rated cables, and seal all connection points to prevent water intrusion.
- Install under cover when possible: Place your TV under a covered patio, pergola, or awning to reduce direct exposure to rain and UV rays.
- Plan for proper drainage and ventilation: Avoid water pooling around the TV and ensure airflow to prevent overheating and condensation.
- Schedule regular maintenance checks: Inspect seals, mounts, and cables every few months to catch wear before it causes damage.
How to Install Backyard TV for Rainy Climates
Transforming your backyard into an outdoor entertainment oasis is a dream for many homeowners. Whether you’re hosting summer barbecues, watching the big game under the stars, or enjoying a movie night with family, a backyard TV can elevate your outdoor experience. But if you live in a rainy climate—think the Pacific Northwest, the Gulf Coast, or the UK—installing a TV outdoors comes with unique challenges. Moisture, humidity, and temperature fluctuations can quickly damage standard electronics. That’s why a thoughtful, weather-smart approach is essential.
This comprehensive guide will walk you through every step of installing a backyard TV in rainy climates. You’ll learn how to choose the right equipment, protect your investment from the elements, mount your TV safely, and maintain it for years of reliable use. By the end, you’ll have a weather-resistant outdoor entertainment setup that stands up to Mother Nature—rain or shine.
Why Rainy Climates Demand Special Considerations
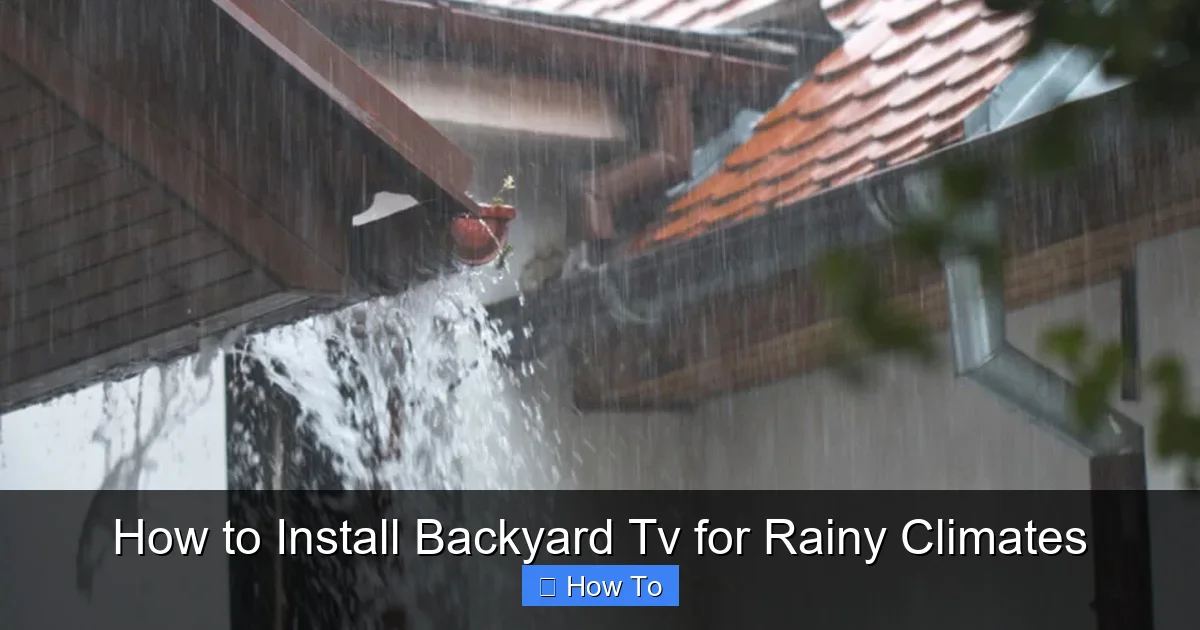
Visual guide about How to Install Backyard Tv for Rainy Climates
Image source: traditional-materials.com
Rainy climates aren’t just about occasional showers. They often bring high humidity, frequent downpours, temperature swings, and even mold or mildew growth. These conditions can wreak havoc on electronics not designed for outdoor use. Water can seep into vents, corrode internal components, and short-circuit circuits. Humidity can cause condensation inside the TV, leading to foggy screens or internal damage over time.
Even if your TV is under a covered area, wind-driven rain, splashing water from nearby sprinklers, or morning dew can still reach it. That’s why simply placing an indoor TV on a patio table won’t cut it. You need a system built to withstand moisture and protect sensitive electronics.
The good news? With the right planning and equipment, you can enjoy your favorite shows outdoors—even in the rain. The key is to treat your backyard TV installation like a mini weatherproofing project, not just a simple setup.
Step 1: Choose the Right TV for Rainy Conditions
Your first decision is critical: what kind of TV should you buy? You have two main options—outdoor-rated TVs or indoor TVs in protective enclosures. Let’s break down both.
Option A: Outdoor-Rated TVs
These are TVs specifically engineered for outdoor use. They’re built with weatherproof casings, sealed components, and internal climate control to handle rain, humidity, and temperature changes. Brands like SunBriteTV, Samsung Terrace, and LG Pro:Idiom offer models rated for full outdoor exposure.
Pros:
– Designed from the ground up for outdoor conditions
– Built-in heating and cooling systems prevent fogging and overheating
– No need for additional enclosures
– Often come with anti-glare screens for better visibility in sunlight
Cons:
– Significantly more expensive than indoor TVs
– Limited size and model options compared to indoor models
If you live in a consistently rainy area and plan to use your TV frequently, an outdoor-rated TV is the safest, most reliable choice.
Option B: Indoor TV in a Weatherproof Enclosure
If you already own a high-quality indoor TV or want more model options, you can protect it with a weatherproof outdoor TV enclosure. These are sealed cabinets made of durable materials like polycarbonate or aluminum, with built-in ventilation, heating, and cooling.
Pros:
– More affordable than outdoor-rated TVs
– Access to a wider range of TV models and sizes
– Can be upgraded easily by swapping the TV inside
Cons:
– Requires proper installation and maintenance
– Enclosure must be perfectly sealed to prevent moisture
– May reduce sound quality if not acoustically designed
When choosing an enclosure, look for one with an IP (Ingress Protection) rating of at least IP54 or higher. IP54 means it’s protected against water splashes and dust. For rainy climates, aim for IP65 or IP66 for full protection against water jets.
What to Look for in a TV or Enclosure
– Weatherproof rating: IP54 minimum, IP65 or higher preferred
– Temperature range: Should operate in temperatures from 20°F to 120°F (-7°C to 49°C)
– Ventilation and climate control: Built-in fans, heaters, or passive airflow systems
– UV protection: Prevents screen yellowing and material degradation
– Anti-reflective screen: Helps with visibility on sunny days
Step 2: Select the Ideal Location
Where you place your TV is just as important as what you use. The goal is to minimize exposure to rain, wind, and direct sunlight while ensuring a great viewing angle.
Under a Covered Structure
The best location is under a covered patio, pergola, gazebo, or awning. These structures provide a physical barrier against rain and UV rays. Look for a spot that’s:
– At least 3–5 feet away from the edge to avoid wind-driven rain
– Protected from sprinklers or garden hoses
– Free from tree branches that could drip water or fall during storms
Avoid Low-Lying Areas
Don’t install your TV in a depression or near a downspout where water might pool. Even a small amount of standing water can lead to splash damage or humidity buildup.
Consider Viewing Angle and Distance
Mount your TV at eye level when seated—typically 42 to 60 inches from the ground. The optimal viewing distance is about 1.5 to 2.5 times the screen size. For example, a 55-inch TV should be viewed from 6.5 to 11 feet away.
Check for Obstructions
Make sure trees, fences, or furniture won’t block the signal from your streaming device or antenna. If using a satellite or cable box, ensure it’s also protected from the elements.
Step 3: Choose the Right Mounting System
A sturdy, weather-resistant mount is essential for safety and longevity. A poorly mounted TV can fall, damage property, or become a hazard in high winds.
Types of Outdoor TV Mounts
– Fixed wall mounts: Simple and secure, ideal for permanent installations under cover
– Tilting mounts: Allow you to angle the TV for better viewing, especially if mounted high
– Full-motion (articulating) mounts: Let you swivel and extend the TV—great for flexible seating arrangements
For rainy climates, avoid cheap plastic or painted metal mounts. They can rust or degrade quickly.
Use Corrosion-Resistant Hardware
Always use stainless steel or powder-coated aluminum mounts and screws. These materials resist rust and corrosion, even in constant moisture. Look for mounts labeled “marine grade” or “outdoor rated.”
Reinforce the Mounting Surface
If mounting on wood, use lag bolts that penetrate deep into the studs. For brick or concrete, use masonry anchors or sleeve anchors. Never mount directly into drywall or siding—these can’t support the weight.
Tip: Use a Mount with a Built-in Enclosure
Some outdoor mounts come with integrated weatherproof enclosures. These all-in-one solutions simplify installation and improve protection.
Step 4: Protect Cables and Connections
Exposed cables are a major weak point in rainy climates. Water can seep into connectors, causing shorts or signal loss. Proper cable management is crucial.
Use Outdoor-Rated Cables
Standard indoor HDMI or power cables aren’t designed for moisture. Use cables rated for outdoor use, which have UV-resistant jackets and water-blocking materials.
Run Cables Through Conduit
Protect cables by running them through PVC or metal conduit. This shields them from rain, UV rays, and physical damage. Bury the conduit underground or run it along walls, keeping it at least 6 inches above ground to avoid water pooling.
Seal All Connection Points
Use silicone sealant or waterproof tape (like self-amalgamating tape) around cable entry points into the TV, enclosure, or power source. For extra protection, use waterproof junction boxes for any splices or adapters.
Use a Weatherproof Power Source
Plug your TV and devices into a GFCI (Ground Fault Circuit Interrupter) outlet. These shut off power if they detect a ground fault, reducing the risk of electric shock in wet conditions. If your outlet isn’t GFCI-protected, have one installed by a licensed electrician.
Consider a Surge Protector
Power surges from lightning or grid fluctuations can damage electronics. Use an outdoor-rated surge protector with a high joule rating (at least 1000 joules) to protect your setup.
Step 5: Install the TV and Enclosure
Now it’s time to put everything together. Follow these steps carefully to ensure a safe, weatherproof installation.
Step 1: Prepare the Mounting Surface
Clean the wall or surface where you’ll mount the TV. Mark the stud locations and drill pilot holes for the mount. Use a level to ensure the mount is straight.
Step 2: Attach the Mount
Secure the mount to the wall using stainless steel lag bolts. Double-check that it’s level and tightly fastened. If using a full-motion mount, test its range of motion before proceeding.
Step 3: Install the Enclosure (If Applicable)
If using an outdoor enclosure, mount it to the wall first, then insert the TV. Make sure the enclosure is sealed and all gaskets are in place. Tighten all screws evenly to avoid warping the case.
Step 4: Connect Cables
Run your HDMI, power, and antenna cables through the conduit and into the enclosure. Connect them to the TV and any streaming devices (like a Roku or Apple TV). Use cable ties to keep wires neat and avoid strain on ports.
Step 5: Seal and Test
Apply silicone sealant around cable entry points. Close the enclosure and ensure all latches are secure. Plug in the TV and test all functions—picture, sound, and streaming.
Step 6: Final Adjustments
Adjust the TV angle for optimal viewing. If using a streaming device, connect to Wi-Fi and test the signal strength. Make sure the remote control works from your seating area.
Step 6: Add Extra Protection (Optional but Recommended)
Even with a weatherproof setup, extra precautions can extend your TV’s life.
Install a Weatherproof Cover
When not in use, cover your TV with a fitted, breathable outdoor TV cover. This protects against dust, bird droppings, and light rain. Avoid plastic covers—they trap moisture and cause condensation.
Use a Dehumidifier or Silica Gel Packs
If your enclosure doesn’t have built-in climate control, place silica gel packs inside to absorb excess moisture. Replace them every few months.
Install a Motion-Activated Light
A light near your TV can deter pests and make nighttime viewing safer. Choose an outdoor LED light with a weatherproof rating.
Troubleshooting Common Issues
Even with careful planning, problems can arise. Here’s how to handle common issues.
Foggy or Blurry Screen
This is usually caused by condensation inside the TV or enclosure. Turn off the TV and let it dry completely. Check the enclosure seals and ensure proper ventilation. If it happens often, consider a model with built-in climate control.
Weak or No Signal
Check all cable connections and ensure they’re tightly sealed. If using Wi-Fi, move your router closer or use a Wi-Fi extender. For over-the-air antennas, make sure it’s properly grounded and oriented toward broadcast towers.
TV Won’t Turn On
First, check the power source and GFCI outlet. Reset the outlet if needed. If the TV still doesn’t power on, inspect the power cable for damage or corrosion.
Rust or Corrosion on Mount
Replace any rusted hardware immediately. Clean the area with a wire brush and apply a rust-inhibiting primer before reinstalling stainless steel parts.
Overheating
Ensure the enclosure has proper ventilation. Avoid blocking airflow with furniture or plants. If the TV feels hot to the touch, turn it off and let it cool.
Maintenance Tips for Long-Term Use
Regular maintenance keeps your backyard TV in top condition.
– Inspect monthly: Check seals, mounts, and cables for wear or damage
– Clean the screen: Use a microfiber cloth and screen-safe cleaner—never spray liquid directly on the screen
– Clear debris: Remove leaves, dirt, or spider webs from the enclosure and vents
– Test all functions: Turn on the TV and test sound, picture, and streaming monthly
– Replace silica gel packs: Every 2–3 months, or when they feel damp
Conclusion
Installing a backyard TV in a rainy climate doesn’t have to be a daunting task. With the right equipment, careful planning, and attention to weatherproofing, you can enjoy outdoor entertainment year-round—even when the skies open up. Start by choosing a weather-resistant TV or a high-quality enclosure, mount it securely under cover, and protect all cables and connections. Add a few extra layers of protection, and maintain your setup regularly.
Remember, the goal isn’t just to survive the rain—it’s to thrive in it. Your backyard TV should be a source of joy, not stress. By following this guide, you’ll create a durable, reliable outdoor entertainment system that stands the test of time and weather. So grab some popcorn, invite the neighbors, and enjoy your favorite shows under the open sky—rain or shine.

