
Turn your backyard into a cozy outdoor theater with a backyard TV setup. This guide walks you through choosing the right TV, mounting it safely, and creating a comfortable viewing experience for unforgettable movie nights under the stars.
Key Takeaways
- Choose a weatherproof outdoor TV: Regular indoor TVs aren’t built for outdoor conditions. Invest in a TV specifically designed for outdoor use or use a high-brightness indoor TV with proper protection.
- Pick the right location: Select a shaded, sheltered spot with minimal glare and easy access to power. Consider wind, rain, and sun exposure when deciding where to mount your TV.
- Use a sturdy, secure mount: A full-motion or tilt wall mount rated for outdoor use ensures your TV stays safe and at the perfect viewing angle.
- Protect all connections: Use weatherproof cable covers, outdoor-rated extension cords, and surge protectors to keep electronics safe from moisture and power surges.
- Enhance the experience: Add outdoor seating, string lights, and a sound system to create a true backyard cinema vibe.
- Test before movie night: Always do a trial run to check picture quality, sound, and connectivity before inviting guests.
- Have a backup plan: In case of bad weather, keep a portable projector or indoor setup ready as an alternative.
How to Install Backyard TV for Backyard Movie Night
Imagine this: the sun sets, the fireflies flicker, and your favorite film begins to play on a crisp 65-inch screen mounted right in your backyard. No crowded theaters, no expensive tickets—just you, your family, and friends enjoying a magical movie night under the stars. With the right setup, turning your backyard into an outdoor cinema is easier than you think.
In this guide, we’ll walk you through every step of installing a backyard TV for the perfect outdoor movie experience. From choosing the right television to mounting it safely and creating a cozy viewing area, we’ve got you covered. Whether you’re hosting a summer blockbuster night or a cozy fall flick, this guide will help you build a setup that’s both functional and fun.
By the end, you’ll know exactly how to install backyard TV for backyard movie night—safely, efficiently, and with style.
Step 1: Choose the Right TV for Your Backyard
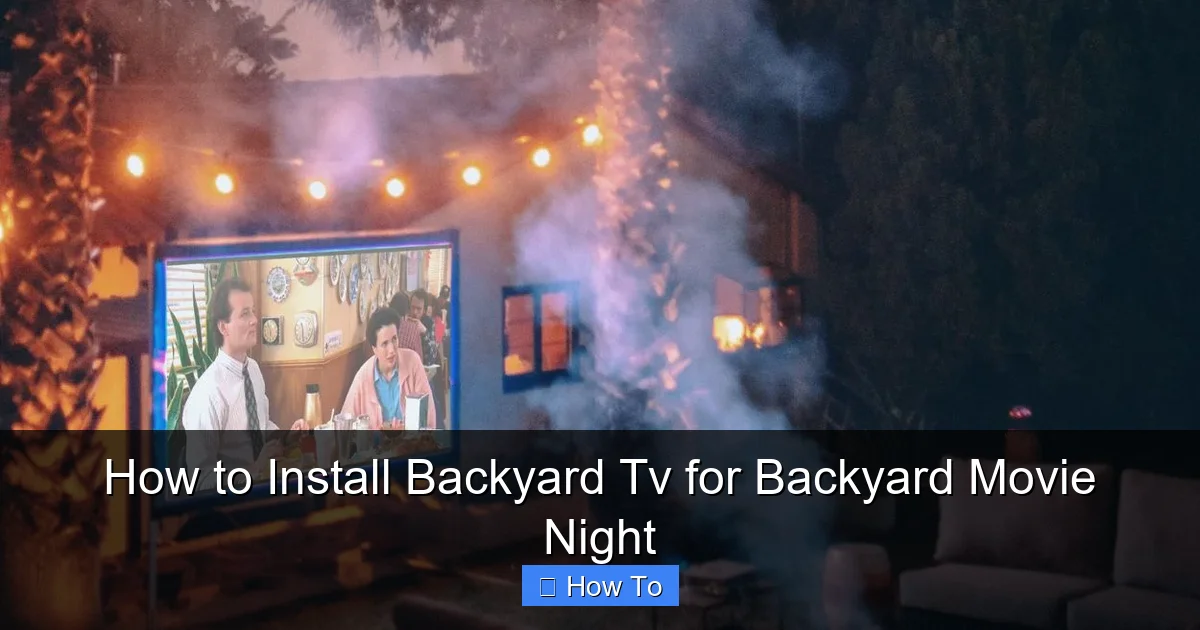
Visual guide about How to Install Backyard Tv for Backyard Movie Night
Image source: materialsix.com
Not all TVs are created equal—especially when it comes to outdoor use. While it might be tempting to drag your living room TV outside, indoor models aren’t built to handle temperature swings, humidity, or direct sunlight. That’s why selecting the right TV is the most important step in your backyard movie setup.
Outdoor TV vs. Indoor TV: What’s the Difference?
Outdoor TVs are specifically engineered for open-air environments. They come with features like:
– Weatherproof casings that protect against rain, dust, and extreme temperatures
– Anti-glare screens that maintain visibility in bright sunlight
– Enhanced cooling systems to prevent overheating
– Built-in speakers optimized for open spaces
Indoor TVs, on the other hand, can overheat, suffer screen glare, and get damaged by moisture. However, if you’re on a budget, you *can* use an indoor TV—but only with proper protection and placement.
Best Options for Backyard Use
If you’re going all-in, consider these top outdoor TV brands:
– **SunBriteTV**: Known for durability and vibrant picture quality, even in direct sunlight.
– **Seura**: Offers sleek designs with excellent brightness and weather resistance.
– **Samsung The Terrace**: A premium outdoor TV with 4K resolution and built-in streaming apps.
For a more affordable route, use a high-brightness indoor TV (like a Samsung QLED or LG OLED) mounted under a covered patio or pergola. Just make sure it’s protected from rain and direct sun.
Screen Size and Viewing Distance
Aim for a screen size that matches your seating area. A good rule of thumb:
– For 6–8 feet away: 50–55 inches
– For 8–12 feet away: 60–65 inches
– For 12+ feet away: 70+ inches
Too small, and people will strain to see. Too big, and the image may look pixelated. Measure your space and plan accordingly.
Step 2: Pick the Perfect Location
Where you place your TV can make or break your movie night. The ideal spot balances visibility, protection, and comfort.
Look for Shade and Shelter
Direct sunlight causes glare and can overheat your TV. Choose a location under a covered patio, pergola, or awning. If you don’t have natural shade, consider installing a retractable canopy or outdoor umbrella.
Avoid placing the TV where rain can splash onto it—even weatherproof models need some protection from heavy downpours.
Consider Viewing Angles and Distance
Mount the TV at eye level when seated. For most people, this is about 42–48 inches from the ground to the center of the screen. Make sure everyone has a clear, unobstructed view—no trees, fences, or garden gnomes blocking the way.
Check for Power Access
Your TV, sound system, and streaming devices all need power. Make sure your chosen spot is within reach of an outdoor GFCI (Ground Fault Circuit Interrupter) outlet. If not, consult an electrician to install one—never use indoor extension cords outside.
Minimize Glare and Reflections
Even with an anti-glare screen, reflections from windows, water features, or light-colored walls can distract viewers. Position the TV so that the sun doesn’t hit the screen directly during movie times. If needed, use blackout curtains or outdoor blinds to reduce ambient light.
Step 3: Choose and Install a Secure Mount
A sturdy mount is essential for safety and optimal viewing. Never hang a TV with makeshift brackets or weak hardware.
Types of Outdoor TV Mounts
– **Fixed Wall Mount**: Keeps the TV flush against the wall. Great for permanent setups with a clear viewing angle.
– **Tilt Mount**: Allows you to angle the screen up or down to reduce glare.
– **Full-Motion (Articulating) Mount**: Lets you pull the TV out and swivel it for flexible viewing from different seating areas.
For backyard use, a tilt or full-motion mount is ideal—especially if your seating isn’t directly in front of the wall.
Mounting Tips for Safety
– Use a mount rated for outdoor use and capable of supporting your TV’s weight.
– Anchor the mount into wall studs or concrete using stainless steel lag bolts.
– If mounting on brick or stucco, use masonry anchors.
– Leave a small gap (about 1–2 inches) between the TV and wall for airflow and cable management.
DIY vs. Professional Installation
If you’re handy with tools and confident in your abilities, you can install the mount yourself. But if you’re unsure about wiring, wall structure, or mounting on uneven surfaces, hire a professional. A poorly installed TV can fall and cause injury or damage.
Step 4: Protect Your Electronics from the Elements
Even with an outdoor TV, you need to safeguard cables, streaming devices, and power sources.
Use Weatherproof Enclosures
Keep your streaming stick (like Roku or Fire Stick), gaming console, or media player in a weatherproof outdoor enclosure. These boxes are sealed against moisture and dust and often include ventilation fans.
Seal All Cables and Connections
Use outdoor-rated HDMI cables and seal all connections with silicone tape or rubber grommets. Run cables through conduit or cable raceways to protect them from UV rays and pests.
Power Protection
Plug everything into a heavy-duty outdoor surge protector. Power surges from storms can fry electronics in seconds. Avoid daisy-chaining multiple extension cords—this creates fire hazards.
Keep Devices Cool
Electronics overheat quickly in direct sun. If your TV or media player is exposed, consider adding a small outdoor fan or ventilation system to the enclosure.
Step 5: Set Up Audio for the Best Sound
Great picture means nothing without great sound. Indoor TV speakers often lack volume and clarity in open spaces.
Outdoor Speakers
Install weather-resistant outdoor speakers around your seating area. Options include:
– **In-ground rock speakers**: Blend into landscaping.
– **Wall-mounted speakers**: Attach to fences or walls.
– **Portable Bluetooth speakers**: Easy to move and set up.
For a cinematic experience, use a 2.1 or 5.1 surround sound system with a subwoofer for deep bass.
Wireless Audio Solutions
If running wires is difficult, use wireless speakers or a soundbar with Bluetooth. Just make sure they’re charged or plugged in before the movie starts.
Volume Control
Keep the volume at a comfortable level—loud enough to hear over wind or crickets, but not so loud it disturbs neighbors. Consider using a soundbar with dialogue enhancement for clearer speech.
Step 6: Create a Comfortable Viewing Area
Your backyard TV is only as good as the space around it. Make it cozy and inviting.
Seating Options
– **Outdoor sofas and sectionals**: Perfect for groups.
– **Bean bags or floor cushions**: Great for kids and casual viewing.
– **Folding chairs or Adirondack chairs**: Easy to store and rearrange.
– **Hammocks or swings**: For a relaxed, whimsical vibe.
Arrange seating in a semi-circle facing the TV, with enough space to walk around.
Lighting the Scene
Avoid harsh overhead lights that create glare. Instead, use soft, ambient lighting:
– String lights across the patio or trees
– Lanterns or LED candles on tables
– Pathway lights to guide guests
Dim the lights during the movie for a true theater feel.
Snacks and Refreshments
Set up a snack station with popcorn, drinks, and blankets. Use a small outdoor table or cooler with cups. For longer movies, consider a mini fridge or insulated drink dispenser.
Step 7: Connect and Test Your Setup
Before your first movie night, run a full test to catch any issues.
Check Picture and Sound Quality
Play a high-definition movie trailer. Look for:
– Clear, bright picture with no glare
– Smooth motion and no lag
– Balanced audio with no distortion
Adjust the TV’s brightness, contrast, and color settings for outdoor viewing.
Test Connectivity
Make sure your Wi-Fi reaches the TV area. If not, use a Wi-Fi extender or mesh network. Test streaming apps like Netflix, Disney+, or YouTube.
Remote Control Range
Check that your remote works from all seating positions. If not, consider a universal remote or a smartphone app for control.
Backup Plan for Bad Weather
Even the best setup can’t beat a thunderstorm. Have a backup plan:
– A portable projector and screen for indoor use
– A pop-up tent or canopy for light rain
– A scheduled rain date for your event
Troubleshooting Common Issues
TV Won’t Turn On
– Check power connections and surge protector.
– Ensure the outlet has power (test with another device).
– Reset the TV by unplugging it for 30 seconds.
Poor Picture Quality
– Adjust brightness and contrast settings.
– Clean the screen with a microfiber cloth.
– Reposition the TV to reduce glare.
Weak or No Sound
– Check volume settings on TV and speakers.
– Ensure audio cables are securely connected.
– Test with a different audio source.
Wi-Fi Connection Drops
– Move the router closer or use a Wi-Fi extender.
– Switch to a 5GHz network for less interference.
– Restart the router and TV.
TV Overheats
– Ensure proper ventilation around the TV.
– Avoid direct sunlight during peak hours.
– Use a cooling fan in the enclosure.
Conclusion
Installing a backyard TV for movie night is a fun and rewarding project that brings people together. With the right TV, secure mounting, weather protection, and cozy seating, you can create a magical outdoor cinema that rivals any theater.
Remember: safety first. Always use outdoor-rated equipment, protect your electronics, and test everything before your event. And don’t forget the popcorn!
Whether you’re watching superhero blockbusters, classic comedies, or family-friendly animations, your backyard will become the go-to spot for unforgettable movie nights. So grab your remote, dim the lights, and press play—your outdoor cinema awaits.

