
Protect your outdoor entertainment setup from wind, rain, and wear by properly hiding and securing cables for your weatherproof TV. This guide walks you through smart cable management, durable routing solutions, and wind-resistant techniques to keep your system safe and tidy year-round.
Key Takeaways
- Use weatherproof conduit and raceways: These protect cables from moisture, UV rays, and physical damage caused by wind and debris.
- Anchor cables securely to prevent wind whipping: Loose cables can snap or wear out quickly in high winds—use zip ties, clips, and adhesive mounts rated for outdoor use.
- Route cables along structural supports: Follow walls, beams, or railings to minimize exposure and reduce the risk of snagging or pulling.
- Choose the right cable types: Use outdoor-rated, UV-resistant, and waterproof cables designed for long-term exposure to the elements.
- Install a cable management box or enclosure: Centralize connections in a sealed, ventilated box to protect splices and power sources.
- Regularly inspect and maintain your setup: Check for fraying, loose fittings, or corrosion, especially after storms or seasonal changes.
- Plan your layout before drilling: Measure distances, identify anchor points, and avoid high-stress areas to ensure a clean, long-lasting installation.
How to Hide Cables for a Weatherproof TV in Windy Areas
Setting up a weatherproof TV outdoors is a fantastic way to enjoy movies, sports, or music in your backyard, patio, or pool area. But if you live in a windy region—whether near the coast, on a hilltop, or in an open plain—you know how quickly strong gusts can turn a neat installation into a tangled mess. Loose cables not only look unsightly but can also become safety hazards, wear out faster, or even damage your TV and other equipment.
In this comprehensive guide, you’ll learn how to hide cables for a weatherproof TV in windy areas using proven methods that prioritize safety, durability, and aesthetics. We’ll cover everything from choosing the right materials to routing, securing, and maintaining your cables so your outdoor entertainment system stays functional and tidy, no matter how hard the wind blows.
Why Cable Management Matters in Windy Areas
Wind might seem harmless, but over time, it can wreak havoc on poorly managed cables. Here’s why proper cable hiding and securing is essential:
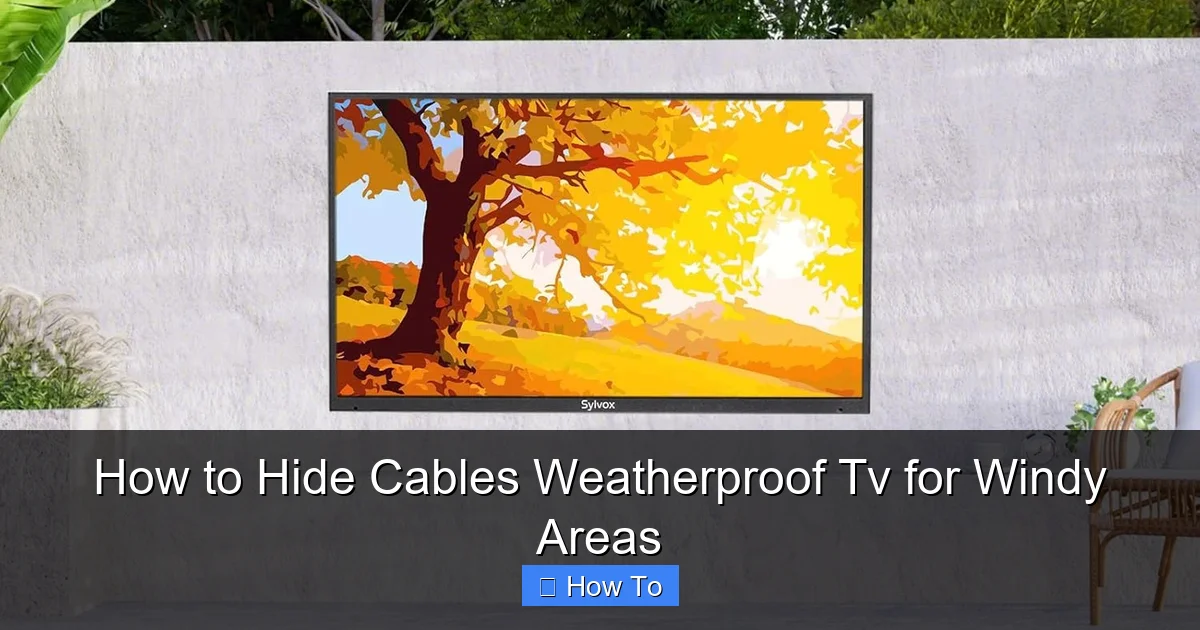
Visual guide about How to Hide Cables Weatherproof Tv for Windy Areas
Image source: m.media-amazon.com
- Prevents cable fatigue and breakage: Constant movement from wind can cause wires to fray, especially at connection points.
- Reduces tripping and snagging hazards: Loose cables dangling from walls or railings can catch on clothing, furniture, or pets.
- Protects against moisture and corrosion: Wind often brings rain, salt spray, or humidity—exposed cables are more vulnerable to water damage.
- Improves system longevity: A well-protected cable setup lasts longer and requires fewer repairs or replacements.
- Enhances visual appeal: Hidden cables create a clean, professional look that blends seamlessly with your outdoor space.
By investing time in proper cable management now, you’ll save money, reduce maintenance, and enjoy uninterrupted outdoor viewing for years to come.
Step 1: Choose the Right Weatherproof TV and Cables
Before you even think about hiding cables, make sure your equipment is built for the outdoors—especially in windy conditions.
Select a True Weatherproof TV
Not all “outdoor” TVs are created equal. Look for models specifically rated for full sun, rain, and wind exposure. These TVs typically feature:
- IP55 or higher waterproof rating
- UV-resistant casings
- Sealed ports and connectors
- Wide operating temperature ranges
Popular brands like SunBrite, Samsung Terrace, and LG Outdoor offer reliable options. Avoid using indoor TVs with weatherproof covers—they often lack proper ventilation and can overheat.
Use Outdoor-Rated Cables
Standard indoor cables won’t cut it. For windy areas, you need cables that can withstand:
- UV exposure: Sunlight degrades plastic insulation over time.
- Temperature swings: From hot summer days to cold winter nights.
- Moisture and salt: Especially important near oceans or pools.
- Physical stress: Wind can tug and twist cables.
Choose cables labeled as “outdoor-rated,” “UV-resistant,” or “direct burial” (even if you’re not burying them). For HDMI, power, and audio lines, look for:
- Shielded coaxial or Ethernet cables
- Waterproof connectors or boots
- Flexible yet durable jacketing (like PVC or PE)
Example: An outdoor-rated HDMI cable with a braided nylon sheath and gold-plated connectors will last far longer than a cheap indoor version.
Step 2: Plan Your Cable Route
A good plan prevents headaches later. Take time to map out the best path for your cables before drilling or mounting anything.
Assess Your Space
Walk around your outdoor area and note:
- Where the TV will be mounted (wall, ceiling, or stand)
- Location of power sources (outlets, surge protectors)
- Nearby structures (walls, beams, railings, gutters)
- Potential obstacles (windows, doors, plants, lighting)
- Wind patterns (observe which way the wind blows and where it’s strongest)
Use a tape measure to determine the distance between the TV and power source. Add 10–15% extra length to allow for slack and routing around corners.
Choose the Best Routing Path
Your goal is to minimize exposure to wind and elements while keeping cables out of sight. Ideal routes include:
- Along exterior walls: Use existing surfaces to hide cables behind trim or siding.
- Under eaves or soffits: These overhangs offer natural protection from rain and sun.
- Inside or behind railings: Perfect for decks and balconies.
- Through conduit or raceways: Enclosed channels that shield cables completely.
Avoid running cables:
- Across open spaces where wind can whip them
- Near moving parts like garage doors or swinging gates
- In areas prone to flooding or heavy debris
Pro Tip: Use painter’s tape to temporarily mark your planned route. Walk the path to ensure it’s practical and safe.
Step 3: Use Weatherproof Conduit and Raceways
Conduit and raceways are your best friends for hiding and protecting cables in windy areas. They keep wires secure, dry, and out of sight.
Types of Outdoor Conduit
Choose based on your needs and installation style:
- Rigid PVC conduit: Durable, UV-resistant, and ideal for straight runs along walls. Requires cutting and gluing but offers maximum protection.
- Flexible conduit (LFMC): Great for tight spaces or curves. Often used with liquid-tight fittings for waterproofing.
- Surface-mounted raceways: Plastic or metal channels that attach to walls. Easy to install and perfect for retrofitting.
- Decorative cable covers: Designed to look like trim or molding. Available in wood-grain or neutral colors to blend with your décor.
For most homeowners, surface-mounted raceways offer the best balance of protection, ease of use, and aesthetics.
How to Install Conduit or Raceways
- Measure and cut: Use a hacksaw or PVC cutter to size the conduit to your route. Sand edges smooth.
- Drill pilot holes: Mark mounting points every 12–18 inches. Use a drill bit slightly smaller than your screws.
- Secure with outdoor-rated fasteners: Use stainless steel screws or galvanized brackets to prevent rust.
- Insert cables: Feed your HDMI, power, and audio cables through the conduit before mounting, or use a pull string if installing after.
- Seal ends: Use silicone caulk or rubber grommets to block water and pests from entering.
Example: For a 10-foot run from your wall outlet to the TV, use a 1-inch PVC raceway with snap-on covers. It hides three cables neatly and withstands strong winds.
Step 4: Secure Cables to Prevent Wind Damage
Even with conduit, cables need extra anchoring in windy areas. Loose wires can vibrate, rub against surfaces, or snap under tension.
Use Outdoor Cable Clips and Zip Ties
Choose clips and ties made for exterior use:
- Adhesive-backed clips: Great for smooth surfaces like painted wood or metal. Look for ones with UV-resistant adhesive.
- Screw-mounted clips: More secure for high-wind zones. Use stainless steel screws.
- UV-resistant zip ties: Avoid cheap plastic ties that become brittle in sunlight. Opt for nylon ties rated for outdoor use.
Space clips every 6–12 inches along straight runs and within 3 inches of bends or connections.
Anchor at Key Points
Pay special attention to:
- TV mounting bracket: Secure cables just below the TV to prevent strain on ports.
- Power source: Use a drip loop (a U-shaped bend) before the plug to prevent water from running into the outlet.
- Conduit junctions: Add extra clips where raceways connect or change direction.
Pro Tip: Use cable lacing for multiple wires—bundle them together with waxed thread or zip ties to reduce individual movement.
Step 5: Protect Connections with a Weatherproof Enclosure
Where cables connect—like HDMI to power adapters or splitters—is the weakest point. Moisture and wind can cause corrosion or short circuits.
Install a Cable Management Box
A sealed, ventilated enclosure keeps connections safe and organized. Look for boxes with:
- IP65 or higher rating
- Lockable or screw-on lids
- Built-in cable glands or grommets
- Mounting holes for walls or posts
Popular options include polycarbonate junction boxes or outdoor media enclosures from brands like Leviton or Hubbell.
How to Set Up the Enclosure
- Mount the box: Install it near the power source or TV, preferably under an eave or awning.
- Run cables through glands: Insert each cable through a rubber grommet to create a watertight seal.
- Connect devices: Plug in HDMI extenders, power strips, or signal boosters inside the box.
- Label cables: Use waterproof labels or tape to identify each wire for future troubleshooting.
- Close and lock: Ensure the lid is tight and all seals are intact.
Bonus: Add a small desiccant pack inside to absorb any moisture that gets in.
Step 6: Use Drip Loops and Strain Relief
Wind often brings rain. Without proper water management, moisture can travel along cables and enter your TV or outlet.
Create Drip Loops
A drip loop is a downward curve in the cable before it enters a device or outlet. Gravity pulls water down and off the cable instead of into the connection.
To make one:
- Leave a 6–12 inch loop of cable hanging below the entry point.
- Secure the loop with a zip tie or clip so it doesn’t straighten out.
- Ensure the lowest point of the loop is below the outlet or TV port.
Add Strain Relief
Strain relief prevents cables from being pulled out of ports during wind gusts. Use:
- Cable clamps: Screw into the wall or bracket near the TV to hold the cable bundle.
- Hook-and-loop straps: Wrap around the cable and mounting surface to reduce tension.
- Flexible boots: Slide over connectors to add cushioning and grip.
Never let the weight of the cable hang directly from the TV’s ports—this can damage internal components.
Step 7: Maintain and Inspect Regularly
Even the best setup needs upkeep. Wind, weather, and time take their toll.
Schedule Seasonal Checks
Inspect your system at least twice a year—spring and fall—and after major storms.
Look for:
- Frayed or cracked cable jackets
- Loose clips or conduit
- Corrosion on connectors
- Water inside enclosures
- Animal nests or insect activity
Clean and Re-Seal as Needed
Wipe down conduits and enclosures with a damp cloth. Reapply silicone sealant around entry points if gaps appear. Replace any damaged zip ties or clips.
Pro Tip: Take photos of your setup after installation. Use them as a reference during inspections to spot changes quickly.
Troubleshooting Common Issues
Cables Keep Coming Loose
If clips or conduit keep failing, the wind may be stronger than expected. Try:
- Switching to heavier-duty conduit or metal raceways
- Adding more anchor points
- Using screw-mounted clips instead of adhesive
- Routing cables through a more sheltered path
Signal Loss or Interference
Wind can cause micro-movements that disrupt signals. Check:
- Are HDMI or Ethernet cables securely connected?
- Is the cable too long? (Over 25 feet may need a booster)
- Are there sharp bends or kinks in the cable?
- Is the enclosure overheating? (Ensure ventilation)
Water in the Enclosure
If moisture builds up:
- Check grommets and seals for damage
- Ensure drip loops are properly formed
- Drill a tiny weep hole at the bottom of the box (cover with mesh to block insects)
- Use a desiccant or moisture absorber
Conclusion
Hiding cables for a weatherproof TV in windy areas isn’t just about looks—it’s about safety, durability, and performance. By choosing the right equipment, planning your route, using weatherproof conduit, securing cables properly, and maintaining your setup, you can enjoy uninterrupted outdoor entertainment no matter how fierce the wind gets.
Remember: a little effort upfront saves a lot of hassle later. With the steps in this guide, your outdoor TV system will stay protected, organized, and ready for movie night—rain or shine, wind or calm.

