
Hiding cables for a poolside TV on a screened porch doesn’t have to be complicated. This guide walks you through safe, stylish, and weather-resistant methods to keep wires out of sight and out of mind. Enjoy a clean, professional look without sacrificing safety or functionality.
Key Takeaways
- Plan your cable route first: Map out the path from your TV to power and signal sources before drilling or installing anything.
- Use weatherproof materials: Choose outdoor-rated cable covers, conduits, and clips to protect against moisture, UV rays, and temperature changes.
- Conceal cables along structural elements: Run wires behind beams, under railings, or inside trim to blend them into the porch design.
- Anchor cables securely: Prevent sagging or tripping hazards by using zip ties, adhesive clips, or raceways designed for outdoor use.
- Test everything before finalizing: Ensure all connections work and cables are fully protected before closing up walls or trim.
- Prioritize safety near water: Keep power cords and outlets away from pool splash zones and use GFCI-protected circuits.
- Maintain accessibility: Leave service loops and use removable covers so you can troubleshoot or upgrade later.
How to Hide Cables Poolside TV for Screened Porch
So you’ve installed a sleek TV on your screened porch—perfect for watching the game while lounging by the pool. But now you’re staring at a tangled mess of cables snaking across the floor, threatening to trip guests or get soaked in a summer storm. Don’t worry. Hiding cables for your poolside TV doesn’t require a contractor or a complete remodel. With the right tools, a bit of planning, and some smart outdoor-friendly solutions, you can achieve a clean, professional look that’s both safe and stylish.
In this guide, we’ll walk you step by step through the process of concealing cables for your outdoor TV setup. Whether you’re dealing with power cords, HDMI cables, coaxial lines, or speaker wires, we’ve got you covered. You’ll learn how to route cables safely, choose weather-resistant materials, and integrate them seamlessly into your screened porch design. By the end, your space will look tidy, feel safer, and let you enjoy your favorite shows without distraction.
Let’s dive in.
Why Cable Management Matters for Poolside TVs
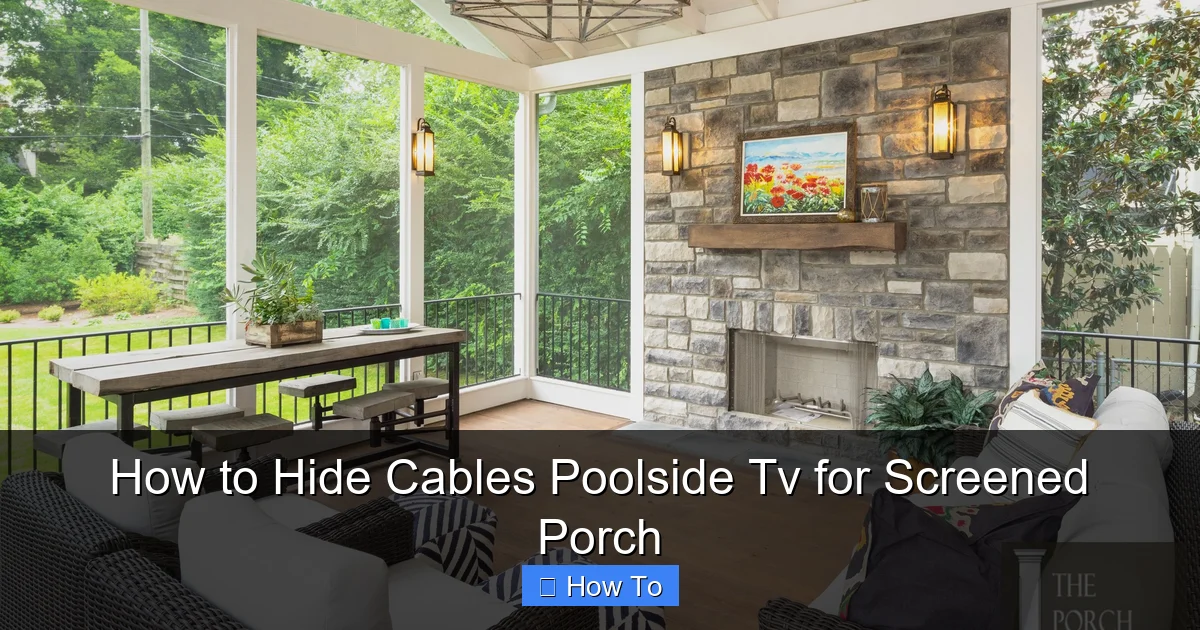
Visual guide about How to Hide Cables Poolside Tv for Screened Porch
Image source: i.pinimg.com
Before we get into the how-to, let’s talk about why this matters. A screened porch near a pool is a high-traffic, high-moisture environment. Cables lying around aren’t just an eyesore—they’re a hazard. Tripping over a power cord could send someone tumbling toward the pool edge. Water splashing onto exposed wires increases the risk of electrical shock or short circuits. Plus, UV rays from the sun can degrade plastic cable jackets over time, leading to brittle, unsafe wiring.
Good cable management isn’t just about aesthetics. It’s about safety, durability, and peace of mind. When done right, hidden cables also make your space feel more luxurious and intentional. Guests will admire your TV setup without noticing the tech behind it. And when you’re ready to upgrade or troubleshoot, a well-organized system makes maintenance a breeze.
Step 1: Plan Your Cable Route
The first step—and one of the most important—is planning. Rushing into installation without a map is a recipe for frustration, extra drilling, and visible wires. Take time to sketch out your porch layout and identify where each cable needs to go.
Identify Power and Signal Sources
Start by locating your power source. Is there an outdoor GFCI outlet nearby? If not, you may need to have one installed by a licensed electrician—especially near a pool. Never use indoor extension cords outdoors. They’re not rated for moisture or UV exposure and can become dangerous over time.
Next, trace your signal sources. Where is your cable box, streaming device, or soundbar? Are they inside the house, in an outdoor media cabinet, or mounted near the TV? Knowing the origin points helps you plan the shortest, most discreet path.
Map the Path from TV to Sources
Stand where your TV will be mounted and visualize the route. Can you run cables behind the TV mount? Along the ceiling? Under the porch railing? Look for natural hiding spots: wall studs, trim boards, or existing conduit.
Avoid running cables across walkways or areas where people sit or stand. If you must cross a pathway, use a protective ramp or bury the cable under a rug (only if it’s outdoor-rated and flat). Never staple cables to the floor where they can be crushed or tripped over.
Measure Cable Lengths
Buy cables that are just long enough—no longer. Excess cable creates clutter and makes hiding more difficult. Use a tape measure to determine the exact distance from your TV to each device. Add a few extra inches for slack, but avoid coiling extra wire unless it’s in a designated storage box.
Pro tip: Use labeled cables (e.g., “HDMI to Receiver” or “Power to Soundbar”) so you can easily identify them later.
Step 2: Choose the Right Cable Management Products
Not all cable organizers are created equal—especially for outdoor use. Indoor raceways and plastic clips may crack in the sun or fail when wet. You need products specifically designed for exterior environments.
Outdoor-Rated Conduit
PVC conduit is a top choice for running multiple cables safely. It’s durable, waterproof, and UV-resistant. Use ½-inch or ¾-inch conduit depending on how many wires you’re bundling. You can paint it to match your porch trim or mount it discreetly along beams.
For a cleaner look, choose flexible conduit that bends around corners without kinking. Install it with outdoor-rated clamps or adhesive mounts rated for exterior use.
Cable Raceways and Trunking
Raceways are plastic or metal channels that snap over cables, hiding them in plain sight. Look for outdoor-rated versions with weatherproof seals. Some models come with adhesive backing, while others require screws.
Install raceways along baseboards, under railings, or behind TV mounts. Paint them to blend with your walls or trim for a nearly invisible finish.
Adhesive and Screw-On Clips
For single cables or lightweight bundles, use outdoor adhesive clips. Make sure they’re rated for exterior use and can withstand temperature swings. Avoid cheap plastic clips—they often fail in the sun.
For heavier loads or longer runs, use screw-on clips. Drill pilot holes to avoid splitting wood, and use stainless steel screws to prevent rust.
Cable Sleeves and Braided Wraps
If you’re running cables along exposed beams or railings, consider a braided cable sleeve. These flexible, fabric-like covers bundle wires together and protect them from abrasion. Choose UV-resistant, water-repellent sleeves designed for outdoor use.
Sleeves won’t hide cables completely, but they reduce visual clutter and keep wires organized. Pair them with clips for a tidy look.
Step 3: Run Cables Safely and Securely
Now it’s time to put your plan into action. Take your time—rushing can lead to mistakes, damaged cables, or unsafe installations.
Start from the TV and Work Backward
Begin at the TV mount. If your mount has a built-in cable management system, use it. Many outdoor mounts include channels or clips to route wires behind the screen.
Feed each cable through the mount’s channel or behind the bracket. Leave a little slack so the TV can pivot or tilt without straining the wires.
Use Existing Structures
Look for ways to use your porch’s architecture. Can you run cables behind vertical beams? Under the porch floor? Inside the screen frame?
If your porch has a soffit (the underside of the roof overhang), this is a great hiding spot. Drill small holes through the soffit and feed cables into the attic or crawlspace above. From there, you can route them down to an interior wall or outdoor outlet.
Avoid drilling into load-bearing structures or electrical wiring. If you’re unsure, consult a professional.
Protect Cables from the Elements
Even if your cables are outdoor-rated, they need extra protection near a pool. Saltwater, chlorine, and humidity can degrade connectors and insulation over time.
Use drip loops: Create a U-shaped dip in each cable before it enters an outlet or device. This prevents water from running down the wire and into the connection.
Seal any entry points with silicone caulk or outdoor-rated grommets. This keeps moisture out and pests from chewing on wires.
Bundle and Label Cables
Group related cables together using zip ties or Velcro straps. Avoid over-tightening—this can damage insulation. Use Velcro for easy removal during maintenance.
Label each bundle with a waterproof tag or marker. This saves time if you ever need to troubleshoot or upgrade.
Step 4: Conceal Cables with Smart Design Tricks
Sometimes, the best hiding spot is in plain sight. With a few design tweaks, you can make cables disappear without major construction.
Paint Cable Covers to Match
If you’re using raceways or conduit, paint them to match your porch trim, ceiling, or wall color. Use exterior-grade paint and primer for durability. A well-painted cover blends in so well, guests won’t even notice it.
Use Decorative Elements
Strategically place potted plants, outdoor furniture, or decorative screens near cable runs. A tall planter can hide a raceway along a wall. A bench with storage can conceal a power strip or media box.
Just make sure these items don’t block airflow or create fire hazards near electrical devices.
Install a False Beam or Trim
If your porch has exposed rafters, consider adding a false beam or trim piece along the ceiling. This creates a channel to run cables behind. Use weather-resistant wood or PVC and secure it with outdoor screws.
For a modern look, use aluminum channel trim. It’s sleek, durable, and easy to install.
Go Wireless Where Possible
Reduce cable clutter by going wireless. Use a wireless HDMI transmitter to send video and audio from your media box to the TV. Many models work up to 100 feet and support 4K resolution.
For sound, consider wireless outdoor speakers. They connect via Bluetooth or Wi-Fi and eliminate the need for long speaker wires.
Note: Wireless solutions may have slight latency or interference in areas with heavy Wi-Fi traffic. Test before committing.
Step 5: Ensure Safety and Compliance
Outdoor electrical work near water requires extra caution. Safety isn’t optional—it’s essential.
Use GFCI Protection
All outdoor outlets near a pool must be protected by a Ground Fault Circuit Interrupter (GFCI). This device shuts off power instantly if it detects a leak, preventing electrocution.
If your outlet isn’t GFCI-protected, have one installed by a licensed electrician. Never bypass safety features.
Keep Cables Away from Water
Avoid running cables through areas where pool water regularly splashes. If your TV is close to the pool edge, consider mounting it higher or using a splash guard.
Use waterproof outlet covers when devices are plugged in. These flip-up shields protect against rain and spray.
Secure Loose Ends
Any unused cables or connectors should be stored in a weatherproof box. A small outdoor junction box or media cabinet keeps them dry and organized.
Never leave loose wires dangling or coiled on the ground. They’re a tripping hazard and can attract pests.
Troubleshooting Common Issues
Even with careful planning, problems can arise. Here’s how to handle the most common ones.
Cables Are Still Visible
If wires are still showing, try repositioning them behind a different structural element. Sometimes a slight angle change makes a big difference. Add more clips or use a longer raceway to cover gaps.
Signal Loss or Interference
Long cable runs can weaken signals, especially for HDMI. Use high-quality, shielded cables and avoid running them parallel to power lines. If issues persist, consider an HDMI extender or wireless transmitter.
Water in Connections
If you notice corrosion or moisture in outlets or connectors, unplug everything immediately. Let components dry completely, then inspect for damage. Replace any corroded parts and improve sealing with silicone or grommets.
Cables Get Brittle or Cracked
This is a sign of UV damage. Replace affected cables with outdoor-rated versions and add extra protection like conduit or sleeves.
Maintenance Tips for Long-Term Success
Cable management isn’t a one-and-done task. Regular maintenance keeps your system safe and functional.
Inspect Seasonally
Check cables, clips, and covers every spring and fall. Look for cracks, loose mounts, or signs of wear. Tighten screws and replace damaged parts.
Clean Connections
Dust and moisture can build up on connectors. Use a dry cloth to wipe them down. For stubborn grime, use a cotton swab with isopropyl alcohol.
Update as Needed
As you add new devices—like a soundbar or streaming stick—reassess your cable setup. You may need longer cables, additional raceways, or a better power solution.
Conclusion
Hiding cables for your poolside TV on a screened porch is totally doable—and well worth the effort. With thoughtful planning, the right materials, and a focus on safety, you can create a clean, hazard-free outdoor entertainment space. Your guests will enjoy the view, not the wires. And you’ll have peace of mind knowing your setup is protected from the elements and built to last.
Remember: start with a plan, use outdoor-rated products, and never compromise on safety—especially near water. Whether you go high-tech with wireless solutions or keep it simple with painted raceways, the goal is the same: a beautiful, functional porch where you can relax, unwind, and watch your favorite shows in style.
So grab your tools, map out your route, and get started. Your dream poolside TV setup is just a few cable clips away.

