
Discover reliable, weather-resistant methods to hide outdoor TV cables in windy conditions. This guide covers cable routing, protective covers, mounting tips, and windproofing techniques to keep your setup tidy and safe.
Key Takeaways
- Use weatherproof cable raceways: These enclosed channels protect wires from wind, rain, and UV damage while keeping them hidden from view.
- Anchor cables securely: Wind can loosen or tear exposed wires, so use heavy-duty clips, zip ties, or adhesive mounts rated for outdoor use.
- Choose the right cable type: Opt for outdoor-rated, UV-resistant cables (like RG6 for satellite or outdoor HDMI) to prevent degradation.
- Route cables along stable surfaces: Run wires along walls, under eaves, or through conduit attached to sturdy structures to reduce wind exposure.
- Seal entry points: Use silicone caulk or rubber grommets where cables enter the house to block moisture and prevent wind-driven debris.
- Consider wireless alternatives: For non-essential connections, use wireless HDMI or streaming devices to minimize cable runs.
- Regular maintenance matters: Inspect cables and mounts every few months to ensure they’re still secure and undamaged by weather.
How to Hide Cables Outside TV for Windy Areas
If you’ve installed an outdoor TV, you know the joy of watching your favorite shows under the stars. But one of the biggest challenges? Keeping those cables neat, hidden, and—most importantly—safe from the elements, especially in windy areas. Gusts can whip loose wires around, damage connections, or even pull cables out of your TV or wall ports. And let’s be honest: a tangled mess of cables ruins the clean, modern look you’re going for.
The good news? With the right tools and techniques, you can hide your outdoor TV cables effectively, even in blustery conditions. This guide will walk you through every step—from choosing the best materials to securing and concealing your cables for long-term durability. Whether you’re mounting your TV on a patio, deck, or backyard wall, these tips will help you create a sleek, wind-resistant setup that lasts.
By the end of this guide, you’ll know exactly how to route, protect, and hide your cables so they stay out of sight and out of the wind. No more tripping hazards, no more frayed wires, and no more eyesore. Let’s get started.
Why Cable Management Matters in Windy Areas
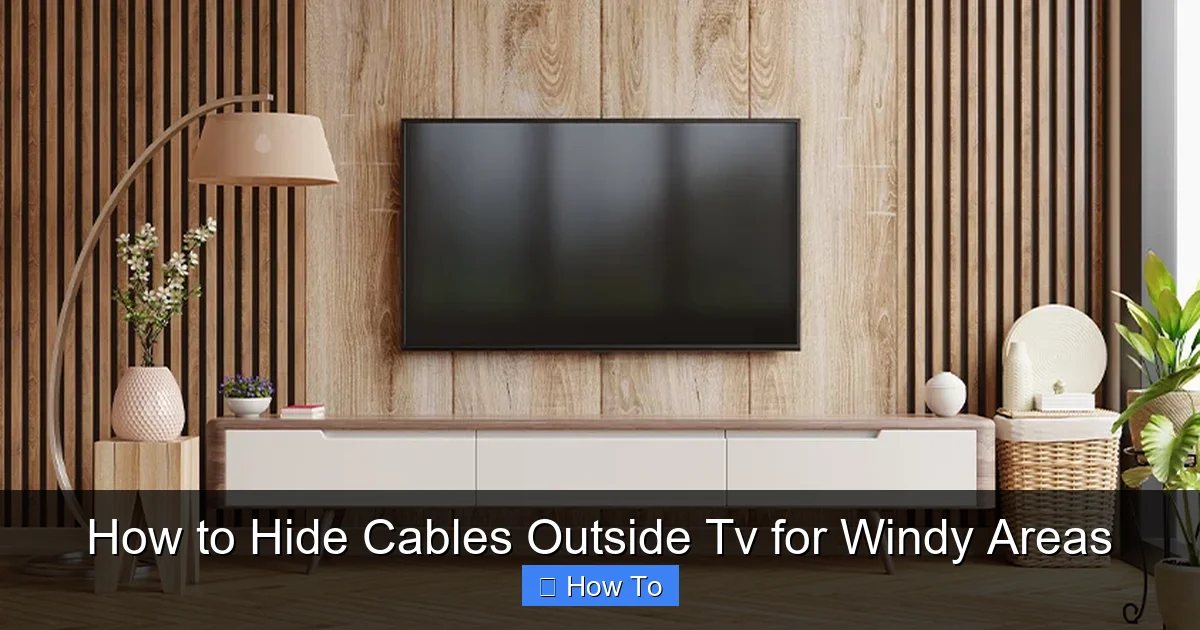
Visual guide about How to Hide Cables Outside Tv for Windy Areas
Image source: images.surferseo.art
Outdoor TVs are a fantastic upgrade for patios, pool decks, and backyard entertainment zones. But unlike indoor setups, outdoor environments come with unique challenges—especially wind. Strong gusts don’t just make it hard to hear your show; they can also wreak havoc on your cables.
Loose or poorly secured cables can flap in the wind, causing wear and tear over time. This constant movement can fray insulation, loosen connections, or even pull plugs out of outlets. Worse, wind can drive rain, dust, and debris into exposed cable joints, leading to corrosion or short circuits. And if you’re using standard indoor cables, they’re not built to handle UV rays, temperature swings, or moisture—common in outdoor settings.
Beyond functionality, there’s the aesthetic factor. A clean, cable-free look enhances your outdoor space. Nobody wants to see a spaghetti-like tangle of wires snaking across the deck or dangling from the wall. Proper cable management not only protects your investment but also makes your setup look professional and intentional.
In windy areas, the stakes are even higher. Cables that aren’t anchored properly can become projectiles in extreme weather, posing safety risks. That’s why it’s essential to use wind-resistant materials and secure mounting methods. The goal isn’t just to hide cables—it’s to protect them from the elements while keeping your outdoor space safe and stylish.
Step 1: Choose the Right Outdoor Cables
Before you even think about hiding cables, make sure you’re using the right ones. Indoor cables aren’t designed for outdoor use. They lack UV protection, moisture resistance, and the durability needed to withstand temperature changes and wind stress.
Look for Outdoor-Rated Cables
Always choose cables labeled as “outdoor-rated” or “direct burial” if they’ll be exposed to the elements. These cables have thicker, weather-resistant jackets that protect the internal wires from sun, rain, and temperature fluctuations. For example:
– Outdoor HDMI cables: These are shielded and have UV-resistant jackets. Look for versions with Ethernet support if you need internet connectivity.
– RG6 coaxial cables: Ideal for satellite or antenna connections. Choose ones with a weatherproof connector and a quad-shield design for better signal protection.
– Outdoor Ethernet cables (Cat 6 or Cat 6a): If you’re streaming content, use outdoor-rated Ethernet cables with UV and moisture protection.
Avoid using indoor cables, even if they’re temporarily protected. Over time, exposure will degrade them, leading to signal loss or failure.
Consider Cable Length and Slack
Measure the distance from your TV to the source (like a receiver box or wall outlet) and add a little extra—about 6 to 12 inches—for flexibility. This slack helps absorb movement caused by wind without straining the connections. But don’t overdo it: too much slack can create loops that catch wind or become tripping hazards.
Use Cable Connectors and Couplers Wisely
If you need to extend a cable, use weatherproof couplers or connectors. These sealed joints prevent moisture from entering the connection point. Apply dielectric grease to the threads for extra protection against corrosion.
Step 2: Plan Your Cable Route
A well-planned route is the foundation of effective cable management. The goal is to keep cables as short, direct, and protected as possible—while minimizing exposure to wind and weather.
Map the Shortest Path
Start by identifying the shortest path from your TV to the power source, signal source (like a cable box), and any other devices. Avoid crossing high-traffic areas or places where people might trip.
Use Existing Structures
Whenever possible, route cables along walls, under eaves, or along the edge of a deck or patio. These surfaces provide natural protection from wind and rain. Avoid running cables across open areas where they’ll be fully exposed.
Avoid Sharp Corners and Stress Points
Sharp bends can damage cables over time. Use gentle curves when routing around corners. If you must turn a corner, use a cable bend radius guide or a flexible conduit to prevent kinking.
Check for Obstructions
Look for potential obstacles like gutters, vents, or moving parts (like garage doors). Plan your route to avoid these areas, or use protective covers if crossing is unavoidable.
Step 3: Use Weatherproof Cable Raceways
One of the best ways to hide and protect outdoor cables is with a weatherproof cable raceway. These are enclosed channels that run along walls or under eaves, keeping wires out of sight and shielded from the elements.
Choose the Right Raceways
Look for raceways made from UV-resistant PVC or aluminum. They should be rated for outdoor use and able to withstand temperature changes. Popular options include:
– Surface-mounted raceways: These attach directly to walls or under eaves. They’re easy to install and come in various sizes to fit multiple cables.
– Concealed raceways: Some models can be mounted inside walls or under siding for a truly hidden look—ideal if you’re building or renovating.
Install the Raceways Securely
Use corrosion-resistant screws or heavy-duty outdoor adhesive to mount the raceways. In windy areas, avoid relying solely on adhesive—screws provide better hold. Space screws every 12 to 18 inches to prevent sagging.
Seal the Ends
Once cables are inside, seal the open ends with rubber end caps or silicone caulk. This prevents wind-driven rain and insects from entering the raceway.
Paint to Match
Many raceways come in white or gray, but you can paint them to match your wall or trim. Use outdoor-grade paint for durability. This small step makes the raceway nearly invisible.
Step 4: Secure Cables with Outdoor-Grade Fasteners
Even with raceways, you’ll need additional support to keep cables from moving in the wind. Use outdoor-rated fasteners designed to withstand moisture and UV exposure.
Use Heavy-Duty Cable Clips
Plastic or metal clips with adhesive backs or screw mounts work well. Choose ones with rubber grommets to protect cable insulation. Space them every 6 to 12 inches along straight runs.
Zip Ties for Temporary or Flexible Runs
UV-resistant zip ties are great for bundling cables or securing them to posts or railings. Use black zip ties—they’re less visible and resist fading. Avoid over-tightening, which can damage cables.
Adhesive Mounts with Outdoor Rating
For smooth surfaces, use adhesive cable mounts rated for outdoor use. Look for ones with 3M VHB tape, which holds well in wind and weather. Clean the surface with rubbing alcohol before applying.
Anchor to Stable Structures
In windy areas, avoid attaching cables to lightweight materials like vinyl siding or thin wood. Instead, anchor to concrete, brick, or solid wood beams. Use masonry anchors if drilling into brick or concrete.
Step 5: Use Conduit for Maximum Protection
For the most durable solution—especially in high-wind zones—consider running cables through rigid or flexible conduit. This is like giving your cables a protective tunnel.
Choose the Right Conduit
– PVC conduit: Lightweight, affordable, and weatherproof. Ideal for straight runs along walls.
– Metal conduit (EMT or flexible metal): More durable and resistant to crushing. Great for areas with heavy wind or potential impact.
– Flexible conduit: Useful for routing around corners or irregular surfaces.
Install the Conduit
Mount the conduit using conduit straps every 3 to 4 feet. Use elbow fittings for corners, and ensure all connections are tight. Drill holes slightly larger than the conduit to allow for expansion in temperature changes.
Pull Cables Through
Use a fish tape or cable puller to guide cables through the conduit. Apply a small amount of cable lubricant to reduce friction. Don’t force the cables—gentle pulling prevents damage.
Seal Entry and Exit Points
Use rubber grommets or silicone sealant where cables enter and exit the conduit. This prevents water ingress and reduces wind noise.
Step 6: Hide Cables Under Eaves or Along Trim
If raceways or conduit aren’t your style, you can still hide cables using architectural features.
Run Cables Under Eaves
The space under roof eaves is naturally sheltered from wind and rain. Use adhesive clips or small raceways to guide cables along this path. Paint the clips to match the soffit for a seamless look.
Use Existing Trim or Molding
If your outdoor space has decorative trim, baseboards, or crown molding, route cables behind or along them. Use small notches or removable panels if needed.
Create a False Channel
For a custom look, build a simple wooden or PVC channel that matches your deck or wall. Attach it with screws and seal the edges. This works well under railings or along the base of a wall.
Step 7: Seal Wall Penetrations
Where cables enter your house—through walls, siding, or windows—seal the opening to prevent wind, water, and pests from getting in.
Use Wall Plates with Gaskets
Install outdoor-rated wall plates with rubber gaskets. These create a tight seal around the cables. Choose plates with multiple ports if you have several wires.
Apply Silicone Caulk
After installing the plate, apply a bead of outdoor silicone caulk around the edges. Smooth it with your finger or a caulk tool. This prevents water from seeping in during rain or wind-driven storms.
Use Cable Glands for Extra Security
For a professional finish, use cable glands (also called cord grips). These screw into the wall plate and clamp down on the cable, providing strain relief and a weatherproof seal.
Step 8: Consider Wireless Alternatives
Sometimes, the best way to hide cables is to eliminate them altogether.
Use Wireless HDMI Transmitters
These devices send audio and video signals from your source (like a cable box) to your TV without wires. Look for models with strong signal strength and low latency. Place the transmitter and receiver within line of sight for best results.
Stream Content Wirelessly
If you’re using a smart TV, stream content via Wi-Fi using apps like Netflix, YouTube, or Hulu. This reduces the need for HDMI or Ethernet cables. Just ensure your outdoor Wi-Fi signal is strong—consider a weatherproof Wi-Fi extender if needed.
Power Over Ethernet (PoE) for Minimal Cables
For security cameras or streaming devices, PoE lets you send power and data over a single Ethernet cable. This reduces clutter and simplifies routing.
Troubleshooting Common Issues
Even with the best planning, problems can arise. Here’s how to fix common issues in windy areas.
Cables Keep Coming Loose
If cables are still moving in the wind, add more fasteners or switch to heavier-duty clips. Check that mounts are securely anchored to stable surfaces. Consider using conduit for high-stress areas.
Signal Loss or Interference
Wind can cause cables to shift, leading to loose connections. Check all plugs and couplers. Use signal boosters or repeaters if you’re running long cable distances.
Water in the Raceways or Conduit
If you find moisture inside, check seals and end caps. Reapply silicone caulk or replace damaged gaskets. Ensure raceways slope slightly downward to allow drainage.
Cables Fraying at Connection Points
This is often due to wind-induced movement. Add strain relief by looping the cable slightly before connecting, or use a cable gland to secure the entry point.
Raceways or Clips Falling Off
Adhesive may fail in extreme weather. Replace with screw-mounted clips or use construction adhesive rated for outdoor use. Clean surfaces thoroughly before reapplying.
Maintenance Tips for Long-Term Success
Outdoor cable setups need regular checkups to stay secure and functional.
Inspect Every 3–6 Months
Look for loose clips, frayed cables, or damaged raceways. Tighten screws and replace worn parts.
Clean Debris
Wind can blow leaves, dirt, or dust into raceways. Use compressed air or a soft brush to keep them clear.
Check Seals and Caulk
Over time, silicone can crack. Reapply as needed to maintain a weatherproof seal.
Trim Nearby Plants
Overgrown vines or shrubs can snag cables or block airflow. Keep vegetation trimmed back from your setup.
Conclusion
Hiding cables outside your TV in windy areas doesn’t have to be a headache. With the right materials—like weatherproof raceways, outdoor-rated cables, and secure fasteners—you can create a clean, safe, and durable setup that stands up to the elements. Planning your route, sealing entry points, and using protective covers are key steps that make all the difference.
Remember, the goal isn’t just to hide cables—it’s to protect them from wind, rain, and UV damage while keeping your outdoor space looking great. Whether you go with conduit, raceways, or wireless alternatives, consistency and quality matter. A little effort now saves you from costly repairs and frustrating outages later.
So grab your tools, choose your method, and enjoy your outdoor TV with confidence. Your cables will stay hidden, secure, and ready for every breeze.

