
Hiding cables outside your TV in a rental home doesn’t have to be messy or permanent. This guide shows you simple, damage-free methods to keep wires neat and out of sight—perfect for renters who want a clean setup without drilling holes or risking security deposits.
Key Takeaways
- Use adhesive cable clips and raceways: These stick-on solutions hold cables securely without nails or screws, making them ideal for rental walls.
- Choose cord covers designed for renters: Look for paintable, removable, or fabric-based covers that blend with your decor and peel off cleanly.
- Route cables behind furniture: Strategically place TV stands, shelves, or cabinets to naturally conceal wires along baseboards or walls.
- Avoid permanent modifications: Never drill, nail, or paint over cables—landlords typically prohibit these actions in rental agreements.
- Test adhesives on a small area first: Ensure sticky products won’t damage paint or finishes before applying them widely.
- Keep future access in mind: Use modular or snap-together systems so you can easily disconnect and move cables when moving out.
- Combine multiple methods for best results: Layering techniques—like clips plus a cord cover—creates a cleaner, more professional look.
Introduction: Why Cable Management Matters in Rental Homes
If you’re renting, you know the struggle: your TV looks great, but the tangle of HDMI, power, and audio cables snaking across the floor or down the wall is anything but stylish. Not only does it look messy, but loose cords can be tripping hazards—and worse, they might get damaged by foot traffic or pets. The good news? You don’t need to drill holes, run conduit through walls, or risk your security deposit to fix it.
In this guide, we’ll walk you through practical, renter-approved methods to hide cables outside your TV—all without making permanent changes to your space. Whether you’re in an apartment, condo, or house rental, these tips will help you achieve a clean, organized entertainment setup that’s both functional and landlord-friendly. You’ll learn how to use adhesive solutions, clever furniture placement, and removable cord covers to keep wires out of sight and out of mind.
Understanding Rental Restrictions and Why They Matter
Before diving into solutions, it’s important to understand why many traditional cable-hiding methods aren’t suitable for renters. Most lease agreements explicitly prohibit:
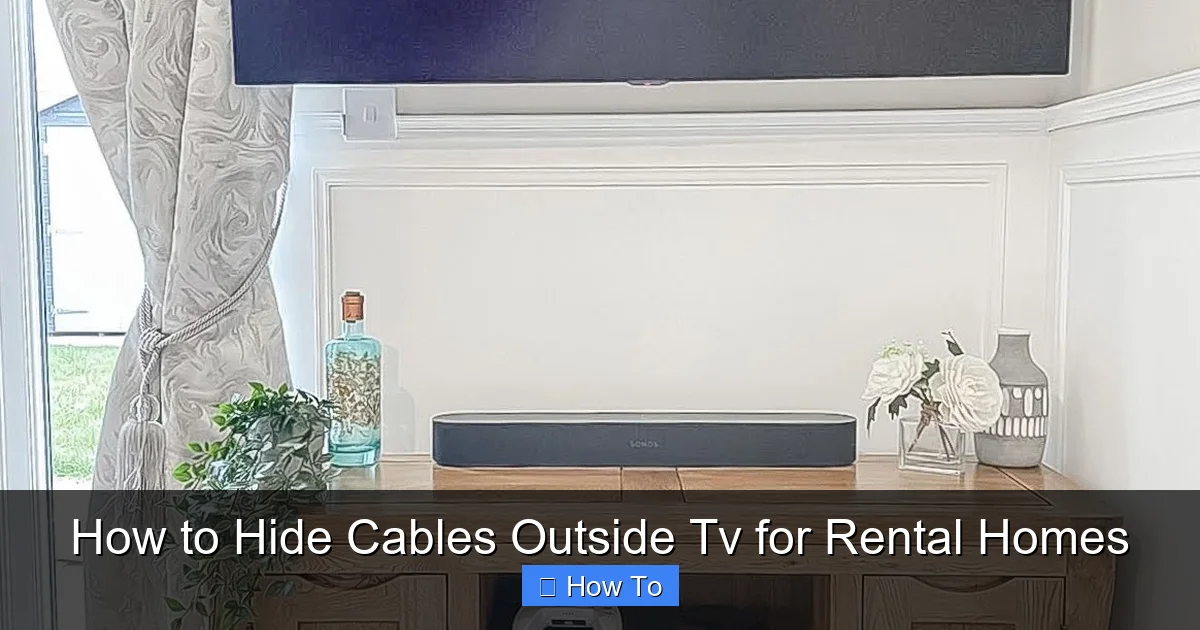
Visual guide about How to Hide Cables Outside Tv for Rental Homes
Image source: cdn.mos.cms.futurecdn.net
- Drilling holes in walls
- Nailing or screwing into trim or baseboards
- Painting over existing finishes
- Installing permanent fixtures like in-wall conduits
Violating these rules can lead to deductions from your security deposit—or even eviction in extreme cases. That’s why the focus here is on non-destructive, reversible cable management techniques. These methods prioritize ease of removal, minimal wall contact, and compatibility with standard rental surfaces like drywall, painted walls, and baseboards.
Step 1: Assess Your Setup and Cable Layout
Every TV setup is different, so start by taking stock of what you’re working with.
Identify All Cables
Unplug everything temporarily and list out each cable:
- Power cord (TV, soundbar, streaming device)
- HDMI cables (to gaming console, Blu-ray player, etc.)
- Ethernet cable (if used)
- Optical audio or coaxial cables
- USB charging cables
Count how many you have and note their lengths. This helps you choose the right management tools—too many short cables might need bundling, while long ones may require routing along walls or under rugs.
Map the Path from TV to Outlet
Trace the shortest, most discreet route from your TV to the nearest power outlet and other devices. Common paths include:
- Down the wall behind the TV stand
- Along the baseboard to a nearby outlet
- Under a rug or behind a sofa
- Up and over a doorway (less common but possible)
Avoid running cables across high-traffic areas if possible. If you must cross a walkway, use a cable ramp or flat cord cover designed for floors.
Step 2: Use Adhesive Cable Clips and Ties
Adhesive clips are one of the simplest and most effective ways to secure cables to walls, baseboards, or furniture—without screws.
Choose the Right Adhesive Clips
Look for clips specifically labeled “removable” or “damage-free.” Popular brands include:
- 3M Command™ Cord Clips
- VELCRO® Brand ONE-WRAP® Cable Ties (with adhesive backing)
- Quakehold! Adhesive Cable Clips
These use strong but gentle adhesives that hold well on smooth surfaces like painted drywall, wood, or metal—but won’t pull off paint when removed correctly.
Apply Clips Strategically
Clean the surface with rubbing alcohol first to ensure maximum adhesion. Then:
- Place clips every 8–12 inches along the cable path
- Angle clips slightly downward so gravity helps keep cables seated
- Bundle multiple thin cables together before clipping to reduce clutter
Pro Tip: For extra security on vertical runs (like down a wall), use clips with rubber grips or silicone lining to prevent slipping.
Remove Safely When Moving Out
To avoid damage, never yank adhesive clips off. Instead:
- Pull the tab slowly and parallel to the wall (for Command products)
- Use a hairdryer on low heat to soften stubborn adhesive
- Wipe residue with a cloth and mild cleaner
Most quality adhesive products leave little to no residue when removed properly.
Step 3: Install Removable Cord Covers and Raceways
For a more polished look, especially along baseboards or walls, cord covers (also called raceways) are ideal. They hide multiple cables in a single channel and come in various styles.
Types of Renter-Friendly Cord Covers
Choose based on your needs:
- Adhesive-Backed Plastic Raceways: Easy to install, paintable, and removable. Great for straight runs along walls.
- Fabric Cord Covers: Soft, flexible, and blend well with carpets or rugs. Often used on floors.
- Magnetic or Snap-On Covers: Attach to metal surfaces (like some TV stands) without adhesives.
- Self-Adhesive Foam Channels: Lightweight and gentle on walls; best for light-duty use.
Popular options include the D-Line Cable Cover (available in white, black, and wood tones) and the JOTO Cord Cover Kit.
Installation Steps
- Measure the length of your cable run.
- Cut the raceway to size using scissors or a utility knife (most are easy to trim).
- Clean the surface thoroughly.
- Peel off the adhesive backing and press firmly along the desired path.
- Open the cover, lay in your bundled cables, and snap or fold the cover closed.
Bonus: Many raceways can be painted to match your wall color—just check the manufacturer’s guidelines first.
Removal Tips
When it’s time to move:
- Gently pry open the cover and remove cables.
- Slowly peel the raceway off the wall at a 180-degree angle.
- If adhesive remains, use a bit of Goo Gone or rubbing alcohol on a cloth—but test in an inconspicuous spot first.
High-quality raceways should come off cleanly if installed and removed correctly.
Step 4: Leverage Furniture and Decor for Natural Concealment
Sometimes the best cable management doesn’t require any products at all—just smart placement.
Position Your TV Stand Strategically
Choose a stand or console that:
- Has built-in cable management (holes, channels, or rear openings)
- Sits close to the wall to minimize exposed cords
- Is deep enough to hide power strips and streaming boxes
If your current stand lacks these features, consider adding a furniture riser or platform with hidden compartments, or use decorative baskets to stash small devices.
Use Bookshelves or Room Dividers
Place a bookshelf perpendicular to the TV wall to create a visual barrier. Route cables behind it and out through the back. Room dividers or tall plants can also mask cable runs along walls.
Hide Cables Under Rugs or Behind Baseboards
For floor-level runs:
- Tuck thin cables under a rug edge (use a rug pad to prevent shifting)
- Use double-sided carpet tape to secure cables flat against the floor
- Avoid thick cables that create bumps—they’re tripping hazards
Never staple or nail cables under rugs—this damages flooring and violates most leases.
Step 5: Bundle and Organize Loose Cables
Even hidden cables look neater when bundled. Use soft, reusable ties instead of zip ties (which can’t be undone easily).
Recommended Bundling Tools
- VELCRO® ONE-WRAP® Ties: Reusable, adjustable, and gentle on cables.
- Silicone Cable Sleeves: Slide over multiple cords for a sleek, unified look.
- Braided Cable Sleeving: Expandable fabric that protects and organizes.
Group cables by function (e.g., all HDMI together, all power together) to make troubleshooting easier later.
Label Your Cables
Use colored tape, labels, or tags to mark each cable at both ends. This saves time when swapping devices or moving out.
Step 6: Manage Power Strips and Outlets
A cluttered power strip defeats the purpose of hiding cables. Keep it tidy and accessible.
Mount the Power Strip
Use an adhesive-mounted power strip holder (like the 3M Command™ Power Strip Holder) to attach it to the back or side of your TV stand. This keeps it off the floor and out of sight.
Use a Surge Protector with USB Ports
Reduce cable count by choosing a power strip with built-in USB charging. Fewer cables = less clutter.
Consider a Wall-Mounted Outlet Box (If Allowed)
Some rentals allow surface-mounted outlet boxes that sit flat against the wall. These let you plug in directly behind the TV, shortening cable runs. Always ask your landlord first!
Troubleshooting Common Cable Hiding Problems
Even with the best planning, issues can arise. Here’s how to handle them:
Problem: Adhesive Won’t Stick
Solution: Clean the surface with isopropyl alcohol. Avoid applying to textured walls, wallpaper, or freshly painted surfaces (wait 2–4 weeks). For tricky spots, use a small piece of mounting putty as a backup anchor.
Problem: Cables Keep Slipping Out of Clips
Solution: Use clips with rubberized interiors or add a dab of non-permanent adhesive (like museum putty) inside the clip. Alternatively, bundle cables before clipping.
Problem: Cord Cover Looks Too Obvious
Solution: Paint it to match your wall or choose a fabric cover that blends with your flooring. For baseboard runs, select a raceway that mimics baseboard molding.
Problem: Moving Out Leaves Residue or Marks
Solution: Always follow removal instructions carefully. Keep product packaging for reference. If minor residue remains, most landlords accept light cleaning as normal wear and tear—but document the condition with photos before and after.
Bonus Tips for a Pro-Looking Setup
- Keep it low-profile: Avoid bulky solutions. Thin, flat cables and low-profile covers look more intentional.
- Match your decor: Choose black, white, or wood-toned covers that complement your room.
- Plan for upgrades: Leave slack in cables so you can easily swap devices later.
- Involve your landlord (if unsure): A quick email asking, “Is it okay to use adhesive cable clips?” shows responsibility and may prevent disputes.
Conclusion: Clean Cables, Happy Landlord, Happy You
Hiding cables outside your TV in a rental home isn’t just about aesthetics—it’s about creating a safe, organized space that respects your lease agreement. With the right combination of adhesive clips, removable raceways, smart furniture placement, and bundling tools, you can achieve a sleek, professional look without making permanent changes.
Remember: the goal isn’t perfection—it’s practicality. Choose methods that work for your space, test them carefully, and always prioritize easy removal. When moving day comes, you’ll thank yourself for going the renter-friendly route. Now go enjoy your tidy, cable-free TV setup!

