
Hiding cables for your outdoor TV doesn’t have to be complicated or expensive. This guide walks you through practical, weather-resistant methods to conceal wires safely and maintain a clean, professional look on your deck. Enjoy seamless entertainment without tripping hazards or unsightly cords.
Key Takeaways
- Prioritize safety and weather resistance: Always use outdoor-rated cables and enclosures to prevent damage from rain, UV rays, and temperature changes.
- Plan your cable route in advance: Measure distances and identify power sources, signal sources, and mounting points before starting.
- Use cable raceways or conduits: These are affordable, easy-to-install solutions that keep wires protected and out of sight along railings or walls.
- Anchor cables securely: Prevent sagging or loosening with zip ties, clips, or adhesive mounts designed for outdoor use.
- Consider wireless alternatives: For shorter distances, wireless HDMI kits can reduce the number of visible cables.
- Maintain accessibility for future repairs: Avoid permanently sealing cables; use removable covers or access panels when possible.
- Blend with your deck’s design: Choose cable management products in colors that match your deck, railing, or outdoor furniture.
How to Hide Cables Outdoor TV for Deck Entertainment
Setting up an outdoor TV on your deck transforms your backyard into a cozy entertainment hub—perfect for movie nights, sports games, or relaxing with music under the stars. But let’s be honest: nothing ruins the vibe faster than a tangled mess of cables snaking across your deck floor or dangling from the railing. Not only do exposed wires look messy, but they also pose tripping hazards and can get damaged by weather, foot traffic, or pests.
The good news? Hiding cables for your outdoor TV is easier than you think—and doesn’t require professional installation or a huge budget. With the right tools, a bit of planning, and some clever DIY tricks, you can achieve a clean, safe, and stylish setup that lets you focus on what really matters: enjoying your outdoor space.
In this comprehensive guide, we’ll walk you step-by-step through the best methods to hide outdoor TV cables on your deck. Whether you’re mounting your TV on a wall, railing, or freestanding pole, we’ve got solutions that work. You’ll learn how to choose weatherproof materials, route cables safely, use affordable concealment products, and even explore wireless options to minimize clutter. By the end, your deck will look sleek, organized, and ready for any gathering.
Why Hiding Outdoor TV Cables Matters
Before diving into the how-to, it’s important to understand why cable management isn’t just about aesthetics—it’s about safety, durability, and functionality.
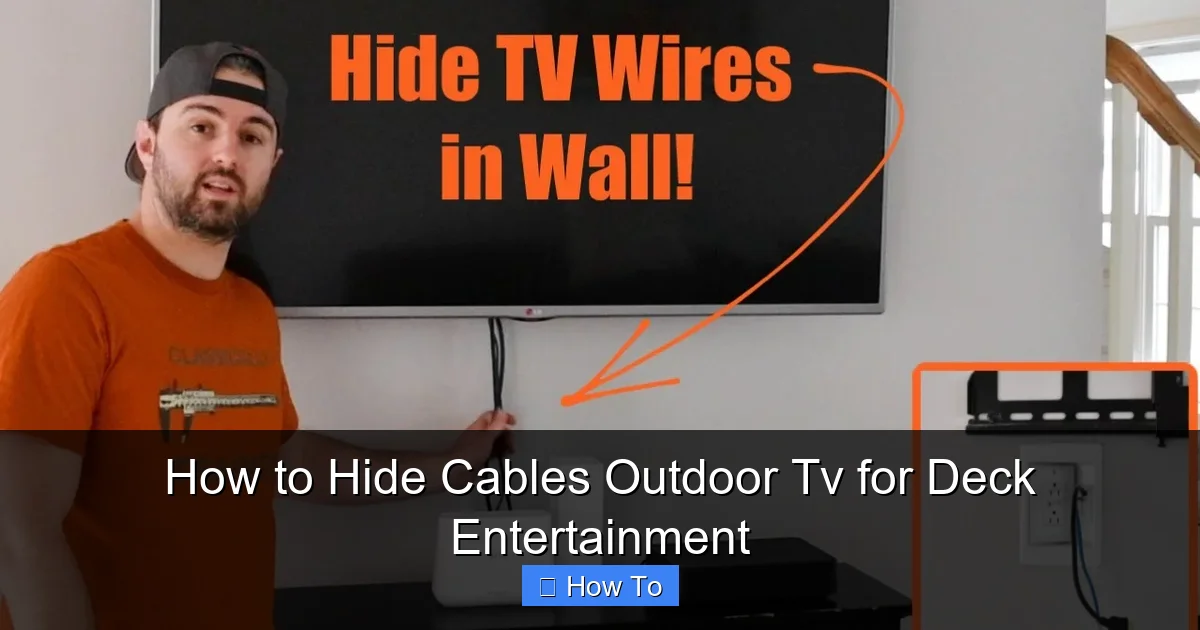
Visual guide about How to Hide Cables Outdoor Tv for Deck Entertainment
Image source: i.ytimg.com
Outdoor environments are tough on electronics. Rain, snow, humidity, extreme heat, and UV exposure can degrade standard indoor cables within months. Exposed wires are also prone to chewing by rodents, snagging by pets, or accidental cuts from lawn equipment. Plus, loose cables create tripping hazards, especially in low-light conditions or when guests are over.
Beyond safety, a clean cable setup enhances your deck’s visual appeal. A well-organized entertainment area feels more inviting and professional. It also makes maintenance easier—when cables are neatly routed and labeled, troubleshooting or upgrading your system becomes much simpler.
Finally, proper cable concealment protects your investment. Outdoor TVs, soundbars, streaming devices, and power supplies can cost hundreds of dollars. Shielding their connections from the elements helps extend their lifespan and ensures reliable performance season after season.
Step 1: Plan Your Cable Route
The first—and most crucial—step in hiding outdoor TV cables is planning. Rushing into installation without a clear path can lead to frustration, wasted materials, and unsafe setups.
Identify Your Equipment and Connections
Start by listing all the devices connected to your outdoor TV. Common components include:
- The TV itself (power cord + HDMI/input cables)
- Streaming device (e.g., Roku, Apple TV, Fire Stick)
- Soundbar or external speakers
- Power strip or surge protector
- Optional: Cable box, gaming console, or antenna
Each device adds at least one cable, so count them carefully. For example, a basic setup might have 3–5 cables, while a full entertainment system could have 8 or more.
Map the Shortest, Safest Path
Next, trace the route each cable will take from the TV to its destination (usually a power outlet and signal source indoors). Look for the shortest path that avoids high-traffic areas, stairs, and water sources like sprinklers or downspouts.
Common routes include:
- Along the deck railing
- Under the deck (if accessible)
- Through a wall or soffit
- Along the side of the house
- Under outdoor furniture (temporary solution)
Use a measuring tape to determine the total length needed for each cable. Add 10–15% extra length for slack and future adjustments.
Check for Obstacles and Permits
Look for potential obstacles like electrical wires, gas lines, or structural beams. If you plan to drill through walls or run cables under the deck, check local building codes. Some areas require permits for electrical work or modifications to outdoor structures.
Also, consider future access. Avoid routing cables in places that will be difficult to reach if repairs are needed. For example, running wires behind permanent deck boards may look clean but could become a nightmare if a cable fails.
Step 2: Choose the Right Cables and Materials
Not all cables are created equal—especially when it comes to outdoor use. Using indoor-rated cables outside is a common mistake that leads to premature failure.
Use Outdoor-Rated Cables
Look for cables labeled “outdoor,” “weatherproof,” or “UV-resistant.” These are designed to withstand moisture, temperature swings, and sun exposure. Key features include:
- Jacket material: PVC or polyethylene with UV inhibitors
- Waterproof connectors or boots
- Strain relief at connection points
For power cords, choose outdoor extension cords with a minimum 16-gauge wire and a grounded plug. Never use indoor extension cords outside—they’re not built for the elements.
Upgrade to Flat or Low-Profile Cables
Thick, round cables are harder to hide and more noticeable when routed along surfaces. Flat HDMI or power cables lie flush against walls and railings, making them ideal for concealment. They’re also easier to tuck under trim or run through narrow spaces.
Invest in a Weatherproof Power Source
Your outdoor TV and devices need power, but standard outlets aren’t always nearby. Use a weatherproof outdoor outlet or a GFCI (Ground Fault Circuit Interrupter) outlet installed by a licensed electrician. These protect against electrical shocks and are required by code in most outdoor areas.
If you must use an extension cord, choose a heavy-duty, outdoor-rated model with a built-in surge protector. Coil excess length neatly and secure it to avoid tripping.
Step 3: Use Cable Raceways for a Clean Look
Cable raceways (also called cable channels or wire moldings) are one of the easiest and most effective ways to hide outdoor TV cables. These plastic or metal trays snap or screw onto surfaces and hold multiple wires out of sight.
Choose the Right Raceways
For outdoor use, select raceways made from UV-resistant PVC or aluminum. Look for models with a hinged or snap-on cover for easy access. Common sizes include 1-inch and 1.5-inch widths—choose based on how many cables you’re routing.
Popular brands like Legrand, D-Line, and Wiremold offer outdoor-specific raceways in white, black, or gray. Pick a color that matches your deck railing, wall, or trim for a seamless blend.
Install Along Railings or Walls
One of the most common routes is along the deck railing. Most railings have a flat top or side where raceways can be attached. Use stainless steel screws or outdoor-rated adhesive mounts to secure the base.
For wall-mounted TVs, run the raceway vertically from the TV down to the outlet. If your deck has a pergola or beam, you can route cables along the underside for a hidden path.
Tip: Use a level to ensure the raceway is straight. Crooked installations look sloppy and can cause cables to snag.
Secure and Organize Cables Inside
Once the raceway is mounted, feed your cables through the channel. Use Velcro straps or reusable zip ties to bundle them neatly inside. Avoid overstuffing—leave room for airflow and future additions.
Label each cable at both ends with tape or tags. This makes troubleshooting much easier if something stops working.
Step 4: Run Cables Through Conduit for Maximum Protection
For a more permanent and professional solution, consider running cables through electrical conduit. This method offers superior protection against weather, pests, and physical damage.
Choose the Right Conduit
Use PVC conduit (Schedule 40 or 80) for most outdoor deck applications. It’s lightweight, corrosion-resistant, and easy to cut and install. For areas with heavy foot traffic or potential impact, metal conduit (EMT) provides extra durability.
Common sizes are ½-inch and ¾-inch diameter. A ¾-inch conduit can hold 3–5 cables comfortably.
Plan the Conduit Route
Conduit is best for straight runs along walls, under decks, or through soffits. Avoid sharp bends—use conduit elbows or sweeps to maintain a smooth path. If you need to go around corners, use a conduit bender for clean curves.
For under-deck routing, ensure the area is dry and accessible. Use conduit straps every 3–4 feet to secure it to joists or beams.
Install and Pull Cables
Cut the conduit to length and deburr the edges. Attach it to the deck structure using outdoor-rated conduit straps. If running through a wall, drill a hole from inside to outside and seal it with silicone caulk to prevent water intrusion.
To pull cables through, use a fish tape or string. Lubricate the cables with a cable-pulling gel to reduce friction. Have a helper feed the cables while you pull from the other end.
Once installed, cap the ends with weatherproof conduit caps or use waterproof cable glands to seal the connections.
Step 5: Hide Cables Under the Deck
If your deck has a crawl space or open underside, this is a great place to route cables out of sight. It keeps wires protected from foot traffic and UV exposure while maintaining a clean look above.
Ensure Access and Ventilation
Only use this method if the under-deck area is dry, well-ventilated, and accessible for future maintenance. Avoid enclosed spaces that trap moisture, as this can lead to mold or cable corrosion.
Use a flashlight to inspect the area. Look for signs of pests, standing water, or structural damage.
Secure Cables to Joists or Beams
Use outdoor-rated cable clips or zip ties to attach cables to the underside of deck joists. Space clips every 12–18 inches to prevent sagging. Avoid stapling directly into cables—this can damage insulation.
For longer runs, use a cable tray or J-hook system to support the weight and keep wires organized.
Protect Entry and Exit Points
Where cables enter or exit the under-deck space, seal the holes with silicone or foam gaskets. This prevents water, insects, and rodents from getting in. Use a drip loop (a U-shaped bend in the cable) just before it enters the deck to direct water away from the connection.
Step 6: Use Wireless Solutions to Reduce Cables
While not all connections can go wireless, reducing the number of physical cables simplifies installation and improves aesthetics.
Wireless HDMI Kits
Wireless HDMI transmitters send video and audio signals from your indoor source (like a streaming box or cable box) to your outdoor TV without cables. Most kits have a range of 30–100 feet and support 4K resolution.
Pros: Eliminates long HDMI runs, reduces clutter.
Cons: Can be affected by interference, requires power at both ends, may have slight latency.
Popular brands include J-Tech Digital, IOGEAR, and Nyrius. Choose a model with weatherproof receivers if placing equipment outdoors.
Bluetooth Audio
If you’re using a soundbar or outdoor speakers, consider a Bluetooth-enabled model. Pair it with your TV or streaming device to eliminate audio cables.
Note: Bluetooth has a limited range (usually 30 feet) and may not support high-resolution audio. For larger decks, use a Wi-Fi-based speaker system like Sonos.
Smart Power Strips
Use a smart outdoor power strip with remote control or scheduling. This lets you turn off all devices with one switch, reducing phantom power drain and simplifying cable management.
Step 7: Secure and Maintain Your Setup
Even the best cable management needs occasional upkeep. Regular maintenance ensures your system stays safe and functional.
Inspect Cables Seasonally
Check all cables, raceways, and connections every spring and fall. Look for cracks, fraying, loose mounts, or signs of pest damage. Replace any damaged components immediately.
Re-Tighten Mounts and Clips
Over time, vibrations and weather can loosen screws and clips. Periodically check and tighten all fasteners to keep cables secure.
Clean Raceways and Conduits
Use a damp cloth to wipe down raceways and remove dirt, pollen, or debris. For conduit, blow out dust with compressed air.
Update as Needed
As you add new devices (like a projector or smart lights), reassess your cable management. Upgrade raceways or add wireless options to keep things tidy.
Troubleshooting Common Issues
Cables Keep Snagging or Pulling Loose
This usually happens when cables aren’t secured properly or are too tight. Use more clips or zip ties, and leave a little slack at connection points to reduce strain.
Raceways Look Bulky or Unattractive
Paint the raceway to match your deck or railing. Use outdoor spray paint in a matching color. For a more integrated look, build a small wooden cover or use decorative molding.
Wireless Signal Drops or Lags
Move the transmitter closer to the receiver, or remove obstacles like metal structures or large plants. Ensure both devices are on the same Wi-Fi network and away from other electronics.
Water Gets Into Conduit or Raceways
Check seals at entry points and replace damaged gaskets. Add drip loops and ensure conduits slope slightly downward away from the TV.
Power Issues After Installation
Test all outlets with a circuit tester. If devices won’t turn on, check the GFCI outlet—it may have tripped. Reset it and ensure all connections are tight.
Conclusion
Hiding cables for your outdoor TV doesn’t have to be a daunting task. With careful planning, the right materials, and a few smart techniques, you can create a clean, safe, and stylish entertainment setup on your deck. Whether you choose cable raceways, conduit, under-deck routing, or wireless solutions, the key is to prioritize weather resistance, accessibility, and aesthetics.
Remember: a well-managed cable system not only looks better—it protects your equipment, reduces hazards, and makes your outdoor space more enjoyable. So grab your tools, follow this guide, and get ready to host unforgettable gatherings under the open sky. Your deck deserves to shine, and with hidden cables, it will.

