
Hiding outdoor TV cables in apartments doesn’t have to be messy or permanent. This guide shows you simple, renter-safe ways to manage wires using adhesive clips, raceways, and creative routing—keeping your outdoor space clean, safe, and stylish.
Key Takeaways
- Use adhesive cable clips and raceways: These no-drill options stick to walls and railings, keeping cables tidy without damaging surfaces.
- Route cables along existing structures: Hide wires behind railings, under decking, or along fence lines for a natural look.
- Choose weatherproof materials: Always use outdoor-rated cable covers and connectors to protect against rain and UV damage.
- Plan your cable path before installation: Measure distances and test signal strength to avoid signal loss or tripping hazards.
- Opt for wireless alternatives when possible: Use wireless HDMI kits or streaming devices to reduce the number of visible cables.
- Keep safety in mind: Never run cables across walkways or use indoor-rated products outdoors.
- Check lease agreements: Ensure your cable management method complies with apartment rules to avoid penalties.
How to Hide Cables Outdoor TV for Apartments
So, you’ve set up an outdoor TV on your apartment balcony or patio—great choice! Nothing beats watching your favorite show under the stars with a cool drink in hand. But there’s one little problem: all those dangling cables. Power cords, HDMI wires, and audio cables can turn your cozy outdoor oasis into a tangled mess. Worse, they can be a tripping hazard or get damaged by weather.
The good news? You don’t need to be a DIY expert or break your lease to fix this. Hiding outdoor TV cables in apartments is totally doable—even if you’re renting. With a few smart tools and techniques, you can keep your setup clean, safe, and stylish.
In this guide, we’ll walk you through step-by-step methods to hide your outdoor TV cables without drilling holes, damaging walls, or violating apartment rules. Whether you’ve got a small balcony or a spacious patio, these solutions are practical, affordable, and renter-friendly.
By the end, you’ll know how to route cables neatly, protect them from the elements, and even reduce clutter with wireless options. Let’s get started!
Why Hiding Outdoor TV Cables Matters
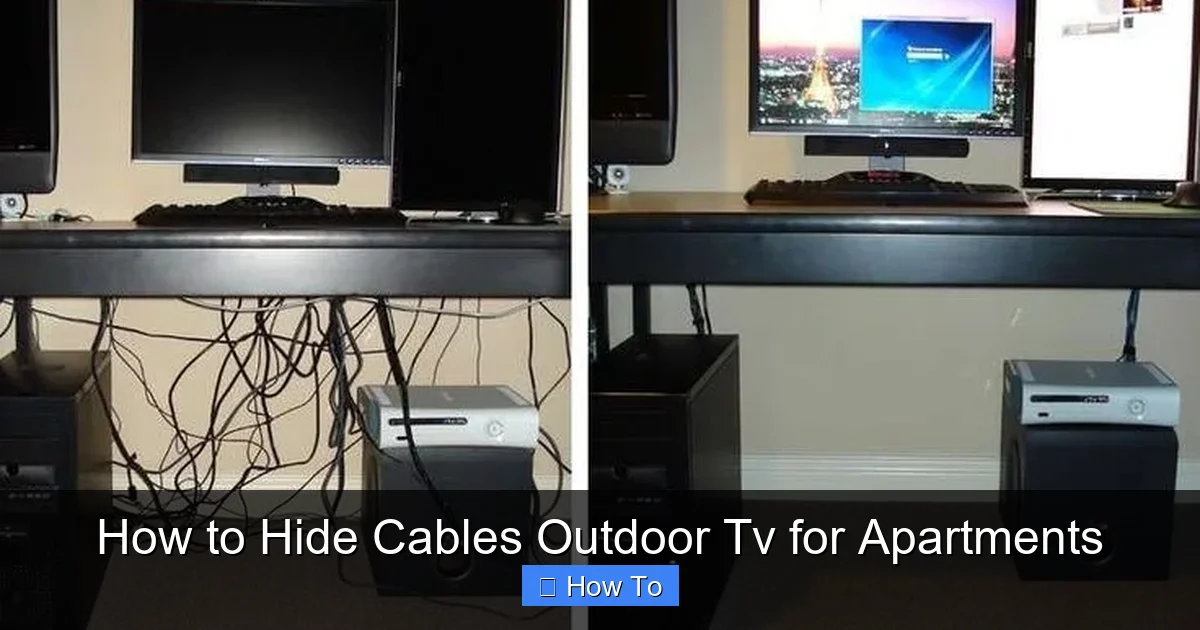
Visual guide about How to Hide Cables Outdoor Tv for Apartments
Image source: i.pinimg.com
Before we dive into the how-to, let’s talk about why this matters. It’s not just about looks—though a clean setup definitely makes your space more inviting. Hiding cables is also about safety, durability, and peace of mind.
First, exposed cables are a tripping hazard. Imagine reaching for your remote and accidentally yanking on a power cord. That could knock over your TV or worse—cause someone to fall. On a balcony or narrow patio, even a small stumble can be dangerous.
Second, outdoor cables are exposed to rain, sun, wind, and temperature changes. Indoor-rated cables can degrade quickly when left outside, leading to signal loss, electrical issues, or even fire risks. Using the right materials protects your gear and extends its life.
Third, many apartment leases prohibit permanent modifications like drilling holes or running wires through walls. If you get caught, you could face fines or lose your security deposit. That’s why renter-friendly solutions are a must.
Finally, a tidy setup just feels better. When your cables are hidden, your outdoor space looks intentional and well-designed. It’s the difference between “I threw a TV out here” and “I created a real outdoor living room.”
So whether you’re streaming movies, watching sports, or just enjoying background noise while grilling, taking the time to hide your cables is worth it.
Assess Your Outdoor TV Setup
Before you start hiding cables, take a moment to assess your current setup. This will help you choose the best method and avoid common mistakes.
Step 1: Identify All Cables
List every cable connected to your outdoor TV. Common ones include:
– Power cord (for the TV and any devices)
– HDMI cable (from streaming box, game console, or cable box)
– Audio cable (if using external speakers)
– Ethernet cable (for wired internet, if needed)
– USB cables (for streaming devices like Roku or Fire Stick)
Count how many you have and note their lengths. This helps when planning your routing path.
Step 2: Locate Power and Signal Sources
Where are your power outlet and signal source (like a cable box or router)? Are they inside your apartment or already outside?
Most apartment setups require running cables from inside to outside. If your outlet is far from the balcony door, you’ll need a longer cable or an extension—but make sure it’s outdoor-rated.
Step 3: Measure the Distance
Use a tape measure to check the distance from your TV to the nearest power source and signal source. Add a little extra length (about 6–12 inches) for flexibility.
Also, note any obstacles: railings, doors, windows, or furniture. These will affect how you route your cables.
Step 4: Check Your Lease Agreement
Review your rental agreement or talk to your landlord. Some buildings allow minor modifications like adhesive hooks, while others ban anything that leaves residue.
If you’re unsure, ask! Many landlords are fine with temporary, non-damaging solutions—especially if they improve safety.
Step 5: Test Signal Strength
Before finalizing your cable path, test your TV and devices. Make sure the HDMI signal is strong and the internet connection is stable.
Long cable runs can weaken signals, especially with HDMI. If you notice lag or flickering, consider a signal booster or wireless alternative.
Choose the Right Cable Management Tools
Now that you’ve assessed your setup, it’s time to pick the right tools. The goal is to hide cables without drilling, painting, or damaging surfaces. Here are the best renter-friendly options:
Adhesive Cable Clips
These small plastic or silicone clips stick to walls, railings, or furniture using strong adhesive backing. They’re perfect for holding individual cables in place.
Look for outdoor-rated clips with UV-resistant adhesive. Brands like JOTO, Cable Matters, and 3M offer reliable options.
Cable Raceways
Raceways are long, hollow channels that hide multiple cables inside. They come in various sizes and colors to match your wall or railing.
Self-adhesive raceways are ideal for apartments. Just peel and stick along the edge of a wall or under a railing. Some even have snap-on covers for easy access.
Cable Sleeves and Wraps
These flexible tubes bundle multiple cables together into one neat line. They’re great for running along railings or under furniture.
Choose weatherproof sleeves made from nylon or PVC. Some have Velcro closures for easy installation.
Outdoor Extension Cords and Power Strips
If your outlet is far from your TV, use a heavy-duty outdoor extension cord. Look for one with a built-in GFCI (ground fault circuit interrupter) for safety.
Pair it with a weatherproof power strip to plug in multiple devices. Mount the strip under a table or behind furniture to keep it out of sight.
Wireless HDMI Kits
For a truly cable-free look, consider a wireless HDMI transmitter. These kits send video and audio from your source (like a cable box) to your TV without wires.
They’re easy to set up and work well for short distances (up to 100 feet). Just make sure there’s a clear line of sight between the transmitter and receiver.
Cable Hooks and Ties
Use outdoor-rated zip ties or reusable Velcro straps to bundle cables together. You can also use adhesive hooks to guide cables along railings or under tables.
Avoid metal hooks that can rust. Plastic or coated hooks are better for outdoor use.
Step-by-Step Guide to Hiding Outdoor TV Cables
Now let’s get into the actual process. Follow these steps to hide your cables safely and effectively.
Step 1: Plan Your Cable Path
Start by mapping out the best route from your TV to the power and signal sources. The ideal path should:
– Be as short as possible
– Avoid walkways and high-traffic areas
– Use existing structures (like railings or walls)
– Stay out of direct sunlight and rain
For example, if your balcony has a railing, you can run cables along the inside edge. If you have a sliding glass door, route cables along the top or side frame.
Step 2: Gather Your Tools and Materials
Before you start, make sure you have everything you need:
– Outdoor-rated cables (HDMI, power, etc.)
– Adhesive clips or raceways
– Cable sleeves or ties
– Extension cord and power strip
– Wireless HDMI kit (optional)
– Cleaning cloth and rubbing alcohol (to prep surfaces)
Step 3: Clean the Surface
Adhesive products stick best to clean, dry surfaces. Use a cloth and rubbing alcohol to wipe down the area where you’ll apply clips or raceways.
Remove dust, grease, or moisture. Let it dry completely before attaching anything.
Step 4: Install Adhesive Clips or Raceways
Start at the TV and work your way toward the power source.
For clips: Space them every 6–12 inches along the cable path. Press firmly to ensure a strong bond.
For raceways: Cut the raceway to length using scissors or a utility knife. Peel off the backing and press it into place. Snap the cover on to hide the cables inside.
Tip: Use corner pieces if your path turns a corner. This keeps the raceway looking neat.
Step 5: Bundle and Secure Cables
If you’re using a sleeve or wrap, feed all your cables through it. Then use zip ties or Velcro straps to secure the bundle at both ends.
This prevents cables from sagging or getting tangled.
Step 6: Route Cables Along Railings or Walls
Use the natural lines of your balcony or patio to your advantage.
– Run cables along the inside of a railing
– Tuck them under a decking board (if accessible)
– Follow the edge of a wall or fence
– Go behind outdoor furniture
Avoid running cables across the floor where people walk. If you must cross a pathway, use a cable ramp or cover.
Step 7: Connect to Power and Signal Sources
Plug your TV and devices into the outdoor power strip. If using an extension cord, make sure it’s rated for outdoor use and not a tripping hazard.
For HDMI or other signal cables, connect them to your source inside the apartment. If running through a door, leave a small gap or use a door sweep to protect the cable.
Step 8: Test Everything
Turn on your TV and check that all devices are working. Make sure the picture is clear, the sound is good, and there’s no signal loss.
If something isn’t working, double-check connections and cable lengths.
Step 9: Final Touches
Once everything is working, tidy up any loose ends. Use extra clips or ties to secure stray cables.
If you used a wireless HDMI kit, place the transmitter near your source and the receiver near your TV. Keep them within range and free from obstructions.
Renter-Friendly Tips and Tricks
Living in an apartment means you need solutions that are temporary and non-damaging. Here are some extra tips to keep your setup lease-compliant:
Use Removable Adhesives
Choose products with removable adhesive, like 3M Command strips. They hold strong but come off cleanly when you move out.
Avoid super glue, nails, or screws—these can damage walls and lead to fines.
Hide Cables Behind Furniture
Place your TV on a stand or mount it above a cabinet. Run cables behind the furniture to keep them out of sight.
Use furniture with built-in cable management, like holes or channels.
Go Wireless Where Possible
The fewer cables you have, the easier they are to hide. Use wireless streaming devices (like Apple TV or Chromecast) and Bluetooth speakers to reduce clutter.
Use Decorative Covers
Paint raceways to match your wall or railing. Or wrap them with outdoor-safe tape or fabric for a custom look.
You can also use potted plants, outdoor rugs, or decorative screens to camouflage cables.
Label Your Cables
Use colored tape or labels to mark each cable. This makes troubleshooting easier and helps you remember what’s what.
Troubleshooting Common Issues
Even with the best planning, things can go wrong. Here’s how to fix common problems:
Problem: Adhesive Clips Keep Falling Off
Solution: Make sure the surface is clean and dry. Avoid applying clips in direct sunlight or extreme heat, which can weaken adhesive. Use extra clips for heavy cables.
Problem: HDMI Signal is Weak or Flickering
Solution: HDMI cables lose signal over long distances. Use a shorter cable or an HDMI extender. Or switch to a wireless HDMI kit.
Problem: Cables Get Wet or Damaged
Solution: Always use outdoor-rated cables and covers. Avoid running cables on the ground where water can pool. Use conduit or raceways for extra protection.
Problem: Power Strip Keeps Tripping
Solution: Don’t overload the power strip. Unplug devices you’re not using. Make sure the extension cord is rated for the total wattage of your devices.
Problem: Landlord Says No to Modifications
Solution: Stick to fully removable solutions. Use clips, sleeves, and wireless options that leave no trace. Offer to remove everything when you move out.
Conclusion
Hiding outdoor TV cables in apartments doesn’t have to be a headache. With the right tools and a little planning, you can create a clean, safe, and stylish outdoor entertainment space—no drilling or permanent changes required.
Start by assessing your setup, choosing renter-friendly tools like adhesive clips and raceways, and routing cables along existing structures. Use wireless options to reduce clutter, and always prioritize safety and weather protection.
Remember, the goal isn’t perfection—it’s practicality. A few well-placed clips or a sleek raceway can make a huge difference. And when it’s time to move out, you can remove everything without a trace.
So go ahead, enjoy your outdoor TV without the cable chaos. Your balcony or patio will look better, feel safer, and be ready for movie nights, game days, or just relaxing under the open sky.

