
Setting up an outdoor TV for backyard movie nights is fun—until cables become tripping hazards or eyesores. This guide shows you simple, effective ways to hide outdoor TV cables safely and stylishly, so you can enjoy seamless entertainment without clutter or risk.
Key Takeaways
- Use weatherproof cable management solutions: Always choose outdoor-rated raceways, conduits, or clips designed to withstand rain, sun, and temperature changes.
- Plan your cable route before drilling: Map out the shortest, safest path from your TV to power and AV sources to minimize exposure and damage risk.
- Anchor cables securely to walls or structures: Loose wires can sag, tangle, or get damaged—use UV-resistant clips or straps every 12–18 inches.
- Protect power cords from moisture: Use GFCI outlets and waterproof extension cords or covers to prevent electrical hazards.
- Blend cables with your decor: Paint raceways to match your wall or fence, or hide them behind furniture, planters, or outdoor drapes.
- Test everything before finalizing: Ensure all connections work and cables are secure before covering them permanently.
- Prioritize safety and code compliance: Avoid running cords across walkways or under rugs—follow local electrical codes for outdoor installations.
How to Hide Cables Outdoor TV for Backyard Movie Night
Imagine this: It’s a warm summer evening, the string lights are glowing, your favorite film is about to start—and then you trip over a tangled mess of cords snaking across your patio. Not exactly the cinematic experience you dreamed of, right?
Setting up an outdoor TV for backyard movie nights is one of the best ways to enjoy entertainment under the stars. But exposed cables? They’re not just ugly—they’re dangerous. They can cause trips, get damaged by weather, or even create electrical risks. The good news? Hiding outdoor TV cables is easier than you think, and with the right tools and planning, you can create a clean, safe, and professional-looking setup that lets you focus on what really matters: popcorn, friends, and the movie.
In this guide, we’ll walk you through every step of hiding cables for your outdoor TV—from planning your layout to choosing the best cable management products, installing them safely, and troubleshooting common issues. Whether you’re mounting your TV on a wall, placing it on a stand, or building a custom outdoor entertainment center, these tips will help you keep your space tidy and your movie nights worry-free.
Let’s get started!
Step 1: Plan Your Outdoor TV Setup
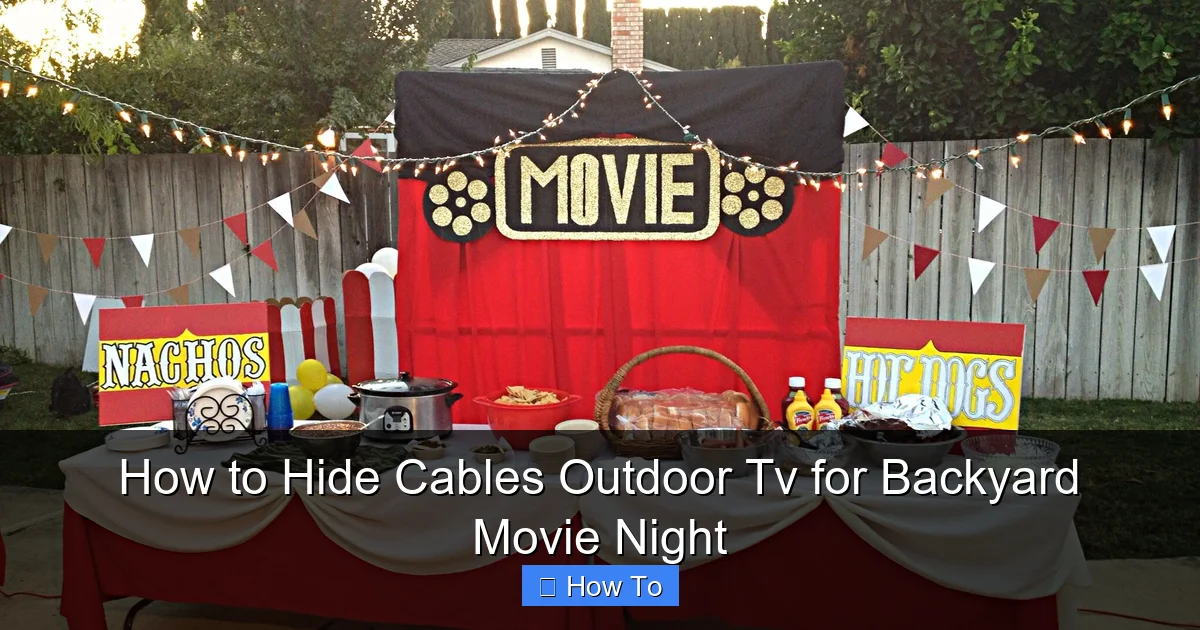
Visual guide about How to Hide Cables Outdoor Tv for Backyard Movie Night
Image source: i.pinimg.com
Before you even think about hiding cables, you need a solid plan. A little prep work now saves you time, money, and frustration later.
Choose the Right TV Location
Start by deciding where your outdoor TV will go. Common spots include:
– Mounted on an exterior wall
– On a weatherproof TV stand or cabinet
– Inside a covered pergola or gazebo
– On a retractable outdoor TV lift
Consider factors like:
– **Viewing angle:** Can everyone see the screen comfortably?
– **Sun and glare:** Is the screen protected from direct sunlight?
– **Weather exposure:** Is the area covered or partially sheltered?
– **Proximity to power and AV sources:** How far are your outlets, streaming devices, or speakers?
Pro tip: If you’re mounting on a wall, choose a spot near an outdoor GFCI (Ground Fault Circuit Interrupter) outlet. These are essential for safety and are required by electrical code in most outdoor areas.
Map Out Your Cable Route
Once you’ve picked your TV location, trace the path your cables will take. You’ll typically need:
– A power cord for the TV
– HDMI cables for streaming devices (like Roku, Apple TV, or gaming consoles)
– Speaker or soundbar cables (if not using wireless audio)
– Optional: Ethernet cable for a wired internet connection (more reliable than Wi-Fi outdoors)
Draw a simple sketch or use a tape measure to estimate distances. The goal is to find the shortest, safest route that avoids high-traffic areas, garden beds, or water sources.
Check Local Building and Electrical Codes
Outdoor electrical work often requires permits or must meet specific safety standards. For example:
– Cables shouldn’t run across walkways unless properly protected.
– All outdoor outlets must be GFCI-protected.
– Permanent wiring may need to be in conduit.
When in doubt, consult a licensed electrician—especially if you’re running new outlets or drilling through exterior walls.
Step 2: Gather the Right Tools and Materials
You don’t need a full toolbox, but having the right supplies makes the job smoother and safer. Here’s what to get:
Essential Cable Management Products
– **Outdoor cable raceways (also called wire mold or conduit covers):** These are plastic or metal channels that snap over cables and attach to walls. Look for UV-resistant, weatherproof models.
– **Flexible conduit (like liquid-tight PVC):** Great for running cables through walls or under decks.
– **Cable clips and straps:** Use outdoor-rated, UV-resistant versions to secure loose wires.
– **Weatherproof extension cords or outdoor power strips:** Only use cords labeled for outdoor use.
– **GFCI outlet cover:** Protects your outlet from rain and moisture.
– **Paintable raceways:** Let you match the color to your wall or fence for a seamless look.
Basic Tools You’ll Need
– Drill and drill bits (for mounting raceways or conduits)
– Screwdriver or impact driver
– Measuring tape
– Level (to keep raceways straight)
– Wire strippers (if splicing cables)
– Utility knife or scissors
– Painter’s tape (for temporary marking)
Pro tip: Buy a little extra cable length and raceway—better to have too much than not enough!
Step 3: Choose the Best Cable Hiding Method
There’s no one-size-fits-all solution. The best method depends on your setup, budget, and how permanent you want the installation to be. Here are the top options:
Option 1: Surface-Mounted Cable Raceways
This is the most popular and beginner-friendly method. Raceways are plastic or metal channels that snap over your cables and attach to the wall with screws or adhesive.
**Best for:** TVs mounted on exterior walls, fences, or pergolas.
**Pros:** Easy to install, removable, paintable, affordable.
**Cons:** Visible on the surface (though less noticeable when painted).
**How to install:**
1. Clean the wall surface with rubbing alcohol.
2. Measure and cut the raceway to length using a utility knife or hacksaw.
3. Lay the cables inside the raceway.
4. Attach the raceway to the wall using screws (pre-drill holes to avoid cracking) or heavy-duty outdoor adhesive.
5. Snap the cover closed.
6. Paint the raceway to match your wall (use exterior-grade paint).
Option 2: In-Wall Conduit Installation
For a truly hidden look, run cables inside the wall using flexible conduit. This is more advanced but gives a professional finish.
**Best for:** Permanent setups, new constructions, or homes with accessible wall cavities.
**Pros:** Completely hidden, maximum protection, clean appearance.
**Cons:** Requires drilling, more time-consuming, may need professional help.
**How to install:**
1. Turn off power at the breaker.
2. Drill a small hole from the outdoor wall into the attic or crawlspace.
3. Feed flexible conduit (like ENT or liquid-tight PVC) through the wall.
4. Run your cables through the conduit using a fish tape or string.
5. Seal the hole with exterior-grade caulk to prevent moisture.
6. Connect cables to indoor outlets or devices.
Note: This method may require an electrician if you’re not comfortable with wiring.
Option 3: Under-Deck or Ground-Level Conduit
If your TV is on a deck or near the ground, you can run cables underneath using buried or surface-mounted conduit.
**Best for:** Deck-mounted TVs, ground-level setups, or pathways.
**Pros:** Keeps cables off the ground, protects from foot traffic.
**Cons:** Requires trenching or drilling, not ideal for all landscapes.
**How to install:**
1. Use a flat-nose shovel or edger to create a shallow trench (4–6 inches deep).
2. Lay flexible conduit in the trench.
3. Run cables through the conduit.
4. Cover with soil or mulch—avoid heavy foot traffic areas.
5. Alternatively, use surface-mounted deck cable covers that snap over wires.
Option 4: Creative Hiding with Decor
Sometimes the best hiding spot is in plain sight. Use your outdoor decor to disguise cables:
– **Plant pots or planters:** Run cables behind large pots with tall plants.
– **Outdoor furniture:** Tuck cords behind benches, cabinets, or TV stands.
– **String lights or lattice panels:** Weave cables through decorative screens.
– **Outdoor drapes or curtains:** Hang weather-resistant fabric to conceal wall-mounted raceways.
Pro tip: Use zip ties or Velcro straps to bundle cables neatly before hiding them.
Step 4: Secure and Protect Your Cables
Hiding cables isn’t just about looks—it’s about safety and longevity. Outdoor cables face sun, rain, wind, and pests. Here’s how to protect them:
Use Weatherproof Covers and Seals
– Cover outdoor outlets with flip-up GFCI covers.
– Use silicone sealant around cable entry points into walls or conduit.
– Choose cables with UV-resistant jackets (look for “direct burial” or “outdoor rated” labels).
Anchor Cables Every 12–18 Inches
Loose cables can sag, snag, or get damaged. Use outdoor-rated cable clips, straps, or zip ties to secure them to walls, fences, or decks. Avoid over-tightening—cables need a little flexibility.
Avoid Tripping Hazards
Never run power cords across walkways, under rugs, or through doorways. If you must cross a path, use a cord cover ramp designed for outdoor use. These are rubber or plastic channels that protect cords and reduce tripping risks.
Label Your Cables
Use waterproof labels or colored tape to mark each cable (e.g., “HDMI 1,” “Power,” “Speaker”). This makes troubleshooting and upgrades much easier.
Step 5: Test and Finalize Your Setup
Before you call it a day, make sure everything works—and stays working.
Power On and Test All Connections
– Turn on the TV and all connected devices.
– Check video and audio quality.
– Test internet connectivity (if using Ethernet or Wi-Fi).
– Ensure the GFCI outlet trips correctly (press the “Test” button—it should cut power).
Secure Loose Ends
Use cable ties or Velcro straps to bundle any excess cable behind the TV or inside a weatherproof cabinet. Don’t coil power cords tightly—this can cause overheating.
Do a Final Safety Check
– Are all cables protected from moisture?
– Are raceways or conduits securely attached?
– Are there no exposed wires or frayed cords?
– Is the area free of tripping hazards?
Troubleshooting Common Issues
Even with the best planning, problems can pop up. Here’s how to fix them:
Problem: Cables Are Still Visible After Installation
**Solution:** Paint the raceway to match your wall, or use a longer piece to extend behind the TV. Alternatively, switch to a paintable conduit or use decor to camouflage it.
Problem: Signal Loss or Poor Picture Quality
**Solution:** Long HDMI runs (over 25 feet) can weaken signals. Use an HDMI extender, signal booster, or switch to a wired Ethernet connection for streaming devices.
Problem: Cables Keep Coming Loose
**Solution:** Use heavier-duty clips or switch to screw-mounted raceways instead of adhesive. Check that the surface is clean and dry before attaching.
Problem: Water Getting Into Outlets or Conduit
**Solution:** Reapply silicone sealant around entry points. Upgrade to a weatherproof outlet cover with a gasket. Ensure conduit slopes slightly downward to prevent water pooling.
Problem: Animals Chewing on Cables
**Solution:** Use metal conduit or armored cable. Spray cables with a pet-safe deterrent (like bitter apple) or run them through areas less accessible to pests.
Conclusion
Hiding cables for your outdoor TV doesn’t have to be complicated or expensive. With a little planning, the right tools, and weatherproof materials, you can create a clean, safe, and stylish setup that enhances your backyard movie nights—not distracts from them.
Remember: Safety first. Always use outdoor-rated products, protect your cables from the elements, and follow local electrical codes. Whether you go with simple raceways, in-wall conduit, or creative decor solutions, the goal is the same: a seamless entertainment experience that lets you relax and enjoy the show.
So grab your popcorn, dim the lights, and press play. Your perfect outdoor cinema is just a few cable clips away.

