
Hiding outdoor TV cables doesn’t have to be complicated. This guide walks you through practical, weather-resistant methods to conceal wires and keep your large patio looking clean and organized.
Key Takeaways
- Plan your cable route first: Map out the path from your TV to the power source and other devices to avoid last-minute surprises.
- Use outdoor-rated cable management products: Regular indoor clips or raceways won’t survive rain, sun, or temperature changes—choose UV-resistant and waterproof options.
- Conceal cables along architectural features: Run wires behind trim, under decking, or inside conduit along walls or railings for a seamless look.
- Protect connections with weatherproof enclosures: Seal all splices and power connections in IP65-rated boxes to prevent moisture damage.
- Test everything before final installation: Ensure signal strength and power delivery work properly before securing cables permanently.
- Maintain easy access for future repairs: Avoid fully embedding cables in concrete or walls unless absolutely necessary.
- Prioritize safety and code compliance: Follow local electrical codes and use GFCI outlets to reduce shock risks outdoors.
How to Hide Cables Outdoor Television for Large Patio
So you’ve finally installed that gorgeous outdoor TV on your spacious patio—perfect for movie nights, game days, or just relaxing with a view. But now there’s a problem: a tangled mess of cables snaking across your beautiful hardscape or dangling from the wall. Not only does it look messy, but exposed wires can be a tripping hazard and are vulnerable to weather damage, pests, and wear over time.
The good news? Hiding outdoor TV cables is totally doable—even on a large patio—with the right tools, planning, and a bit of patience. In this complete guide, we’ll walk you through every step of the process, from assessing your setup to choosing the best concealment methods for your space. Whether you’re dealing with power cords, HDMI cables, speaker wires, or antenna lines, we’ve got you covered.
By the end of this guide, you’ll know exactly how to hide cables for your outdoor television in a way that’s safe, durable, and visually clean. We’ll cover everything from DIY raceways and conduit systems to clever landscaping tricks and professional-grade solutions. Plus, we’ll share troubleshooting tips and safety reminders to keep your setup running smoothly for years.
Let’s get started!
Step 1: Assess Your Outdoor TV Setup
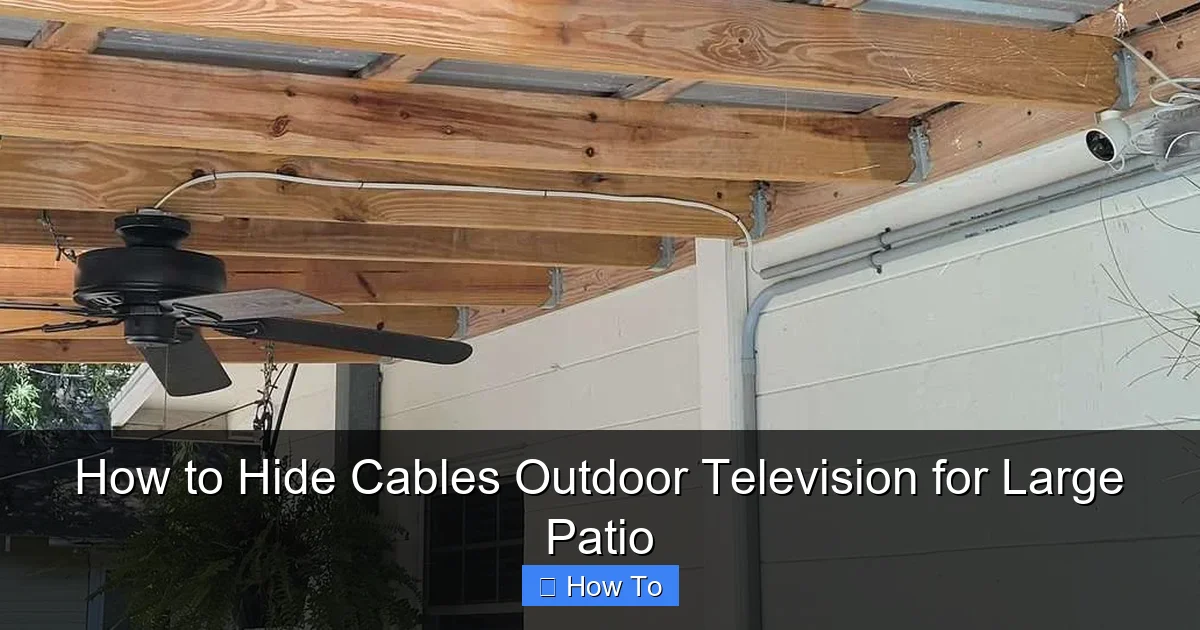
Visual guide about How to Hide Cables Outdoor Television for Large Patio
Image source: i1.wp.com
Before you even think about hiding cables, take a moment to understand your current setup. This step is crucial because it determines which hiding methods will work best for your space.
Identify All Cables Needed
Start by listing every cable connected to your outdoor TV:
– Power cable (from TV to outlet)
– HDMI cable (from TV to streaming device, cable box, or receiver)
– Audio cables (if using external speakers)
– Ethernet cable (for wired internet, if applicable)
– Antenna or satellite cable (if not using streaming)
On a large patio, you might also have longer runs to consider—especially if your TV is mounted far from your house or entertainment center. Measure the distance from your TV to each device or power source. This will help you buy the right length of extension cables or conduits later.
Check Your Mounting Location
Where is your TV mounted? Is it on a wall, a freestanding post, or a pergola? The mounting style affects how you can route cables.
– Wall-mounted TVs: Easier to run cables vertically down the wall and into the ground or along baseboards.
– Post-mounted TVs: May require running cables down the post and underground or along the ground.
– Pergola or ceiling-mounted TVs: Cables can be routed through beams or along the structure.
Also, note any obstacles: planters, furniture, stairs, or landscaping features that might block your cable path.
Determine Power Source Location
Find the nearest outdoor GFCI (Ground Fault Circuit Interrupter) outlet. This is essential for safety—never use indoor outlets for outdoor TVs. If the outlet is far from your TV, you may need a heavy-duty outdoor extension cord or to install a new outlet (hire an electrician if needed).
Pro tip: Use a voltage tester to confirm the outlet is working before you start.
Step 2: Choose the Right Cable Management Method
Not all cable hiding solutions are created equal—especially outdoors. You need products designed to withstand rain, UV rays, temperature swings, and physical wear.
Here are the top methods for hiding outdoor TV cables on a large patio:
1. Outdoor Cable Raceways
Raceways are plastic or metal channels that snap over cables to hide and protect them. They’re one of the most popular choices for outdoor use because they’re affordable, easy to install, and come in various sizes.
– Best for: Running cables along walls, fences, or railings.
– Look for: UV-resistant, waterproof raceways with adhesive backing or screw mounts.
– Example: The D-Line Outdoor Cable Cover is a favorite—it’s flexible, paintable, and blends well with most surfaces.
Installation tip: Clean the surface with rubbing alcohol before applying adhesive-backed raceways to ensure a strong bond.
2. Conduit Systems
For a more permanent and professional look, use electrical conduit. This is a hollow tube (usually PVC or metal) that protects cables from damage and moisture.
– Best for: Long runs, underground routing, or high-traffic areas.
– PVC conduit is lightweight, rust-proof, and easy to cut—ideal for most patios.
– Metal conduit offers extra durability but is harder to work with.
To install:
1. Measure and cut the conduit to length.
2. Use conduit straps to secure it to walls or posts every 3–4 feet.
3. Feed your cables through using a fish tape or string.
4. Seal ends with waterproof conduit caps or silicone caulk.
Bonus: Conduit allows you to pull new cables in the future without tearing up your patio.
3. In-Ground Cable Channels
If your TV is far from the house, consider burying cables underground. This keeps them completely hidden and protected.
– Use direct-burial-rated cables (marked “UF” or “direct burial”).
– Bury cables at least 18–24 inches deep (check local codes).
– Run them through PVC conduit for added protection.
– Mark the burial path with landscape flags or a buried tracer wire so you don’t accidentally dig into them later.
Warning: Always call 811 (in the U.S.) before digging to locate underground utilities.
4. Cable Hiding Along Decking or Pavers
On a large patio with decking or stone pavers, you can tuck cables under the edges or between joints.
– For decks: Use cable clips designed for outdoor use to secure wires under the deck boards.
– For pavers: Lift a few stones, lay the cable in the gap, and replace the pavers. Use a rubber mallet to avoid cracking.
– Add a drip edge or weatherproof sealant to prevent water from seeping in.
This method works best for low-voltage cables like HDMI or audio. Never bury high-voltage power cords without proper conduit.
5. Decorative Cable Covers
Want something that looks good and hides cables? Try decorative covers that double as outdoor decor.
– Cable hiders that look like garden edging, rocks, or planters.
– Flexible, snake-like covers that blend into grass or mulch.
– Example: The “Cable Camo” system uses a flexible tube that you can paint to match your surroundings.
These are great for temporary setups or renters who can’t make permanent changes.
Step 3: Prepare and Route Your Cables
Now that you’ve chosen your method, it’s time to prep and run the cables.
Gather Your Tools and Materials
You’ll need:
– Outdoor-rated cables (HDMI, power, etc.)
– Cable ties or clips
– Drill and bits (for mounting)
– Measuring tape
– Level
– Fish tape (for conduit)
– Silicone sealant (for waterproofing)
– Voltage tester
– Wire strippers (if splicing)
Plan the Cable Path
Sketch a simple diagram of your patio. Mark:
– TV location
– Power source
– Streaming device or receiver location
– Any obstacles
Choose the shortest, safest route. Avoid sharp bends in cables—especially HDMI, which can lose signal if kinked.
Run the Cables
Follow these steps based on your chosen method:
– For raceways: Attach the base to the wall or fence, lay cables inside, and snap on the cover.
– For conduit: Secure the conduit first, then feed cables through using a fish tape.
– For under-deck routing: Use outdoor-rated cable clips every 12–18 inches to hold wires in place.
– For pavers: Remove stones one by one, lay the cable, and replace carefully.
Always leave a little slack at each end—about 6–12 inches—to allow for adjustments.
Step 4: Protect Connections and Power Sources
Exposed connections are the weakest point in any outdoor setup. Moisture, dust, and temperature changes can cause corrosion and failure.
Use Weatherproof Enclosures
Any place where cables connect—like between your TV and a streaming box—should be inside a weatherproof junction box.
– Look for IP65 or higher rated enclosures.
– Mount the box near the TV or under a covered area.
– Use cable glands or rubber grommets to seal entry points.
Example: The Hubbell HBLW4150 outdoor junction box is durable and easy to install.
Seal All Entry Points
Where cables enter walls, conduits, or enclosures, seal the gaps with silicone caulk or outdoor-grade sealant. This prevents water, insects, and rodents from getting in.
Use GFCI Protection
Always plug your outdoor TV and devices into a GFCI outlet. These outlets shut off power if they detect a ground fault, reducing the risk of electric shock.
If your outlet isn’t GFCI-protected, install one or use a GFCI power strip.
Step 5: Test and Secure Your Setup
Before you finalize everything, test your system.
Power On and Check Signals
Turn on your TV and all connected devices. Make sure:
– The picture is clear (no flickering or signal loss)
– Audio works
– Internet connection is stable (if using streaming)
If you notice issues, check cable connections and ensure nothing is pinched or damaged.
Tighten and Secure All Components
Double-check that:
– Raceways are firmly attached
– Conduit is securely strapped
– Cables are not loose or sagging
– Enclosures are closed and sealed
Use zip ties or outdoor cable clips to bundle excess cable neatly.
Add Labels (Optional but Helpful)
Label each cable at both ends with waterproof tags or tape. This makes future troubleshooting much easier.
Step 6: Maintain and Monitor
Outdoor setups need regular check-ups to stay in top shape.
Inspect Every Season
Check for:
– Cracked raceways or conduit
– Loose clips or mounts
– Signs of moisture or corrosion
– Pest activity (mice love chewing wires)
Clean dust and debris from enclosures and cable covers.
Trim Nearby Plants
Overgrown vines or shrubs can rub against cables and cause wear. Keep vegetation trimmed back.
Upgrade as Needed
If you add new devices (like outdoor speakers or a soundbar), plan cable routes in advance to avoid a messy retrofit.
Troubleshooting Common Issues
Even with careful planning, problems can happen. Here’s how to fix the most common ones.
Signal Loss or Poor Picture Quality
– Cause: Long HDMI runs (over 25 feet) can weaken signal.
– Fix: Use an HDMI extender with Ethernet or a signal booster. Or switch to a wireless HDMI kit.
Cables Coming Loose
– Cause: Adhesive failed due to heat or moisture.
– Fix: Replace with screw-mounted raceways or conduit straps.
Water in Enclosures
– Cause: Improper sealing or condensation.
– Fix: Re-seal with silicone and add silica gel packets inside the box to absorb moisture.
Tripping Hazards
– Cause: Cables running across walkways.
– Fix: Reroute under pavers or use a low-profile cable ramp.
Safety and Code Compliance
Never skip safety steps when working with electricity outdoors.
– Always turn off power at the breaker before working on outlets or wiring.
– Use only outdoor-rated electrical products.
– Follow the National Electrical Code (NEC) and local regulations.
– When in doubt, hire a licensed electrician—especially for new outlets or underground wiring.
Conclusion
Hiding cables for your outdoor TV on a large patio might seem like a daunting task, but with the right approach, it’s completely manageable. By planning your cable route, choosing weatherproof management solutions, and protecting all connections, you can create a clean, safe, and professional-looking setup that enhances your outdoor living space.
Remember: the key is to use outdoor-specific products, test everything before finalizing, and maintain your system regularly. Whether you go with sleek raceways, durable conduit, or clever landscaping tricks, your patio will look better—and your TV will perform better—with hidden cables.
Now go enjoy that movie night without tripping over wires!

