
Hiding outdoor TV cables doesn’t have to be complicated. This guide shows you how to conceal wires safely and stylishly so your deck stays beautiful and functional.
Key Takeaways
- Plan your cable route first: Map out the path from your TV to power and signal sources before drilling or running wires.
- Use weatherproof materials: Always choose outdoor-rated conduit, clips, and connectors to protect against moisture and UV damage.
- Secure cables properly: Loose wires can get damaged or become tripping hazards—use clips, raceways, or in-ground conduit for safety.
- Consider wireless alternatives: For shorter setups, HDMI over Wi-Fi or wireless extenders can reduce the number of visible cables.
- Test everything before finalizing: Power up and check signal quality after installation to avoid redoing work later.
- Follow local codes: Some areas require permits for outdoor electrical work—check with your municipality before starting.
- Aesthetics matter: Blend cable covers with your deck’s color and style for a clean, professional look.
How to Hide Cables Outdoor Television for Deck Entertainment
Setting up an outdoor television on your deck is a fantastic way to enjoy movies, sports, or music while soaking up fresh air and sunshine. But nothing ruins that relaxing vibe faster than a tangled mess of cables snaking across your deck floor or dangling down the wall. Whether it’s power cords, HDMI cables, or antenna wires, exposed cables are not only unsightly—they’re also safety hazards and vulnerable to weather damage.
The good news? You don’t need to be a professional electrician or contractor to hide those cables neatly and securely. With the right tools, materials, and a bit of planning, you can create a clean, safe, and stylish outdoor entertainment setup that blends seamlessly into your deck design.
In this comprehensive guide, we’ll walk you through every step of hiding cables for your outdoor TV—from planning your layout to choosing the best concealment methods, installing weatherproof solutions, and troubleshooting common issues. By the end, your deck will look polished, your equipment will be protected, and you’ll be ready to host unforgettable outdoor movie nights or game-day gatherings.
Let’s get started!
Why Hiding Outdoor TV Cables Matters
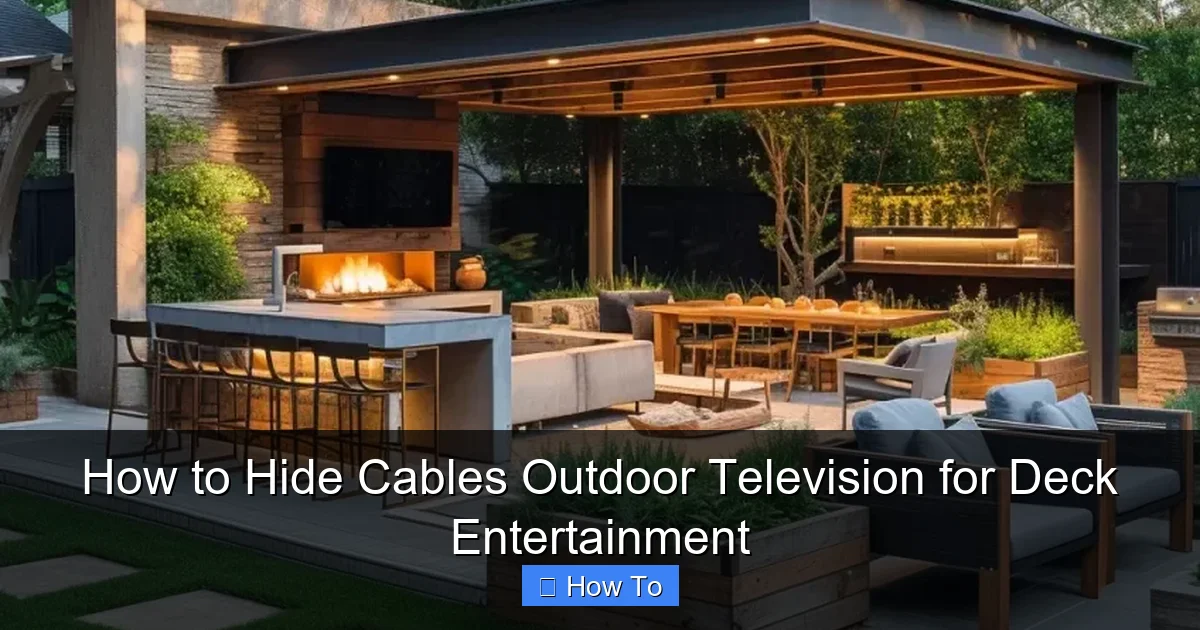
Visual guide about How to Hide Cables Outdoor Television for Deck Entertainment
Image source: irp.cdn-website.com
Before diving into the how-to, it’s important to understand why cable management is crucial for outdoor setups.
First, **safety**. Exposed cables can become tripping hazards, especially in low-light conditions or when guests are mingling. Wet decks increase the risk of electrical shock if cords are damaged or improperly insulated.
Second, **durability**. Outdoor environments expose cables to rain, snow, UV rays, temperature swings, and pests. Without proper protection, wires can degrade quickly, leading to signal loss, power issues, or even fire risks.
Third, **aesthetics**. A clean, cable-free deck enhances the visual appeal of your outdoor space. It makes the area feel more like a living room and less like a tech experiment.
Finally, **resale value**. A well-maintained, thoughtfully designed outdoor entertainment area can boost your home’s curb appeal and market value.
So, investing time in hiding your TV cables isn’t just about looks—it’s about safety, longevity, and enjoyment.
Step 1: Plan Your Cable Route
The first and most important step is planning. Rushing into installation without a clear path can lead to messy results, damaged walls, or the need to redo work.
Identify Power and Signal Sources
Start by locating where your TV will be mounted and where your power outlet, cable/satellite box, streaming device, and antenna (if used) are situated. Most outdoor TVs require:
– A power source (120V outlet)
– An HDMI connection (for streaming devices, cable boxes, etc.)
– Possibly an antenna or coaxial cable for over-the-air broadcasts
If your TV is mounted on a wall, note whether the power outlet is on the same wall, a nearby wall, or inside the house. This will determine how you route your cables.
Measure the Distance
Use a tape measure to determine the length of cable needed. Add 10–15% extra to account for bends, slack, and future adjustments. For example, if the distance from the TV to the outlet is 10 feet, plan for 11–12 feet of cable.
Choose the Best Path
Look for the shortest, safest route that avoids high-traffic areas, water runoff, and direct sunlight. Ideal paths include:
– Along the underside of the deck railing
– Through the wall (if drilling is an option)
– Under the deck (for in-ground conduit)
– Along the baseboard or under deck skirting
Avoid running cables across walkways or steps. If you must cross a path, use a cable ramp or bury the cable under a weatherproof cover.
Check Local Building Codes
Some municipalities require permits for outdoor electrical work, especially if you’re running new wiring or drilling through exterior walls. Check with your local building department to ensure compliance. When in doubt, consult a licensed electrician.
Step 2: Choose the Right Cable Management Solution
There are several effective ways to hide outdoor TV cables. The best method depends on your deck layout, budget, and aesthetic preferences.
Option 1: Surface-Mounted Cable Raceways
Cable raceways are plastic or metal channels that attach to walls or deck posts. They’re ideal for quick, non-invasive installations.
Pros:
– Easy to install with screws or adhesive
– Available in colors that match wood, metal, or paint
– Can be painted for a custom look
– Allow access for future upgrades
Cons:
– Visible on the surface (though less obtrusive than loose wires)
– May collect dirt or water if not sealed properly
Best for: Decks with flat surfaces, railings, or posts where you can attach the raceway.
Option 2: In-Wall Conduit (For Permanent Installs)
If you’re mounting your TV on an exterior wall and have access to the interior (like a basement or crawlspace), running cables through the wall is the cleanest solution.
Steps:
1. Drill a hole from inside the house to the outside wall where the TV will be.
2. Feed weatherproof conduit (like LFMC or ENT) through the hole.
3. Run your cables through the conduit.
4. Seal the interior and exterior openings with silicone caulk or foam.
Pros:
– Completely hidden cables
– Maximum protection from weather and pests
– Professional, finished look
Cons:
– Requires drilling and some DIY skill
– Not suitable for all homes (e.g., concrete walls)
Best for: Permanent setups on homes with accessible interior walls.
Option 3: Under-Deck Conduit or Trenching
For TVs mounted on freestanding posts or decks without wall access, running cables under the deck is a great option.
Steps:
1. Use a trenching tool or shovel to dig a shallow trench (6–8 inches deep) from the TV location to the power source.
2. Lay a PVC or flexible conduit in the trench.
3. Feed your cables through the conduit.
4. Backfill the trench and cover with mulch, grass, or decking.
Pros:
– Cables are completely hidden
– Protects against foot traffic and weather
– Can be combined with deck lighting or irrigation lines
Cons:
– Labor-intensive
– Requires access under the deck
– May need a permit for electrical work
Best for: Elevated decks with space underneath.
Option 4: Wireless Alternatives
If you want to minimize cables, consider wireless options.
Wireless HDMI Extenders: These devices transmit audio and video from your source (like a streaming box) to your TV without a physical HDMI cable. They work over Wi-Fi or dedicated RF signals and can reach up to 100 feet outdoors.
Pros:
– Eliminates the need for long HDMI runs
– Easy to set up
– Great for temporary or seasonal use
Cons:
– Can suffer from interference or latency
– Still requires power for both transmitter and receiver
– May reduce video quality (depending on model)
Best for: Short to medium distances where running cables is impractical.
Step 3: Gather Your Tools and Materials
Before you start, make sure you have everything you need. Here’s a checklist:
- Weatherproof cable raceway or conduit (PVC, metal, or plastic)
- Outdoor-rated extension cord or direct-wire cable (12/2 or 14/2 NM-B or UF-B)
- HDMI cable (outdoor-rated, if running externally)
- Cable clips or zip ties (stainless steel or UV-resistant plastic)
- Drill and drill bits (for mounting or wall penetration)
- Screws and wall anchors (if attaching to wood or concrete)
- Silicone sealant or outdoor caulk
- Fish tape or flexible wire puller (for conduit)
- Gloves and safety glasses
- Tape measure and level
- Wire strippers and electrical tape (if splicing)
Always use outdoor-rated materials. Indoor cables and connectors can degrade quickly when exposed to moisture and sunlight.
Step 4: Install the Cable Management System
Now it’s time to put your plan into action.
For Surface-Mounted Raceways:
1. Clean the surface where the raceway will be installed.
2. Hold the raceway in place and mark screw locations with a pencil.
3. Drill pilot holes to prevent splitting the wood.
4. Screw the raceway into place using stainless steel screws.
5. Open the raceway cover and lay in your cables.
6. Close the cover and ensure it snaps securely.
7. Seal the ends with silicone to prevent water ingress.
For In-Wall Conduit:
1. From inside the house, drill a hole through the wall at the desired height.
2. Insert the conduit and feed it through to the outside.
3. On the outside, secure the conduit to the wall with clips.
4. Use fish tape to pull your cables through the conduit.
5. Connect the cables to your TV and power source.
6. Seal both ends of the conduit with outdoor caulk.
For Under-Deck Conduit:
1. Dig a trench along your planned route.
2. Lay the conduit in the trench, ensuring it’s sloped slightly for drainage.
3. Feed your cables through the conduit using a pull string or fish tape.
4. Backfill the trench and tamp down the soil.
5. Cover with landscaping fabric and mulch or grass.
For Wireless Setups:
1. Place the transmitter near your streaming device or cable box.
2. Plug in the transmitter and connect it via HDMI.
3. Place the receiver near your outdoor TV.
4. Connect the receiver to the TV with a short HDMI cable.
5. Power both units and sync them according to the manufacturer’s instructions.
Step 5: Secure and Protect All Connections
Even the best cable management fails if connections aren’t protected.
Use Weatherproof Junction Boxes
If you’re splicing wires or connecting multiple cables, use a NEMA-rated outdoor junction box. These boxes are sealed against moisture and dust.
Seal Cable Entry Points
Where cables enter the raceway, conduit, or wall, apply a bead of silicone sealant to prevent water from seeping in.
Label Your Cables
Use waterproof labels or colored tape to mark each cable (e.g., “Power,” “HDMI,” “Antenna”). This makes troubleshooting and upgrades easier.
Use Cable Clips for Extra Support
Even within raceways, use clips every 12–18 inches to prevent sagging. For exposed sections (like under a railing), use UV-resistant zip ties or screw-in clips.
Step 6: Test Your Setup
Before calling it a day, test everything.
1. Plug in the TV and all devices.
2. Check that the picture and sound are clear.
3. Verify that all inputs (HDMI, antenna, etc.) work.
4. Look for loose connections or interference.
5. If using wireless, test range and stability.
If something isn’t working, double-check connections and ensure cables aren’t pinched or damaged.
Troubleshooting Common Issues
Even with careful planning, problems can arise. Here’s how to fix the most common ones.
Problem: Cables Are Still Visible
Solution: Use paintable raceways or paint them to match your deck. For under-deck runs, add a decorative skirt or lattice to hide the conduit.
Problem: Signal Loss or Interference
Solution: Ensure HDMI cables are high-speed and outdoor-rated. Avoid running power and signal cables in the same conduit. For wireless, move the transmitter closer or switch to a less congested Wi-Fi channel.
Problem: Water in the Conduit
Solution: Check for cracks or unsealed ends. Add a drip loop (a downward curve in the cable) before it enters the raceway to prevent water from traveling inward.
Problem: Cables Are Too Short
Solution: Use outdoor-rated extension cords or couplers—but never splice indoor cables. Always use connectors rated for wet locations.
Problem: Pets or Pests Chewing Cables
Solution: Use metal conduit or armored cable. Apply pet deterrent spray (non-toxic) around entry points.
Maintenance Tips for Long-Term Success
To keep your outdoor TV setup looking great and functioning well:
– Inspect cables and raceways every 6 months for cracks, corrosion, or wear.
– Clean raceways with a damp cloth to remove dirt and debris.
– Reapply sealant if you notice gaps or moisture.
– Trim back plants or vines that could damage cables.
– During winter, check for ice or snow buildup that could stress cables.
Conclusion
Hiding cables for your outdoor television doesn’t have to be a daunting task. With thoughtful planning, the right materials, and a bit of elbow grease, you can create a clean, safe, and stylish entertainment area on your deck. Whether you choose surface raceways, in-wall conduit, under-deck runs, or wireless solutions, the key is to prioritize safety, durability, and aesthetics.
Remember: always use outdoor-rated components, protect connections from the elements, and test your setup thoroughly. And don’t forget to enjoy the results—your deck is now ready for summer barbecues, fall football games, and cozy movie nights under the stars.
By following this guide, you’ve not only improved the look of your outdoor space—you’ve also extended the life of your equipment and created a safer environment for family and friends. So grab some popcorn, dim the lights, and press play. Your perfect outdoor entertainment experience starts now.

