
Hiding cables for a deck TV on a large patio doesn’t have to be complicated. This guide walks you through practical, weather-resistant solutions to keep your outdoor entertainment area neat and safe. From cable raceways to in-ground conduits, you’ll find the perfect method for your setup.
Key Takeaways
- Choose weatherproof materials: Always use outdoor-rated cable covers, conduits, and clips to protect against rain, UV rays, and temperature changes.
- Plan your cable route first: Map out the path from your TV to power and signal sources before installing any hiding solution.
- Use cable raceways for easy access: Surface-mounted raceways are simple to install and allow future upgrades or repairs.
- Bury cables for a seamless look: In-ground conduit systems offer a clean, invisible solution ideal for large patios.
- Secure cables to prevent tripping: Anchor all exposed lines with adhesive clips or zip ties to keep them flat and safe.
- Label your cables: Use tags or colored tape to identify HDMI, power, and audio lines for easy troubleshooting.
- Test everything before finalizing: Power up your system and check signal quality after installation to avoid rework.
How to Hide Cables for Deck TV on a Large Patio
So, you’ve mounted your TV on the deck, and now you’re staring at a tangled mess of cables snaking across your beautiful outdoor space. It’s unsightly, a tripping hazard, and could get damaged by weather or foot traffic. Don’t worry—this is a common problem with smart, stylish solutions.
In this guide, you’ll learn how to hide cables for your deck TV on a large patio using practical, weather-safe methods. Whether you want a quick fix or a permanent, invisible setup, we’ve got you covered. We’ll walk you through planning, choosing the right tools, and installing cable management systems that look great and last for years.
By the end, your patio will look clean, professional, and ready for movie nights, game days, or relaxing evenings under the stars—without a single visible wire.
Why Cable Management Matters on a Patio
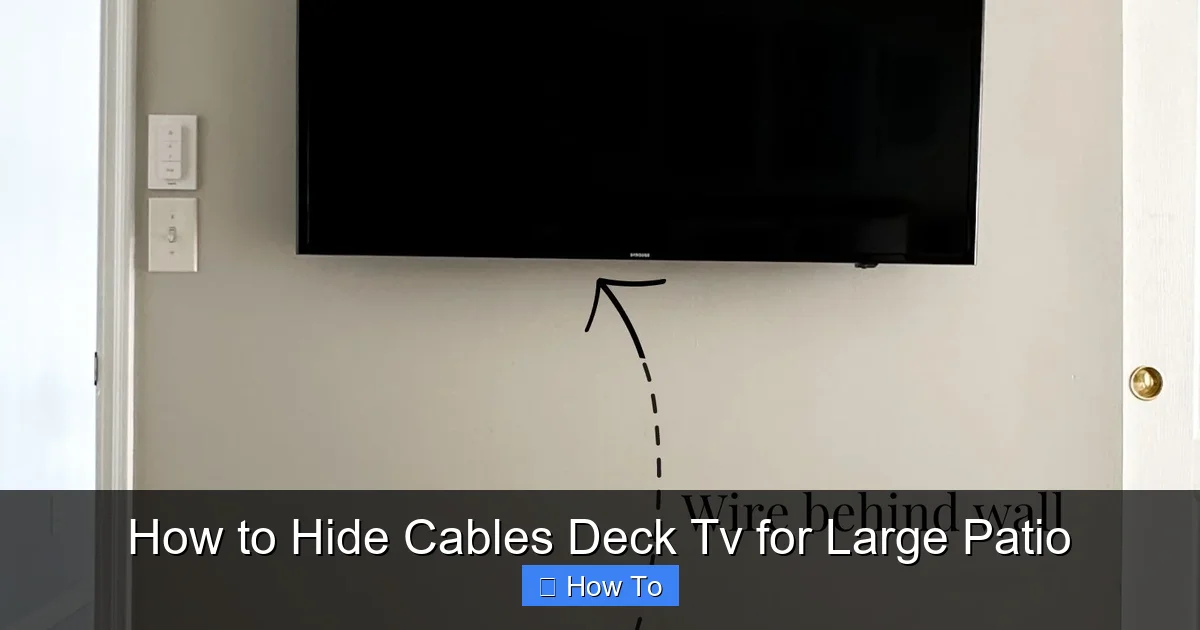
Visual guide about How to Hide Cables Deck Tv for Large Patio
Image source: homebyalley.com
Outdoor spaces should feel open and inviting, not cluttered with cords. But cable management isn’t just about looks—it’s about safety and longevity too.
Safety first: Loose cables are tripping hazards, especially in dim lighting or when guests are over. Kids, pets, and even adults can easily stumble over exposed wires.
Weather protection: Rain, snow, UV rays, and temperature swings can degrade standard indoor cables. Without protection, you risk short circuits, signal loss, or even fire hazards.
Durability: Outdoor-rated materials resist corrosion, fading, and cracking. Using the right products ensures your setup lasts through seasons and storms.
Aesthetic appeal: A clean, wire-free look makes your deck feel more like a living room and less like a tech lab. It enhances the overall ambiance and increases your home’s curb appeal.
Future-proofing: Good cable management makes it easier to upgrade your TV, add speakers, or install smart lighting later.
In short, hiding your cables isn’t just a nice-to-have—it’s essential for a functional, safe, and beautiful outdoor entertainment space.
Assess Your Setup and Plan the Route
Before buying supplies or drilling holes, take time to evaluate your current setup. A little planning now saves time, money, and frustration later.
Step 1: Identify All Cables
List every cable connected to your TV:
– Power cord
– HDMI cables (to streaming box, game console, etc.)
– Audio cables (if using external speakers)
– Ethernet cable (for wired internet)
– Any other accessories (like a soundbar or subwoofer)
Count them and note their thickness. Thicker bundles need wider channels or conduits.
Step 2: Map the Cable Path
Trace the shortest, safest route from your TV to the power outlet and signal sources. Common paths include:
– Along the deck railing
– Down the support post
– Across the deck floor to a nearby wall
– Underground to a utility box or indoor connection
Avoid high-traffic areas like walkways or seating zones. If crossing a path is unavoidable, use a protective cover.
Step 3: Check for Obstructions
Look for:
– Deck boards, joists, or railings in the way
– Plants, furniture, or decor that might block access
– Electrical outlets, gas lines, or irrigation systems
If you’re unsure about underground utilities, call 811 (in the U.S.) for a free locate service before digging.
Step 4: Measure the Distance
Use a tape measure to get the total length of cable run. Add 10–15% extra for slack and routing around corners. This helps you buy the right amount of conduit, raceway, or clips.
Step 5: Decide on Access Needs
Ask yourself:
– Will you need to swap cables often? (e.g., switching from Apple TV to PS5)
– Do you want to hide everything permanently?
– Is future expansion likely?
If yes to the first or third, choose solutions that allow easy access, like removable raceways or pull-string conduits.
Choose the Right Cable Hiding Method
There’s no one-size-fits-all solution. The best method depends on your patio layout, budget, and how permanent you want the setup to be.
Option 1: Surface-Mounted Cable Raceways
Best for: Quick, removable, and affordable cable hiding.
Raceways are plastic or metal channels that attach to walls, railings, or deck surfaces. They snap open to insert cables, then close for a clean look.
Pros:
– Easy to install (no drilling into deck boards)
– Weather-resistant versions available
– Can be painted to match surroundings
– Allow future access
Cons:
– Visible on surfaces
– May not suit minimalist designs
Tip: Choose UV-stabilized PVC or aluminum raceways rated for outdoor use. Brands like Legrand, D-Line, and CordCover offer great options.
Option 2: In-Ground Conduit System
Best for: Permanent, invisible cable routing.
Run cables through PVC or flexible conduit buried under the deck or in the ground. This is ideal for large patios where you want a completely clean look.
Pros:
– Completely hidden
– Protects cables from weather and pests
– Long-lasting and professional
Cons:
– Requires digging and planning
– Higher cost and effort
– Harder to modify later
Tip: Use 1-inch diameter conduit for most setups. Install a pull string inside to make future upgrades easier.
Option 3: Deck-Mounted Cable Channels
Best for: Running cables along deck boards or railings.
These are narrow channels that attach directly to wood or composite decking. Some snap into place; others use screws or adhesive.
Pros:
– Low profile
– Blends with deck color
– Easy to install
Cons:
– Limited capacity (good for 1–3 cables)
– May lift or warp over time
Tip: Use stainless steel screws to prevent rust. Avoid adhesive-only options in high-moisture areas.
Option 4: Cable Clips and Ties
Best for: Securing loose cables along railings or posts.
Adhesive-backed clips or zip ties keep cables flat and out of the way. Great for small setups or as a supplement to other methods.
Pros:
– Cheap and fast
– No tools needed (for adhesive clips)
– Flexible placement
Cons:
– Not ideal for long runs
– Adhesive may fail in heat or rain
Tip: Use outdoor-rated clips with UV protection. For zip ties, choose stainless steel or nylon with weather resistance.
Option 5: Furniture and Decor Integration
Best for: Creative, budget-friendly hiding.
Use outdoor furniture, planters, or decor to conceal cables. For example:
– Run cables behind a bench or storage box
– Tuck them under a rug (use a flat, non-slip outdoor rug)
– Hide behind potted plants or trellises
Pros:
– No installation needed
– Adds to the decor
Cons:
– Less secure
– Cables may still be exposed at ends
Tip: Combine with clips or raceways for better protection.
Gather Your Tools and Materials
Before you start, make sure you have everything you need. Here’s a checklist based on the method you choose.
For Raceways:
– Outdoor cable raceway kit (with corner pieces and end caps)
– Measuring tape
– Level
– Drill and screws (or adhesive, if preferred)
– Cable ties (to bundle wires inside)
– Utility knife or scissors (to cut raceway)
For In-Ground Conduit:
– PVC or flexible conduit (1-inch diameter recommended)
– Conduit fittings (elbows, couplings)
– Shovel or trenching tool
– Gravel or sand (for bedding)
– Pull string or fish tape
– Duct sealant (to seal ends)
– Conduit cutter or hacksaw
For Clips and Ties:
– Outdoor-rated adhesive clips
– Stainless steel zip ties
– Rubbing alcohol (to clean surfaces before applying adhesive)
– Scissors or wire cutters
General Supplies:
– Weatherproof cable labels or colored tape
– Surge protector with outdoor rating
– Extension cord (if needed, rated for outdoor use)
– Flashlight (for working in low light)
Step-by-Step Installation Guide
Now it’s time to put it all together. Follow these steps based on your chosen method.
Step 1: Prepare the Cables
– Unplug everything from the TV and power source.
– Bundle cables together using zip ties or Velcro straps. Leave slack at both ends.
– Label each cable with tape or tags (e.g., “HDMI 1,” “Power,” “Ethernet”).
Step 2: Install the Cable Management System
If Using Raceways:
1. Measure and mark the raceway path.
2. Use a level to ensure it’s straight.
3. Drill pilot holes and secure with screws, or apply outdoor adhesive.
4. Open the raceway, insert cables, and close the cover.
5. Attach corner pieces at turns and end caps at open ends.
If Using In-Ground Conduit:
1. Dig a trench 6–12 inches deep along the planned route.
2. Lay a bed of gravel or sand for drainage.
3. Assemble the conduit with fittings, leaving a pull string inside.
4. Place the conduit in the trench and cover with soil.
5. At the TV end, drill a small hole through the deck board and feed the conduit up.
6. Seal all openings with duct sealant to prevent water entry.
If Using Clips:
1. Clean the surface with rubbing alcohol.
2. Apply clips every 12–18 inches along the cable path.
3. Press firmly to ensure adhesion.
4. Thread cables through and secure with zip ties if needed.
Step 3: Connect and Test
– Plug in all devices.
– Turn on the TV and check for signal.
– Test each input (HDMI, audio, etc.).
– Make sure the picture and sound are clear.
If something isn’t working:
– Double-check connections.
– Ensure cables aren’t pinched or bent sharply.
– Try swapping cables to isolate the issue.
Step 4: Final Touches
– Tuck any loose slack behind the TV or into a storage box.
– Use a surge protector with an outdoor outlet cover.
– Add a weatherproof outlet box if your power source is exposed.
Tips for a Professional Finish
A few extra steps can make your setup look store-bought.
Paint to Match
If using raceways or clips, paint them to blend with your deck, railing, or wall. Use outdoor spray paint for best results.
Use Cable Sleeves
For a sleek look, bundle cables in a spiral wrap or fabric sleeve before placing them in a raceway. This reduces bulk and prevents tangling.
Install a Weatherproof Enclosure
If your streaming box or receiver sits outdoors, place it in a ventilated, waterproof box. Mount it under the deck or in a shaded area.
Add Lighting
Use LED strip lights under the TV or along the cable path for ambiance and safety at night.
Keep It Organized
Store extra cables, remotes, and adapters in a weatherproof deck box or cabinet.
Troubleshooting Common Issues
Even with the best planning, problems can happen. Here’s how to fix them.
Problem: Cables Keep Coming Loose
Solution: Use more clips or switch to a raceway. Make sure adhesive surfaces are clean and dry before applying.
Problem: Signal Loss or Interference
Solution: Avoid running power and HDMI cables parallel for long distances. Cross them at 90 degrees if needed. Use shielded HDMI cables.
Problem: Water in Conduit
Solution: Ensure all ends are sealed with duct sealant. Slope the conduit slightly toward the exit point to allow drainage.
Problem: Raceways Warping or Fading
Solution: Replace with higher-quality, UV-resistant materials. Avoid cheap plastic that degrades in sunlight.
Problem: Difficult to Access Cables
Solution: Use raceways with snap-open covers or install a pull-string in conduit for future upgrades.
Maintaining Your Cable Setup
Once installed, your system needs minimal upkeep—but a little care goes a long way.
Inspect Seasonally
Check cables, clips, and raceways every spring and fall. Look for:
– Cracks or fading
– Loose fittings
– Signs of pests or moisture
Clean Regularly
Wipe down raceways and clips with a damp cloth to remove dirt and pollen.
Trim Vegetation
Keep plants away from cable paths to prevent damage and maintain access.
Update as Needed
If you upgrade your TV or add devices, revisit your cable management plan. It’s easier to adjust now than later.
Conclusion
Hiding cables for your deck TV on a large patio is totally doable—and worth the effort. With the right tools and a bit of planning, you can create a clean, safe, and stylish outdoor entertainment space.
Start by assessing your setup and choosing a method that fits your needs. Whether you go with simple clips, sleek raceways, or a buried conduit, the key is using weatherproof materials and securing everything properly.
Remember to label your cables, test your system, and maintain it over time. A little attention now prevents big headaches later.
Now, sit back, relax, and enjoy your favorite shows under the open sky—no wires in sight.

