
Installing an outdoor TV on a screened porch enhances your outdoor living space, but it requires careful planning and the right equipment. This guide walks you through choosing the right TV, mounting it securely, running cables safely, and protecting it from the elements—all while keeping your porch stylish and functional.
Key Takeaways
- Choose a true outdoor-rated TV: Not all “outdoor” TVs are equal—look for models specifically designed for shaded or semi-covered areas like screened porches.
- Use a weatherproof mount: A full-motion or fixed wall mount rated for outdoor use ensures stability and protects against moisture and rust.
- Plan your cable routing: Conceal and protect power, HDMI, and antenna cables using conduit or in-wall solutions to prevent tripping hazards and water damage.
- Ensure proper ventilation: Even in a screened area, allow airflow around the TV to prevent overheating, especially during summer months.
- Test before finalizing: Power on the TV and check all connections before sealing cables or closing access panels.
- Consider a surge protector: Outdoor electronics are vulnerable to power surges—use a weatherproof surge protector for added safety.
- Maintain regularly: Clean the screen and check seals periodically to extend the life of your outdoor TV.
How to Install Outdoor TV for Screened Porch
So you’ve decided to bring the living room experience outdoors—welcome to the world of outdoor entertainment! Installing an outdoor TV on your screened porch is a fantastic way to enjoy movies, sports, or your favorite shows while soaking in the fresh air. But unlike setting up a TV indoors, this project comes with unique challenges: weather exposure, cable management, mounting stability, and choosing the right equipment.
Don’t worry—this complete guide will walk you through every step, from selecting the perfect TV to securing it safely and running cables like a pro. Whether you’re a DIY enthusiast or hiring a professional, you’ll learn how to install an outdoor TV for your screened porch the right way—so you can enjoy years of entertainment under the open sky.
Why Install an Outdoor TV on a Screened Porch?
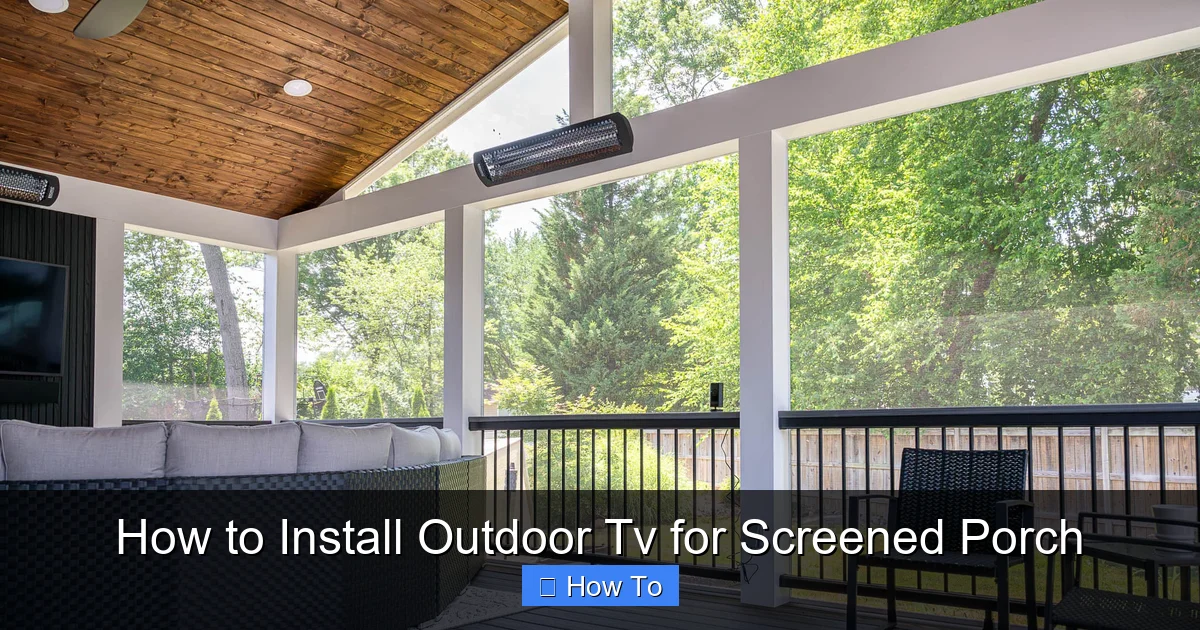
Visual guide about How to Install Outdoor Tv for Screened Porch
Image source: primeoutdoorliving.com
A screened porch offers the best of both worlds: the comfort of being indoors with the breeze and view of the outdoors. Adding a TV turns it into a true outdoor living room. Imagine watching the big game with friends, streaming a movie night under string lights, or catching up on your favorite series while enjoying a quiet morning coffee.
But why not just use a regular indoor TV? The answer is simple: indoor TVs aren’t built to handle temperature swings, humidity, or even indirect sunlight. Over time, these factors can damage internal components, fade the screen, or cause overheating. An outdoor-rated TV, on the other hand, is engineered to withstand these conditions—especially in semi-protected areas like screened porches.
Plus, a properly installed outdoor TV setup enhances your home’s value and usability. It’s not just about watching TV—it’s about creating a space where family and friends naturally gather.
Step 1: Choose the Right Outdoor TV
The foundation of a successful outdoor TV installation starts with selecting the right television. Not all TVs labeled “outdoor” are created equal, so it’s important to understand your options.
Types of Outdoor TVs
There are three main categories of outdoor TVs:
- All-Weather Outdoor TVs: These are fully sealed, weatherproof units designed for full exposure to rain, snow, and direct sunlight. They’re ideal for open patios but may be overkill for a screened porch.
- Partial-Weather Outdoor TVs: Built for covered or semi-covered areas like screened porches, gazebos, or pergolas. They resist humidity, dust, and temperature changes but aren’t meant for direct rain.
- Indoor TVs with Outdoor Enclosures: Some people use regular indoor TVs inside weatherproof enclosures. While cost-effective, this option can lead to overheating and reduced picture quality due to the extra casing.
For a screened porch, a partial-weather outdoor TV is usually the best choice. It’s designed for shaded environments and offers excellent picture quality without the bulk and cost of a full-weather model.
Key Features to Look For
When shopping, keep an eye out for these features:
- Brightness (Nits): Look for at least 700 nits for good visibility in daylight. Some models go up to 2,500 nits for brighter areas.
- Anti-Glare Screen: A matte or anti-reflective coating reduces glare from windows or ambient light.
- Wide Viewing Angle: Ensures the picture stays clear even when viewed from the side—perfect for group viewing.
- Weatherproof Construction: Sealed ports, rust-resistant materials, and no ventilation holes prevent moisture ingress.
- Built-in Speakers or Audio Output: Many outdoor TVs have enhanced speakers, but you may still want to connect external ones.
Popular brands include Samsung Terrace, SunBriteTV, and Seura. Expect to spend between $1,500 and $4,000 depending on size and features.
Step 2: Select the Right Mounting Location
Once you’ve got your TV, it’s time to pick the perfect spot. The location affects visibility, safety, and cable routing.
Consider Viewing Angles and Distance
Sit where you’ll normally watch TV and look around. Is the wall free of obstructions? Can you see the screen from all seating areas? A good rule of thumb is to mount the TV at eye level when seated—typically 42 to 48 inches from the floor to the center of the screen.
Avoid placing the TV directly opposite a window, as glare can ruin the viewing experience. If that’s unavoidable, consider blackout curtains or an anti-glare screen protector.
Check Wall Structure
Most screened porches have wood-frame walls, which are great for mounting—but you need to anchor into solid studs. Use a stud finder to locate studs spaced 16 or 24 inches apart. Never mount a TV to drywall or siding alone; it won’t support the weight.
If you’re mounting on brick or concrete, you’ll need masonry anchors and a drill rated for hard surfaces.
Ensure Clearance and Ventilation
Even though your TV is outdoor-rated, it still generates heat. Leave at least 2–3 inches of space around the TV for airflow. Don’t mount it inside a tight cabinet or enclosed space unless it’s specifically designed for that.
Also, avoid placing the TV near heat sources like grills, fire pits, or direct sunlight through screens—this can cause overheating.
Step 3: Choose the Right Mount
The mount is just as important as the TV. A flimsy or indoor-only mount can fail in outdoor conditions.
Types of Outdoor TV Mounts
- Fixed Mount: Keeps the TV flush against the wall. Great for saving space and reducing wind resistance.
- Tilt Mount: Allows you to angle the TV up or down for better viewing, especially if mounted high.
- Full-Motion (Articulating) Mount: Lets you pull the TV out and swivel it side to side. Ideal if you want to watch from different areas of the porch.
For most screened porches, a tilt or full-motion mount offers the best flexibility. Just make sure it’s rated for outdoor use and can support your TV’s weight and size.
Weatherproofing the Mount
Look for mounts with powder-coated finishes, stainless steel hardware, and rubber gaskets to prevent rust and water damage. Brands like Peerless, Sanus, and Vogel’s offer reliable outdoor mounts.
Always follow the manufacturer’s weight and VESA (mounting pattern) specifications. A 55-inch TV might weigh 30–40 pounds, so don’t skimp on strength.
Step 4: Plan Your Cable Management
Nothing ruins the look of a sleek outdoor setup like a tangle of exposed cables. Plus, loose wires are a tripping hazard and can get damaged by weather or pests.
Identify Required Cables
You’ll likely need:
- Power cable (from TV to outlet)
- HDMI cables (for streaming devices, cable boxes, or gaming consoles)
- Antenna or coaxial cable (for over-the-air TV)
- Ethernet cable (for wired internet, if needed)
- Audio cables (if using external speakers)
Route Cables Safely
There are two main approaches:
Option 1: In-Wall Cable Management
This is the cleanest and most professional method. Run cables through the wall from the TV down to an outlet or access panel. You’ll need:
- A fish tape or flexible drill bit to guide cables
- Wall plates with brush or grommet covers to seal openings
- Conduit (optional but recommended) to protect cables
Drill a hole inside near the mount and another near the outlet. Pull cables through, leaving slack at both ends. Seal gaps with silicone caulk to prevent moisture and insects.
Option 2: Surface-Mounted Conduit
If you can’t run cables inside the wall, use a weatherproof conduit. These plastic or metal channels attach to the wall and hide cables while protecting them from rain and UV damage.
Choose a conduit that matches your wall color for a seamless look. Secure it with outdoor-rated screws and seal all joints.
Use Weatherproof Cable Accessories
Regular HDMI cables aren’t built for outdoor use. Invest in:
- Outdoor-rated HDMI cables: Shielded and UV-resistant.
- Weatherproof cable connectors: Seal connections from moisture.
- Cable clips and ties: Keep wires neat and secure.
Also, use a weatherproof outlet cover if your power source is exposed. Install a GFCI (ground fault circuit interrupter) outlet for added safety.
Step 5: Install the Mount and TV
Now for the fun part—putting it all together!
Step-by-Step Installation
- Turn off power: For safety, shut off electricity at the circuit breaker before working near outlets.
- Mark mounting holes: Hold the mount against the wall, level it, and mark screw locations with a pencil.
- Drill pilot holes: Use a drill bit slightly smaller than your screws to prevent splitting the wood.
- Secure the mount: Attach the mount to the wall using lag bolts into studs. Use a level to ensure it’s straight.
- Attach mounting brackets to TV: Follow the TV’s manual to secure the VESA brackets to the back.
- Hang the TV: With a helper, lift the TV and hook it onto the mount. Double-check that it’s secure.
- Connect cables: Plug in power, HDMI, and other cables. Tuck excess wire behind the TV or into the conduit.
- Test the setup: Turn the power back on and test the TV, sound, and all inputs.
Safety Tips
- Always have a helper when lifting the TV—most are heavier than they look.
- Use a stud finder to avoid drilling into electrical wires or plumbing.
- Don’t overtighten screws—this can crack the mount or damage the TV.
- If you’re unsure about electrical work, hire a licensed electrician.
Step 6: Enhance Your Setup
Your TV is up and running—now make it even better.
Add External Speakers
While many outdoor TVs have decent built-in speakers, external ones deliver richer sound. Consider:
- Weatherproof Bluetooth speakers: Easy to place and control.
- Outdoor soundbars: Designed to match outdoor TVs.
- In-wall or in-ceiling speakers: For a built-in, immersive experience.
Mount speakers on the wall or place them on weatherproof stands. Use outdoor-rated speaker wire and seal all connections.
Install a Streaming Device
Most outdoor TVs don’t have built-in smart features. Add a streaming stick like:
- Roku Ultra (outdoor-rated)
- Apple TV 4K (in a weatherproof case)
- Amazon Fire Stick (with outdoor HDMI extender)
Keep the device in a dry, ventilated area—never inside the TV enclosure.
Control with a Universal Remote or App
Use a universal remote like Logitech Harmony to control TV, sound, and streaming devices. Or download the TV manufacturer’s app for smartphone control.
Step 7: Protect and Maintain Your Outdoor TV
Even the best outdoor TV needs care to last.
Regular Cleaning
Wipe the screen weekly with a microfiber cloth and mild cleaner. Avoid ammonia-based products—they can damage anti-glare coatings.
Clean the vents and ports monthly to prevent dust buildup.
Check Seals and Connections
Inspect weatherproof seals, cable covers, and mount hardware every few months. Tighten loose screws and replace worn gaskets.
Use a Surge Protector
Outdoor electronics are vulnerable to lightning and power surges. Plug your TV and devices into a weatherproof surge protector with a high joule rating (at least 1,000).
Cover During Off-Season
If you live in an area with harsh winters, consider using a breathable TV cover when not in use. This protects against dust and UV damage.
Troubleshooting Common Issues
Even with careful planning, problems can arise. Here’s how to fix the most common ones.
TV Won’t Turn On
- Check the power source—is the outlet working? Test with another device.
- Ensure the surge protector is on and functional.
- Verify all cables are securely connected.
Poor Picture Quality
- Adjust brightness and contrast settings for outdoor viewing.
- Check for loose HDMI connections.
- Ensure the screen isn’t smudged or dirty.
Overheating
- Make sure there’s adequate ventilation around the TV.
- Don’t block vents or mount in direct sunlight.
- Reduce screen brightness if used in hot weather.
Audio Issues
- Check volume settings on both TV and external speakers.
- Ensure audio cables are properly connected.
- Test with different sources to isolate the problem.
Mount Feels Loose
- Tighten all bolts and screws.
- Verify the mount is anchored into studs, not just drywall.
- Consider upgrading to a heavier-duty mount if needed.
Conclusion
Installing an outdoor TV on your screened porch is a rewarding project that transforms your outdoor space into a true entertainment hub. By choosing the right TV, mounting it securely, managing cables professionally, and maintaining it properly, you’ll enjoy crystal-clear viewing in a safe, stylish setup.
Remember: this isn’t just about watching TV—it’s about creating memories. Whether it’s a summer movie night, a fall football game, or a cozy winter evening under the stars, your outdoor TV will be the centerpiece of countless great moments.
Take your time, follow the steps, and don’t hesitate to consult a professional if needed. With the right approach, your screened porch will become the favorite room in the house—rain or shine.

